Virgin Home Modem User manual

V3.3.3 A
virginbroadband.com.au
v
ir
g
inbroadband.com.au
HOME MODEM

PACKAGE CONTENTS
Your package should contain the following items:
• Broadband at Home modem
• Modem stand
• Power cable
• Ethernet cable
• User Guide
GETTING TO KNOW YOUR MODEM
13
2
4
5
6
7
1. DISPLAY BUTTON
Toggle between displays (wake from Screensaver, view Missed Calls).
2. POWER BUTTON
3. CONNECTION BUTTON
Press to connect or disconnect from the Internet.
4. YOUR SIM CARD INSIDE THE SIM CARD SLOT
Please do not remove this or your service will not work!
5. TELEPHONE PORT
Plug your home telephone into this.
6. ETHERNET PORT (LAN)
This connects your computer to the Modem.
7. POWER ADAPTER
Please only use the supplied power pack!
8. FACTORY RESET BUTTON
This is hidden underneath the Modem. This may be required when
the admin password has been lost, or for troubleshooting.
8

V3.3.3 1
GETTING TO KNOW YOUR MODEM 2
FEATURES 2
SIMPLE SETUP 2
INSTANT PROTECTION 2
ADDITIONAL SECURITY 2
MINIMUM REQUIREMENTS 2
GETTING TO KNOW YOUR MODEM 2
FRONT PANEL DISPLAY 3
THE MAIN DISPLAY 3
INCOMING CALLS 3
MISSED CALLS 4
THE DISPLAY SCREEN SAVER 4
SETTING UP YOUR MODEM FOR
TELEPHONE AND INTERNET 5
CONNECTING THE MODEM 5
POSITIONING THE MODEM 5
USING YOUR TELEPHONE 7
CONNECTING YOUR PHONE 7
GENERAL PHONE USE 7
MAKING CALLS 7
SETTING UP VOICEMAIL 7
RETRIEVING VOICEMAIL 7
CALL WAITING 7
MANAGING TELEPHONE FEATURES 8
MISSED CALLS 8
INCOMING CALLS 8
OUTGOING CALLS 8
TELEPHONE SETTINGS 8
CALL FORWARDING 9
CALL WAITING 10
CALLER ID 10
CONNECTING TO
VIRGIN BROADBAND 11
CONFIGURING YOUR HOME NETWORK 11
USING THE ETHERNET CABLE 11
CONFIGURING YOUR ETHERNET
NETWORK ADAPTOR 12
WINDOWS XP 12
WINDOWS VISTA 13
APPLE 14
CONFIGURING YOUR INTERNET BROWSER 15
FOR FIREFOX 16
FOR SAFARI 16
QUICK SET UP WIZARD 17
SPECIFY A PASSWORD 17
SETTINGS 17
YOUR FIRST TIME ONLINE 23
CONFIGURING YOUR EMAIL 23
OUTLOOK EXPRESS 23
OUTLOOK 2003 23
OUTLOOK 2007 24
WINDOWS MAIL (VISTA) 24
APPLE MAIL 25
CHECKING YOUR USAGE 25
CONFIGURING YOUR WIRELESS CONNECTION 26
USING WIRELESS 26
WINDOWS XP 26
WINDOWS VISTA 27
APPLE 28
THE MANAGEMENT CONSOLE 29
CONNECTION STATUS 29
CONNECT / DISCONNECT 29
LOGIN STATUS 30
SMS SCREEN 30
TELEPHONE SCREEN 30
CONNECTIONS SETTINGS 30
SYSTEM SETUP 30
ADVANCED SCREEN 30
LOG OUT 30
COMMON
TROUBLESHOOTING STEPS 31
RESTORING FACTORY DEFAULT SETTINGS 31
CHANGING THE TIME ZONE 31
UNABLE TO MAKE OR RECEIVE CALLS 31
UNABLE TO ACCESS WEBSITES 33
SLOWER CONNECTION THAN EXPECTED 35
GLOSSARY 36
SPECIFICATIONS 38
GUIDELINES FOR SAFE
AND EFFICIENT USE 39
MY PASSWORDS 40
TABLE OF CONTENTS
virginbroadband.com.au

V3.3.3 2
GETTING TO KNOW YOUR MODEM
FEATURES
The Virgin Broadband At Home Modem provides home phone functionality, along with wireless
broadband Internet. Simply plug your modem in, connect your phone and computer, and you’ll be
making calls and you could be surfing the Internet within minutes. The Modem supports advanced
mobile technologies including compatibility with GSM and 3G mobile networks and support for GPRS,
EDGE, UMTS and HSDPA.
SIMPLE SETUP
The Modem provides you with a quick installation and setup that gets you easily and quickly
connected to the Internet; using an Internet browser (e.g. Microsoft®Internet Explorer 6.0, 7.0,
Firefox®or Safari®) and most personal computers, including Windows®and Macintosh®. The ‘Quick
Setup Wizard’ introduces you to the basic settings that need to be configured for use with the mobile
network.
INSTANT PROTECTION
The Modem provides a hardware firewall and supports Network Address Translation (NAT). This
network service hides the computers in your network so they cannot be easily accessed from outside
your network (the Internet) until a request is made.
ADDITIONAL SECURITY
The Modem supports both Wired Equivalent Privacy (WEP) and WiFi Protected Access (WPA and
WPA2) security encryption to protect your network. Security logs keep you aware of potential
security risks and intrusion attempts. You can view logs through the security section of the
Management Console.
MINIMUM REQUIREMENTS
Ethernet Port if connecting via Ethernet cable.
Wireless Networking Adapter if connecting wirelessly.
Compliant Internet Browser such as Microsoft Internet Explorer 6, Mozilla Firefox 2 and Safari 2 or
later versions of each.
MAC OSX (10.4 OR ABOVE) • APPLE™ COMPUTER WITH AN INTEL®, POWERPC G3, G4 OR G5 PROCESSOR
• 512MB OF RAM
WINDOWS XP • PENTIUM™ 300MHZ PROCESSOR OR EQUIVALENT • 128MB OF RAM
WINDOWS VISTA HOME BASIC • 1 GHZ 32-BIT (X86) OR 64-BIT (X64) PROCESSOR • 512 MB OF RAM
WINDOWS VISTA HOME
PREMIUM/ ULTIMATE • 1 GHZ 32-BIT (X86) OR 64-BIT (X64) PROCESSOR • 1 GB OF RAM

V3.3.3 3
THE FRONT PANEL DISPLAY
THE MAIN DISPLAY
INCOMING CALLS
When you receive an incoming call, the caller’s phone number will be displayed:
See Using Your Telephone on Page 7 for more information.
Indicates a missed call
Connected to the
Virgin Mobile network
This is your connection method.
• HSDPA is a very fast connection
• UMTS is fast
• GPRS is slower (around dial-up speeds).
If you can only get GPRS, try moving
the modem to another area in your
home, or closer to a window
How many computers are
connected wirelessly
Connection status.
When this says “Connected” you
have an internet connection available.
Signal strength.
Like a mobile phone,
the more bars, the better
Clock
comin
g c
all, the caller’s phone number will be displaye
d
ho
ne
on Pa
g
e 7 for more informa
t
ion
.

V3.3.3 4
MISSED CALLS
Pressing the Display button will show the most recent missed call on the modem display. Continue to
press the ‘Display’ button to step through any further missed calls.
1. Missed Calls
2. Current time (this is only displayed when the clock is synchronised with the network after your
first internet connection).
3. Current Call/Total number of missed calls
4. Phone number of missed call.
5. Date and time of last missed call from that phone number. You can clear the missed calls using
the Modem Management Console.
See Using Your Telephone on Page 7 for more information.
THE DISPLAY SCREEN SAVER
A screen saver feature is included in the Modem to preserve the quality of the Main Display. When
the Main Display is inactive for a short time, the Screen Saver activates showing the current time.
The time will automatically update to AEST once connected to the Internet.
a
y
b
u
tt
on wi
ll
s
h
ow
th
e mos
t
recen
t
misse
d
ca
ll
on
th
e mo
d
em
d
i
’
button to ste
p t
hro
ugh
an
y f
urther missed calls.
(th
is
is
onl
yd
isp
lay
ed
whe
nt
he
clo
ck
is
syn
chr
oni
sed
wi
th
the
ne
t

V3.3.3 5
SETTING UP YOUR MODEM FOR TELEPHONE AND INTERNET
CONNECTING THE MODEM
123
1. Plug in the power cable (black) and turn the power on. The Modem will power up within 45
seconds.
2. Unplug your telephone from the wall socket, and plug it directly into the Modem. You can use a
typical corded or cordless home telephone.
3. For your first time internet setup, please use the Ethernet Cable. Plug one end into the middle
socket on the Modem and the other into a spare Ethernet (LAN) port on your computer.
POSITIONING THE MODEM
Position the Modem to ensure the following:
1. Strong Mobile network signal: The Modem’s display will show your network signal strength. You
may find that placing the Modem near a window will ensure the best network reception. Don’t be
afraid to try it in a few different locations.

V3.3.3 6
2. Broadband connection type: HSDPA (3.5G) and UMTS (3G) are the two broadband connection
types available with the Modem. A GPRS (2.5G) connection will not provide broadband Internet
speeds. If your modem is connecting with GPRS, try moving it to another location within your
home. The Modem’s internal antenna is directional; rotating the Modem on its axis may improve
your connection.
When the Modem is repositioned, wait 10-15 seconds for the signal strength and connection type
to update. You may need to push the display button (far left button on top of the modem) if the
Modem screen saver is active.
If your connection type is consistently reported as GPRS, despite your repositioning efforts,
please contact Virgin Broadband Support on 1300 555 100 for further assistance.
3. Strong Wireless (WLAN) signal: For best results, make sure the Modem is in a central position in
your home, within a relatively equal distance of all wireless devices. The Modem should not be
closer than 30cm from any one wireless device.
4. A Power Outlet is within easy reach.
5. The Modem’s front panel Display is in sight and the Buttons and Connectors are within easy reach.
6. The Modem is at least 20 cm away from you.
7. The Modem is out of direct sunlight and away from heat sources, power lines, fluorescent
lighting fixtures and electrical noise such as radios, transmitters and broadband amplifiers.
8. Water or moisture cannot enter the case of the Modem.

V3.3.3 7
USING YOUR TELEPHONE
CONNECTING YOUR PHONE
The Virgin Broadband Modem is very easy to use with your telephone handset. Just follow our simple tips.
DO
Plug your telephone directly into the Virgin
Broadband Modem.
Use Cordless phones if you want more than
one telephone on the service.
DON’T
Plug your modem into telephone wall sockets.
Have any ADSL filters connected to the
telephone cable.
Use fax machines with this service.
They will not work.
GENERAL PHONE USE
This section is for the general use of your telephone handset such as Making Calls, Voicemail
and Call Waiting.
MAKING CALLS
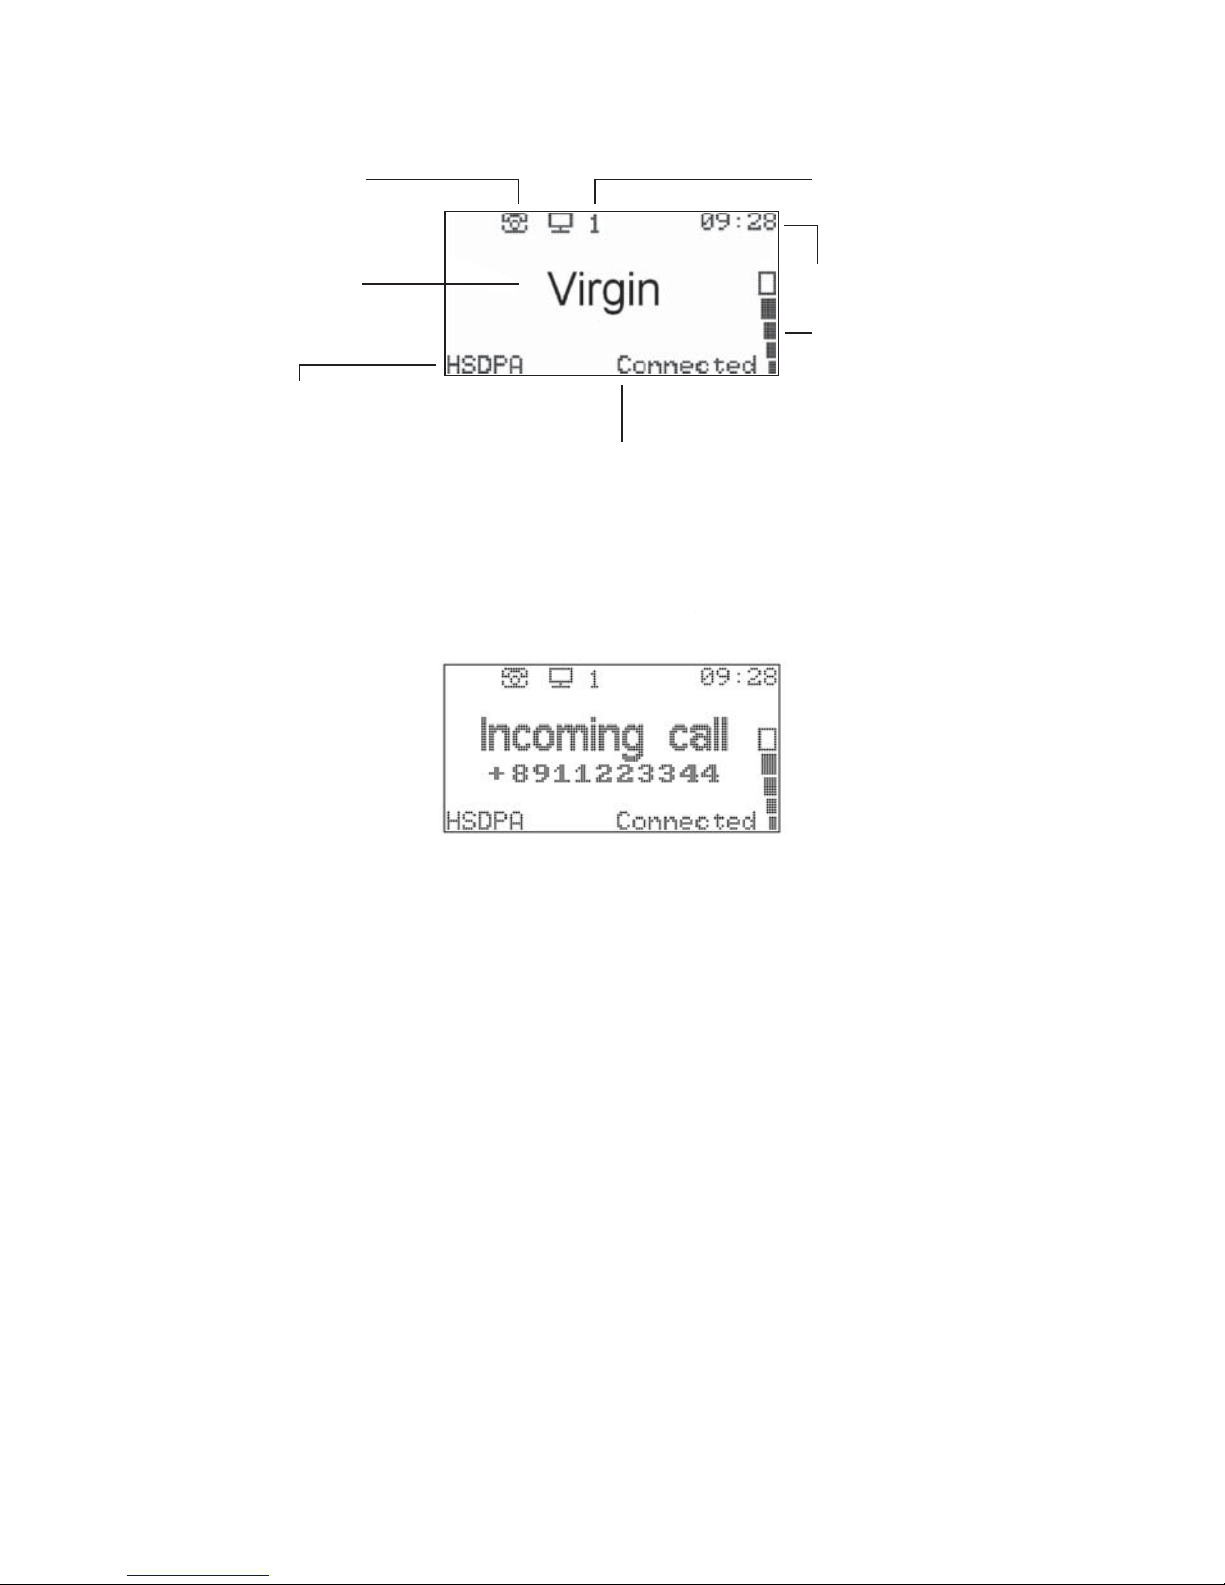
As with a standard telephone line, you should hear a dial tone when you pick up your telephone
handset. If you hear a dial tone, you’re ready to make calls!
Note: You may notice a short delay before the number you have dialled rings. This is normal for calls
made through a mobile phone network. If you wish, you can speed up the dialling process by pressing
the # key after the desired number.
SETTING UP VOICEMAIL
To activate your free Virgin Voicemail service, just dial 212 from your phone. You will be guided
through the setup process, including recording your personal Voicemail message. To disable your
Virgin Voicemail service, refer to the Call Forwarding section on Page 9 of this guide.
RETRIEVING VOICEMAIL
Whenever you receive a new Voicemail message, the dial tone on your phone will be changed to a
stuttered sound. If you have this stuttered dial tone, simply dial 212 to retrieve your new messages,
and the dial tone will be reset to normal.
CALL WAITING
When someone tries to call you whilst you are already on a call, you will hear a Call Waiting tone (two
short beeps) in the background on your call.
To end your current call and answer the new one, press the following combination of buttons
on your phone: Recall, 1, #
To put your current call on hold and answer the new one, press the following combination of buttons
on your phone: Recall, 2, #
This combination can also be used to switch back to your original call.

V3.3.3 8
MANAGING TELEPHONE FEATURES
This section will explain how to manage the various telephone features available within the Virgin
Broadband Modem Management Console. Please connect your Modem to the computer and complete
the Quick Setup Wizard before attempting to change the telephone features.
THE MANAGEMENT CONSOLE – TELEPHONE
Log in to the Modem Management Console and click on the Telephone option in the left hand menu.
For instructions on accessing the Modem Management Console, see Page 29 of this guide.
The Telephone section of the Management Console is split into 7 sections. They are: Missed Calls,
Incoming Calls, Outgoing Calls, Telephone Settings, Call forwarding, Call Waiting and Caller ID.
MISSED CALLS
This is the area where you can see and clear any missed calls. Simply click on the CLEAR LOG button
to clear the log and remove the missed calls icon from the display screen of the modem.
INCOMING CALLS
This is the area where you can see and clear any Incoming Calls. Simply click on the CLEAR LOG
button to clear the log.
OUTGOING CALLS
This is the area where you can see and clear any Incoming Calls. Simply click on the CLEAR LOG
button to clear the log.
TELEPHONE SETTINGS
This is the area where you can change the way in which the telephone dials numbers.
• International Dialling Code – This is the code needed to dial International Numbers. This field
should always show 0011 as we are in Australia. You can ignore this area.
• Dialling Timeout – When you have finished dialling your number, the network waits for a few
seconds to ensure you have finished. This number sets the amount of seconds the network will wait
after the last number you pressed before it actually starts dialling.
• Use # to end dialling – This is the code to end the dialling with #. This tells the modem that when
the # key is pressed to ask the network to dial the number.
• Call Log – With this enabled, your modem will record the Incoming, Outgoing and Missed calls
details. You can access that information from the other tabs.

V3.3.3 9
CALL FORWARDING
This area is where you control where your calls go to when you are on the phone, busy or don’t answer.
• All calls - Diverts ALL CALLS to the specified number.
• No answer - Diverts calls to the specified number when there is no answer.
• Unreachable - Diverts calls to the specified number when your phone is unreachable.
• Busy - Diverts calls to the specified number when your phone is busy.
The functions at the top of this page include:
• Deactivate all will deactivate all diversions
•Clear all numbers will deactivate all diversions and clear all numbers from the fields
•Check all will query the network for the current settings
•Refresh will tell the modem to make sure it is displaying the most current information
Each individual type of diversion is used as follows:
• To activate a diversion, enter the number you wish to forward calls to, then click Activate.
• To deactivate a diversion, click Deactivate.
• If you wish to remove the number from the modem, click Clear Number.
• The Refresh button will tell the modem to make sure it is displaying the most current information
regarding call forwarding.

V3.3.3 10
After you have activated call forwarding from the Management Console, the number is saved in the
modem and diversions can also be turned on or off from your telephone handset. Use the following
sequences to activate or deactivate call forwarding from your phone:
CALL FORWARDING TYPE ACTION CODE
All calls Activate to registered number *21#
Deactivate #21#
No answer Activate to registered number *61#
Deactivate #61#
Unreachable Activate to registered number *62#
Deactivate #62#
Busy Activate to registered number *67#
Deactivate #67#
All types Deactivate #002#
When activating or deactivating using the telephone handset, 2 short beeps will indicate a successful
change, or 3 short beeps will indicate that there has been a problem and no change has been made.
After the beeps the dial tone will return as normal.
By default, voicemail is already set up on your Virgin Broadband service. If you activate
an alternative diversion and you wish to reactivate voicemail, simply enter 212 as the
diversion number.
CALL WAITING
This screen will allow you to activate and deactivate your Call Waiting.
CALLER ID
This area will allow you to change your Caller ID features
• Incoming Identification - Click Activate to show the phone number of the person calling you
(they need to have caller ID enabled).
• Outgoing Identification - Click Activate to show your phone number to the person you are calling.

V3.3.3 11
CONNECTING TO VIRGIN BROADBAND
Your Virgin Broadband Modem can allow you instant access to the Internet. In most cases your
computer is already configured to run the Internet and changes won’t need to be made.
Simply follow the directions below:
1. Connect your computer to the Virgin Broadband Modem using the supplied Ethernet cable or
your computer’s Wireless Network Adaptor. See Configuring Your Home Network.
2. Check that the connection status on the Modem’s Main Display Panel says “Connected”. If it
doesn’t, press the Connect Button on the top right of the Modem to connect.
3. Open your Internet web browser (e.g. Internet Explorer). You should be online and ready to surf
the web! See Your First Time Online on page 23.
CONFIGURING YOUR HOME NETWORK
We recommend you do your first time setup using the Ethernet cable. Remember, the WiFi is turned
off by default.
USING THE ETHERNET CABLE
1. Plug the supplied Ethernet cable into your computer and then into your Virgin Broadband
Modem if you have not already done so.
2. Open your Internet browser and try to access the Management Console on the Virgin Broadband
Modem by typing http://192.168.1.1 in your Internet browser.
You should see the Welcome to Virgin Broadband page and then be able to continue with the Quick
Setup Wizard.

V3.3.3 12
CONFIGURING YOUR ETHERNET NETWORK ADAPTOR
This step should only be done IF you cannot access the Management Console (http://192.168.1.1)
otherwise please proceed to Quick Setup Wizard on page 17.
WINDOWS XP - Go to Control Panel and choose Network Connections.
1. If you do not see an icon with just the name Network Connections, then click Switch to Classic
View on the left of the Control Panel screen.
2. Right click on your Local Area Network Adaptor and choose Properties from the menu that
appears
3. Select the item Internet Protocol and click on the Properties button.
4. Make sure the following are selected:
a. Obtain an IP address automatically
b. Obtain a DNS server automatically
5. Click on OK to close the Internet Properties
6. Click on OK to close the Local Area Network Connection Properties

V3.3.3 13
WINDOWS VISTA - Go to Control Panel and choose Network and Sharing Centre
1. Click on the line that says View Network status and tasks.
2. On the left of the window, click on the line that says Manage network connections
3. Right click on your Local Area Network Adaptor and choose Properties from the menu that
appears
4. Select the item Internet Protocol Version 4 and click on the Properties button.
5. Make sure the following are selected:
a. Obtain an IP address automatically
b. Obtain a DNS server automatically
6. Click on OK to close the Internet Properties
7. Click on OK to close the Local Area Network Connection Properties

V3.3.3 14
APPLE MAC 10.4 – If you do not connect automatically then create a new Location
1. Click Apple Mac 10.4 menu (blue icon top left)
2. Go to LOCATION and select Network Preferences
3. In the location drop down box select New location
4. Name the location (virgin - “you-can-make-something-up-yourself-here”)
5. In the Show drop down (2nd from the top) box select Network Port Configurations
6. Untick everything except Built- in Ethernet/Airport
7. Click APPLY NOW
8. In the SHOW drop down box click BUILT IN ETHERNET and ensure the following options are
correct
9. In TCP /IP tab ensure that Configure IPv4 = USING DHCP
10. In ETHERNET tab ensure that Configure = AUTOMATICALLY
11. Click APPLY NOW if you have made changes and close the window
12. Click back to the APPLE MENU and ensure the created location is ticked

V3.3.3 15
CONFIGURING YOUR INTERNET BROWSER
1. Open your web browser (e.g., Internet Explorer, Firefox or Safari).
2. Type http://192.168.1.1 in the browser address bar, and press Enter. This will take you to the
Virgin Broadband Modem Management Console, which is the setup program for the modem. You
are not connecting to the Internet when you go to this page. You are simply getting the page
from the modem.
NOTE: You may need to enable/allow cookies for this address in order for this page to function.
To enable cookies:
For Internet Explorer 6 and 7: Click Tools, Internet Options.
Click the Privacy tab and then click Sites
In the Address box type 192.168.1.1, then click Allow. Click OK twice to exit.

V3.3.3 16
FOR FIREFOX: Click the Tools menu and then Options.
Click the Privacy tab, in the Cookies section click Exceptions: type 192.168.1.1 and click Allow. Click
Close and then OK.
FOR SAFARI: Click Safari from your Menu Bar and click Preferences. Under the Security tab, go to
Accept Cookies and select: Only from sites you navigate to.

V3.3.3 17
QUICK SETUP WIZARD
SPECIFY A PASSWORD
The first time you access this page you will need to create a password for the in-built Administrator
user (initially the password is set as admin).
This password controls the Management Console and therefore the phone and Internet connection.
It is important to keep this secure at all times. Make sure you choose something that you will
remember and write it down in a secure place. If you forget this password, you will need to restore
the modem to factory default settings (see page 31).
Once you have selected a password, click on OK and you will be directed to the Quick Setup Wizard page.
Your modem is pre-configured by Virgin Broadband in all aspects except your wireless security. We
recommend you leave most settings as you find them except for wireless security.
SETTINGS
Language: Australia
UMTS: UMTS Connect Method:
Manually: connect to the Internet by clicking Connect on the Connection
Status page in the Management Console or press the Connect Button on the
Modem.
Automatically connect upon traffic: The Modem will automatically connect
when you attempt to access the Internet.
Always Connected: The modem is ALWAYS connected to the Internet
In case of inactivity, disconnect after (minutes): The default is 0 minutes.
Keep this setting if you want the Modem to stay connected. Note: Incoming
traffic does not count as activity.
Wireless: Wireless: Un-ticked by default. Tick if you wish to enable wireless networking.
SSID: Virgin Broadband – This is the name of your wireless network that
your computer will look for. You can change this to anything you want to
personalise. Changing this is recommended to avoid confusion in case
someone nearby also has the Virgin Broadband service.
SSID Broadcast: Ticked as Enabled by default

V3.3.3 18
Wireless encryption: Encryption: The default is no encryption – Please input the following setting
to secure your network:
Encryption: WEP
Key Type: ASCII 128bit (13Characters)
Pre-Shared Key: (Type in a 13 character password of numbers, letters or both)
Firewall policy: Typical security (maximum security can cause problems with browsing)
QSW: STEP 1 of 7 - Welcome to the Quick Setup Wizard
Please read the instructions and when ready, click NEXT to continue.
QSW: STEP 2 of 7 - Language
No changes can be made here, click NEXT to continue.
Table of contents
Other Virgin Modem manuals