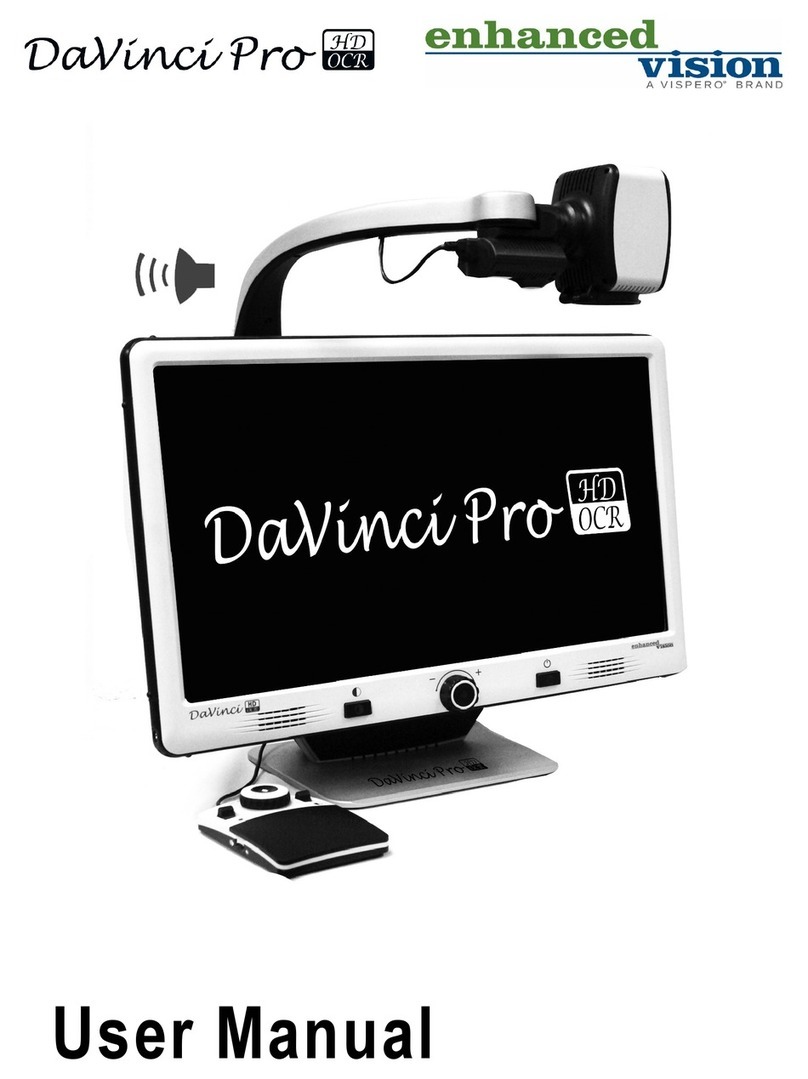
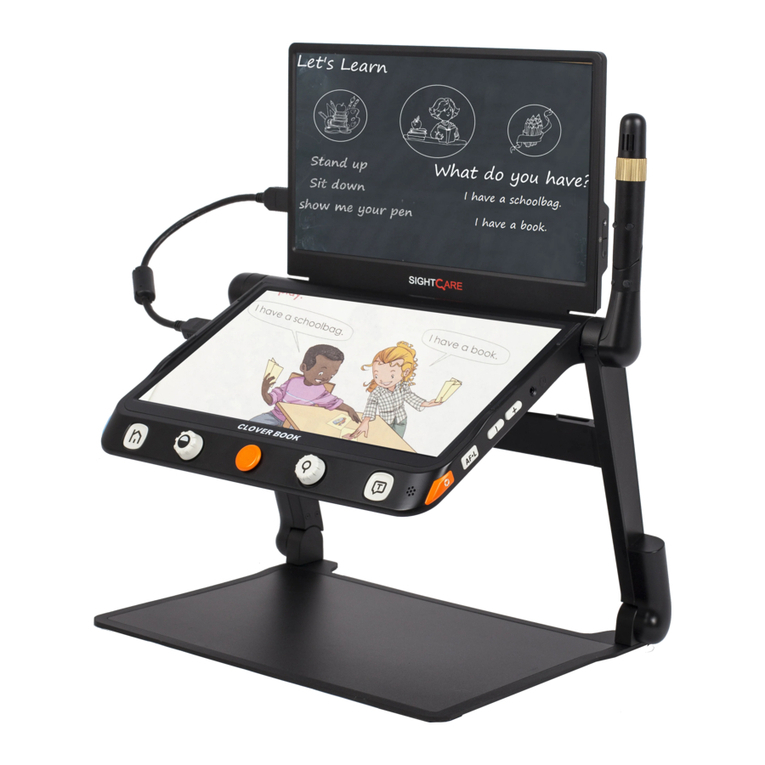
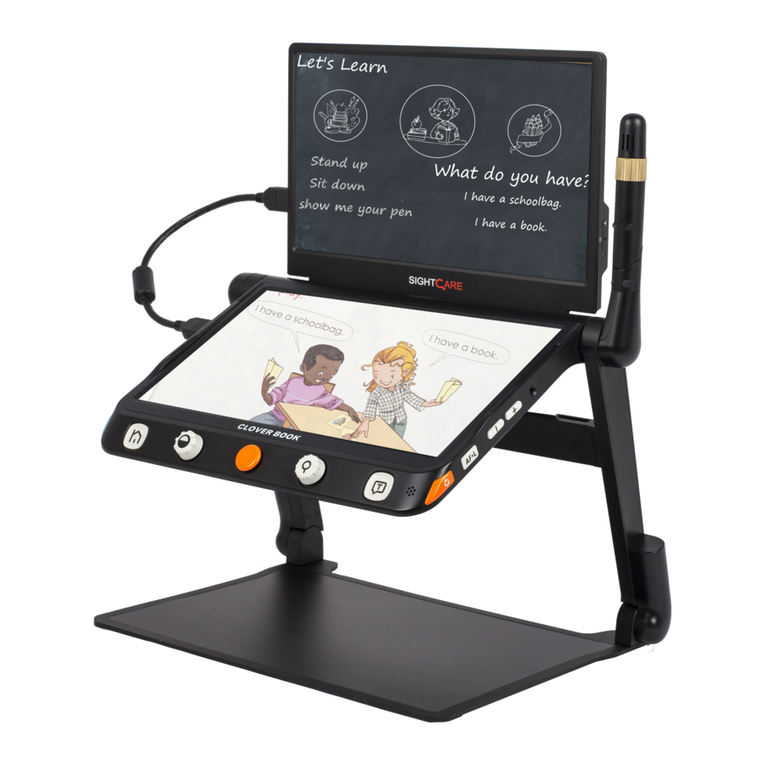
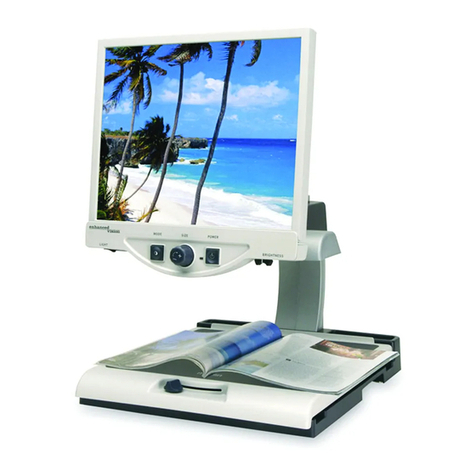
Vispero Enhanced Vision DaVinci Pro DAVP1E24A Service manual

Technical Bulletin
Date: 12/19/2018
Serial Number Eective: Q1127001
Product Line: DaVinci Pro
Subject: Games on DaVinci Pro and Quality of Life improvements.
___________________________________________________________________________
Change Description:
This update represents one of our most ambitious feature rollouts and product improvements
to date. We are excited to announce that we will be adding a new “Games” menu item and
consolidating the “User” and “Product” settings sub menus.
Improvement #1: Games- We have added Sudoku, Solitaire, Free Cell, Reversi, Tic-Tac-Toe
& Simon Memory to the DaVinci Pro under the new Games Menu Icon. This option works
similarly to the library/carousel.
Improvement #2: Menu Additions & Simplication- To simplify the settings menu we
have basically taken the contents of the User and Product settings menu and put them
together. All of the previously available features are preserved. The User Settings will
be visible on the rst page and Product Settings will be on the second page. The games
feature is now located where the “User” settings used to be.
Question #1: How do I use the new games feature?
Answer #1: First you need to enter into the Main Menu and navigate to the Games option.
Then you will need to connect a USB computer mouse to one of the free USB ports on your
DV Pro rear panel in order to play any of the games. Once on the games carousel you use
the Zoom/Magnication wheel to scroll through the various choices and Enter key to select
the game of your choice.
Question #2: How do I know if my DaVinci Pro Supports this upgrade? Should I upgrade if I
don’t want the games feature? Were there any other changes in this software release?
Answer #2: All DaVinci Pro’s support this free update to all existing customers as part of our
commitment to continual improvement. We have done a lot of under the hood maintenance
so we always recommend a user update to the latest software for the best experience but
the main purpose of this update is to provide the games feature.
5882 Machine Drive • Huntington Beach, CA 92649 • (714) 465-3400
___________________________________________________________________________
Sincerely,
Ted O’Connor
Software Quality Assurance
___________________________________________________________________________

Note: This update requires you to utilize a USB ash drive, an internet capable computer
and your DaVinci Pro control console.
Step 1: Visit https://www.enhancedvision.com/support/software/davinci-pro.html
The version 01.01.274 Update requires you to download ve les:
• Application Update- DaVinci Pro-Application-01.01.274.zip
• Camera Update- DaVinci Pro-Camera Firmware-01.01.274.zip
• I/O Update- DaVinci Pro-I/O Firmware-01.01.274.zip
• Front Panel Update- DaVinci Pro-FP Firmware-01.01.274.zip
• Voice Files Update- DaVinci Pro-Voice Files-01.01.274.zip
Step 2: Connect your USB Flash drive to your computer and download and extract all the
zip le contents of the les to the USB Flash Drive: Namely “Installer”, “Camera Board”,
“I/O”, “Front Panel” and “Voices” Safely remove the USB Drive from your computer and then
connect it to one of the open ports on your DaVinci Pro along with the DaVinci Pro
Control Console.
Step 3: Ensure that your DaVinci Pro is powered OFF and then power device ON. After
you see the DaVinci Pro Logo on boot up and this screen disappears you should begin
pumping the “Mode Up” button on your control console.
Note: This update requires you to utilize a USB flash drive, an internet capable computer
and your DaVinci Pro control console.
Step 1: Visit https://www.enhancedvision.com/support/software/davinci-pro.html
The version 01.01.274 Update requires you to download five files:
•Application Update- DaVinci Pro-Application-01.01.274.zip
•Camera Update- DaVinci Pro-Camera Firmware-01.01.274.zip
•I/O Update- DaVinci Pro-I/O Firmware-01.01.274.zip
•Front Panel Update- DaVinci Pro-FP Firmware-01.01.274.zip
•Voice Files Update- DaVinci Pro-Voice Files-01.01.274.zip
Step 2: Connect your USB Flash drive to your computer and download and extract
all the zip file contents of the files to the USB Flash Drive: Namely “Installer”,
“Camera Board”, “I/O”, “Front Panel” and “Voices” Safely remove the USB Drive
from your computer and then connect it to one of the open ports on your DaVinci Pro
along with the DaVinci Pro Control Console.
Step 3: Ensure that your DaVinci Pro is powered OFF and then power device ON.
After you see the DaVinci Pro Logo on boot up and this screen disappears you
should begin pumping the “Mode Up” button on your control console.

Step 4: When you hear a system “Chime” sound switch from a pumping motion to a
continuous hold of the “Mode Up” button. (Essentially press it forward until device
powers on fully).
Step 5: If you were successful you should see the following screen shown below
where you choose which update to perform (Application Update Screen). If you do not
see this screen please power down the DaVinci Pro and try again.
To Navigate through the menu Rotate Zoom Wheel Left or Right to navigate
forward and back Press (Find/Enter) Key to initiate the upgrade process for the
current selection marked in Red.
_____________________________________________________________________________________________
5882 Machine Drive Huntington Beach, CA 92649 (714) 465-3400
FORM: Technical Bulletin Rev B
Step 4: When you hear a system “Chime” sound switch from a pumping motion
to a continuous hold of the “Mode Up” button. (Essentially press it forward until
device powers on fully)
Step 5: If you were successful you should see the following screen shown below
where you choose which update to perform (Application Update Screen). If you
do not see this screen please power down the DaVinci Pro and try again.
To Navigate through the menu Rotate Zoom Wheel Left or Right to navigate
forward and back Press (Find/Enter) Key to initiate the upgrade process for the
current selection marked in Red.

Step 6: For the 01.01.274 Update we need to perform 4 updates for the Front Panel,
Software Application, Camera Firmware and I/O Board which will require you to
perform 4 updates in the suggested order Software, Camera, Front Panel and I/O
(Repeat Steps 3-5 for both Software Upgrade and Camera FW Upgrades). A restart
of the system occurs immediately after each component is upgraded and should
not be interrupted while in process.
1. Software Upgrade (The Voice le update occurs simultaneously with the software
update)
2. Camera MCU
3. Front Panel
4. I/O Firmware
Step 6: For the 01.01.274 Update we need to perform 4 updates for the Front
Panel, Software Application, Camera Firmware and I/O Board which will require
you to perform 4 updates in the suggested order Software, Camera, Front Panel
and I/O (Repeat Steps 3-5 for both Software Upgrade and Camera FW Upgrades).
A restart of the system occurs immediately after each component is upgraded
and should not be interrupted while in process.
1. Software Upgrade (The Voice file update occurs simultaneously with the
software update)
2. Camera MCU
3. Front Panel
4. I/O Firmware

Step 7: An animated gear should display with a success message when complete.
Please note that the Software Application update step can take 5-10 minutes and
should not be interrupted or restarted once it has been initiated. If for any reason you
have an issue with this update please contact your technical support representative.
_____________________________________________________________________________________________
5882 Machine Drive Huntington Beach, CA 92649 (714) 465-3400
FORM: Technical Bulletin Rev B
Step 7: An animated gear should display with a success message when
complete. Please note that the Software Application update step can take 5-10
minutes and should not be interrupted or restarted once it has been initiated. If
for any reason you have an issue with this update please contact your technical
support representative.
Table of contents
Other Vispero Magnifier manuals
