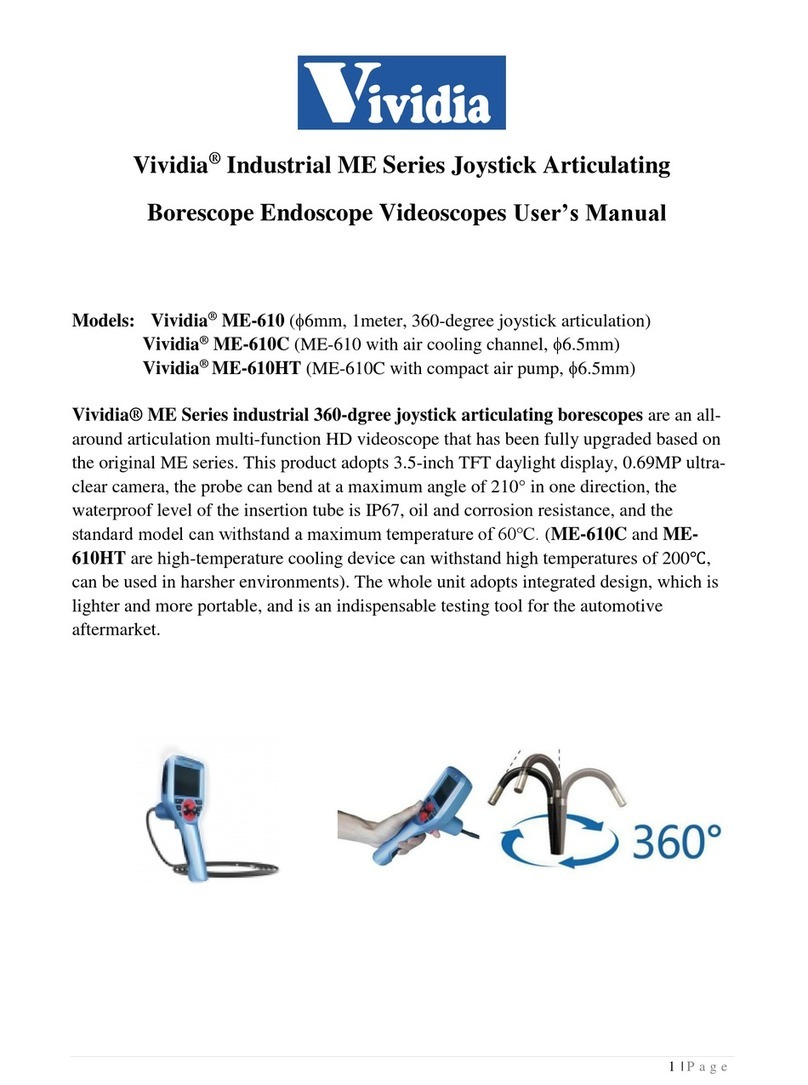
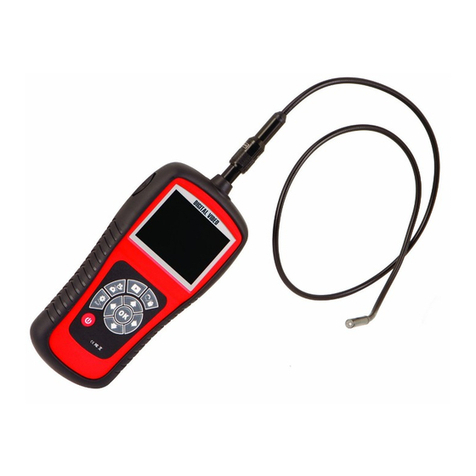
Vividia ME-610X User manual

Vividia ME-610X Joystick Borescope
Product Manual
Inspection technology for better future.
Please read the manual before using the equipment.

We help you see better with technology
Declaration
The manual is only used for ME-610X series products. All rights reserved.
Because the editing time is limited, we do not guarantee that there is no error in
this manual. As this manual is used as product series manual, however, the
configuration and function of different products may be different, about the
specific specification and function, the technic requirements when you
purchase is the only reference. For the manual amendment, we have no
responsibility and obligation to inform any company or individuals.

We help you see better with technology
1
MENU
Instruction Before Use...............................................................3
Main configuration:......................................................................3
Application........................................................................................7
After-service.....................................................................................7
Warning............................................................................................7
1.Brief Introduction.....................................................................9
1.1 Parameters................................................................................9
2. Operation Steps....................................................................10
2.1 Take out the instrument.........................................................10
2.2 Boot Preparation ....................................................................11
2.3 Operation.................................................................................11
2.4 Probe articulation control......................................................12
2.5 After use ..................................................................................12
3. Image Capture and Operation.............................................12
3.1 Photo/Video.............................................................................12
3.2 Playback..................................................................................13
3.3 LED light control.....................................................................13
3.4 Function bar............................................................................ 13
3.4.1 Function Setting ............................................................. 14
3.4.2 Image adjusting.............................................................. 15
3.4.3 Image effect ................................................................... 15
3.4.4 Image freezing ............................................................... 16
3.4.5 Scale .............................................................................. 16

Inspection technology for better future.
3
Micro
USB
Adaptor
Videoscope
Instrument case
Instruction Before Use
Main configuration:
Card reader
Battery(embed)
TF card(embed)

Inspection technology for better future.
4
For the specific configuration, please refers to the packing list
Name
Specs
Qty
Remake
Case
400mm*310mm*130mm
1
Videoscope
277mm*106mm*92mm
1
TF card
16G
1
Embed
Battery
18650
1
Embed
Micro USB cable
1m
1
Card reader
USB2.0
1
Adaptor
5V2A
1

Inspection technology for better future.
5
⑶Power Button
⑺Light control
⑴ON/OFF indicator
⑵Status indicator
⑾Micro USB
⑽HDMI
⑷Spare button
⑿TF card slot
⒀Photo/Video
⑸Return
Button and Port
⑼DOWN
⑻UP
⑹
Menu/OK button

Inspection technology for better future.
6
(1) On/off indicator light: the color is white, which flashes twice during starting
up, and twice during equipment operation.
(2) Status indicator: the colors are red, orange and blue. Red will be displayed
during charging. Orange will be displayed after charging.
(3) Power button: used for switching equipment.
(4) Spare button: as the optional function of the use of the button.
(5) Return button: in various states, you can return to the upper level.
(6) Menu/OK button: in the preview state, you can view the function bar, and
select the corresponding function by "scroll up" and "scroll down". Press this
key to switch the function sub-options.
(7) Light control button: adjust the brightness level of endoscope light source,
and switch from 0 to 5 levels.
(8) Up button: in the function bar, system Settings, file management, this key as
the up key; You can enlarge the image in the preview.
(9) Down button: in the function bar, system Settings, file management, this key
as the down selection key; You can zoom out in the preview.
(10) HDMI video output: for output video signal, external HDMI video
equipment.
(11) Micro USB charging port: used for charging equipment, charging voltage
5V, current 1A.

Inspection technology for better future.
7
(12) TF card slot: external TF card, as the device memory.
(13) Photo/video button: used for taking and recording photos and videos of the
device; It is also used as a confirmation key in the Settings menu.
Application
This product is only applied in the real-time detection and analysis for industrial
equipment and automobile production and maintenance. As a tool videoscope,
it can also be used for home inspection of sewer lines, ceiling tops, dead
corners, etc.
After-service
This product has not any spare parts which can be repair by users. Any
disassemble, refit or maintenance is not allowed. If damage and losses caused
by this, we do not assume any responsibility. The product maintenance is only
afforded by the authorized dealers and distributors.
Warning
warning

Inspection technology for better future.
8
·Prohibit the use of this instrument to observe the body or the animal's
body.
·Do not use the product to inspect equipment in action.
·Do not use or store the product on explosive, strong electromagnetic field
or with combustible gas, otherwise it may cause fire or explosion.
·Do not use the product to check objects with current carrying, so as to
avoid the occurrence of electric shock.
·Do not remove the battery cover without permission. If you need to
remove the battery cover, please communicate with the technical staff of
the manufacturer for confirmation. Those who destroy it without
authorization shall be held responsible.
·Do not watch the LED light source at the end of the lens straightly,
avoiding the effect of strong light on the visual acuity.
·Never excessive bending, stretching, twisting, rolling cable, otherwise it
may cause cable to disconnect, a fire or electric shock accident.
·If there is abnormal in the angle adjustment operation, stop the current
operation, and turn off. Then contact the supplier.
·Keep the insert tube away from any liquid, except water, salty water or oil;
·When finish using, please clean the front section of the instrument in time,
to prevent corrosion.

Inspection technology for better future.
9
1.Brief Introduction
1.1 Parameters
Probe diameter(mm)
6mm
Camera tip length
(mm)
13±0.3mm
Probe material
Titanium wear-resisting alloy
Camera Pixels
1280x720
DOV
7mm~110mm
FOV
120°
Viewing Direction
0° front view
Illuminance
Max 25000Lx
Tube Material
tungsten-braided
Tube Length
1m for ME-610X; 2m for ME-620X
Protecting Device of
Durability
buffer protection device between the host and
wear-resistant tube
Articulation
360° all-way
Bending Angle
≥220°m for ME-610X
Display
3.5” TFT IPS
Display Resolution
640*480
Photo/Video Format
JPG/MP4
Photo Resolution
960*720/1280*720
Video Resolution
960*720/1280*720
Zoom function
Image 5X

Inspection technology for better future.
10
WIFI Function
WIFI(optional)
Temperature Alarm
Temperature Sensor(optional)
Outer Case Material
anti-fall engineering alloy material
Water/Dust Proof
probe/tube: IP67 Host: IP65
Monitor Structure
one hand-held monitor
Memory
standard TF card 16G, maximum: 64G
Data Port
HDMI port/Micro USB port
Batteries
built-in lithium batteries
Working Time
≥3H
Battery Capacity
3.7V, 3200mAh
电池仓)
Power Consumption
3.5W
Power Charge
DC5V, maximum current:1A
Weight
≤0.5kg (including 2 batteries)
Compatibility
Optional with multifunctional accessories
diameter
Store Temperature
-23℃~63℃
Relative Humidity
maximum: 92%, non-condensing
Monitor Working
Temperature
--15°C~50°C, when 0°C below, the display
needs preheating.
Camera Working
Temperature
-25°C~80°C, when 0°C below, please reduce
probe articulation.
2. Operation Steps
2.1 Take out the instrument
Open the instrument case, while taking out the instrument host, set aside and

Inspection technology for better future.
11
pay close attention to the probe; avoid colliding the probe and scratching probe
lens.
2.2 Boot Preparation
Visually check whether the appearance of the videoscope is intact, insert the
TF card, straighten the insertion tube, and adjust the direction of the probe to
0°.
2.3 Operation
It supports for 10 levels of brightness adjustment. Press the light control button
to suitable brightness. Slowly insert the tube to the inspected object. The
operation interface is as follows:
Note: the probe temperature alarm is shown as an optional function, no function,
battery power
brightness
temperature
TF Card
Function bar
Date
Time

Inspection technology for better future.
12
no icon.
2.4 Probe articulation control
According to the testing need, operate the joystick to control probe articulation,
in order to observe. The bending motion of the front probe is controlled by
rotating the joystick. During the operation, if the joystick suddenly meets larger
resistance, or there is any abnormity, please immediately stop using. After
adjust the joystick to the middle position, please remove the insert tube
carefully from the testing equipment.
2.5 After use
Before you remove the insert tube from the inspected object, please make sure
the probe is reset to be straight. If the product is damaged due to improper
operation, the user bears the loss. Turn off the power switch, put the instrument
into the portable case carefully, and put the tube into the case well.
3. Image Capture and Operation
3.1 Photo/Video
① Short press “(13) photo/video button” to take photo;
②Long press 2nds “(13) photo/video button” to take video. Long press 2nds
again to exit. In video-taking mode, short press it to capture image.
③The saved file is named in the form as follows:
hour/min./sec.
YTD
20200215-131702.JPG

Inspection technology for better future.
13
3.2 Playback
In preview mode, press “playback” button, it will change to image
playback mode. Press “up” button or “down” button to select and press
“menu/OK” button to playback different images (.jpg) or videos (.mov).
Press “light control” button to delete files.
3.3 LED light control
In preview mode, Press “light control” button to adjust LED light from level
“0” to level “6”.
3.4 Function bar
Press “menu/OK” to open function bar, as following picture.Press
“UP”、 “DOWN”to select one of function,then press “menu/OK”
to confirm.

Inspection technology for better future.
14
3.4.1 Function Setting
:System Setting, press the camera key/OK button to enter the secondary
menu options.
:Format, format the TF memory card, please note that the file will be
emptied.
:Time setting, set the system time.
:Restore factory Setting, restore device setting to the factory state.
Function setting
Image adjusting
Image effect
Freezing
Scale
Aspect Ratio
Function setting

Inspection technology for better future.
15
:Version number, device software version number.
3.4.2 Image adjusting
:Image parameters setting or default parameters restoring.
:Gamma parameters setting.
:Sharpness parameter setting.
:Brightness parameter setting.
3.4.3 Image effect
:Image normal display.
:Image warm color display.
:Image cold color display.

Inspection technology for better future.
16
3.4.4 Image freezing
:Freeze preview image.
:Unlock frozen preview image.
3.4.5 Scale
:Scale, software virtual scale function.
:Display contrast measuring length scale.
:Display contrast measuring diameter scale.
3.4.6 Aspect Ratio
:Adjust image scale to 4:3.
:Adjust image scale to 16:9.

Inspection technology for better future.
17
4.Solution to Common Problems
Problem
Reason
Solution
Boot without
reaction
dead battery
charging
Auto shutdown
battery power
shortage
charge or change battery
Boot screen freezing
system boot failure
or battery power
shortage
remove the battery to re
install or charge, or forced
shutdown by triggered the
side round hole (under TF
card)
The image cannot
be recorded or found
the capacity of TF
card is not enough
replace TF card or delete
useless files
Image stuck and fail
to turn off
system stuck
forced shutdown by
triggered the side round
hole(under TF card)

Table of contents
Other Vividia Analytical Instrument manuals
Vividia
Vividia RC-215 User manual
Vividia
Vividia YE-4-8015 User manual
Vividia
Vividia VA-880 User manual

Vividia
Vividia VA-855 User manual
Vividia
Vividia Ablescope VA-800 User manual

Vividia
Vividia VA-450 User manual
Vividia
Vividia RC-1615 User manual
Vividia
Vividia W2240 User manual
Vividia
Vividia BD-8050i User manual
Vividia
Vividia Ablescope VA-400 User manual

