2
If you do not understand these directions, or if you have any doubts about the safety of the installation,
please call a qualified technician. Check carefully to make sure there are no missing or defective parts.
Improper installation may cause damage or serious injury. Do not use this product for any purpose that is
not explicitly specified in this manual and do not exceed weight capacity. We cannot be liable for damage
or injury caused by improper mounting, incorrect assembly, or inappropriate use.
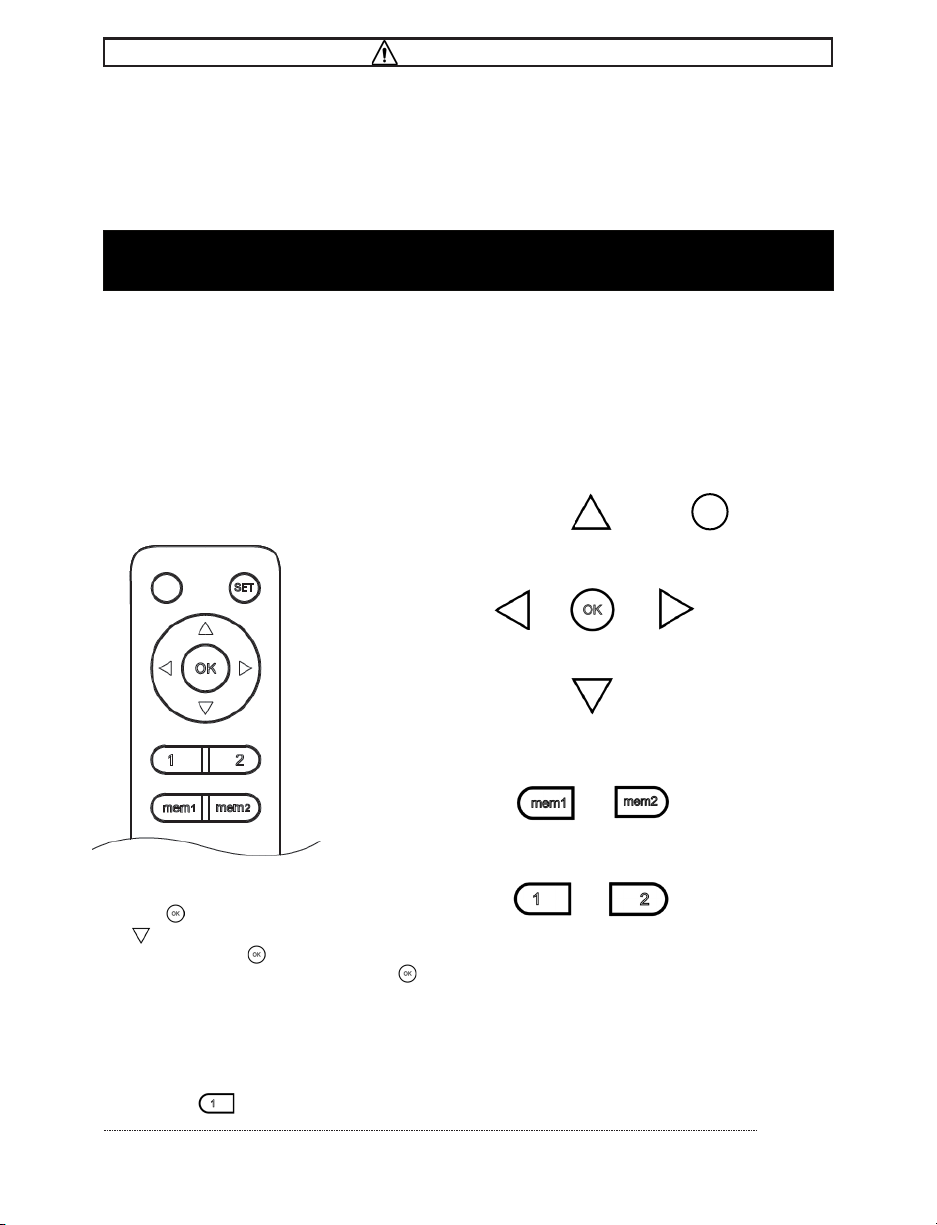
WARNING!
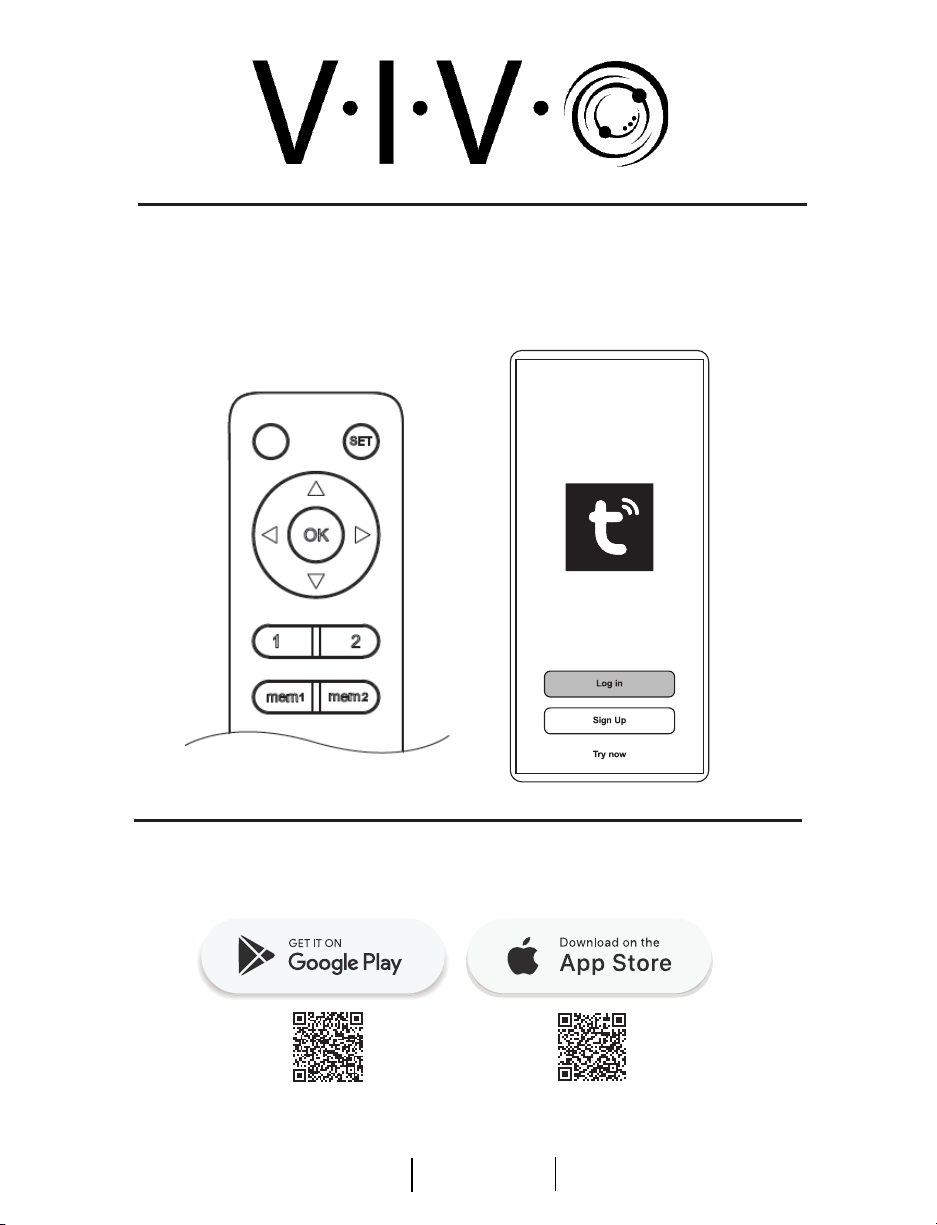
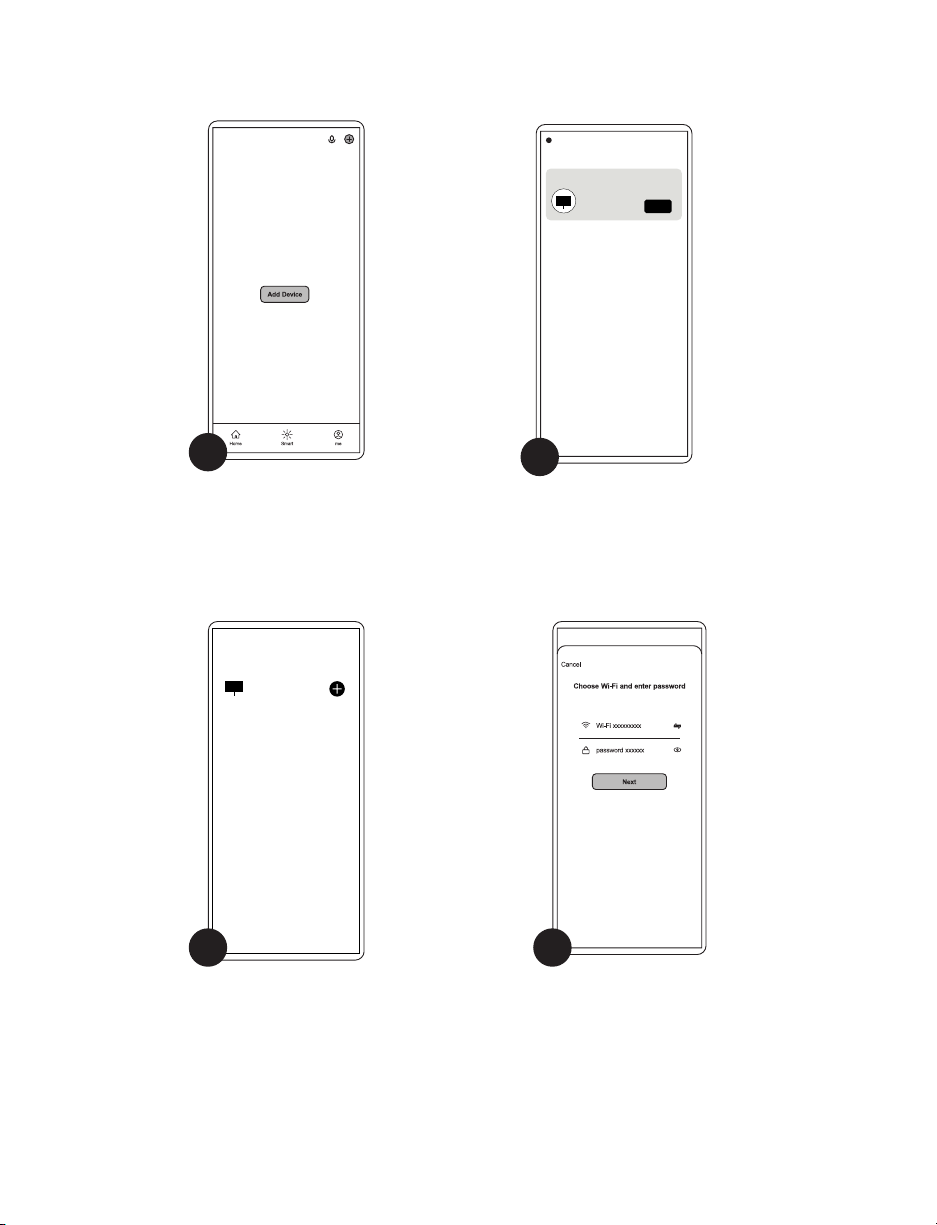
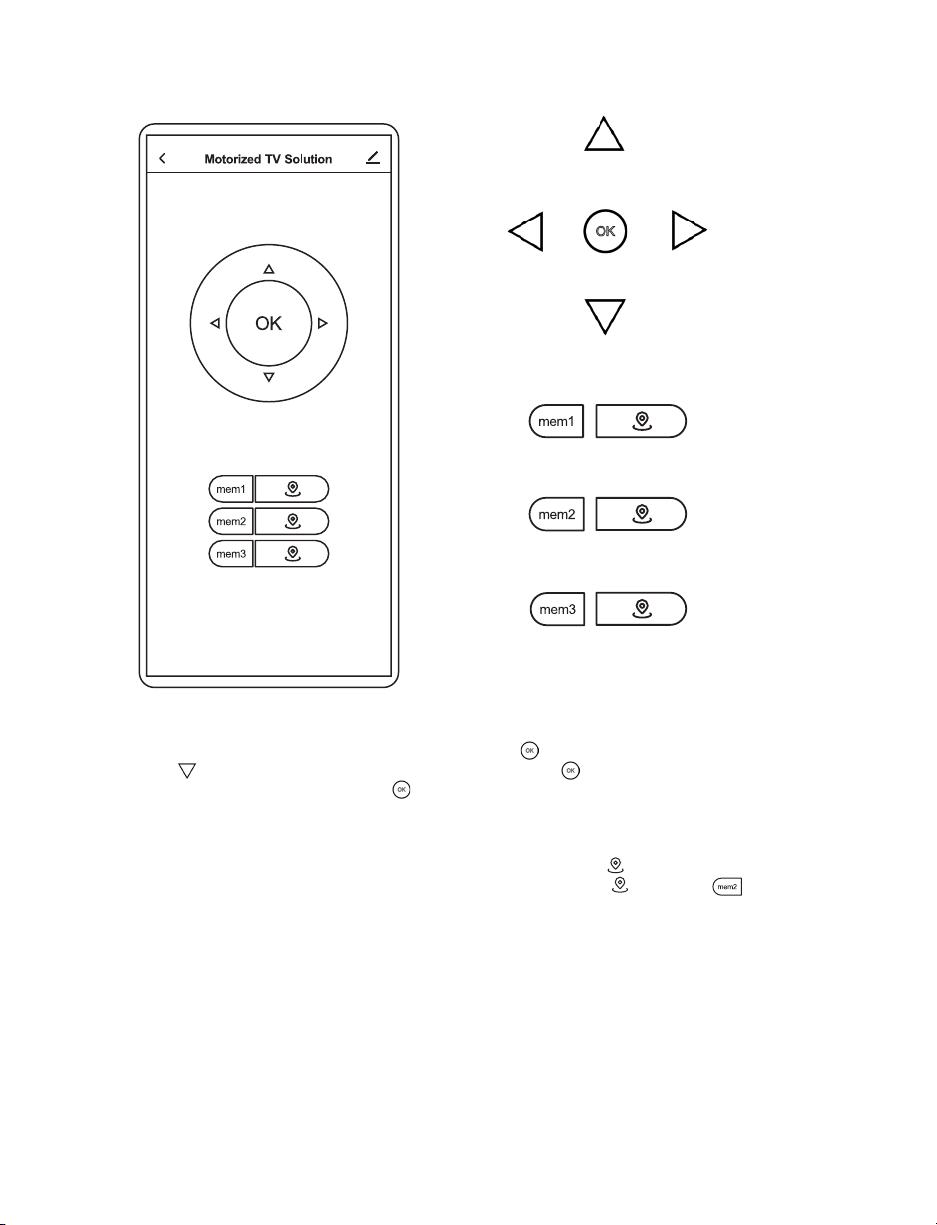
REMOTE CONTROL INSTRUCTIONS
Button Functions
Setting Up & Pairing the Remote
UPWARD
MOVEMENT
USING ARROW KEYS
Press any arrow key once to begin movement,
then press to STOP movement. For example,
press once for mount to begin tilting
downward, then press once for movement
to stop. When swiveling le or right, press the
and the mount to return to the default postion.
USING MEMORY FUNCTIONS
Use the arrow buttons to set your desired TV position. Then press and hold any of the Memory
Buttons for 2 seconds. The mount will beep once to indicate that the location has been saved. To
return to a preset, simply press the acommpanying recall button. For example, to return to Memory
Setting 1, press .
LEFT
ADJUSTMENT RIGHT
ADJUSTMENT
DOWNWARD
MOVEMENT
MEMORY
SET
MEMORY
SET
MEMORY
RECALL
MEMORY
RECALL
STOP
SET
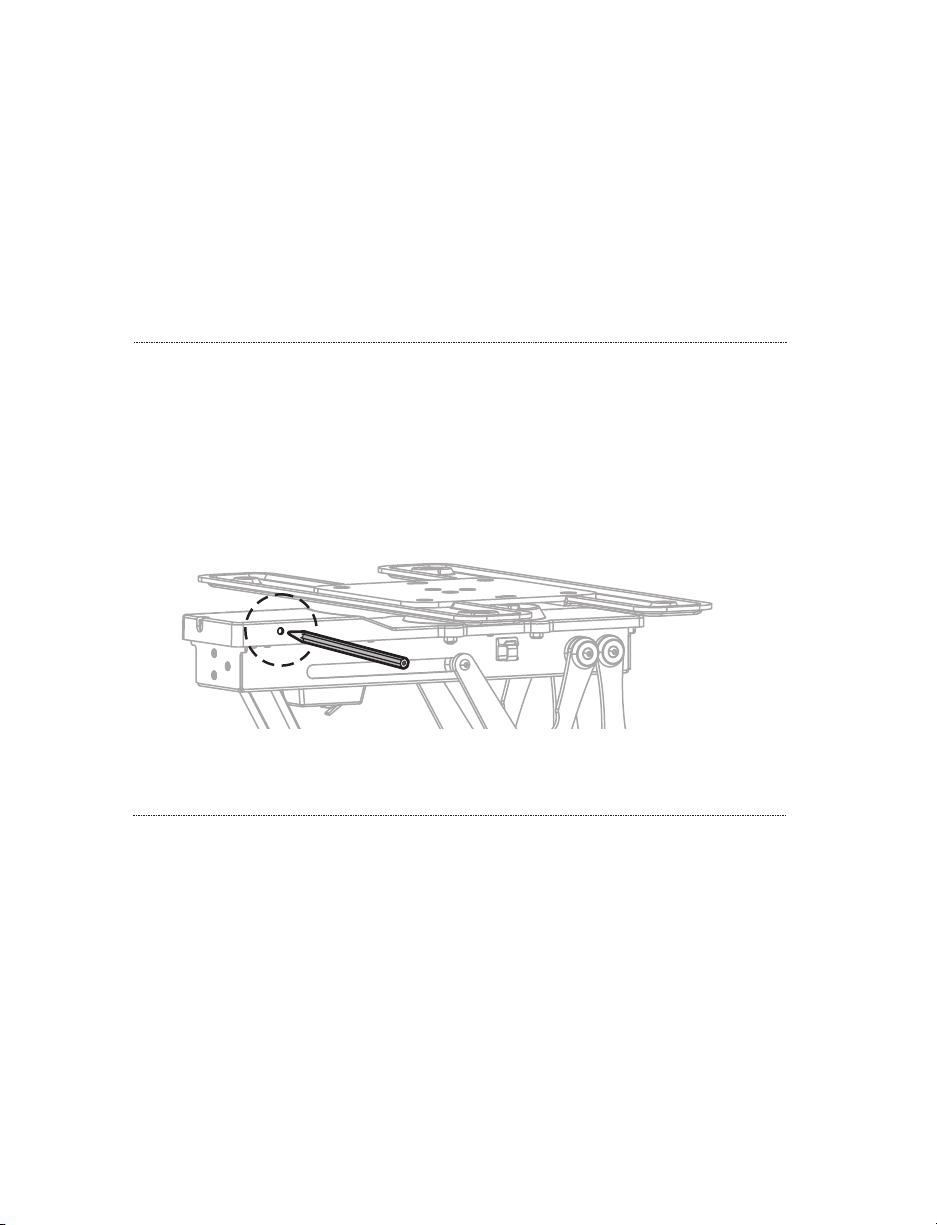
NOTE: The mount relies on gravity for correct operation and will only operate when in the correct
orientation. The mount will not operate while resting on a table or other surface.
Install two AAA batteries (not included) in the remote. Plug the mount in. You will hear one beep,
which indicates the mount and remote are ready for use.
SETSET
PITCH CEILING WARNING:
DO NOT attempt to install on a pitched ceiling. Mount will not operate as intended.