manuals.online logo
Brands
  1. Home
  2. •
  3. Brands
  4. •
  5. Vollrath
  6. •
  7. Dispenser
  8. •
  9. Vollrath LidSaver 3 Manual

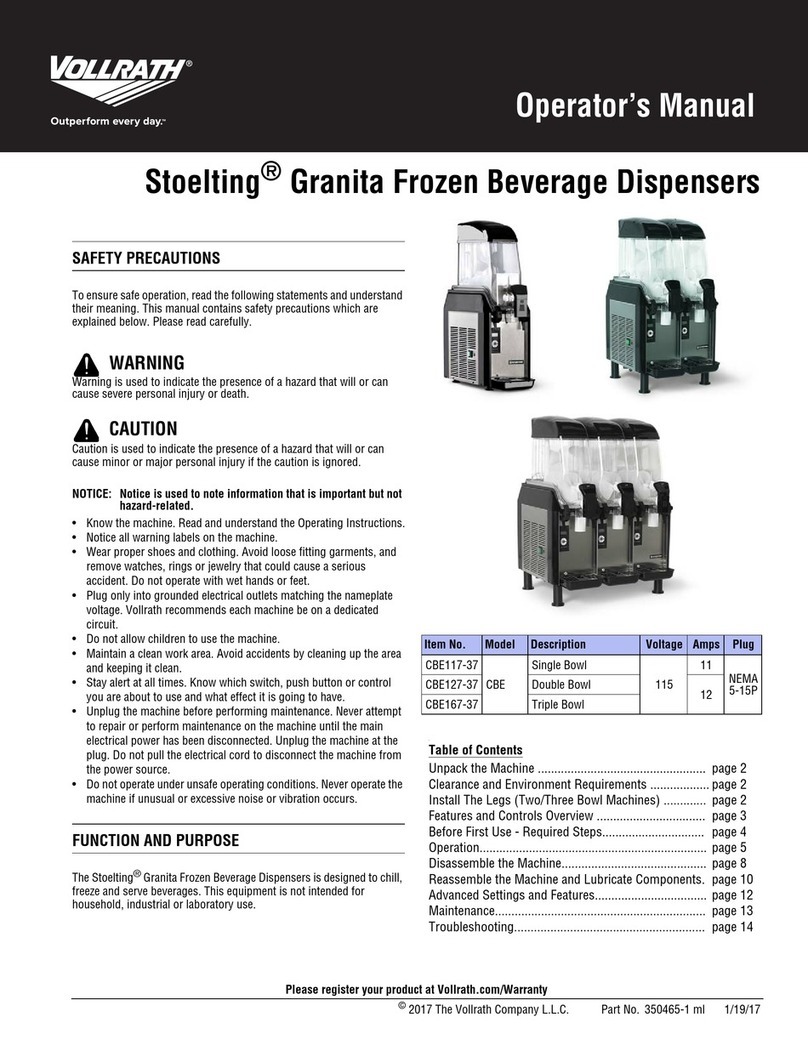
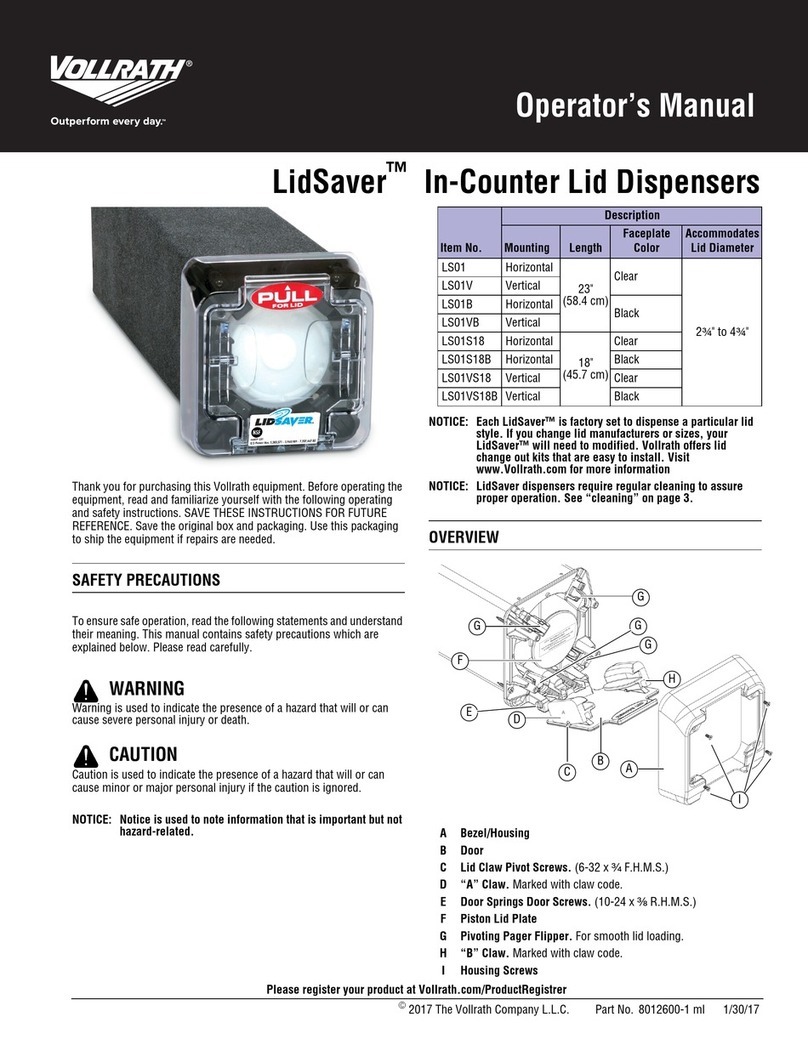
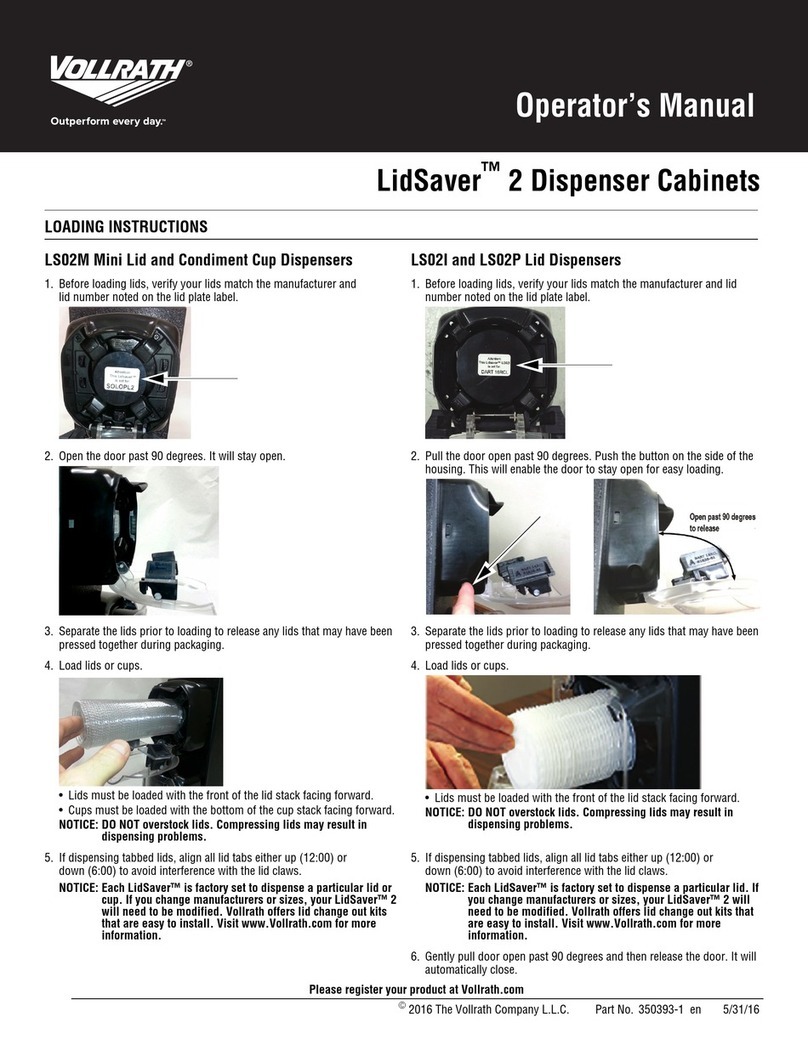
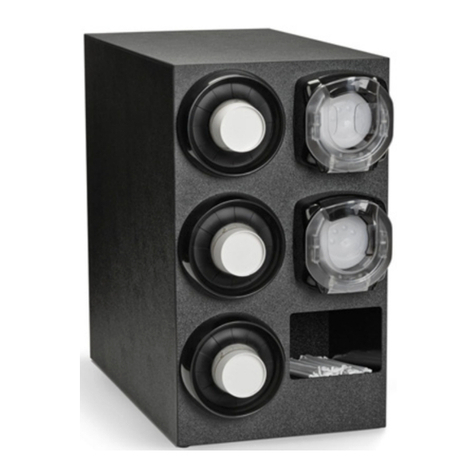
Vollrath LidSaver 3 Manual

©2019 The Vollrath Company L.L.C. Part No. 8013225-1 ml 10/24/19
LidSaver
™
3 Dispensers Lid Change Kit Instructions
Instructions d'utilisation de l'ensemble de changement de couvercle du distributeur LidSaver
™
3
Instrucciones para el juego de intercambio de tapas de los dispensadores LidSaver
™
3
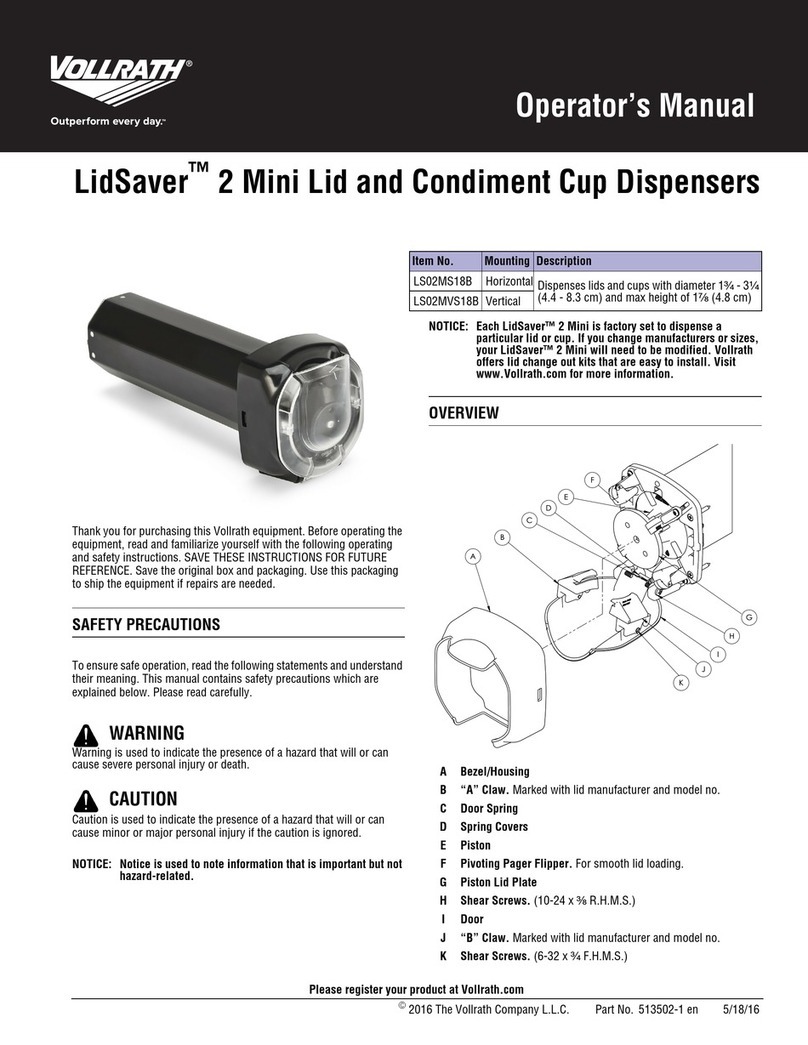
LidSaver™3 Dispenser Lid
Change Kit
Use these instructions to retro-fit your
LidSaver™ 3 dispenser to dispense a
different lid.
Before You Begin
Tools You Will Need
• Lid Change Kit
•ALeft Lid Claw
•BRight Lid Claw
•CLid Plate Label
•DReplacement Lid Plate
•EPager Adjustment Template
•FClaw Screws - Qty 2
•GLid Plate Screws - Qty 1
• Customer Supplied
• Standard Screwdriver
• #2 Phillips Screwdriver
Ensemble de changement de
couvercle du distributeur LidSaver™ 3
Suivez ces instructions pour rattraper votre
distributeur LidSaver™ 3 pour distribuer un
couvercle différent.
Avant de commencer
Matériel nécessaire
• Ensemble de changement de couvercle
•APince de couvercle à gauche
•BPince de couvercle à droite
•CÉtiquette de plaque de couvercle
•DPlaque de couvercle de rechange
•EPochoir de réglage des taquets
de pagination
•FVis de pince - Qté 2
•GVis de plaque à couvercles - Qté 1
• Fourni par le client
• Tournevis standard
• Tournevis cruciforme #2
Juego de intercambio de tapas
para el dispensador LidSaver™ 3
Use estas instrucciones para adaptar su
dispensador LidSaver™ 3 de modo que
dispense tapas diferentes.
Antes de comenzar
Herramientas que necesitará
• Juego de intercambio de tapas
•APince de couvercle à gauche
•BPince de couvercle à droite
•CEtiqueta de la placa de tapas
•DPlaca de tapas de repuesto
•EPlantilla ajustadora de localizadores
•FTornillos de las garras - 2
•GTornillo de la placa de tapas - 1
• Proporcionados por el cliente
• Destornillador estándar
• Destornillador Phillips núm. 2
1Pull the bezel/housing forward and tilt it
downward allowing it to flex around the
edge of the open door.
Tirez le cadran/boîtier vers l'avant et basculez-le
vers le bas avant de le laisser se plier autour des
bords de la porte ouverte.
Tire del bisel/caja hacia adelante e inclínelo
hacia abajo para que se doble alrededor del
borde de la puerta abierta.
E
A
F
B
D
07/19/2019
LS03IB-AJ
BLK, DART 16RCL
C
G
2 LidSaver™2 Dispensers Lid Change Kit Instructions
2Remove the bezel/housing. Enlevez le cadran/boîtier. Retire el bisel/caja.
3Use the Phillip’s head screwdriver to
loosen the remove the old lid plate.
Use the included screw to install the new
lid plate.
Enlevez la plaque à couvercles en la tournant dans le
sens inverse des aiguilles d'une montre.
Installez la plaque à couvercles de rechange en la
tournant dans le sens des aiguilles d'une montre
jusqu'à ce qu'elle soit bien serrée.
Retire la placa de tapas girándola en sentido
antihorario.
Instale la placa de tapas de repuesto
girándola en sentido horario hasta que quede
firmemente ajustada.
4Use the Phillips head screwdriver to
loosen and remove the right and left
side claws from inside the door.
Use the Phillips head screwdriver to
install the left and right replacement
claws. Position the claws with the words
left and right facing forward. Both claws
must pivot freely to perform correctly. If
either claw does not pivot freely, loosen
the nylon screws 1/8 to 1/4 turn.
À l'aide du tournevis cruciforme, desserrez les vis
de pince et enlevez les pinces gauches et droites
actuelles de l'intérieur de la porte.
À l'aide du tournevis cruciforme, installez les pinces
de rechange gauche et droite. Positionnez les pinces
en tournant les lettres « left » et « right » (gauche et
droit) vers le bas. Les deux pinces doivent pivoter
librement pour fonctionner correctement. Si une
pince ne pivote pas librement, desserrez les vis en
nylon de 1/8 à 1/4 de tour.
Con el destornillador Phillips, afloje los
tornillos de las garras y retire las garras
derecha e izquierda del interior de la puerta
Con el mismo destornillador Phillips, instale
las garras de repuesto izquierda y derecha.
Coloque las garras con las letras “left” y
“right” (izquierda y derecha) orientadas hacia
adelante. Ambas garras deben girar
libremente para funcionar bien. Si alguna de
ellas no gira libremente, afloje los tornillos de
nylon dándoles de 1/8 a 1/4 de giro.
(RIGHT)
Left
Right
LidSaver™2 Dispensers Lid Change Kit Instructions 3
5Loosen the four pager screws. Desserrez les quatre vis des taquets de pagination. Afloje los tornillos de los cuatro localizadores.
6Once pagers are loosened, push the
pagers inward.
Slightly tighten the pagers to hold them
in place.
Une fois les taquets de pagination desserrés,
poussez-les vers l'intérieur.
Serrez légèrement les taquets pour les maintenir en
place.
Una vez que los localizadores estén sueltos,
empújelos hacia adentro.
Apriete levemente los localizadores para
mantenerlos en su lugar.
7Place the pager template onto the flange
with the tabs in the four pager slots. The
template code must be facing up and
outward.
Loosen the pagers. Gently push the
pagers out until they touch the tabs on
the pager template.
Placez le pochoir des taquets de pagination sur la
bride en insérant les ergots dans les quatre fentes
de taquet. Le code du pochoir doit être tourné vers
le haut et l'extérieur.
Desserrez les taquets.Sortez doucement les quatre
taquets de pagination en poussant jusqu'à ce qu'ils
touchent les ergots sur le pochoir.
Coloque la plantilla de localizadores en la
brida con las lengüetas en las ranuras de los
cuatro localizadores. El código de la plantilla
debe estar orientado hacia arriba y hacia
afuera.
Afloje los localizadores. Empuje suavemente
los cuatro localizadores hacia afuera hasta
que toquen las lengüetas en la plantilla.
©2019 The Vollrath Company L.L.C. Part No. 8013225-1 ml 10/24/19
The Vollrath Company, L.L.C. Headquarters
1236 North 18th Street
Sheboygan, Wisconsin
53081-3201 USA
Main Tel: 800-624-2051 or 920-457-4851
Main Fax: 800-752-5620 or 920-459-6573
Canada Customer Service: 800-695-8560
Tech Services: [email protected]
www.vollrath.com
Pujadas
Ctra. de Castanyet,
132 P.O. Box 121
17430 Santa Coloma de Farners
(Girona) – Spain
Tel. +34 972 84 32 01
[email protected]
Vollrath of China
Vollrath Shanghai Trading Limited
Room 201, Building A
Xin Yi Plaza
1618 Yi Shan Road
Shanghai, 201103
China, P.R.C.
Tel: +86-21-5058-9580
Vollrath de Mexico S. de R.L. de C.V.
Periferico Sur No. 7980 Edificio 4-E
Col. Santa Maria Tequepexpan
45600 Tlaquepaque, Jalisco | Mexico
Tel: (52) 333-133-6767
Tel: (52) 333-133-6769
Fax: (52) 333-133-6768
8Tighten the pager screws and remove the
template.
Place the lid plate code sticker on the
new lid plate.
Serrez les vis des taquets de pagination et enlevez le
pochoir.
Placez l'étiquette de plaque de couvercle sur la
nouvelle plaque de couvercle.
Apriete los tornillos de los localizadores y
retire la plantilla.
Coloque la pegatina de código de placa de
tapas en la nueva placa de tapas.
9Re-install the housing by reversing steps
1 and 2. Réinstaller le boîtier en inversant les étapes 1 et 2. Vuelva a instalar la caja invirtiendo los pasos
1y2.
10 Test
1. Partially load the dispenser.
2. Dispense a few lids to test the
operation.
3. Fully load the dispenser and dispense
a few lids to confirm proper
operation.
Test
1. Chargez partiellement le distributeur.
2. Distribuez quelques couvercles pour tester le
fonctionnement.
3. Chargez complètement le distributeur et
distribuez quelques couvercles pour confirmer le
fonctionnement correct.
Prueba
1. Cargue parcialmente el dispensador.
2. Dispense unas cuantas tapas para probar
el funcionamiento.
3. Cargue completamente el dispensador y
dispense unas cuantas tapas para
confirmar el funcionamiento correcto.
07/19/2019
LS03IB-AJ
BLK, DART 16RCL

Other Vollrath Dispenser manuals

Vollrath Stoelting CBE117-37 User manual

Vollrath

Vollrath Stoelting CBE117-37 User manual

Vollrath STOELTING A118-102 User manual

Vollrath

Vollrath STOELTING A118-102 User manual

Vollrath LidSaver 3 User manual

Vollrath

Vollrath LidSaver 3 User manual

Vollrath LidSaver 2 User manual

Vollrath

Vollrath LidSaver 2 User manual

Vollrath Stoelting CBD127-37 User manual

Vollrath

Vollrath Stoelting CBD127-37 User manual

Vollrath Stoelting O111-I2F User manual

Vollrath

Vollrath Stoelting O111-I2F User manual

Vollrath LidSaver 3 User manual

Vollrath

Vollrath LidSaver 3 User manual

Vollrath LidSaver LS01 User manual

Vollrath

Vollrath LidSaver LS01 User manual

Vollrath CADJ-1 User manual

Vollrath

Vollrath CADJ-1 User manual

Vollrath STOELTING Ready Flavor Burst Stripe User manual

Vollrath

Vollrath STOELTING Ready Flavor Burst Stripe User manual

Vollrath LidSaver LS02MS18B User manual

Vollrath

Vollrath LidSaver LS02MS18B User manual

Vollrath Stoelting CW2-37A Release Note

Vollrath

Vollrath Stoelting CW2-37A Release Note

Vollrath SLC-1 User manual

Vollrath

Vollrath SLC-1 User manual

Vollrath STOELTING CW 5 Plus - 37b User manual

Vollrath

Vollrath STOELTING CW 5 Plus - 37b User manual

Popular Dispenser manuals by other brands

San Jamar Venue instructions

San Jamar

San Jamar Venue instructions

Cornelius QUEST CAFE Installation and operator's manual

Cornelius

Cornelius QUEST CAFE Installation and operator's manual

Drinkpod DRINKPOD 6 Use & care guide

Drinkpod

Drinkpod DRINKPOD 6 Use & care guide

Sanela SLZN 59E manual

Sanela

Sanela SLZN 59E manual

Cornelius 318569000 installation instructions

Cornelius

Cornelius 318569000 installation instructions

Guardian SD495 Use & care instructions

Guardian

Guardian SD495 Use & care instructions

Hampton Research HR8-165 user guide

Hampton Research

Hampton Research HR8-165 user guide

Sealey MK64 instructions

Sealey

Sealey MK64 instructions

Servend Servend Intellicarb 2323 parts list

Servend

Servend Servend Intellicarb 2323 parts list

TAPE DISPENSER TDA080 quick start guide

TAPE DISPENSER

TAPE DISPENSER TDA080 quick start guide

Loctite 97006 Operation manual

Loctite

Loctite 97006 Operation manual

lancer Delta-600 R-290 Operation manual

lancer

lancer Delta-600 R-290 Operation manual

Nordson FoamMelt 200 Operator card

Nordson

Nordson FoamMelt 200 Operator card

Primo Water 900129 troubleshooting guide

Primo Water

Primo Water 900129 troubleshooting guide

Hilti HDE 500-A22 operating instructions

Hilti

Hilti HDE 500-A22 operating instructions

Franke RODX619E Installation and operating instructions

Franke

Franke RODX619E Installation and operating instructions

Kiwi KSD 9922 instruction manual

Kiwi

Kiwi KSD 9922 instruction manual

IRIT IRSD-03 Manual instruction

IRIT

IRIT IRSD-03 Manual instruction

manuals.online logo
manuals.online logoBrands
  • About & Mission
  • Contact us
  • Privacy Policy
  • Terms and Conditions

Copyright 2025 Manuals.Online. All Rights Reserved.