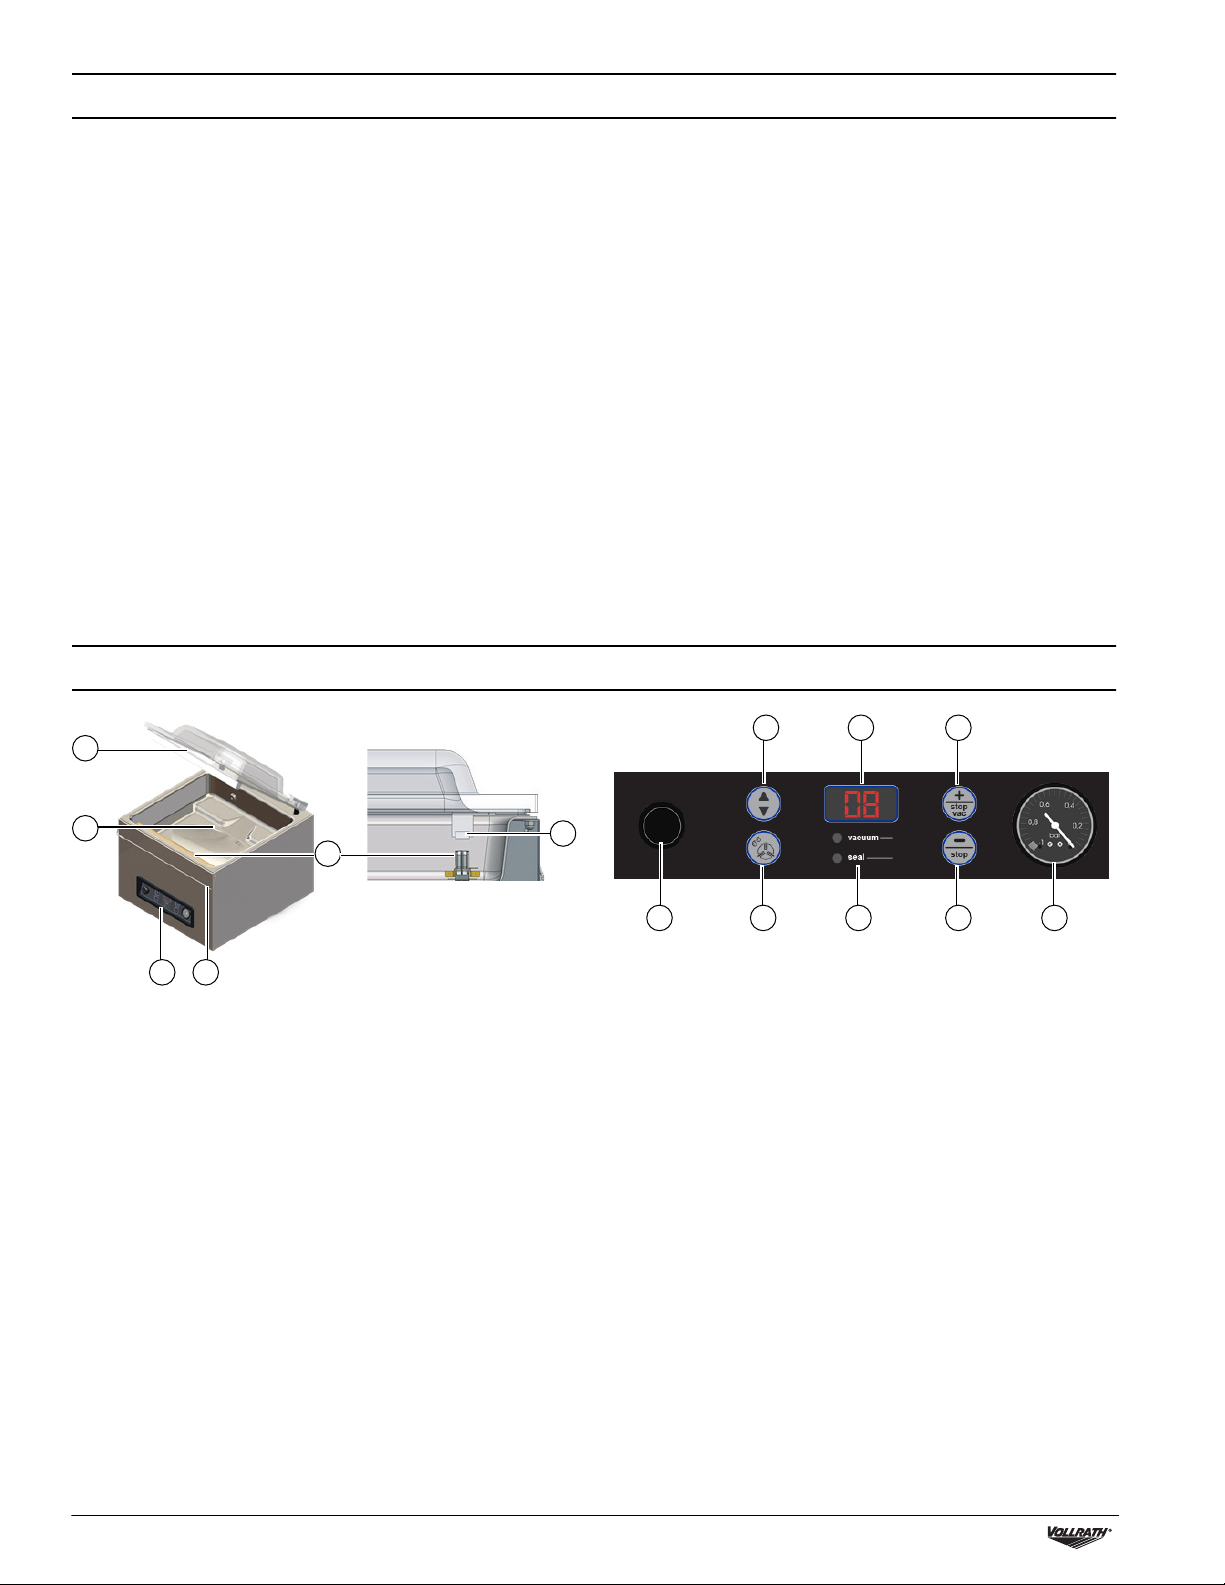
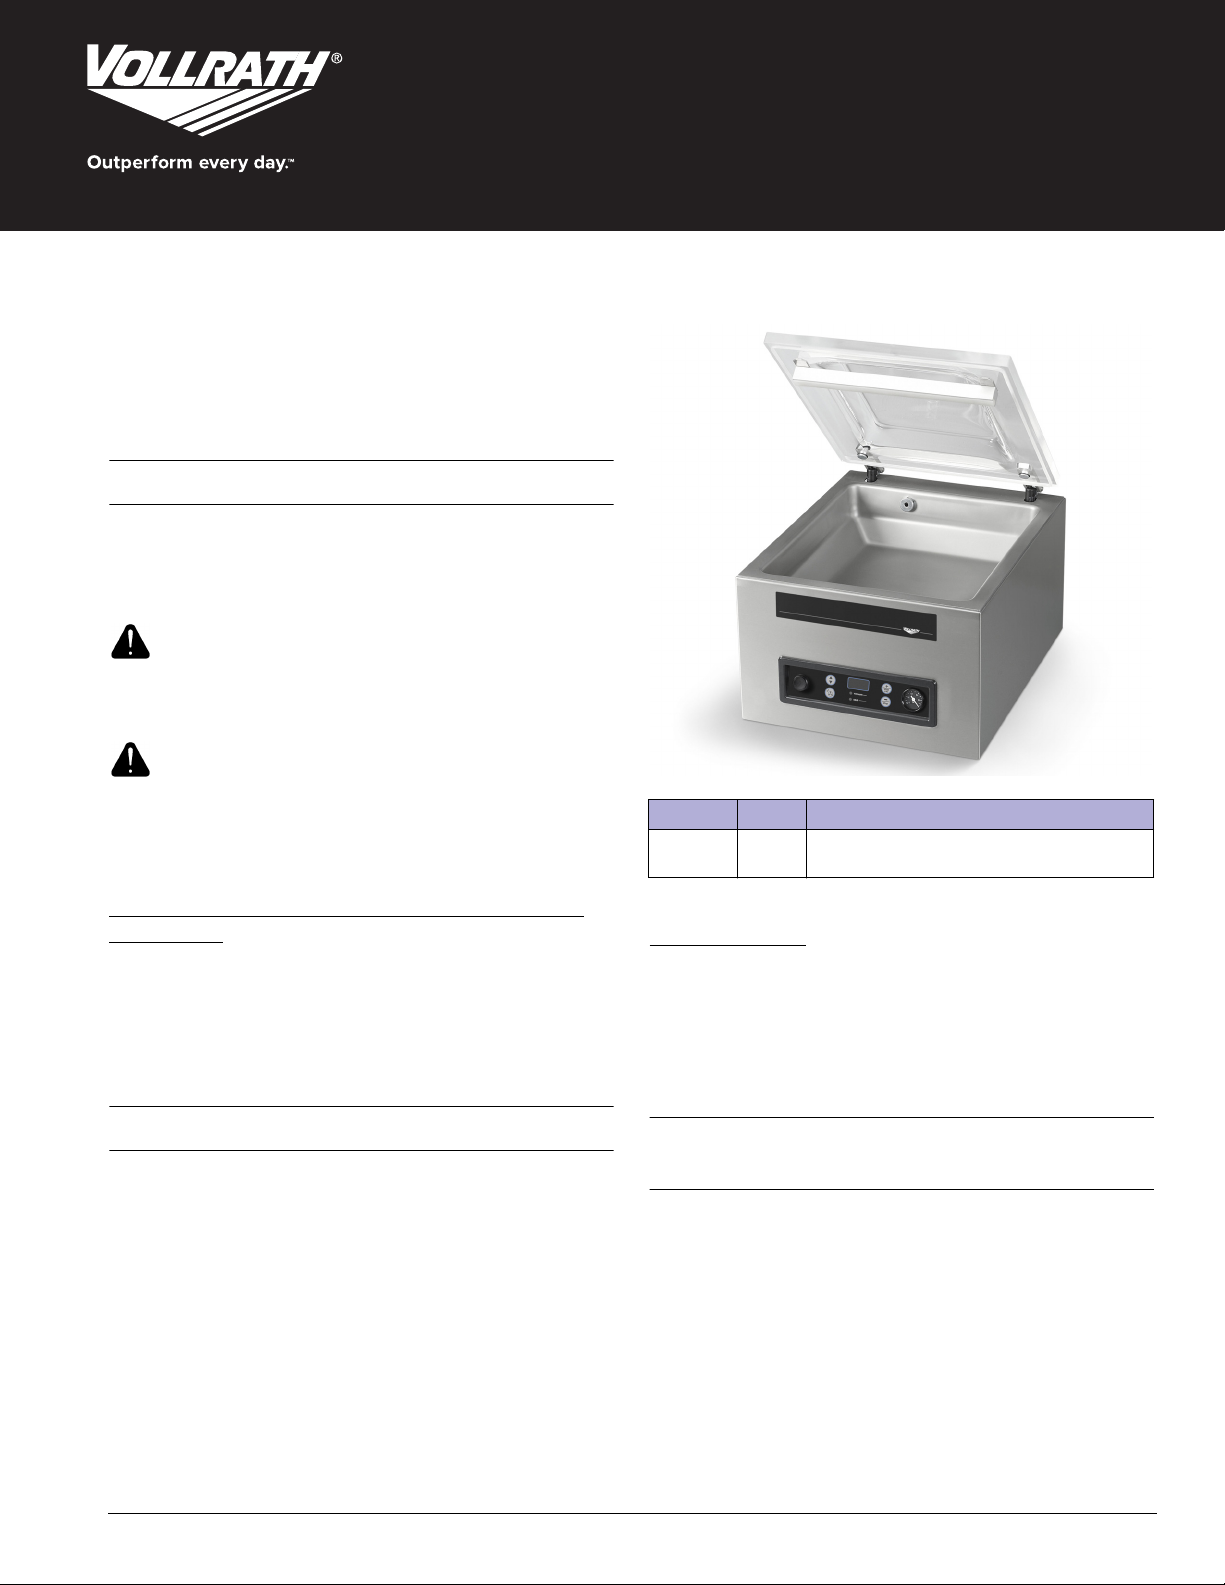
4 Vacuum Packing Machine with 12" Sealing Bar Operator’s Manual
Packing Liquid Products
Special care must be taken when packing liquids.
1. Cool food before packing. Hot food quickly reaches the boiling
point, which can lead to an insufficient seal.
NOTICE: Hot products create condensation, which can damage
the pump.
2. Watch the vacuum process through the clear lid.
3. Press as soon as bubbles appear in the product.
This stops the vacuum and starts the seal step.
NOTICE: Do not let products boil. Boiling will increase the
amount of moisture that enters the pump, which can
lead to corrosion.
4. Run the Pump Conditioning Program at the end of the work day.
CLEANING
NOTICE: Do NOT tilt the machine. Tilting could enable oil to flow out of the pump and cause damage to the machine.
NOTICE: If the machine will be idle for more than one month, the oil should be drained from the pump. Moisture in the oil could corrode the
pump.
Daily
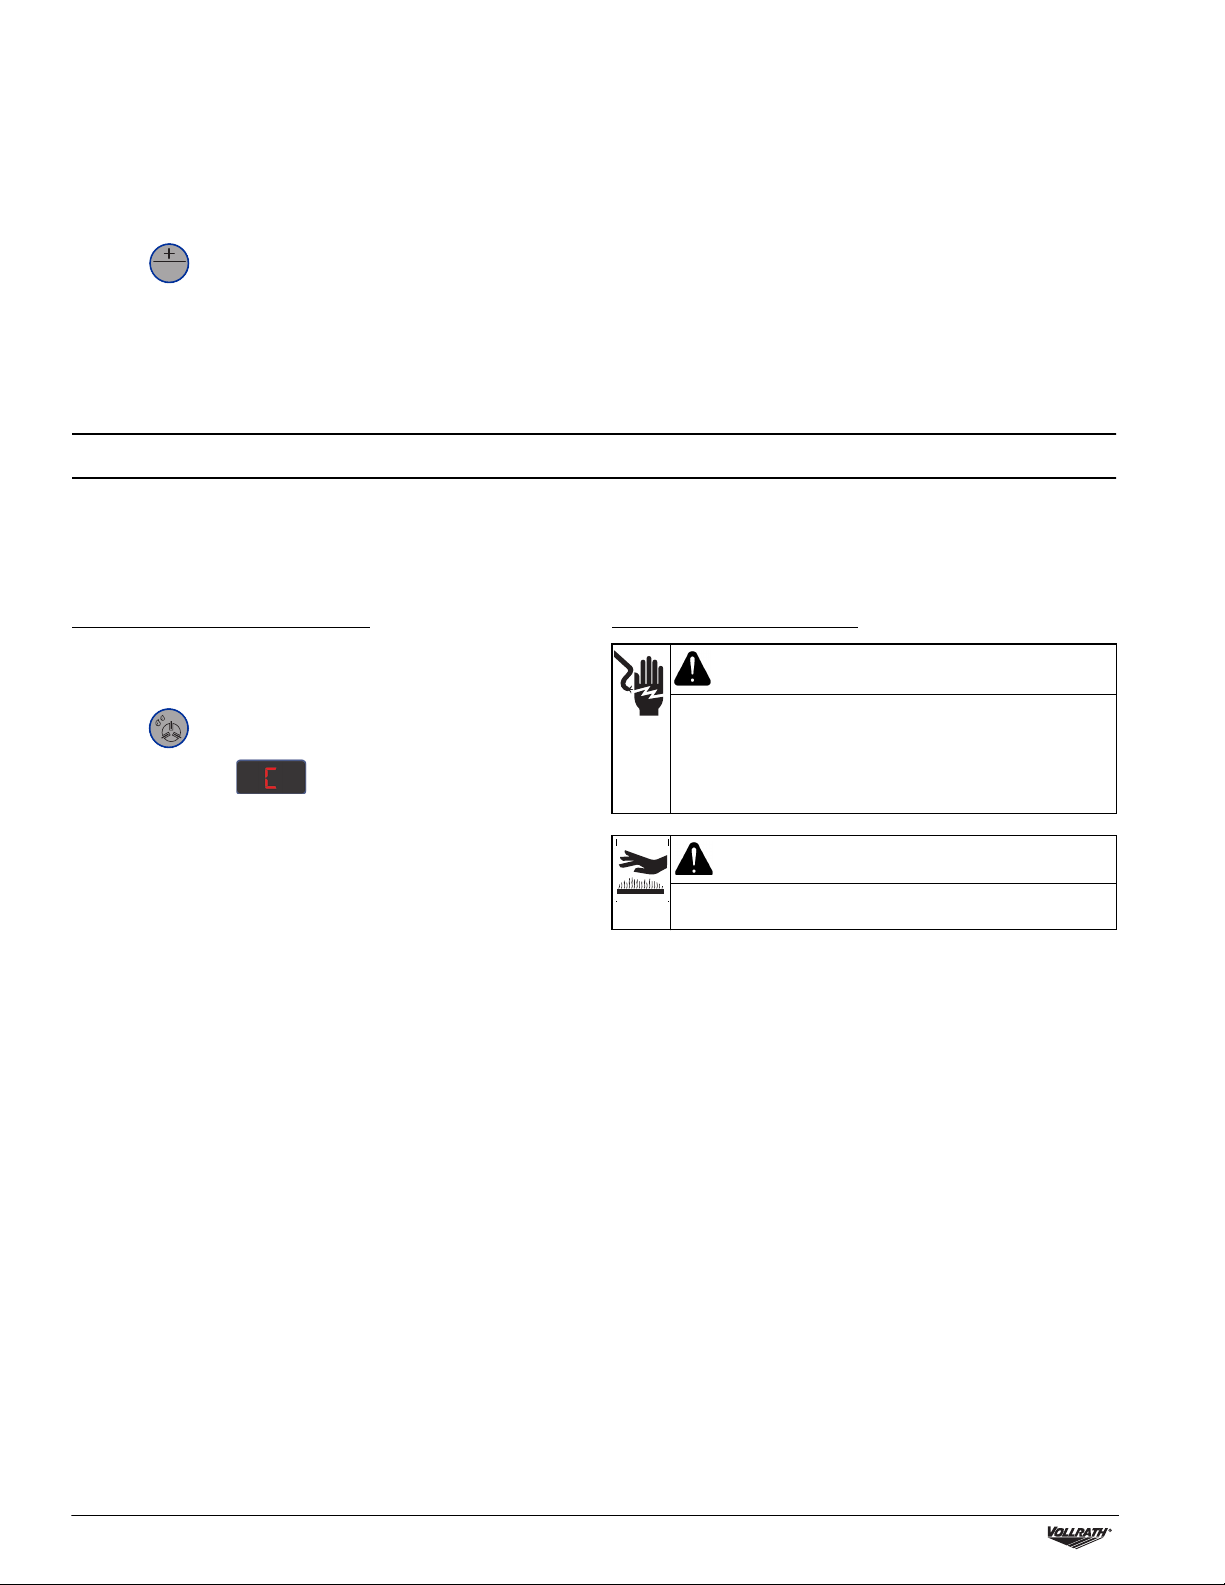
Run the Pump Conditioning Program
The Pump Conditioning Program removes any moisture that may have
accumulated in the pump. During the program, the pump and oil reach
operating temperature, which evaporates any moisture in the pump.
1. Press .
2. The display shows .
3. Close the lid.
4. The program starts. Moving dots appear on the display.
5. The program runs for approximately 15 minutes. Do not interrupt
the program. If the program is interrupted, it must be run again to
ensure completion.
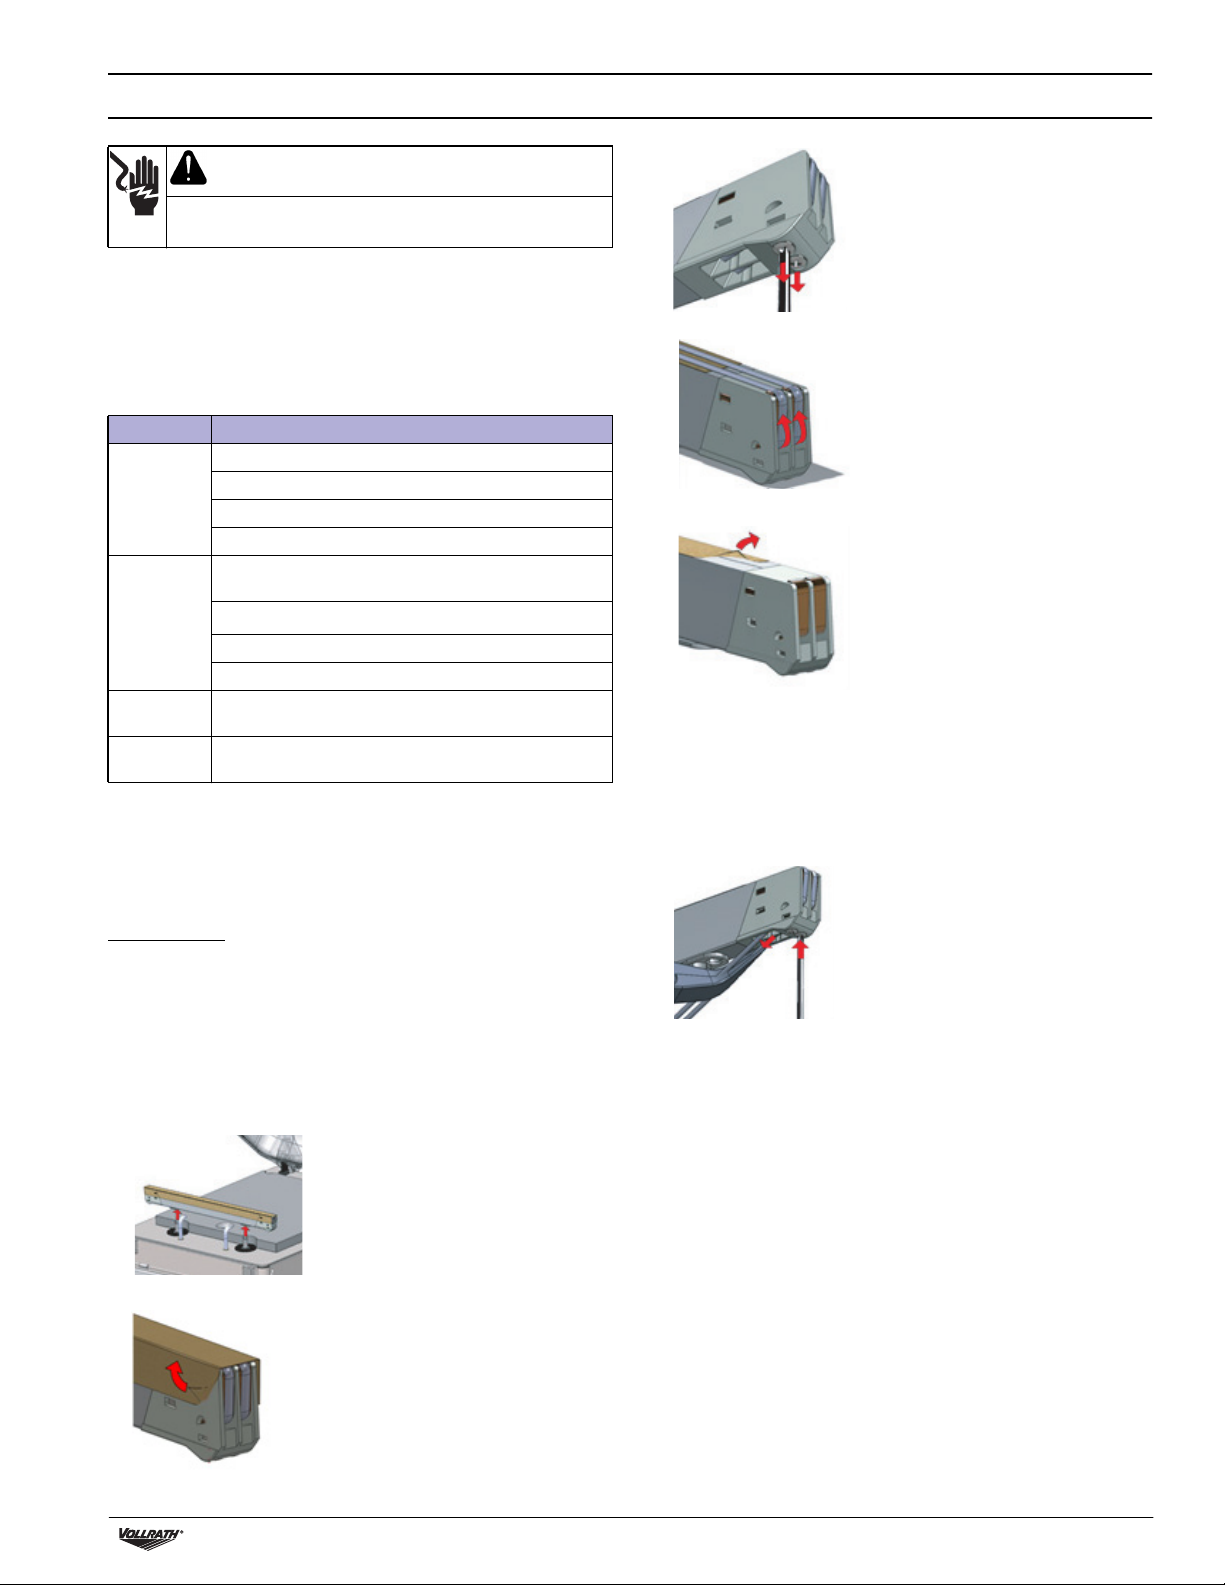
Clean the exterior and interior
NOTICE: Do not use cleaners containing ammonia, alcohol, acetone
or dry cleaning products. Cleaners with these chemicals
will damage Plexiglas®, acrylic and other plastics. These
will damage the finish.
NOTICE: Do not use paper towels, abrasive materials, scratching
cleansers, razor blades, brushes, steel wool or scouring
pads, such as Scotch Brite™ pads.These will damage the
finish.
NOTICE: Do not use WD-40®or petroleum, industrial or commercial
cleaning products. These will damage the finish.
1. Unplug the machine. Allow it to cool.
2. Wipe the vacuum chamber, lid, sealing bar, silicone holder and
exterior with a soft, lint free or microfiber cloth and warm water, or
a mixture of warm water and a small amount of mild dish
detergent.
3. Thoroughly wipe off any mild soap or chemical cleaners. Residue
could corrode the surface of the unit.
vac
stop
WARNING
Electrical Shock Hazard
Keep water and other liquids from entering the inside of the
equipment. Liquid inside the equipment could cause an
electrical shock. Do not spray water or cleaning products.
Liquid could contact the electrical components and cause a
short circuit or an electrical shock.
CAUTION
Burn Hazard
Allow equipment to cool before moving or cleaning.