Assembly instructions VOSS quick connect system 246
NX
, page 2 of 18
A. Important notices
before using the quick connect system
VOSS quick connect system 246
is suitable for the following flui s:
iesel, bio iesel, coolant, an A Blue
®
/DEF. Different applications may require
ifferent O-ring materials.
Temperature range from -40 °C to +120 °C, temporary +140 °C
Maximum operating pressure 10 bar, epen ing on applie tube materials an
imensions
When using the quick connect system in other applications, suggestions available
upon request.
uring the assembly of the quick connect system
The assembly of the quick connect system must be con ucte by professional
mechanics subject to these assembly instructions.
Incorrectly assemble connections can result in flui leakage an failure of the system.
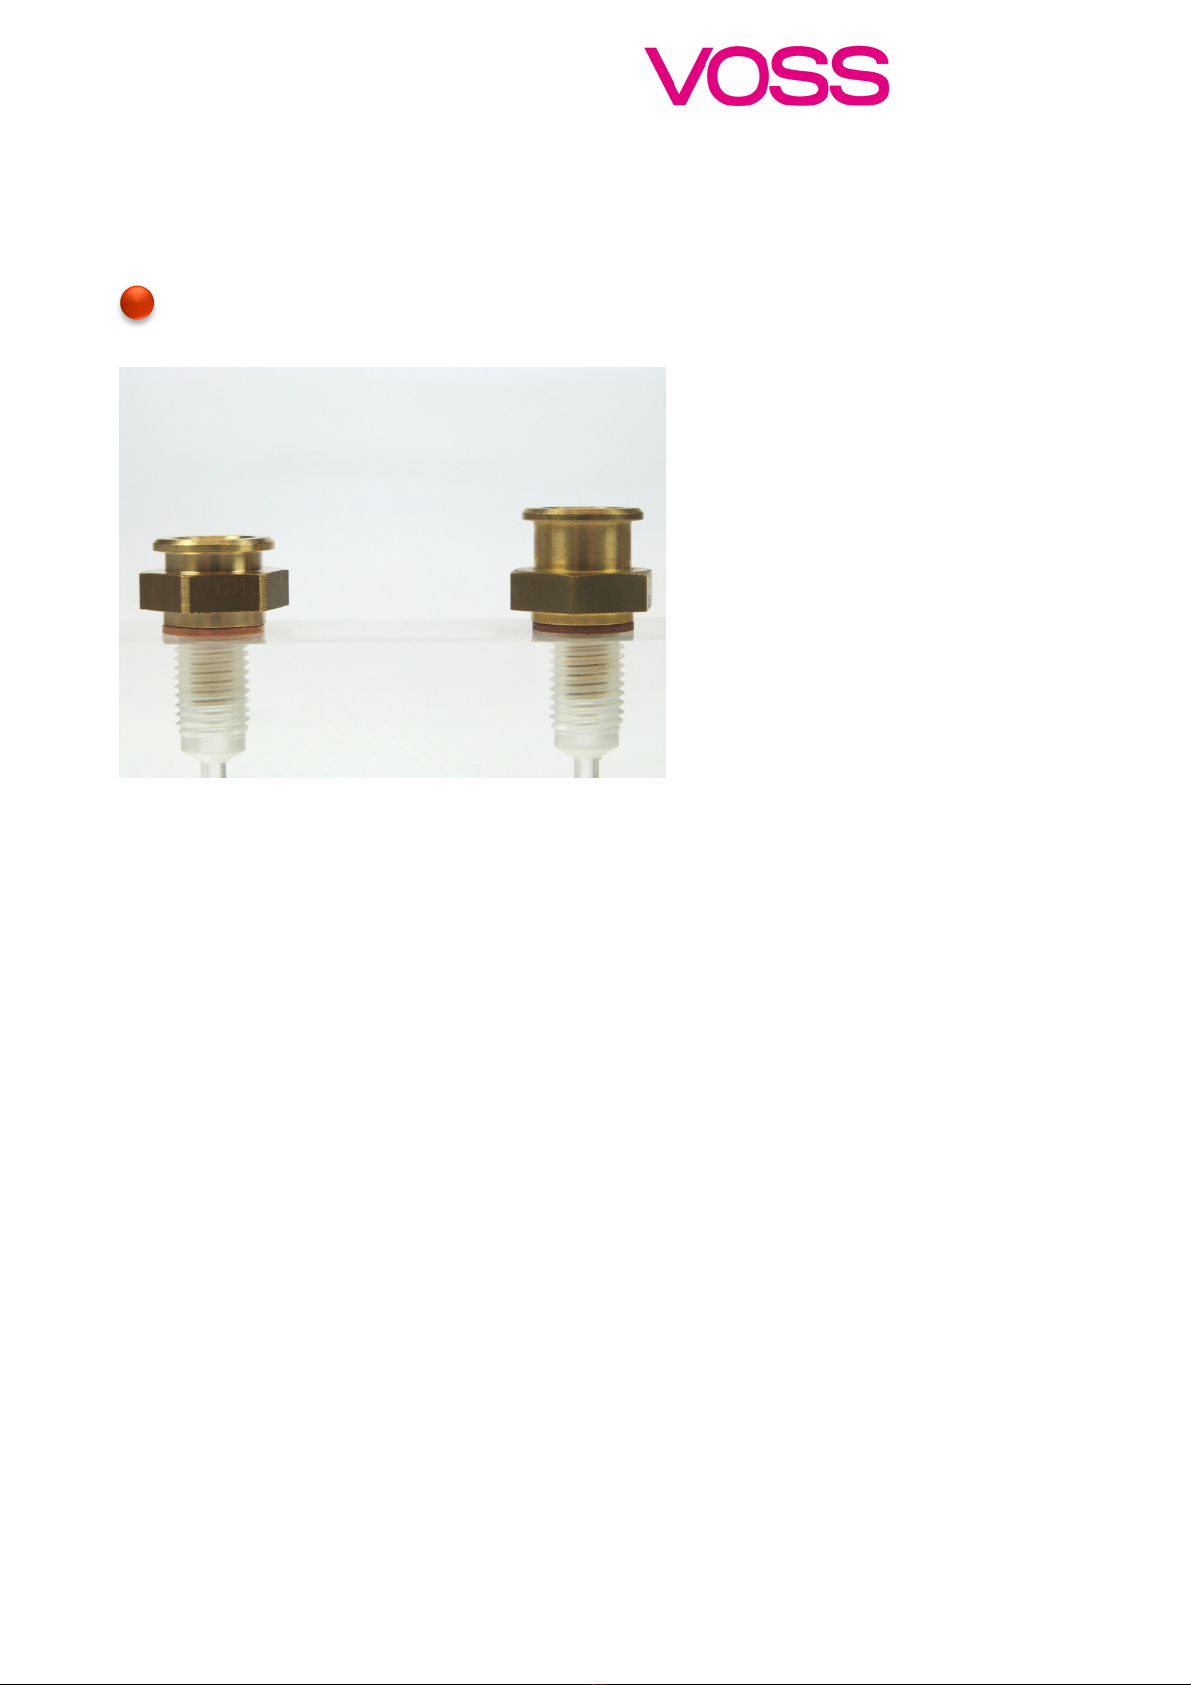
VOSS quick connect system 246
may only be use with ports an tubes ma e of
materials escribe in chapter B (components an materials).
Do not connect nylon tube an fir-tree with hose clips or clamping sleeves.
The O-ring must be grease .
Do not remove the connecting cap until rea y for assembly.
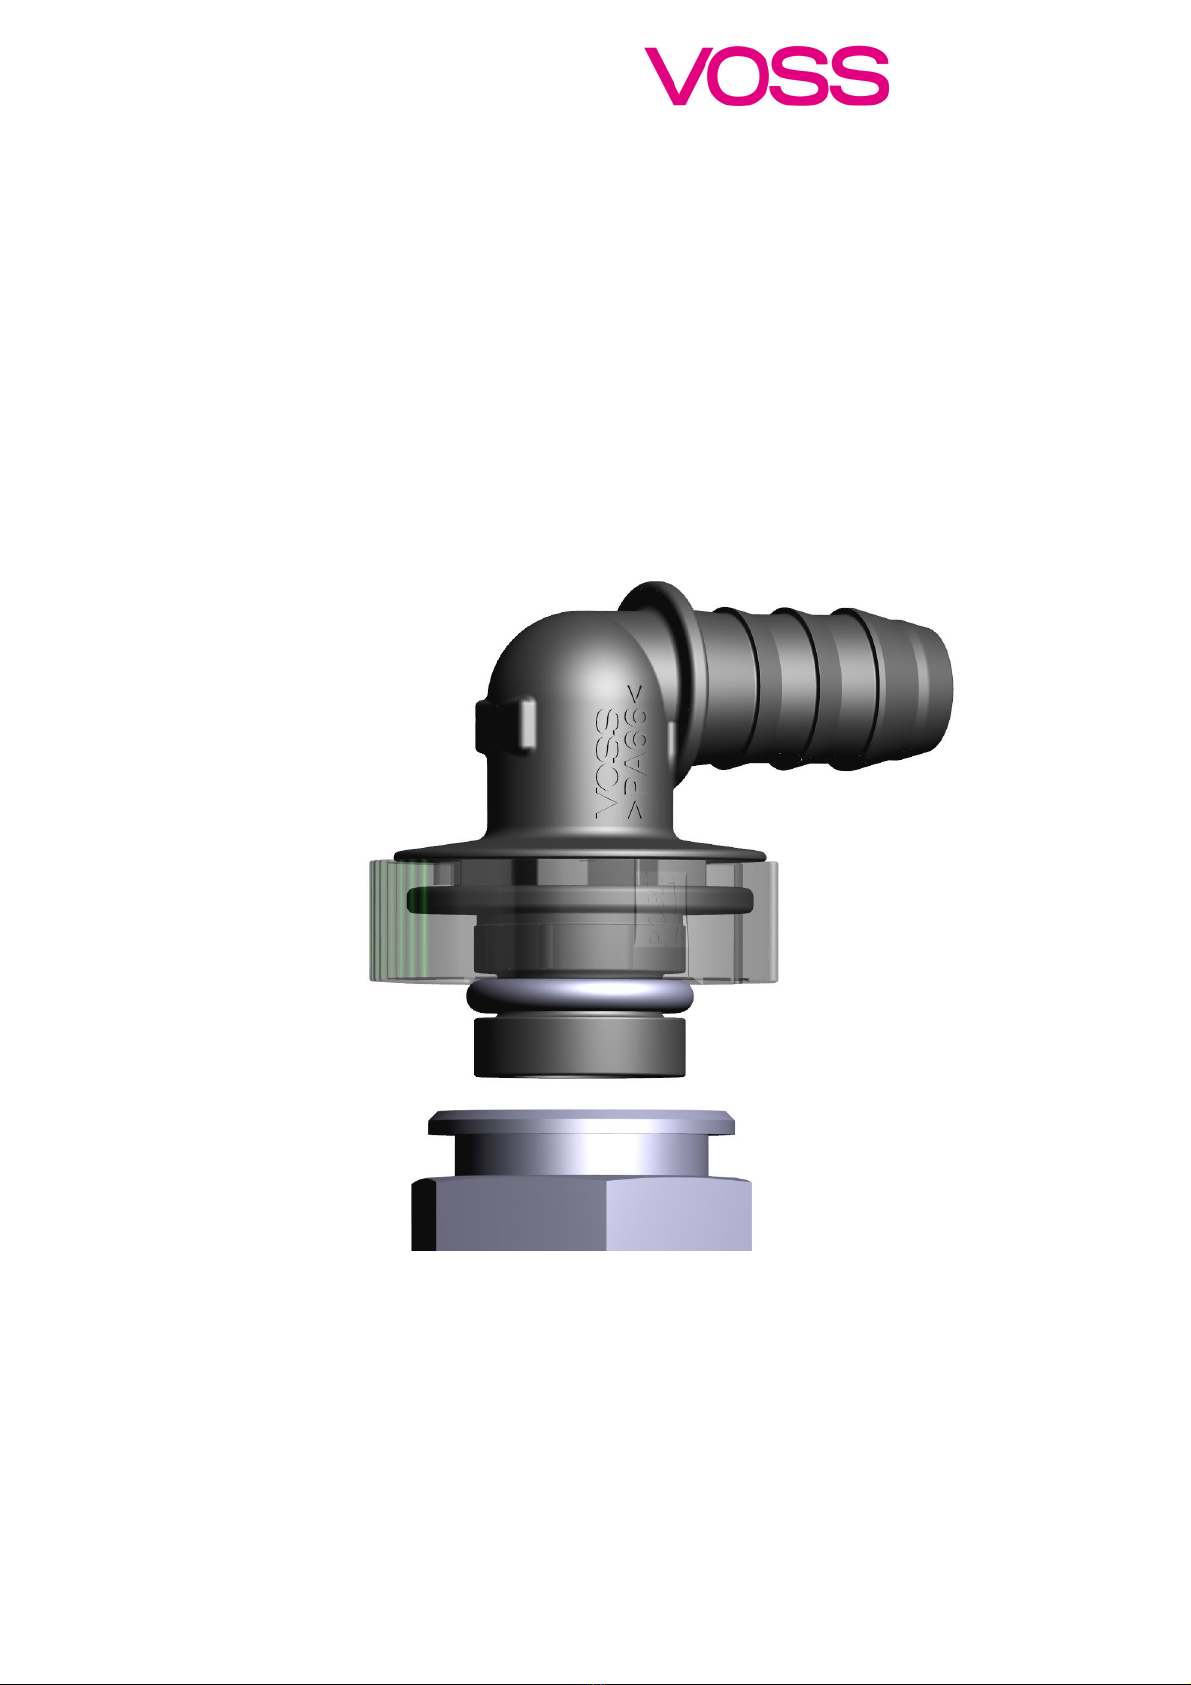
VOSS quick connect system 246
permits rapi an safe connections of nylon tubes
to system components an between lines.
VOSS quick connect system 246
features a particularly space-saving construction,
making it useful in tight installation spaces.
The retaining element can be rotate . It can be aligne in 8 steps an thus be a apte
to the specific installation space situation for a comfortable isassembly.
Different fir-tree an respective tube imensions can be istinguishe by color markings
on the retaining element.
VOSS quick connect system 246
is also available as an electrically heate variant.
Please ask for a special assembly instruction if nee e .