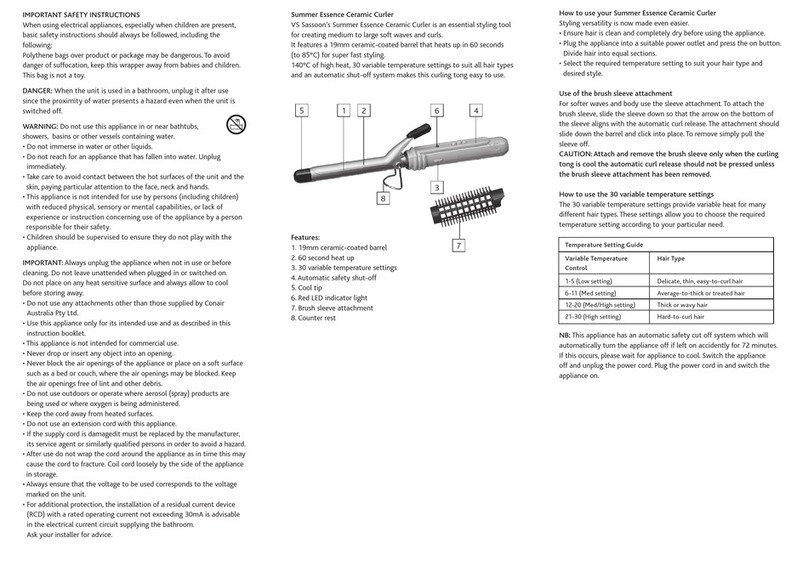
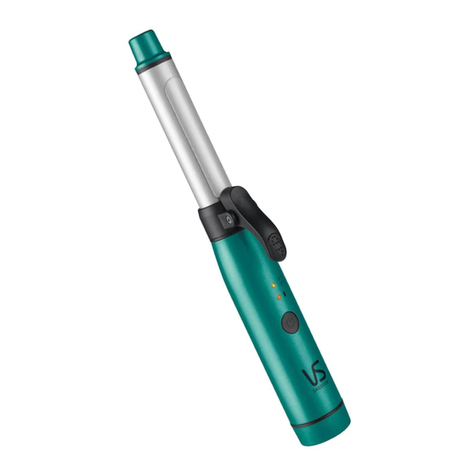
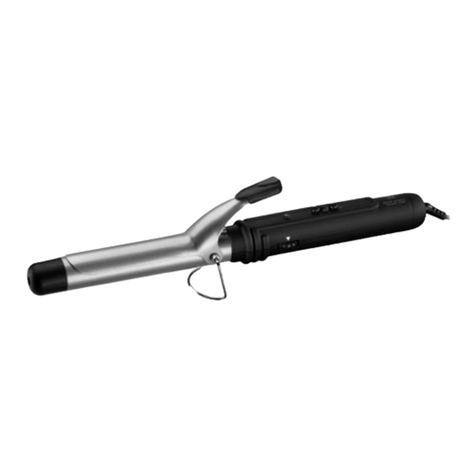
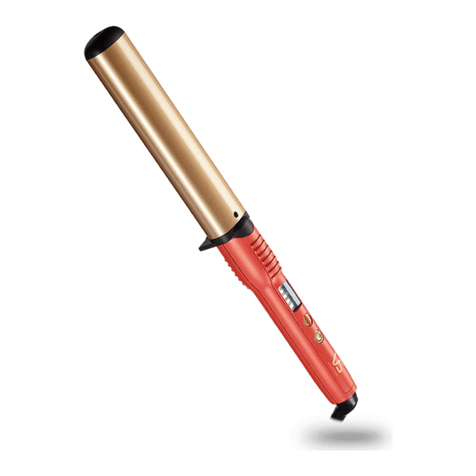
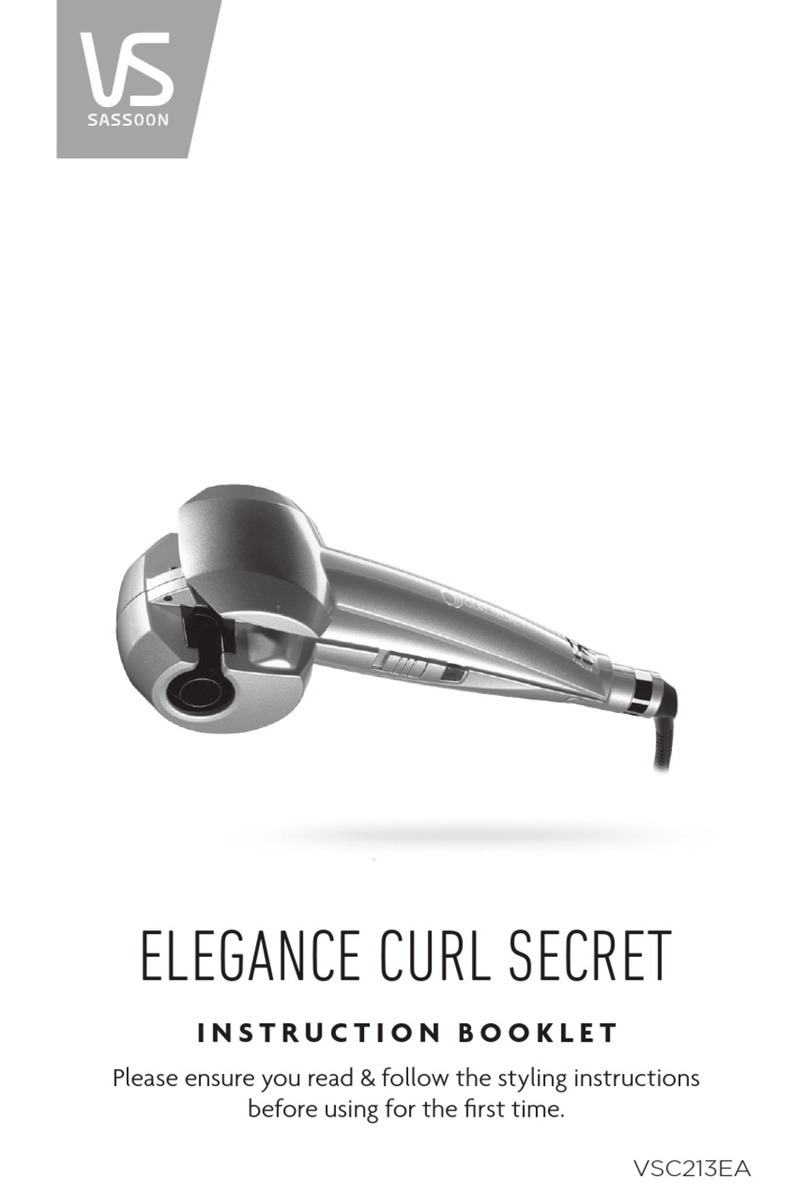
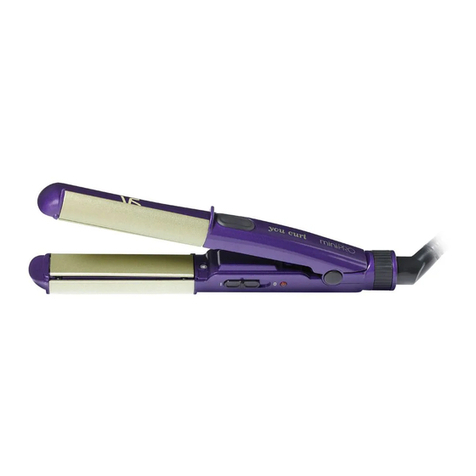
Hair goes in, curl comes out. It’s that simple.
Now with two interchangeable heads for endless
curl possibilities.
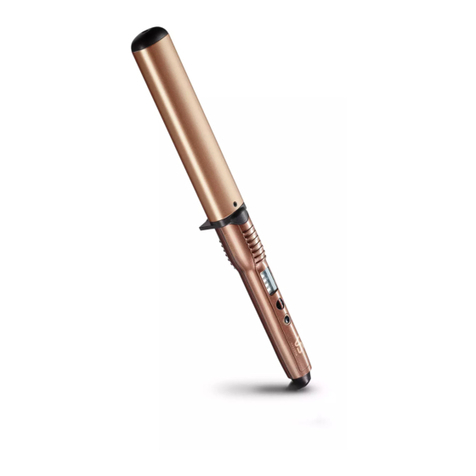
Congratulations on the purchase of your new VS Sassoon Secret Curl Multi Curl, the
latest innovation in automatic curling.
Use the Curl Secret Multi Curls on thick or thin hair to create tight, medium or loose
curls, choosing from left, right or alternate rotation. Quickly and effortlessly achieve
beautiful and long-lasting curls!
STYLING INSTRUCTIONS
As the Curl Secret Multi Curl is a revolutionary new type of styler it works very
differently to the curling stylers you may have used in the past. As such it’s important
to carefully read through the instructions before using for the first time.
IMPORTANT
If you continue to hold the hair section after closing the handle, Curl Secret will stop and
emit a series of fast beeps to indicate that you must release the tension on the hair.
If you have taken too much hair, or hair is not neatly going through the center of the
appliance, the Curl Secret will again stop and emit a series of fast beeps to indicate a
problem.This safety feature ensures there will be no tangles.
When you hear these beeps, simply release the styler, comb hair section and reduce
the hair section before restyling.
NOTE: Always release the handles first to set the curl free; if you pull away before you
open the handles, the curl will be straightened out.
• To allow the curl to set, do not comb or brush the hair until it cools.
• Repeat around the head until you have the amount of curls desired.
After you have completed curling and your curls have cooled you can continue styling
or just run your fingers through your curls to break them up and achieve a natural
beachy curl look.
Finish off with a light spray of quality hair spray to give the curls extra hold to last longer and
protect from moisture.
WARRANTY
Our goods come with guarantees that cannot be excluded under the Australian Consumer
Law. You are entitled to a replacement or refund for a major failure and for compensation
for any other reasonably foreseeable loss or damage. You are also entitled to have the
goods repaired or replaced if the goods fail to be of acceptable quality and the failure
does not amount to a major failure.
In New Zealand our goods come with a guarantee that cannot be excluded under the
Consumer Guarantee Act 1993.
LIMITED TWO YEAR WARRANTY
Conair Australia Pty Ltd. will repair or replace (at our option) your appliance free of
charge for twenty-four months from the date of purchase if the appliance is defective in
workmanship or materials. This warranty is an additional benefit and does not affect your
legal rights. To obtain service under this warranty, please read the Warranty Leaflet included
or contact Conair Customer Service at aus_info@conair.com.
To make a warranty claim you must retain your proof of purchase.
STYLING INSTRUCTIONS
1. Section hair before styling for easier styling. Begin by carefully combing through hair to smooth it.
Then take a ½ inch to 1 inch section.
2. Please note the styler must be positioned into the hair with the opening of the curl chamber facing
toward the head.
3. Position the styler where you want the curl to start. The hair section must be staight and placed
neatly through the center of the hair guide.
4. Once the hair is in place, let go of the hair section and close the handle to allow the hair to be
automatically taken into the curl chamber.
5. The styler will begin to emit a series of «beeps» (either, 3, 4, 5 or 6 depending on the selected time
setting. please refer to table) to indicate the styler is in curling mode.
6. Once you hear a series of 4 fast timing ‘beeps’ the curling mode has completed and the styler
handle should be released.
7. Gently release the hair from the appliance by opening the handle and moving gently away from
the head to release the perfect curl.
BEFORE USE
Notes
• When using the unit for the first time, you might notice a little smoke and a distinct
odour: this is common and will disappear by the next use.
• Each time you use the appliance, you may see some steam. Do not be concerned,
this could be because of evaporation of the natural oils of the hair, residual hair
products (leave-in hair products, hairspray, etc.), or excess moisture evaporating from
your hair.
• A heat-protection spray can be used to provide optimal protection of the hair.
• The ioniser within the device frees gives off ions which have an anti-static effect,
leaving your hair nice and soft with a shine. Please note: It is quite normal to hear a
slight noise, similar to a crackle: this is the characteristic noise of the ion generator.
• Select the accessory according to the type of curls desired:
- 25 mm: tight curls
- 35 mm: volume and larger curls
• Always position or remove accessories before plugging the appliance
in and switching it on.
• To remove the accessory, press the two buttons on the two sides of
the accessory at the same time, using your thumb and index finger
(FIG. 1).
• To position the accessory, place it onto the appliance head until it clicks in.
• Plug in the appliance, switch on, and select the desired temperature using the 0-I-II
switch. See table below:
Temperature
Ø 35 mm
Temperature
Ø 25 mm Hair type
(I):
190°C
(I):
210°C Fine, bleached, and/or damaged hair
(II):
210°C
(II):
230°C
Normal hair, thick and
wavy, or dyed
• The indicator light comes on and will start to flash.
• The indicator light will stop flashing when the appliance has heated up to the selected
temperature. The appliance is now ready to use; the indicator light will stay on.
• Select the time setting depending on the desired curl effect. For loose curls, select the
minimum time setting. For tighter curls, select the maximum time setting. Please refer
to the table below:
Time Audio beep indicator Curl effect
8 seconds (Ø 35 mm)
10 seconds (Ø 25 mm)
3 beeps (Ø 35 mm)
4 beeps (Ø 25 mm) Loose waves
10 seconds (Ø 35 mm)
12 seconds (Ø 25 mm)
4 beeps (Ø 35 mm)
5 beeps (Ø 25 mm) Soft curls
12 seconds (Ø 35 mm)
14 seconds (Ø 25 mm)
5 beeps (Ø 35 mm)
6 beeps (Ø 25 mm) Defined curls
• Select the adjustment of the direction of the curl, according to the desired result:
For an even, more sophisticated style, adjust the appliance
to the “L” (left) position, to create curls to the left side of the
head. Then adjust the appliance to the “R” (right) position,
to create curls on the right side of the head.
- For a softer, more natural style, adjust the appliance to
the “A” (automatic) position. This adjustment will create
alternating curls, first in one direction and then the opposite.
Precautions for use
• Hair should be clean, completely dry and combed through before use.
• Never use on wet, damp or tangled hair
• Clip the upper layers to the top of your head and start working on the layers
underneath.
• Separate a section of hair that is no wider than 3 cm. Ensure that there are no tangles
in the section.
• Bring the appliance close to the hair and position it in the correct direction: the cavity
formed by the cylinder downwards and facing the head.
• With your free hand, take hold of the tip of the section of hair and place it in the
opening, in the funnel situated between the two handles.
Please note: To prevent the appliance from blocking, ensure that you have no hair lying
across the edges.
Also ensure that you are not pulling your hair before activating the handles.
If these precautions are not respected, you risk catching your hair in the
appliance.
• Once the section of hair is in place, close the handles to allow the hair to automatically
enter into the appliance.
• The styler will begin to emit a series of «beeps» (either, 3, 4, 5 or 6 depending on the
selected time setting. please refer to table) to indicate the styler is in curling mode.
• Once you hear a series of 4 fast timing ‘beeps’ the curling mode has completed and
the styler handle should be released.
• Gently release the hair from the appliance by opening the handles. Do not pull on the
appliance to free the hair. If you do this, you will ruin the curl effect.
• Allow your hair to cool before handling or combing it.
• Repeat all over the head until you have the number of curls you want.
• After use, switch off and unplug the appliance. Allow to cool before storing.
NOTE: There will be a slight buzzing sound from the styling tool when switched
on, this is from the ionic generator releasing the ions. This is normal.
FIG. 1
