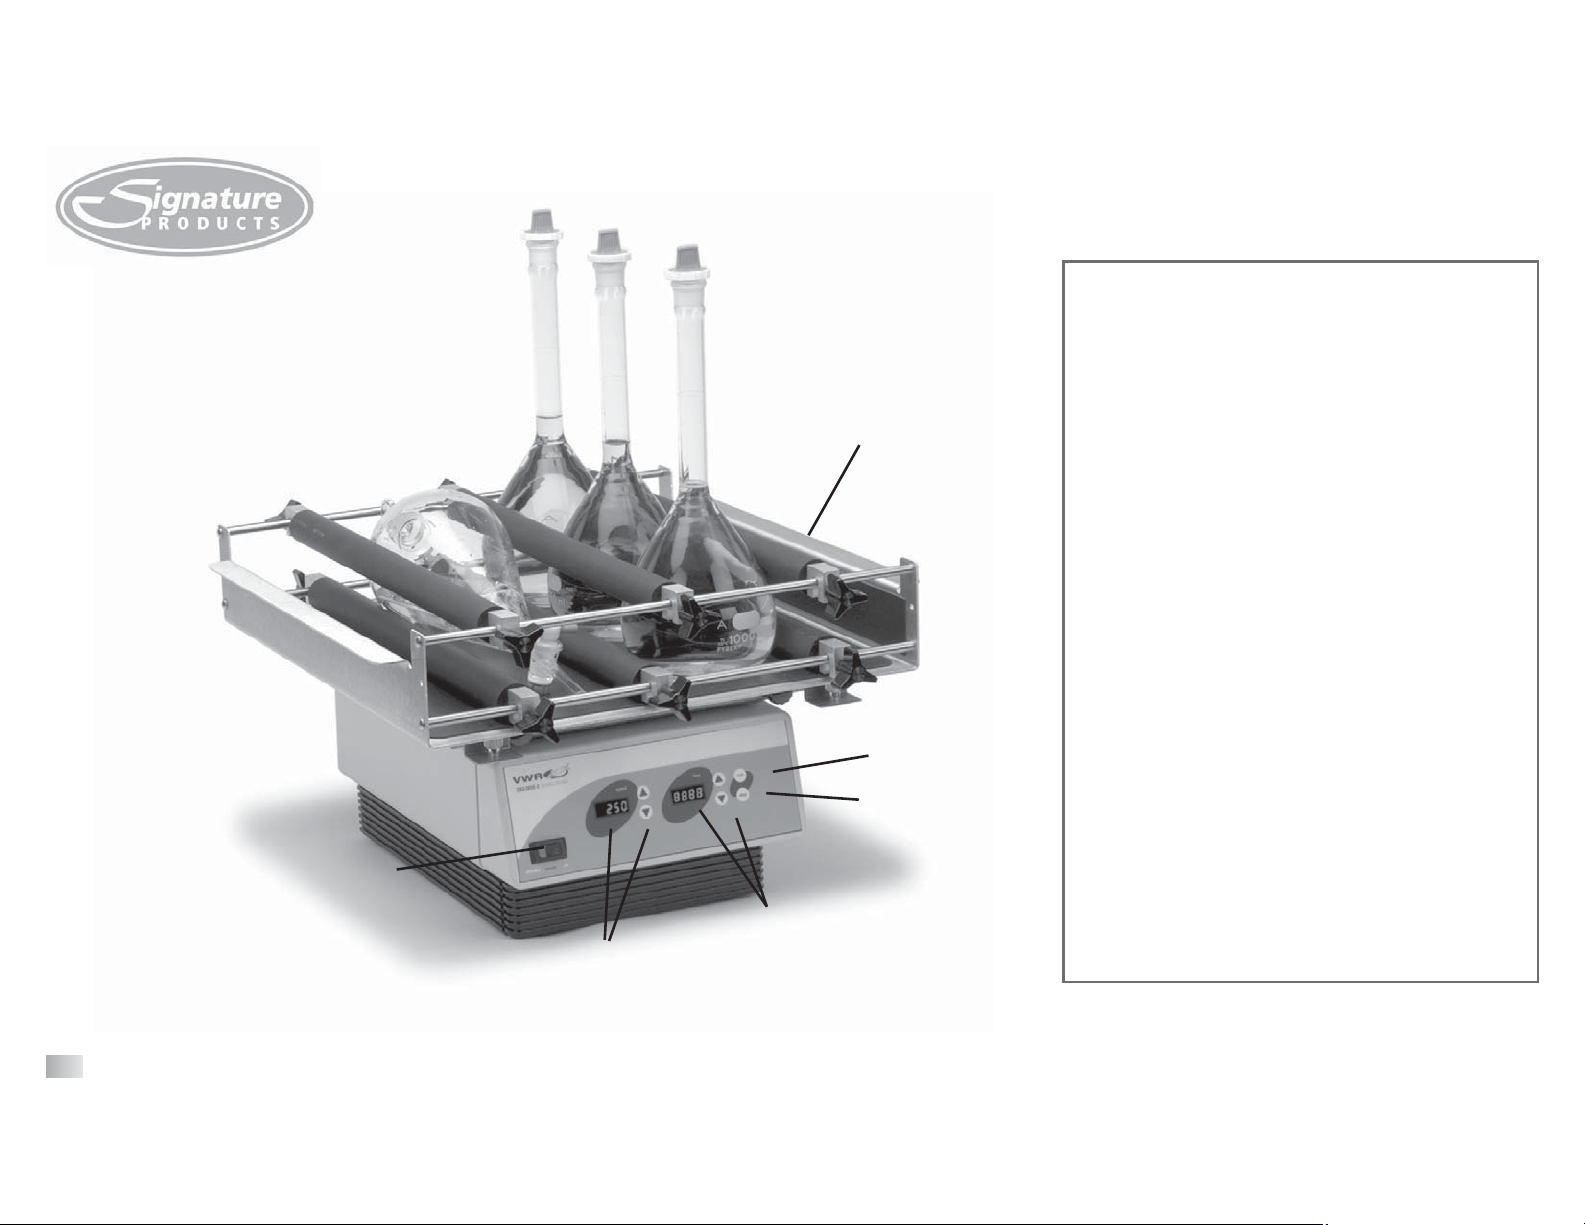
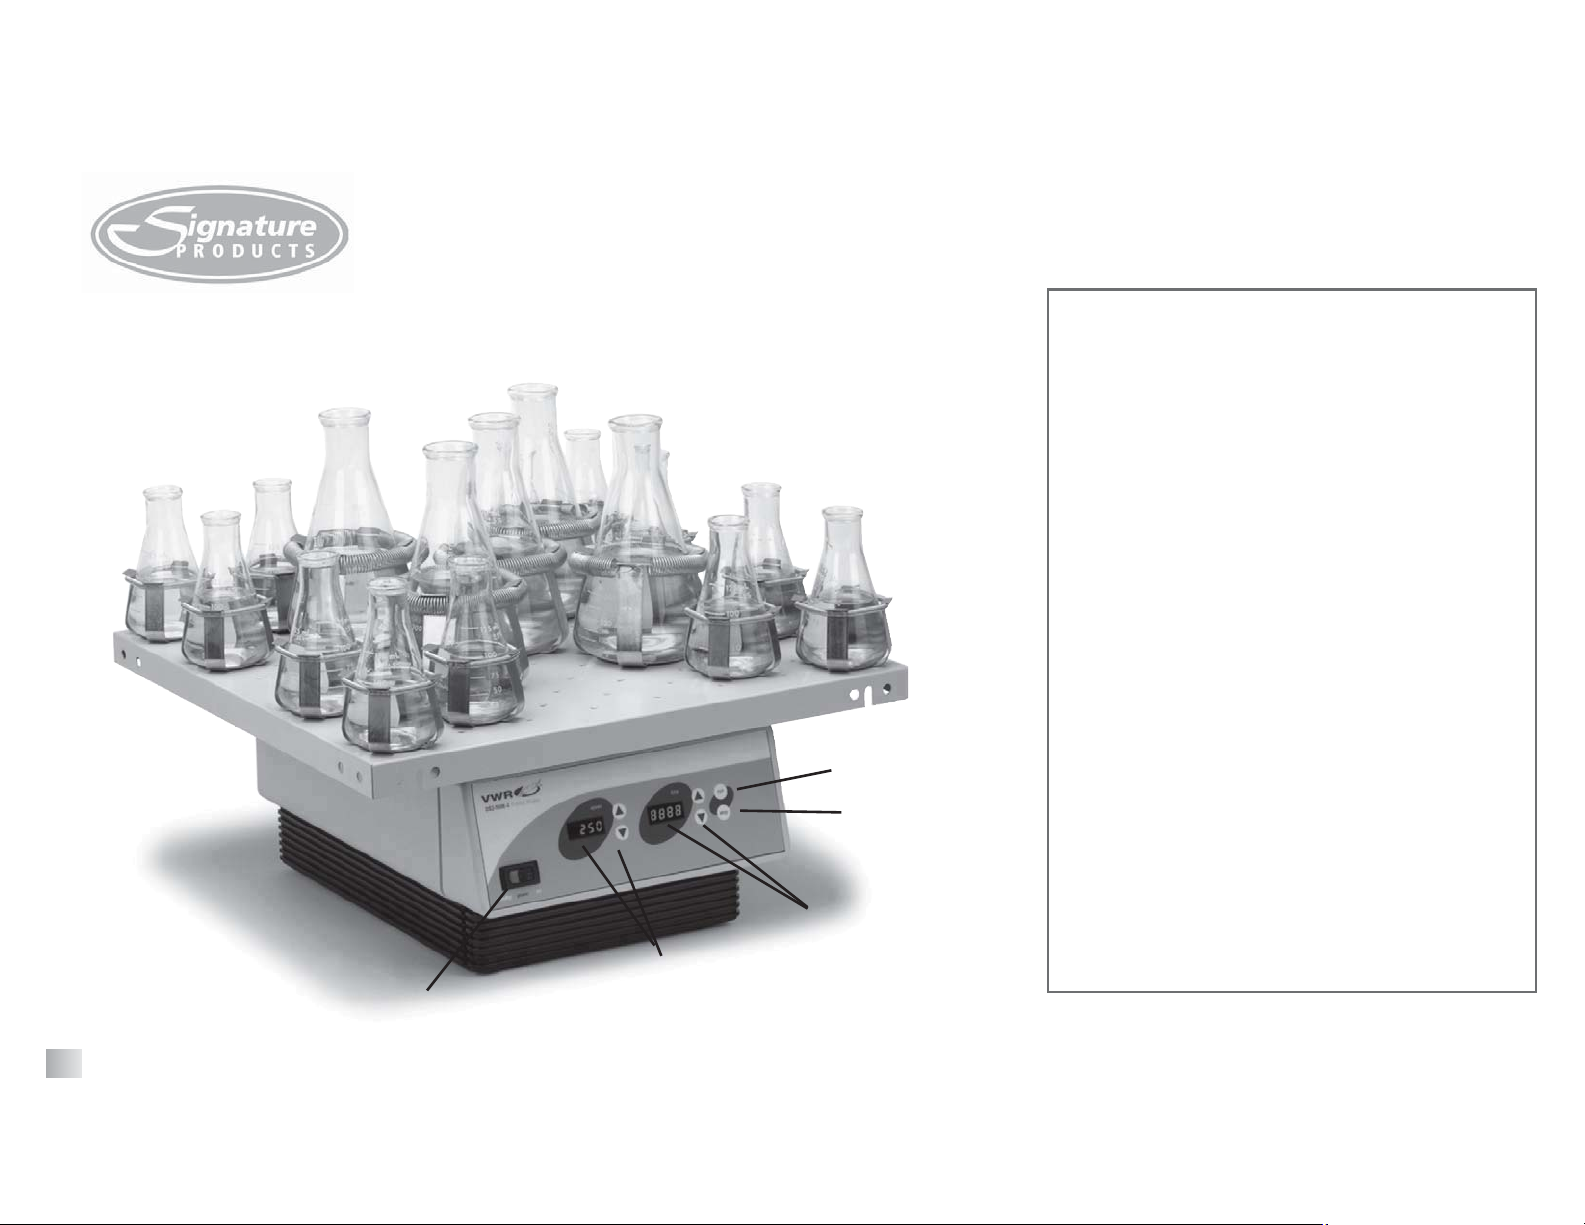
OPERATING INSTRUCTIONS
1. Please familiarize yourself with the features and operation completely before operating the unit.
2. Be sure the power switch is in the standby position. On the 230v shaker, an additional "Power Switch" is located on the back of
the unit. This switch should be in the off position.
3. Plug the cord into a properly grounded three pronged outlet.
4. Your Orbital Shaker is ready for use.
5. If this is the first time use for this unit, be sure the speed knob and timer knob are set to the off position.
6. To run in continuous mode, push rocker switch to the run position. Slowly turn speed control knob to desired speed. Unit will run
until you move rocker switch to the standby position. When the test is complete, press the rocker switch to the standby position.
To start the next test, begin by turning the speed knob to the 1 position.
7. To run in timed mode, set timer to desired time. Turn the speed knob to the 1 position. Press the rocker to the timed position and
release. Slowly turn speed knob to desired speed, the shaker will run for the set time.
OPERATION NOTES:
Two 5 amp fuses prevent damage to the motor or electronics.
The Orbital Shaker is designed to be balanced with the standard platform attached (platform weight is 3 lbs). At higher speeds,
200rpm and above, the shaker should be run with this weight as a minimum, on stable surface, for maximum stability.
4
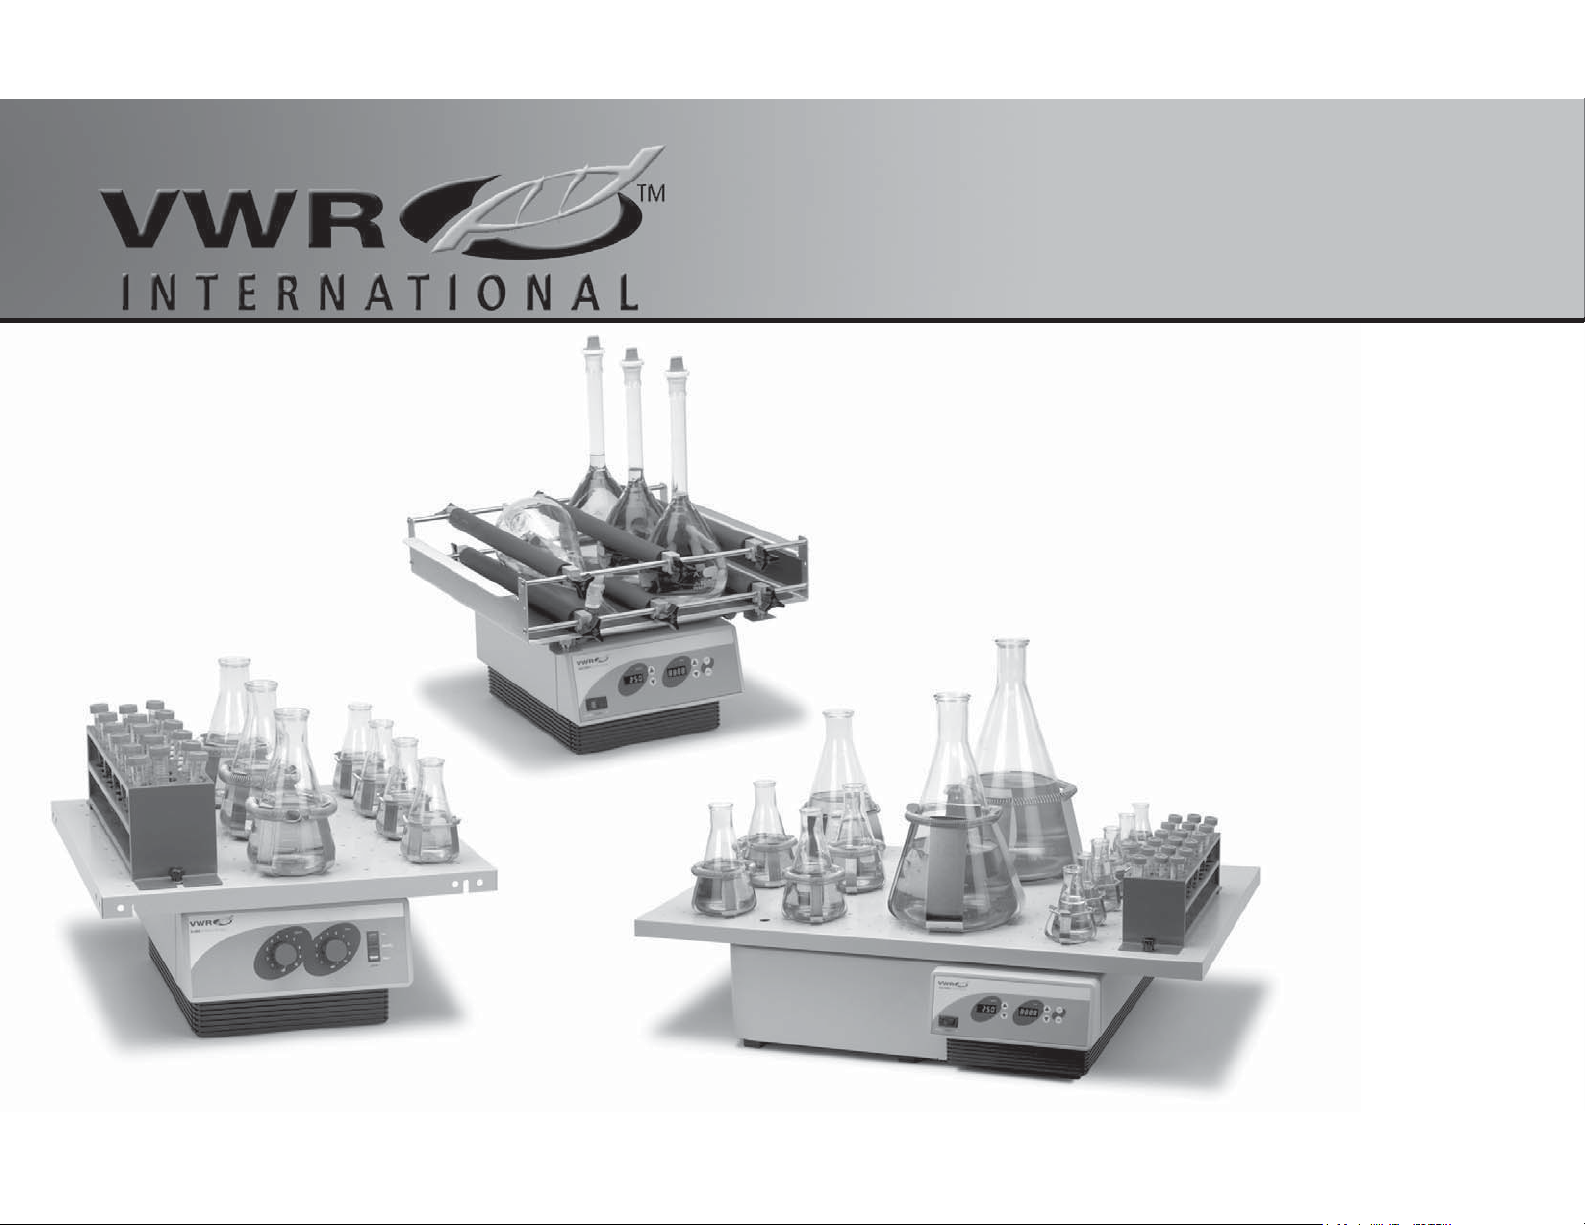
INTRODUCTION
The 120v and 230v units are supplied with a 3-prong power cord that should be plugged into a standard 3-prong grounded outlet. If the cord
supplied does not meet your needs, please use an approved power cord that suits local codes and electrical supply.
Artisan Technology Group - Quality Instrumentation ... Guaranteed | (888) 88-SOURCE | www.artisantg.com