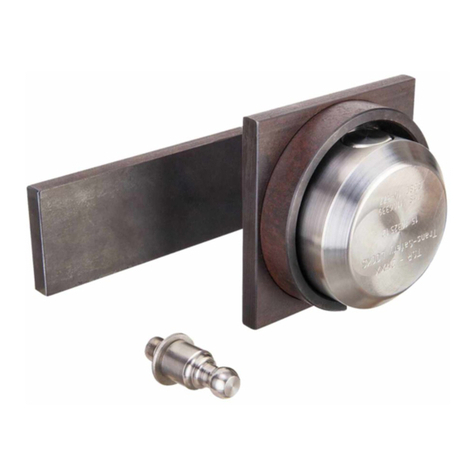
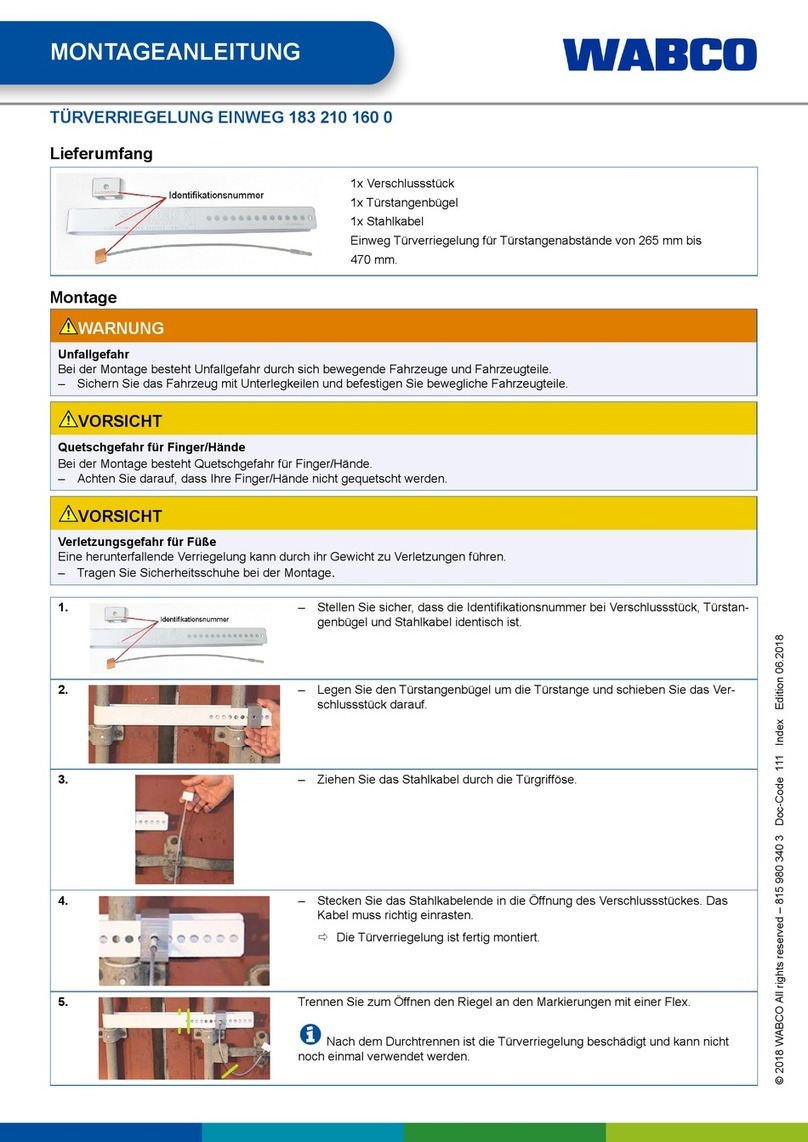
WABCO TTB Series User manual

MONTAGEANLEITUNG
© 2018 WABCO All rights reserved – 815 980 344 3 Doc-Code 111 Index Edition 07.2018
TÜRVERRIEGELUNG TTB 183 210 040 2
183 210 041 2
Lieferumfang
1x TTB Verriegelungsbügel
zur Montage auf der Tür
1x TTB Schlossgehäuse zur
Montage an der
Traverse
1x Montageplatte je 6x
▪Schlossschrauben M10
Vollgewinde, 120 mm lang,
VA - Distanzröhrchen Ø
21 mm, 80 mm lang
▪Unterlegscheiben
▪Sicherungsmutter, M10, VA
i
i
Sollte die Tür nicht bündig zu der Traverse bzw. dem umlaufenden Rahmen sein, benötigen Sie zum Höhenausgleich noch
eine dünnere Unterlegplatte, die nicht im Lieferumfang enthalten ist.
Zum Verriegeln benötigen Sie ein MTL Bügelschloss 13 mm (183 100 001 4).
Montage
WARNUNG
Unfallgefahr
Bei der Montage besteht Unfallgefahr durch sich bewegende Fahrzeuge und Fahrzeugteile.
–Sichern Sie das Fahrzeug mit Unterlegkeilen und befestigen Sie bewegliche Fahrzeugteile.
VORSICHT
Quetschgefahr für Finger/Hände
Bei der Montage besteht Quetschgefahr für Finger/Hände.
–Achten Sie darauf, dass Ihre Finger/Hände nicht gequetscht werden.
VORSICHT
Verletzungsgefahr für Füße
Eine herunterfallende Verriegelung kann durch ihr Gewicht zu Verletzungen führen.
–Tragen Sie Sicherheitsschuhe bei der Montage.
i
i
Schneiden Sie bei der Montage das Prallgummi (Laderampen) evtl. oben etwas aus oder versetzen Sie es nach unten.
Modizieren Sie die Abdichtgummilippe der Tür etwas, damit diese ihre Funktion erhält.
1. – Platzieren Sie den Verriegelungsbügel so weit wie möglich links an der Unterkante
der rechten Tür.
– Legen Sie ihn von außen bündig an der Unterkante der rechten Tür an, so dass der
vorstehende Teil über die Tür ragt.
2. – Markieren Sie die Löcher auf der Tür, die Unterkante des Bügels auf der Traverse und die Löcher des Bügels auf der
Montageplatte.
3.a – Bohren Sie an den angezeichneten Stellen durch die Tür bzw. durch die Montageplatte.
Verwenden Sie einen HSS-Bohrer (Ø 10,5 mm) mit entsprechender Länge.
400 608 100 0 400 608 101 0 400 608 102 0
400 608 103 0 400 608 104 0 400 608 105 0
400 608 106 0 400 608 107 0

MONTAGEANLEITUNG
© 2018 WABCO All rights reserved – 815 980 344 3 Doc-Code 111 Index Edition 07.2018
3.b Bei isolierten Türen:
– Setzen Sie die Distanzröhrchen in die sechs Durchgangsbohrungen ein, damit die Tür beim Anziehen der Schrauben
nicht zusammen gedrückt wird.
– Vergrößern Sie die Bohrungen an der Stahltür von innen. Verwenden Sie einen HSS-Bohrer (Ø 21 mm).
– Bohren Sie nur von innen und nur durch das innere Stahlblech der Tür, nicht durch die ganze Tür.
– Kürzen Sie bei Bedarf die Distanzröhrchen auf die Länge der Türstärke.
4. – Setzen Sie den Verriegelungsbügel auf die Tür und stecken Sie die Schlossschrauben von außen nach innen durch.
Bei isolierten Türen stecken Sie zusätzlich die Distanzröhrchen von innen über die Schlossschrauben.
– Setzen Sie die Montageplatte von innen über die Bolzen.
– Schrauben Sie den Verriegelungsbügel mit den mitgelieferten Sicherungsmuttern und den Unterlegscheiben fest.
i
i
Die Türverriegelung sollte umlaufend mit einer dünnen, UV-beständigen Dichtungsmasse abgedichtet werden.
WABCO empehlt Ihnen hierfür SIKAFLEX 221.
5. – Bringen Sie das Schlossgehäuse so an, dass der vorstehende Teil des Verriegelungsbügels bei geschlossener Tür
passgenau darüber klappt und das Schlossgehäuse abdeckt.
– Schweißen Sie das Schlossgehäuse an der Traverse an. Bei Bedarf müssen die Streben/Prole des Schlossgehäu-
ses gekürzt werden.
– Setzen Sie die untere Kante des Schlossgehäuses an der Markierung auf der Traverse so an, dass die Öffnungen zur
Traverse und die Strebe in der Mitte nach oben zeigen.
– Planen Sie für den Ausschnitt des Prols nicht zu viel Spiel ein.
6. – Versiegeln Sie nach dem Anschweißen des Schlossgehäuses die Schweißstellen mit einer Rostschutzfarbe.
7. Zum Verriegeln benutzen Sie ein MTL Bügelschloss 13 mm (183 100 001 4).
– Stecken Sie den Bügel des Bügelschlosses von oben durch die Türverriegelung
und verriegeln Sie mit dem Verschlussstück des Bügelschlosses die Türverriege-
lung.
Wartung und Pege
HINWEIS
Beschädigung des Verriegelungsmechanismus
Teon verklebt den Verriegelungsmechanismus.
–Verwenden Sie niemals Teon.
Mechanische Teile: keine Wartung und Pege erforderlich. Beschädigungen der Lackierung sind möglichst schnell
auszubessern.
Zylinder reinigen und pegen: Zum Reinigen verwenden Sie Bremsenreiniger. Danach etwas Leichtöl in das Schlüsselloch träu-
feln und mit dem Schlüssel ein paar Mal hin und her drehen.
Geeignete Ölsorten: Nähmaschinen-Öl, Waffen-Öl, dünnüssiges, synthetisches Motoröl.

INSTALLATION INSTRUCTION
© 2018 WABCO All rights reserved – 815 980 344 3 Doc-Code 111 Index Edition 07.2018
DOOR LOCK TTB 183 210 040 2
183 210 041 2
Scope of supply
1x TTB locking bracket for
mounting on the door
1x TTB lock housing for
mounting on the crosshead
1x mounting plate respectively 6x
▪Cup square bolts M10 fully
threaded, 120 mm long,
VA spacer tubes Ø 21 mm,
80 mm long
▪Washers
▪Locknut, M10, VA
i
i
If the door is not ush with the crosshead or the circumferential frame, you will need a thinner base plate, which is not
included in the delivery, for height compensation.
For locking, you require an MTL Padlock 13 mm (183 100 001 4).
Installation
WARNING
Danger of accidents
During assembly there is a risk of accidents due to moving vehicles and vehicle parts.
–Secure the vehicle with chocks and fasten moving vehicle parts.
CAUTION
Risk of crushing ngers/hands
During assembly there is a risk of crushing ngers/hands.
–Make sure that your ngers are not crushed.
CAUTION
Risk of injury for feet
A lock that falls from height can cause injuries due to its weight.
–Wear safety shoes during assembly.
i
i
During assembly you may need to clip the impact rubber (loading ramps) a little at the top or move it down. Modify the rub-
ber sealing lip a little so that it retains its function.
1. – Place the locking bracket as far as possible to the left at the lower edge of the right
door.
– Position it ush with the bottom edge of the right door on the outside so that the
protruding section is extended over the door.
2. – Mark the holes on the door, the bottom edge of the bracket on the crosshead and the holes of the bracket on the
mounting plate.
3.a – Drill through the door and the mounting plate at the marked points. Use an HSS drill (Ø 10.5 mm) of sufcient length.
400 608 100 0 400 608 101 0 400 608 102 0
400 608 103 0 400 608 104 0 400 608 105 0
400 608 106 0 400 608 107 0

INSTALLATION INSTRUCTION
© 2018 WABCO All rights reserved – 815 980 344 3 Doc-Code 111 Index Edition 07.2018
3.b For insulated doors:
– Insert the spacer tubes into the six through bores to prevent the door being pressed together when the screws are
tightened.
– Enlarge the holes on the steel door from the inside. Use an HSS drill (Ø 21 mm).
– Only drill from the inside and only through the door’s inner steel sheet, not through the entire door.
– If necessary, shorten the spacer tubes to the length of the door thickness.
4. – Place the locking bracket onto the door and insert the cup square bolts through the holes from the outside to the
inside.
– With insulated doors, also insert the spacer tubes over the cup square bolts from the inside.
– Position the mounting plate over the bolts from the inside.
– Screw down the locking bracket with the supplied locknuts and washers.
i
i
The door lock should be sealed with a thin, UV-resistant sealing compound around the circumference. WABCO
recommends you use SIKAFLEX 221 for this purpose.
5. – Fit the lock housing so that the protruding section of the locking bracket folds over it precisely and covers the lock
housing when the door is closed.
– Weld the lock housing to the crosshead. The braces/proles of the lock housing may need to be shortened as requi-
red.
– Position the lock housing’s bottom edge onto the markings on the crosshead so that the openings point towards the
crosshead and the brace at the centre points upwards.
– Do not calculate too much play for the prole section.
6. After you have welded on the lock housing, seal the welding joints with rust protection paint.
7. For locking, use an MTL Padlock 13 mm (183 100 001 4).
– Insert the shackle of the padlock through the door lock from the top and lock the
door lock with the padlock’s locking piece.
Maintenance and care
NOTE
Damage of locking mechanism
Teon clogs the locking mechanism.
–Never use Teon.
Mechanical parts: no maintenance or care required. Damage to the paintwork must be repaired as quickly
as possible.
Cleaning and care of the cylinder: Use brake cleaner for cleaning. Then drip a little light oil into the keyhole and rotate back and
forth a few times with the key.
Suitable oil types: Sewing machine oil, gun oil, low-viscosity synthetic engine oil.

MONTAGEANLEITUNG
© 2018 WABCO All rights reserved – 815 980 344 3 Doc-Code 111 Index Edition 07.2018
MTL BÜGELSCHLOSS 183 100 001 4
Lieferumfang
1x MTL Bügelschloss
1x Beutel mit farbigen Kennzeichnungen für Schlüssel
1x Schlüsselkarte
3x Schlüssel (kd)
i
i
Bewahren Sie die Schlüsselkarte auf. Sie benötigen die Schlüsselkarte für Nachbestellungen weiterer Schlüssel.
Montage
WARNUNG
Unfallgefahr
Bei der Montage besteht Unfallgefahr durch sich bewegende Fahrzeuge und Fahrzeugteile.
–Sichern Sie das Fahrzeug mit Unterlegkeilen und befestigen Sie bewegliche Fahrzeugteile.
1. – Um das Bügelschloss zu öffnen, stecken Sie den Schlüssel in das MTL Bügel-
schlossgehäuse und drehen Sie den Schlüssel um 45°.
In dieser Position kann der Bügel komplett herausgezogen werden.
2. – Stecken Sie den Bügel durch die Öffnungen der Verriegelung.
3.
i
i
Schließen Sie das Bügelschloss niemals, ohne das Schlossgehäuse vorher mit
dem Schlüssel auf Position OFFEN gestellt zu haben. Dadurch zerstören Sie das
MTL Bügelschloss.
– Um das Bügelschloss zu schließen, stecken Sie den Schlüssel in das MTL Bügel-
schlossgehäuse und drehen sie den Schlüssel um 45°.
ÖIn dieser Position kann der Bügel komplett eingeschoben werden.
Wartung und Pege
HINWEIS
Beschädigung des Verriegelungsmechanismus
Teon verklebt den Verriegelungsmechanismus.
–Verwenden Sie niemals Teon.
Zylinder reinigen und pegen: Zum Reinigen verwenden Sie Bremsenreiniger. Danach etwas Leichtöl ins Schlüsselloch träufeln
und mit dem Schlüssel ein paar Mal hin und her drehen.
Geeignete Ölsorten: Nähmaschinen-Öl, Waffen-Öl, dünnüssiges, synthetisches Motoröl.
400 608 100 0 400 608 101 0 400 608 102 0
400 608 103 0 400 608 104 0 400 608 105 0
400 608 106 0 400 608 107 0

INSTALLATION INSTRUCTION
© 2018 WABCO All rights reserved – 815 980 344 3 Doc-Code 111 Index Edition 07.2018
MTL PADLOCK 183 100 001 4
Scope of supply
1x MTL Padlock
1x bag with coloured markings for keys
1x key card
3x key (kd)
i
i
Keep the key card in a safe place. You need the key card to order additional keys.
Installation
WARNING
Danger of accidents
During assembly there is a risk of accidents due to moving vehicles and vehicle parts.
–Secure the vehicle with chocks and fasten moving vehicle parts.
1. – To open the padlock, insert the key into the MTL Padlock housing and turn the key
by 45°.
In this position the shackle can be fully pulled out.
2. – Place the shackle through the openings of the lock.
3.
i
i
Never lock the padlock without rst having put the lock housing into the OPEN
position with the key. This will destroy the MTL Padlock.
– To close the padlock, insert the key into the MTL Padlock housing and turn the
key by 45°.
ÖIn this position the shackle can be fully pushed in.
Maintenance and care
NOTE
Damage of locking mechanism
Teon clogs the locking mechanism.
–Never use Teon.
Cleaning and care of the cylinder: Use brake cleaner for cleaning. Then drip a little light oil into the keyhole and rotate back and
forth a few times with the key.
Suitable oil types: Sewing machine oil, gun oil, low-viscosity synthetic engine oil.
400 608 100 0 400 608 101 0 400 608 102 0
400 608 103 0 400 608 104 0 400 608 105 0
400 608 106 0 400 608 107 0
This manual suits for next models
2
Table of contents
Languages:
Other WABCO Door Lock manuals