V1.2
09.06.2016
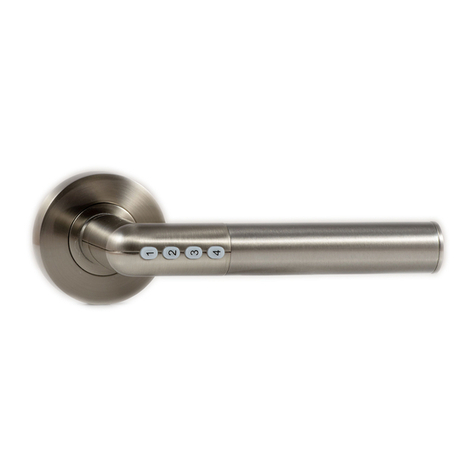
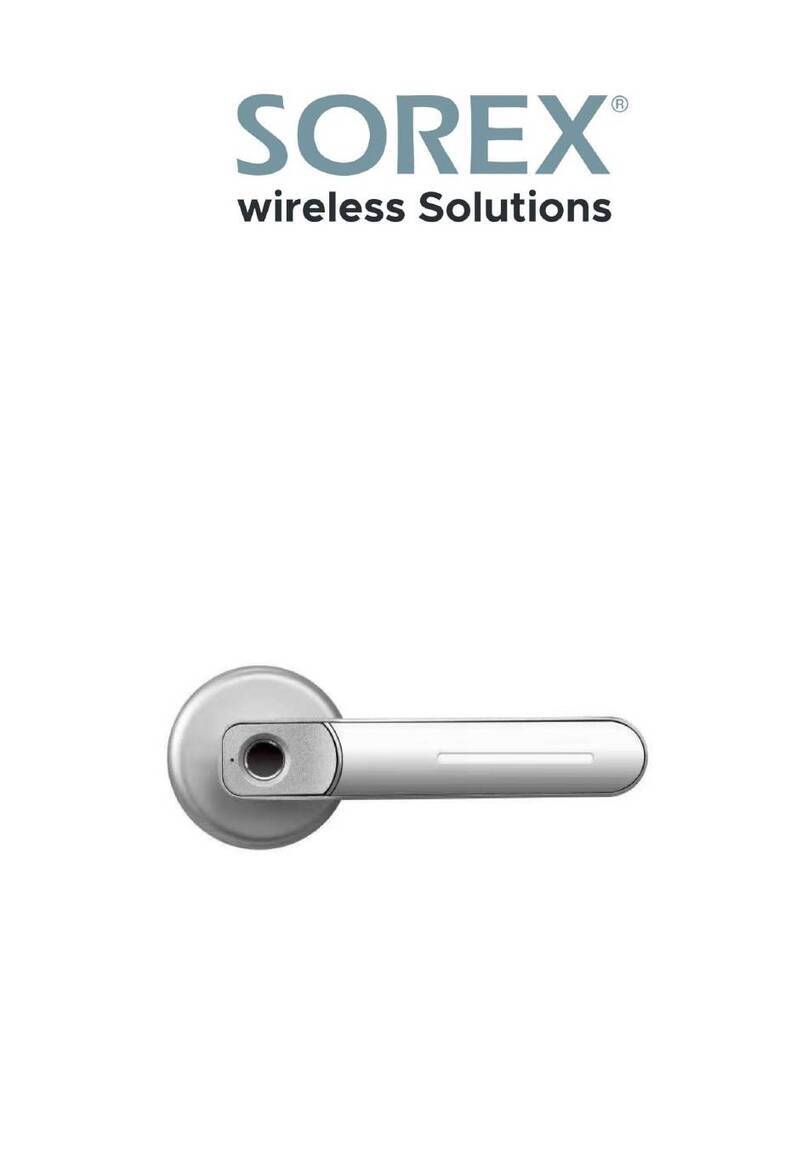
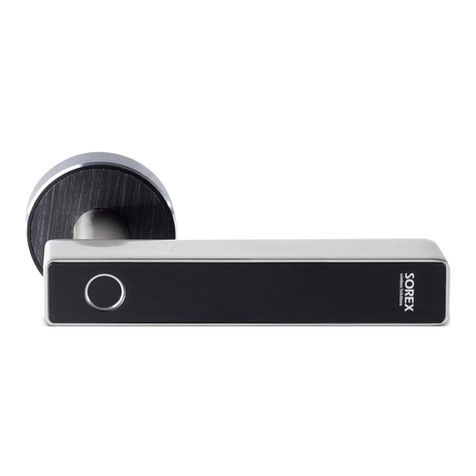
SOREX electronic handle SMART –software-free version
Quick starting guide
This quick starting guide will show how to set up the SOREX electronic handle SMART and how to configure user cards. More
Information can be received on our website www.sorex.eu, or by contacting our support hotline.
Installing the handle on the door
1. Attach the door handle to the mounting on the inside and fix it using a hex key (Figure 1).
2. Install the mounting on the inside of the lock by inserting the spindle into the door.
3. Connect the cover on the outside to the spindle and lead the wire on the upside through the door (Figure 2).
Please note: Make sure that the writing saying “TOP” can be seen on the top of the spindle!
4. Screw the electronic handle on the top and the bottom (Figure 3).
5. Plug in the wire and insert three AAA-Batteries.
6. Put on the cover on the inside and loose the screw on the bottom, until the cover cannot be moved.
Adding user cards
1. Hold the management card near the reader. You will hear two low sounds, followed by two high sounds.
2. Within ca. 5 seconds, hold the user card you want to add near the reader. You will hear a high pitched sound to confirm
that the card was successfully added.
Remove user cards
To remove a card that was previously added, simply follow the same steps as you were adding a new card. You will hear two
high pitched sounds to confirm that the card was successfully removed.
Factory Default (remove all cards)
To remove all cards and revert the device to factory default settings, take off the cover on the inside. You will find the
rectangular shaped management button above the battery case. Hold the button, until you hear four high sounds. The device
was now reverted to factory default settings.
Please note: This will also remove the management card! To re-add it again, press the management button (you will hear
a single high sound) and hold the new management card near the reader. You will now hear another high sound to confirm
that the management card was successfully re-added.
Figure 1: Attaching the door handle
Figure 2: Connecting the cover on the outside
Figure 3: Screwing the electronic handle
WARNING: If you intend to use multiple SMART products with the same set of user
cards, you may only use a single management card for all devices. To do this, reset all of
them and add the same management card to each device.


