manuals.online logo
Brands
  1. Home
  2. •
  3. Brands
  4. •
  5. Yale
  6. •
  7. Door Lock
  8. •
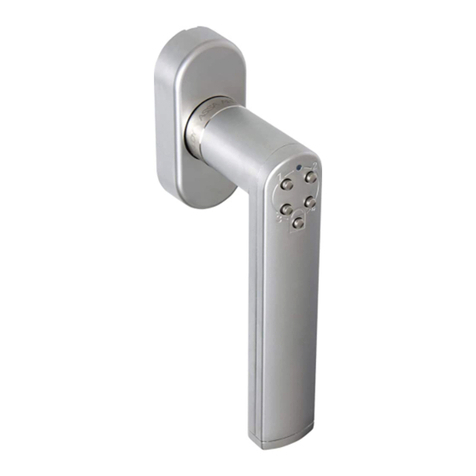
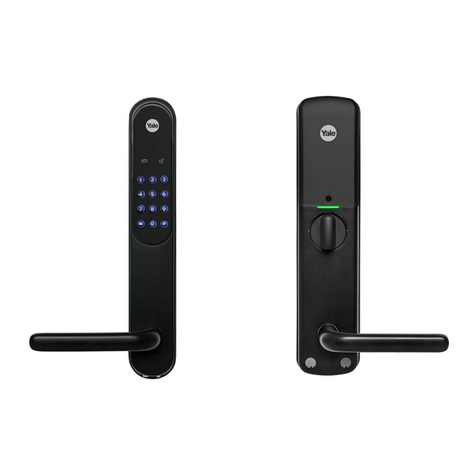
  9. Yale Keyfree User manual

Yale Keyfree User manual

Other Yale Door Lock manuals
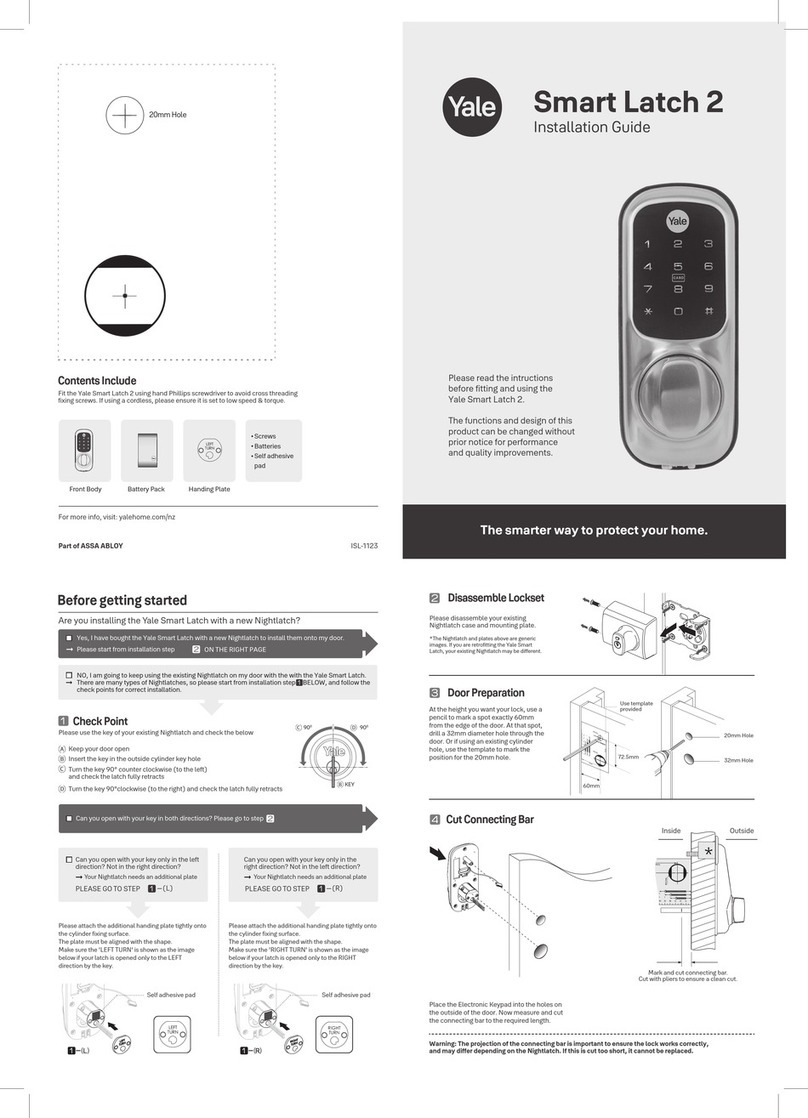
Yale Smart Latch 2 User manual

Yale

Yale Smart Latch 2 User manual

Yale YDG413A User manual

Yale

Yale YDG413A User manual

Yale Doorman L3 User manual

Yale

Yale Doorman L3 User manual

Yale Essential YDME-50 User manual

Yale

Yale Essential YDME-50 User manual

Yale Helios S User manual

Yale

Yale Helios S User manual

Yale 7110 User manual

Yale

Yale 7110 User manual

Yale Real Living YRD210-ZB Technical specifications

Yale

Yale Real Living YRD210-ZB Technical specifications

Yale YDD120 User manual

Yale

Yale YDD120 User manual

Yale Real Living YRL210 Technical specifications

Yale

Yale Real Living YRL210 Technical specifications

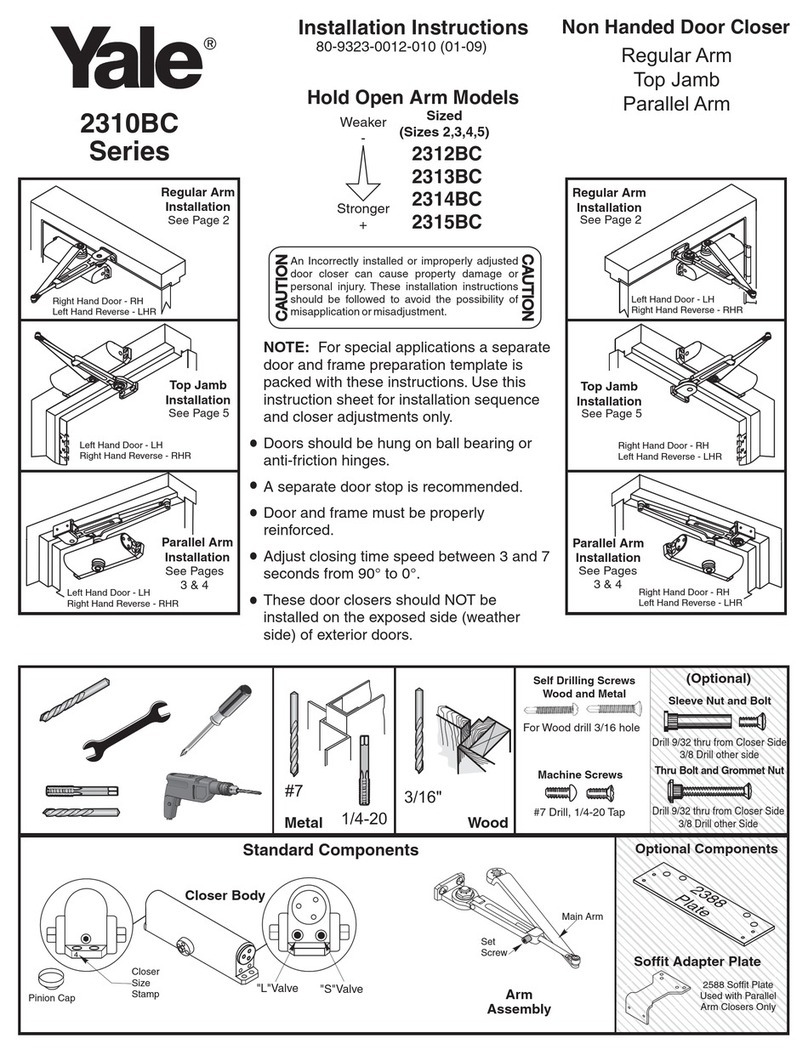
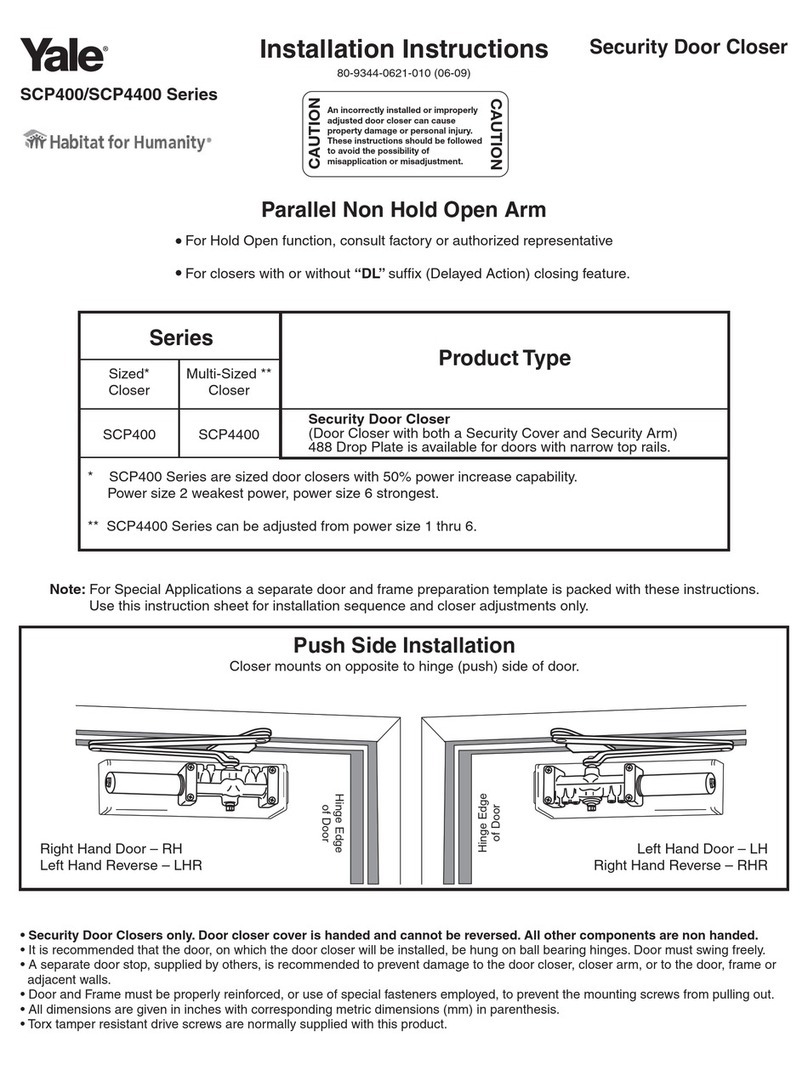
Yale SCP400 Series User manual

Yale

Yale SCP400 Series User manual

Yale GATEMAN YDR2108 User manual

Yale

Yale GATEMAN YDR2108 User manual

Yale 630F User manual

Yale

Yale 630F User manual

Yale SCP4020 Series User manual

Yale

Yale SCP4020 Series User manual

Yale Conexis L1 User manual

Yale

Yale Conexis L1 User manual

Yale nexTouch Technical specifications

Yale

Yale nexTouch Technical specifications

Yale YDM3109A User manual

Yale

Yale YDM3109A User manual

Yale Assure Lock Lever Touchscreen YRL226 User manual

Yale

Yale Assure Lock Lever Touchscreen YRL226 User manual

Yale 724NS User manual

Yale

Yale 724NS User manual

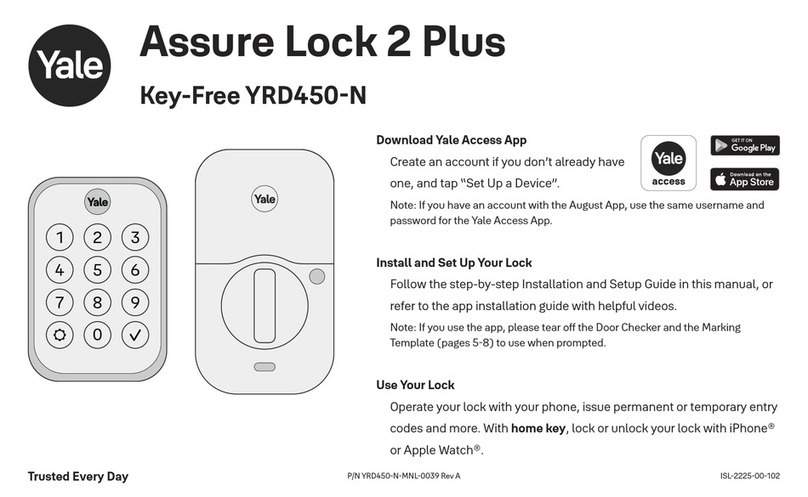
Yale Assure Lock 2 Plus User manual

Yale

Yale Assure Lock 2 Plus User manual

Yale Multi Point User manual

Yale

Yale Multi Point User manual

Yale YRDZB User manual

Yale

Yale YRDZB User manual

Yale YDM4109 User manual

Yale

Yale YDM4109 User manual
Yale YDM2107 User manual

Yale

Yale YDM2107 User manual

Yale Doorman User manual

Yale

Yale Doorman User manual

Popular Door Lock manuals by other brands

Dorma MUNDUS PREMIUM US 10 Mounting instruction

Dorma

Dorma MUNDUS PREMIUM US 10 Mounting instruction

Defiant LG600BRA4BGT Instructions for installation

Defiant

Defiant LG600BRA4BGT Instructions for installation

TRU-BOLT M1740024 manual

TRU-BOLT

TRU-BOLT M1740024 manual

Opera ARCA SLIDE installation instructions

Opera

Opera ARCA SLIDE installation instructions

tell CODELOCK CL5500 Series installation instructions

tell

tell CODELOCK CL5500 Series installation instructions

ABH LR6000 installation instructions

ABH

ABH LR6000 installation instructions

Assa Abloy effeff 827A-IP Mounting instructions

Assa Abloy

Assa Abloy effeff 827A-IP Mounting instructions

Iseo MA1A installation guide

Iseo

Iseo MA1A installation guide

ID Lock 150 user manual

ID Lock

ID Lock 150 user manual

Lockly ACCESS TOUCH PRO user manual

Lockly

Lockly ACCESS TOUCH PRO user manual

iLoq G50S user guide

iLoq

iLoq G50S user guide

SDC Z7835 installation instructions

SDC

SDC Z7835 installation instructions

ilco 452 Installation

ilco

ilco 452 Installation

Samsung shs-h705 user guide

Samsung

Samsung shs-h705 user guide

TRU-BOLT 08102017 user manual

TRU-BOLT

TRU-BOLT 08102017 user manual

CDVI 500-LADJ quick start guide

CDVI

CDVI 500-LADJ quick start guide

Igloohome Deadbolt 2S Metal Grey Installer/user guide

Igloohome

Igloohome Deadbolt 2S Metal Grey Installer/user guide

eSSL FL-300 user manual

eSSL

eSSL FL-300 user manual

manuals.online logo
manuals.online logoBrands
  • About & Mission
  • Contact us
  • Privacy Policy
  • Terms and Conditions

Copyright 2025 Manuals.Online. All Rights Reserved.

Quick Guide
(continued)
Securely Locking Your Door
Opening Your Door
ISL-1251-00 Rev.2
》Inside : Press push button & lift the handle.
This can be done anytime and will always fully secure your door.
》Outside : Close the door and lift up the handle within the set connection time
Once the lever disengages you must enter your PIN or press remote and
lift up the lever within the connection time to securely lock your door.
Front handle engage
Linked
Front handle not engaged after
the outside handle disconnected
Unlinked
➞
Within
➞
Within
If the time expires you need to
re-engage the handle to securely lock
your door. You can re-engage by
pressing the remote, pressing the
inner lever down or entering your pin.
※Exception : In the Passage mode,
the handle is operable all the time.
※The automatic disconnection time can
be varied by user setting.
Refer to section “settings”.
➞
Press any button
➞
Press (Enter) button
➞
Enter registered
PIN code Press the outer
handle down
•
PIN Code
•Remote Control
(Optional)
(Optional)
󱉉󱉉
Simply press the button
on the Remote Control
➞
Press the outer
handle down
󱉉󱉉
IMPORTANT Your door is only securely locked from the inside when
the inside lever is lifted up & the voice instruction
“lock closed, securely locked” is heard & red LED shows.
7
DO NOT FIT KEY FREE UNTIL DOOR INSTALLTION IS COMPLETE.
BEFORE FITTING KEY FREE, READ THROUGH & FOLLOW ALL
THE SIMPLE INSTRUCTIONS in STEPS 1 - 4.
Installation Guide
Keyfree
Fixing Cylinder
Ⓔ
Ⓔ
➞
Ⓕ
Fitting the Handing Screw
➞ ➞
Left Handle Door Right Handle Door
※Before fitting Key Free, the handing screw must be fitted. Failure to so will allow the outside lever to rotate. Only use
the handing screw provided which is attached to the underside of the outside lever in a bag with a yellow warning label.
※Lightly tighten
the cylinder
fixing screw.
Installation Guide
ⓂⓂ
ⒶⒶ
Ⓐ
Ⓐ
Ⓐ
Ⓐ
Ⓐ
Ⓐ
Ⓐ
Ⓐ
Ⓐ
Ⓐ
Ⓐ
Ⓐ
Ⓐ
Ⓐ
Ⓐ
Ⓐ
Ⓐ
Cylinder fixing screw
Fitting the Spindle
➞ ➞
Contents
Contents Include
Fixing Cylinder
Fitting The Spindle
Fitting The Handing Screw
Installation
Check Points after Installation
1
2
3
5
Registering Your PIN Code
Registering Your Remote Controls (Optional)
Securely Locking your door
Opening Your Door
6
7
1 2
Quick Guide
Installation Guide
Contents Include
Ⓐ Ⓑ Ⓒ Ⓓ
Ⓔ Ⓕ
Ⓖ Ⓗ Ⓘ
Ⓙ
Ⓚ
Ⓛ
Ⓜ
Ⓝ
※Fit Key Free using hand Philips screw driver to avoid cross threading fixing screws.
If using a cordless, please ensure it is set to low speed & torque.
M6: Thick & Short Screw×2
M4: Small
Screw
M4: Smallest
Screw
M6: Thick & Medium Screw×1
M5: Thin & Longest Screw×2
Ⓖ
ⒽⒷ
※Insert the spindle
into the main unit. ※After fully inserting the spindle,
push the snap fit washer down
until ‘click’ sound is heard.
※Check that the spindle
free rotates.
※Ⓖ, Ⓗcould be assembled
already on Ⓑ (main unit).
※In case that the main unit includes the spindle already, please skip step .
Installation
To avoid any possibility of being locked out,
do not close the door until a PIN code or a remote has been
successfully registered to allow access back in.
※Checkthearrow is
onthe side.
Ⓐ
Ⓑ
Ⓒ
Ⓓ
Ⓔ
Ⓘ
Ⓙ
Ⓙ
Ⓚ
Ⓛ
Ⓛ
Ⓝ
M6: Thick & Short Screw
M4: Small Screw
M6: Thick & Medium
Screw
M5: Thin & Longest
Screw
M5: Thin & Longest
Screw
Rubber Cap
*IMPORTANT*
3 4
※Takecarenot to
damagespring
whenfitting
insidehandle
Check Points after Installation
①
②
Insert Batteries
Insert Remote Control(Optional) module
Take care inserting the Remote Control(Optional) module.
The pins can easily bend and may not be replaced under warranty
③Inside Lever Voice Handing
When an inside lever is fitted to LH side of door, voice handing will be correct.
No further action required.
When an inside lever is fitted to RH side of door the voice instruction will be opposite.
Eg "lock closed securely locked" when opening the door.
Follow the simple procedure below to set the correct voice handing.
④Check The Mechanical Back Up Key Works Properly
- Turn key to 90 degree.
- Press outside lever down & open door.
- Remove key
- Check the operation of the inside handle child safety / security button handle.
The inside lever must not move unless the button is depressed.
When the inside lever returns to horizontal, the button must re-engage to prevent use.
⑤Check the free movement of both inside & outside levers
※
If the button does not re-engage, please slightly lift up the inside lever to re-engage.
Quick Guide
5 6
Registering Your PIN Code
Registering Your Remote Controls (Optional)
Family code is the code that you and your family remembers as your PIN.
The visitor code can be given to guests or work people. Once guests or work people have
left you can change the visitor code without you or your family learning a new one.
➞
Press (Registration)
button
➞
➞
Press button to
register
Enter Family code
(4 to 12 digits)
➞
Enter Visitor code
(4 to 12 digits)
➞
※If you want to use just one PIN Code for family, then skip the ④~⑤th steps and press Registration button.
①
④
②
⑤
③
⑥
Press (Registration)
button to complete
Press button to
register
Please press the 2 marked buttons shown at
the same time for 3 seconds to register,
The remote LED will show red
➞
Press (Registration)
button
①
Register all remote controls
you wish to register
one by one
②
➞
③
Only press (Registration)
button to complete after all
remotes have been registered