11 12
to be tested and press down slightly
but rmly, making sure the sensor
rests at against the concrete. Take
several readings close to each other.
If the readings vary, use the highest
reading. The moisture readings will
show between 0.0% to a maximum
of 6.9%.
Note: Moisture readings in concrete may
be affected by the following factors:
• The type of aggregate used in the mix
may contain iron or other metals that
could cause the reading to be high or
read the same value no matter where
you place the meter.
• Any rebar or metal screen too close to
the surface will cause a high reading.
Move the meter to several areas for
more comparisons.
2. Relative Measurement Mode. Press
the MODE button until the display
shows REL, then press the ON/
HOLD button. With nothing under
the sensor plate, 0 will be displayed.
While in this mode, REL will show in
the lower-left corner of the display.
Note: This mode is normally used for obtaining
relative measurements, typically for non-concrete
applications (example: relative measurements on
gypsum or drywall).
3. Meter Calibration Mode. Press the
MODE button three times, CAL will
be displayed. Follow the instructions
printed on page 20 or on the back of
the included On-Demand Calibrator.
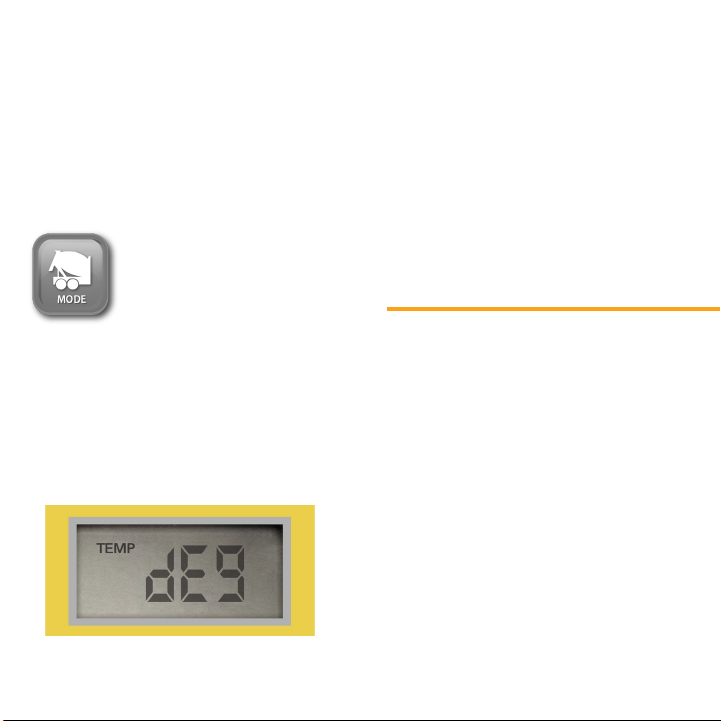
4. Relative Humidity and Temperature
Mode. Once in this mode, your meter
will be in a Relative Humidity (RH)
Measurement mode (showing 0-100%)
and Temperature Measurement mode
(showing 32°F to 110°F or 0°C to
43.3°C) for measuring ambient RH
and temperature. Press and release the
MODE button until the display shows
RH. The display will toggle every 3.5
seconds to display the following: