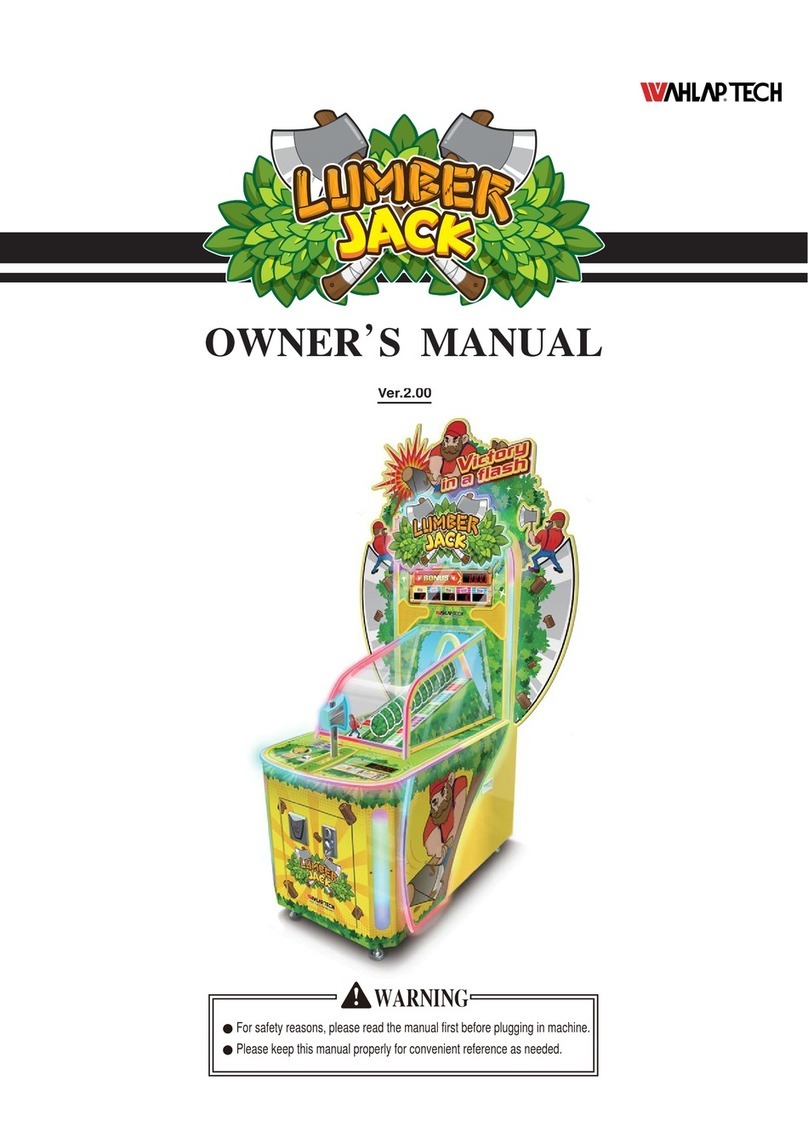
WAHLAP TECH Crazy Rafting User manual

Ver.1.00


1. Safety Precautions................................................1
2. Product Description...............................................6
3. Game Description................................................17
4.Test and Setting..................................................18
2.1 Product Specification
3.1 Appearance Design
3.3 How to play
3.2 Game introduction
2.2 Overview
2.3 Parts Name
2.4 Shipment List
2.5 Packing List
2.6 Install Direction
1.2 Placing Site
1.3 Safety Precautions
1.4 Precaution during Play
1.5 Transporting and Moving
1.6 Installing and Placing
1.7 Caution & Warning Stickers
1
2
3
3
4
6
7
8
9
12
13
17
17
17
5
Table of Contents
About This Manual
1.1 Warning Stickers 1
4.1 Background operation 18
4.2 Sensor Setting 19
4.3 HardWare Test 19
4.3.1 Motion Test 20
4.3.2 Lighting Test 21
4.3.3 Speaker Test 22
4.3.4 Fan Test 23
4.3.5 Oar Test 23
4.4 Game setting 24
4.4.1 Difficulty Setting 24
4.4.2 Coin Setting 25
4.4.3 Oar Setting 25
4.4.4 Sound Setting 25
4.4.5 Language Setting 26
4.5 Report 26
4.5.1 Day Report 27
2.7 Position of seat rear-plastic components 16

4.5.2 Month Report 28
4.5.3 Total Report 29
4.5.4 Reset Report 30
4.5.5 Reset List Rank 31
5. Maintenance and Service.........................................32
6. Assembly .......................................................40
5.2.1 Maintenance and replacement of coin slot 33
5.2.2 Maintenance of host 33
5.2.3 Maintenance and replacement of power box 34
5.2.4 Replace speaker and blower at right of console(same for the left side) 34
5.2.5 Replacement of LCD 35
5.2.6 Replace speaker below LCD 35
5.2.7 Replace left light below LCD (same for the right) 36
5.2.8 Replace solenoid valve 36
5.2.9 Replace light strip in the middle of seat 37
5.2.10 Replace the IO board,power amplifier board,and adapter card 37
5.2.11 Replace light strips at two sides of vibrating base 38
5.2.12 Replace light strip in front of light box 38
5.2.13 Replace light strip of top front light box 39
5.1 Maintenance and service 32
5.2 Part Replacement 33
6.1 Assembly tree diagram 40
6.2 General assembly(JPL-0000000)41
6.3 Assembly of body(JPL-0100000)42
6.3.1 Body frame(JPL-0101000)44
6.3.2 Assembly of display(JPL-0102000)45
6.3.3 Assembly of front speaker(JPL-0103000)46
6.3.4 Assembly of light box at left of screen(JPL-0104000)47
6.3.5 Assembly of air compressor (JPL-0105000)48
6.3.6 Assembly of exhaust valve(JPL-0106000)49
6.3.7 Assembly of air valve(JPL-0107000)50
6.3.8 Assembly of fan(JPL-0108000)51
6.3.9 Assembly of power box(JPL-0109000)52
6.3.10 Assembly of main machine(JPL-0110000)53
6.3.11 Assembly of light at bottom left of screen(JPL-0111000)54
6.3.12 Assembly of display glass(JPL-0112000)55
6.3.13 Assembly of filter(JPL-0113000)56
6.3.14 Assembly of front speaker board(JPL-0114000)57
6.3.15 Assembly of relay(JPL-0115000)58
6.3.16 Assembly of light at right of screen(JPL-0116000)59
6.3.17 Assembly of light at bottom right of screen(JPL-0117000)60

7.Printing Pattern ..................................................89
8.Wiring Diagram ..................................................91
After-sales Service
6.4.2 Assembly of right small light box at top(JPL-0202000) 63
6.4.1 Assembly of front light box at top(JPL-0201000) 62
6.4.3 Assembly of left small light box at top(JPL-0203000) 64
6.4.4 Assembly of small light box at top(JPL-0204000) 65
6.4.5 Assembly of billboard(JPL-0205000) 66
6.5.1 Assembly of vibration base(JPL-0301000) 68
6.5.2 Assembly of air bag(JPL-0302000) 69
6.5.3 Assembly of damper rubber(JPL-0303000) 70
6.5.1 Assembly of solenoid valve(JPL-0304000) 71
6.6.1 Assembly of LED at side of vibration seat(JPL-0401000) 73
6.7.1 Assembly of seat plastic(JPL-0501000) 75
6.7.2 Assembly of watermark light(JPL-0502000) 76
6.7.3 Assembly of socket(JPL-0503000) 77
6.7.4 Assembly of safety belt socket(JPL-0504000) 78
6.5 Assembly of vibration seat(JPL-0300000) 67
6.6 Assembly of upper vibration seat(JPL-0400000) 72
6.7 Assembly of seat(JPL-0500000) 74
6.4 Assembly of light box(JPL-0200000) 61
6.8 Assembly of console(JPL-0600000)79
6.8.1 Assembly of code table frame(JPL-0601000)81
6.8.2 Assembly of paddle frame(JPL-0602000)82
6.8.2.1 Assembly of paddle body(JPL-0602000A)83
6.8.3 Assembly of coin door frame(JPL-0603000)84
6.8.4 Assembly of plastic in front of console (JPL-0604000)85
6.8.5 Assembly of speaker box at left of console(JPL-0605000)86
6.8.6 Assembly of speaker box at right of console(JPL-0606000)87
6.8.7 Assembly of plastic behind console(JPL-0607000)88

1.1 Warning Stickers
1.2 Placing Site
In order to avoid injury to related people and damage to property, please
observe the followings:
PLEASE READ FIRST
The following marks can be used to indicate the magnitudes of risk and
damage caused by ignorance or improper operation:
Warning
Warning
Caution
means “may result in serious injury or death”
means “may result in minor injury or property
damage”
Serious Injury: refers to the situations in which hospital treatment or long-term treatment
will be accepted because of losing sight, getting hurt, getting burnt, electric
shock, fracture or intoxication.
Minor Injury: refers to the cases that there is no need to go to hospital or accept long-term
treatment.
Property Damage: refers to the damage of house, facility, or hurt of livestock and pet
This machine is designed for indoor use only. Never install the machine
outdoors. Meanwhile, please avoid the following locations indoor:
please make sure the place line has been grounded before product
installation, setup, testing, operation or repair
The rear part has the vent for heat emission from PC or screen.
Don’t place anything nearby to avoid game failure.
Provide a space of minimum 30cm between the rear of the machine
and the wall for good ventilation and heat emission
1. Safety Precautions
Direct sunlight, water leakage, damp and high temperature places.
Near Flammable, volatile, or/and dangerous substance.
Slope, unstable places or locations subject to frequent vibration.
Near emergency exit, fire extinguisher or similar equipment.

1.3 Safety Precautions

1.4 Precautions during Play
1.5 Transporting and moving

1.6 Installing and Placing

1.7 Caution & Warning Stickers

6
Indoor Only
1850 W
475 kg
Location
Dimension
Rated Voltage、Frequency
Power Consumption
Weight
Temperature Range 5~40 。
C
AC220V 50HZ /60HZ
AC110V 50HZ /60HZ
NOTE:The contents herein described are subject to change without notice.
2. Product Description
2.1 Product Specification
Front View Side View
* 110V voltage can be set through the transformer and fuse. Please contact the distributor for details.
1505(W)×2370(D)×2590(H)
2590
1505 2370

7
Rear View
Bottom View
2.2 Overview
Side View
Top View

8
2.3 Parts Name
55-inches LCD
Small light box at top
Decoration sheet
at two sides
Billboard
Decoration at
two sides of LCD
Decoration at two
sides of light box
Pedal
Paddle assembly
Seat
Vibration rack Safety belt
Speaker
Air outlet
View button
Start button
Emergency-stop button

9
2.4 Shipment List
Packing Carton 1
1
1
3
1
5
1
6
1
2
2
4
1
6JPL-9901E04 Seatcover water-tolerant2C 850g T-7 1
5JPL-9901E03 Seatcoaming water-tolerant2C 850g T-7 1
4Accessory box 1
3Seat group 1
2JPL-9901E02 limitwood1 wood 2
1JPL-9901E01 Seatplatformframe wood 1
No. Draw No. Name Material/Spec. Qty. Product Code

10
Packing Carton 2
1
1
2
1
3
2
1
6
15
1
4
1
7JPL-0205000 Kanbanpackaging 1
6JPL-0100000 Mainbodyassembly 1
5JPL-9902E04 Maincanopy water-tolerant2C 850g T-7 1
4JPL-9902E03 mainpartcoaming water-tolerant2C 850g T-7 1
3JPL-9902E02 limitwood2 wood 2
2JPL-9902E05 limitwood3 wood 1
1JPL-9902E01 mainbodyplatformframe wood 1
No. Draw No. Name Material/Spec. Qty. Product Code

11
Packing Carton 3
2
1
1
1
2JPL-9903E01 Lightboxcarton water-tolerant2C 850g T-7 1
1Light box assembly 1
No. Draw No. Name Material/Spec. Qty. Product Code

12
User's manual - English
2.5 Packing List
Please check the following items after purchasing our product. If any part
missing or damaged, please contact our sales person!
Lexus key 2
cross recessed fillister head
three-combination screw
M4*12(Chrome)4
Hex Socket Cap Screws M4*12(Chrome)4
Hexagon triple combination
8*20*16*1.5(black) 6
6*16*12*1.2(black) 6
AC cable 3m(1.0m㎡)2
fuse tube F6A/5*20 250V 1
Coated paper 1
Description Specification Quantity Remarks

13
Step 1
2.6 Install Direction
Assembly of Billboard
1、Use four M4*12 cross round head three-combination screws to fix
billboard assembly;
2、Use four M4*12 large flat head socket hexagon screws to fix
decoration at left and right of billboard.
Billboard
Left and Right of billboard

Assembly of light box at top
1、Remove 10 M4*12 cross round head three-combination screws, and remove
assembly 1.
2、Lift the top light box, align it with fastener position, and insert
it into from front to rear.
3、Use 6 M6*16 hex screws to fix top light box assembly.
4、Connect the wires, and install assembly 1.
14
Step 2
Assembly 1
fastener position

Connection of seat
1、Align the seat assembly with display assembly, and connect the wires;
2、Use 6 M8*20 hex screws to connect seat assembly.
15
Step 3
Special attention:When special case occurs in shipment, please check “Installation guide” in attachment box
of shipment, and make assembly according to installation guide; special supplement will
not be made in this instruction.
Table of contents
Other WAHLAP TECH Arcade Game Machine manuals
Popular Arcade Game Machine manuals by other brands

Sega
Sega Sonic Sports Air Hockey 2P owner's manual

Universal Space
Universal Space Pin Setter Operation manual

Sega
Sega Virtua Striker 4 Service manual

Injoy Motion
Injoy Motion STREET RACING STARS SDX2-1 Service manual

Innovative Concepts in Entertainment
Innovative Concepts in Entertainment Hammerhead Owner's and service manual

IGS
IGS Golden Master Operator's manual