16)Satellite positioning status: The RTK satellite positioning
signal has been received, and it displays "GPS Positioned";
when it is not connected, it displays "GPS Not Positioned".
Waypoints
15 m
D H H.S V.S GPS Ready
17.1 m 0.0 m/s 0.0 m/s P0.0° R0.0° Y0.0°
1.30 m
18
03:58:45
2.4G
98%
97%
Pose M ode
Set the WeChat account and the object of the aircraft location sharing
Turn on/off aircraft location sharing
10
Walkera All Rights Reserved
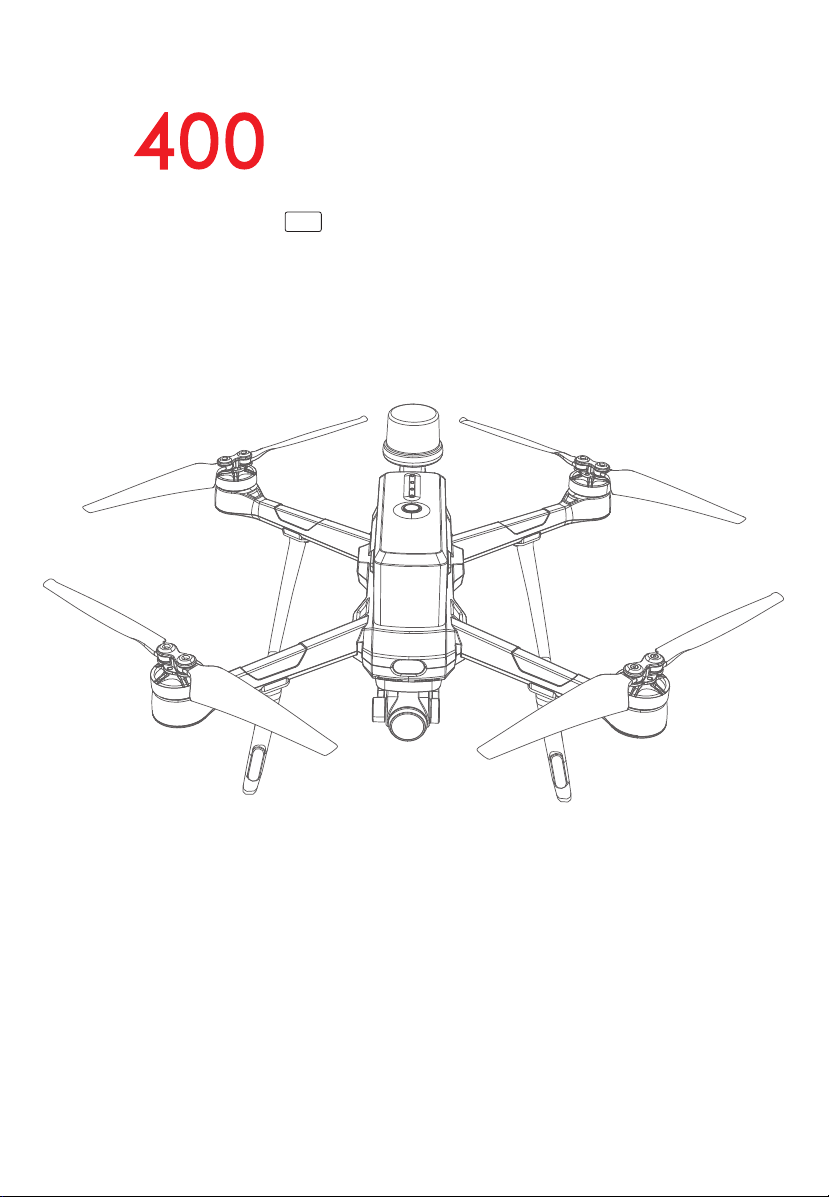
R400
Quick Start Guide
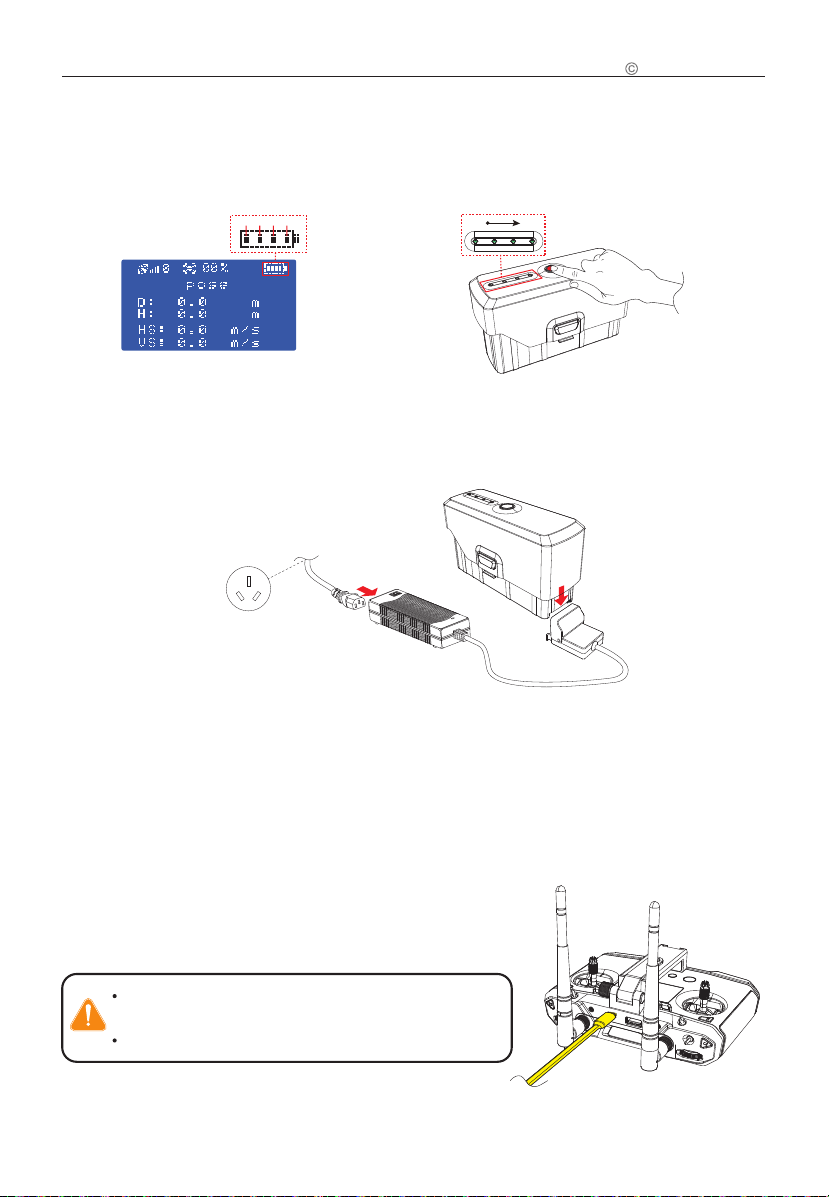
1) Install the antennas. 2) Stretch the mobile device support upwards,
place the mobile phone to clamp it, and then
connect the mobile phone to the remote
control with a data cable with OTG function.
3) Adjust the position of the antenna
and the position of the mobile
phone.
12)Setting: Click the icon“ ”to open the Setting menu,
Normal setting, aircraft, remote control, gimbal and battery
can be set.
15) Gimbal quick actions: Back to center and down.
13)Camera settings: Touch the “ ” icon to preview, there are
professional, picture, video and other settings.
Others:
(1) grid; (2) anti-flicker; (3)2.4G& 5.8G channel switching;
(4) format SD card.
14)Camera Working Mode Switch: click the icon“ ” once,
and the camera working mode will switch between photo
& video modes once.
When switching to taking photos: tap the icon“ ” to trigger
the camera to take photos.
When switching to recording: tap the icon“ ” to start/
stop recording.
Camera Working Mode Switch: click the icon“ ” once,
MODE
17)Flight status parameters:
Distance(D): horizontal distance between aircraft and
returning point.
Height(H): vertical distance between aircraft and returning
point.
Horizontal speed(H.S): speed of aircraft in a horizontal
direction.
Vertical speed(V.S): speed of aircraft in the vertical direction.
Pitch angle(P): The front and rear tilt angles of the aircraft.
Roll angle(R): The left and right tilt angle of the aircraft.
Heading angle(Y ): The left and right steering angle of the
aircraft.
18)Automatic obstacle avoidance switch: Turns on or off the
automatic obstacle avoidance function.
22)Map thumbnail icon: Click the map thumbnail icon to quickly
switch to the map interface (please turn off the aircraft
power before flight and click " map thumbnail" when
networking.)
W aypoints
Route Plant
M ap lock
M ap switch
9 .0 Prepare for Remote Controller


 user manual")