CLEANING & SANITIZING
INSTRUCTIONS
1. Rinse container thoroughly under running
water. Add 8 ounces of clean rinse water to
container. Place container in normal operating
position on mixer and run on high speed for
two (2) minutes. Empty container.
2. UNPLUG MIXER POWER CORD FROM
ELECTRICAL OUTLET
3. Loosen and remove thumbscrew (1) and
container support (2). See Illustration C.
4. If your mixer has a chrome-plated metal switch
actuator (Illustration D) loosen and remove
thumbscrew (3) and On/Off switch actuator (4).
If your mixer has a black plastic switch
actuator (Illustration E), snap-off and remove
switch actuator knob.
5. Carefully remove stainless steel panel.
6. Wash, rinse, and sanitize the thumbscrews,
container support, On/Off switch actuator,
stainless steel panel, and container.Sanitize
these parts by immersing in sanitizing solution
for two (2) minutes. Shake excess moisture
and allow parts to air dry.
7. Working from the top down, wash, rinse, and
sanitize the portion of the mixer housing
situated directly over the container and the
portion of the spindle above the agitator, using
absorbent wiping cloths moistened with
cleaning solution, rinse water and sanitizing
solution.
8. Reassemble panel, On/Offswitch actuator,
container support and thumbscrews to mixer
housing.
9. Wash, rinse, and sanitize the agitator and
the bottom of the spindle (Illustration A and B)
as follows:
Plug the Waring®2-Speed Drink Mixer cord
into electrical outlet.
Add 8 ounces of washing solution to
container and place in normal operating
position on mixer.
Run on high speed for a minimum of two
(2) minutes.
Empty container and repeat two-minute run
with 8 ounces of water.
Empty container, and repeat two-minute
run with 8 ounces of sanitizing solution.
Empty container.Run motor for a few
seconds with empty container in normal
operating position to spin off any excess
moisture. Empty container.Do not rinse
container,spindle or agitator after sanitizing
is completed. Allow all parts to air dry.
Wash, rinse, and sanitize as outlined above prior
to initial use, and whenever mixer will not be
used again within a period of one hour to avoid
bacteria build up.
Surfaces of the mixer housing which are outside of
the food contact areas may be cleaned as required,
using wiping cloths moistened with cleaning
solution, rinse water and sanitizing solution.
UNPLUG POWER CORD FROM ELECTRICAL
OUTLET BEFORE CLEANING HOUSING.
Prevent liquid from running into housing by
wringing all excess moisture from wiping cloths
before using them.
Washing solutions based on non-sudsing
detergents, and chlorine-based sanitizing
solutions having a minimum chlorine
concentration of 100 PPM are recommended.
The following washing, rinsing, and sanitizing
solutions, or their equivalents, may be used:
2
1
IMPORTANT
SAFEGUARDS
READ ALL INSTRUCTIONS
1. To protect against electrical hazards, do not
put the Waring®2-Speed Drink Mixer in water
or other liquid.
2. Unplug from outlet when not in use, before put-
ting on or taking off parts, and before
cleaning.
3. Avoid contacting moving parts.
4. Do not operate the Waring®2-Speed Drink
Mixer or any other electrical equipment with
adamaged cord or plug, or after the unit mal-
functions, is dropped or damaged in any man-
ner. Return it to the nearest authorized service
facility for examination, repair, or adjustment.
5. Do not use outdoors.
6. Do not let cord hang over edge of table or
counter, or touch hot surfaces.
7. Do not operate the mixer unless the U-shaped
stabilizing leg on the bottom of the unit is
unfolded and fully seated in position, projecting
from the rear of the base.
8. Put this list in a safe place. Do not discard.
SAVE THESE
INSTRUCTIONS
GROUNDING
INSTRUCTIONS
For your protection, the Waring®2-Speed Drink
Mixer is equipped with a 3-conductor cord set.
120-Volt units are supplied with a molded
3-prong grounding-type plug, and should be
used in combination with a properly connected
grounding-type outlet as shown in Figure A.
If a grounding type outlet is not available, and
adapter, shown in Figure B, may be obtained
to enable a 2-slot wall outlet to be used with
a3-prong plug.
Referring to Figure C, the adapter must be
grounded by attaching its grounding lug under
the screw of the outlet cover plate.
CAUTION: Before using an adapter, it must be
determined that the outlet cover plate screw is
properly grounded. If in doubt, consult a licensed
electrician.
Never use an adapter unless you are sure it is
properly grounded.
NOTE: Use of an adapter is not permitted
in Canada
SAVE THESE
INSTRUCTIONS
HOW TO USE YOUR
WARING®2-SPEED
DRINK MIXER
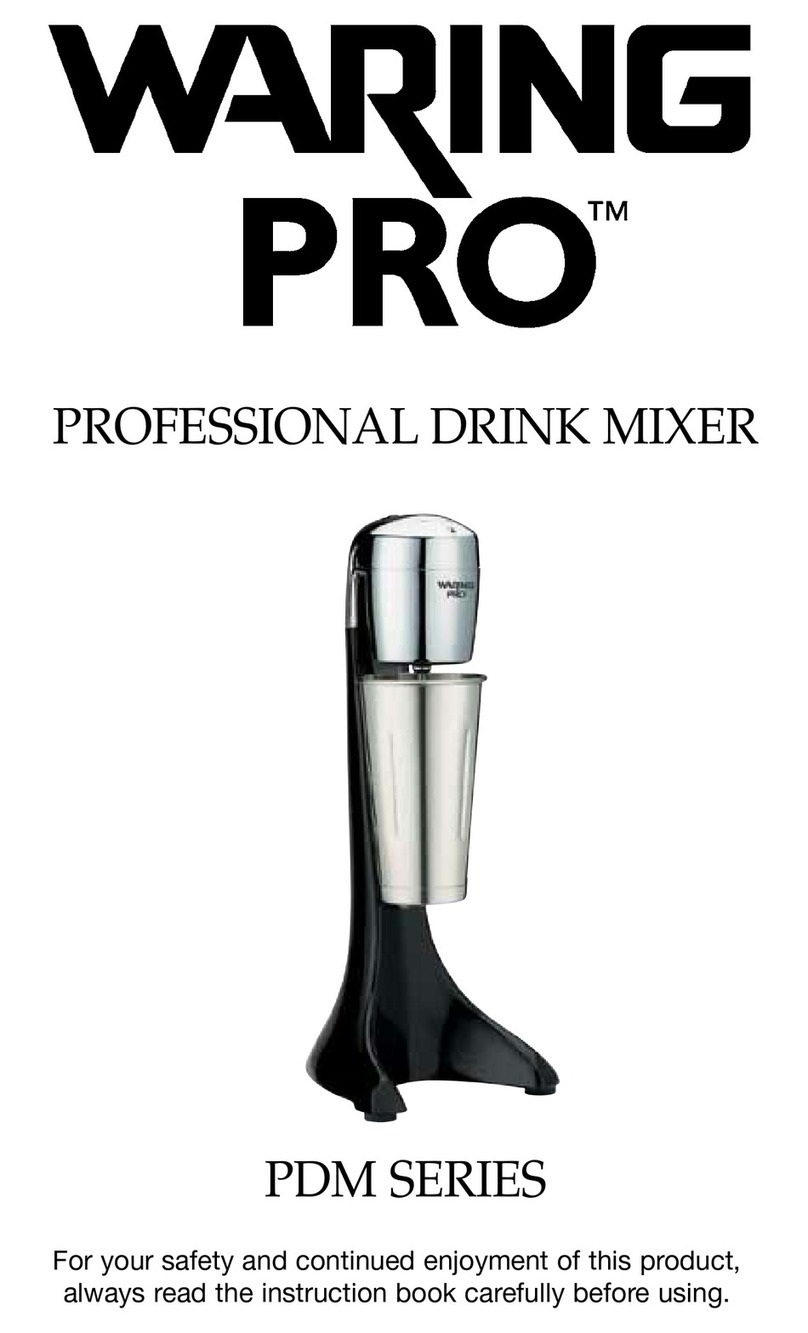
Your new Waring®2-Speed Drink Mixer has an
automatic ON/OFF switch, which starts the motor
when the container is placed in the proper
position on container support.
The motor will continue to operate while the
container remains on the mixer.
Removal of the container will shut off the motor.
The 2-speed switch on top of the Waring®
Drink Mixer regulates the operating speed.
Choose either High Speed or Low Speed.
For mixing heavy drinks, use High Speed only;
and for light drinks, use Low Speed.
For maximum stability, unfold stabilizing leg on
base of the unit. (DMC20 model only)
SOLUTION PRODUCT DILUTION IN WATER TEMPERATURE
Washing: Calgon®Cargolac 1 Tablespoon/Gallon Hot(115°F)
Rinsing: Plain Water Plain Water Warm ( 95°F)
Sanitizing: Clorox®Institutional Tablespoon/Gallon Cold (50°F- 70°F)
Bleach

