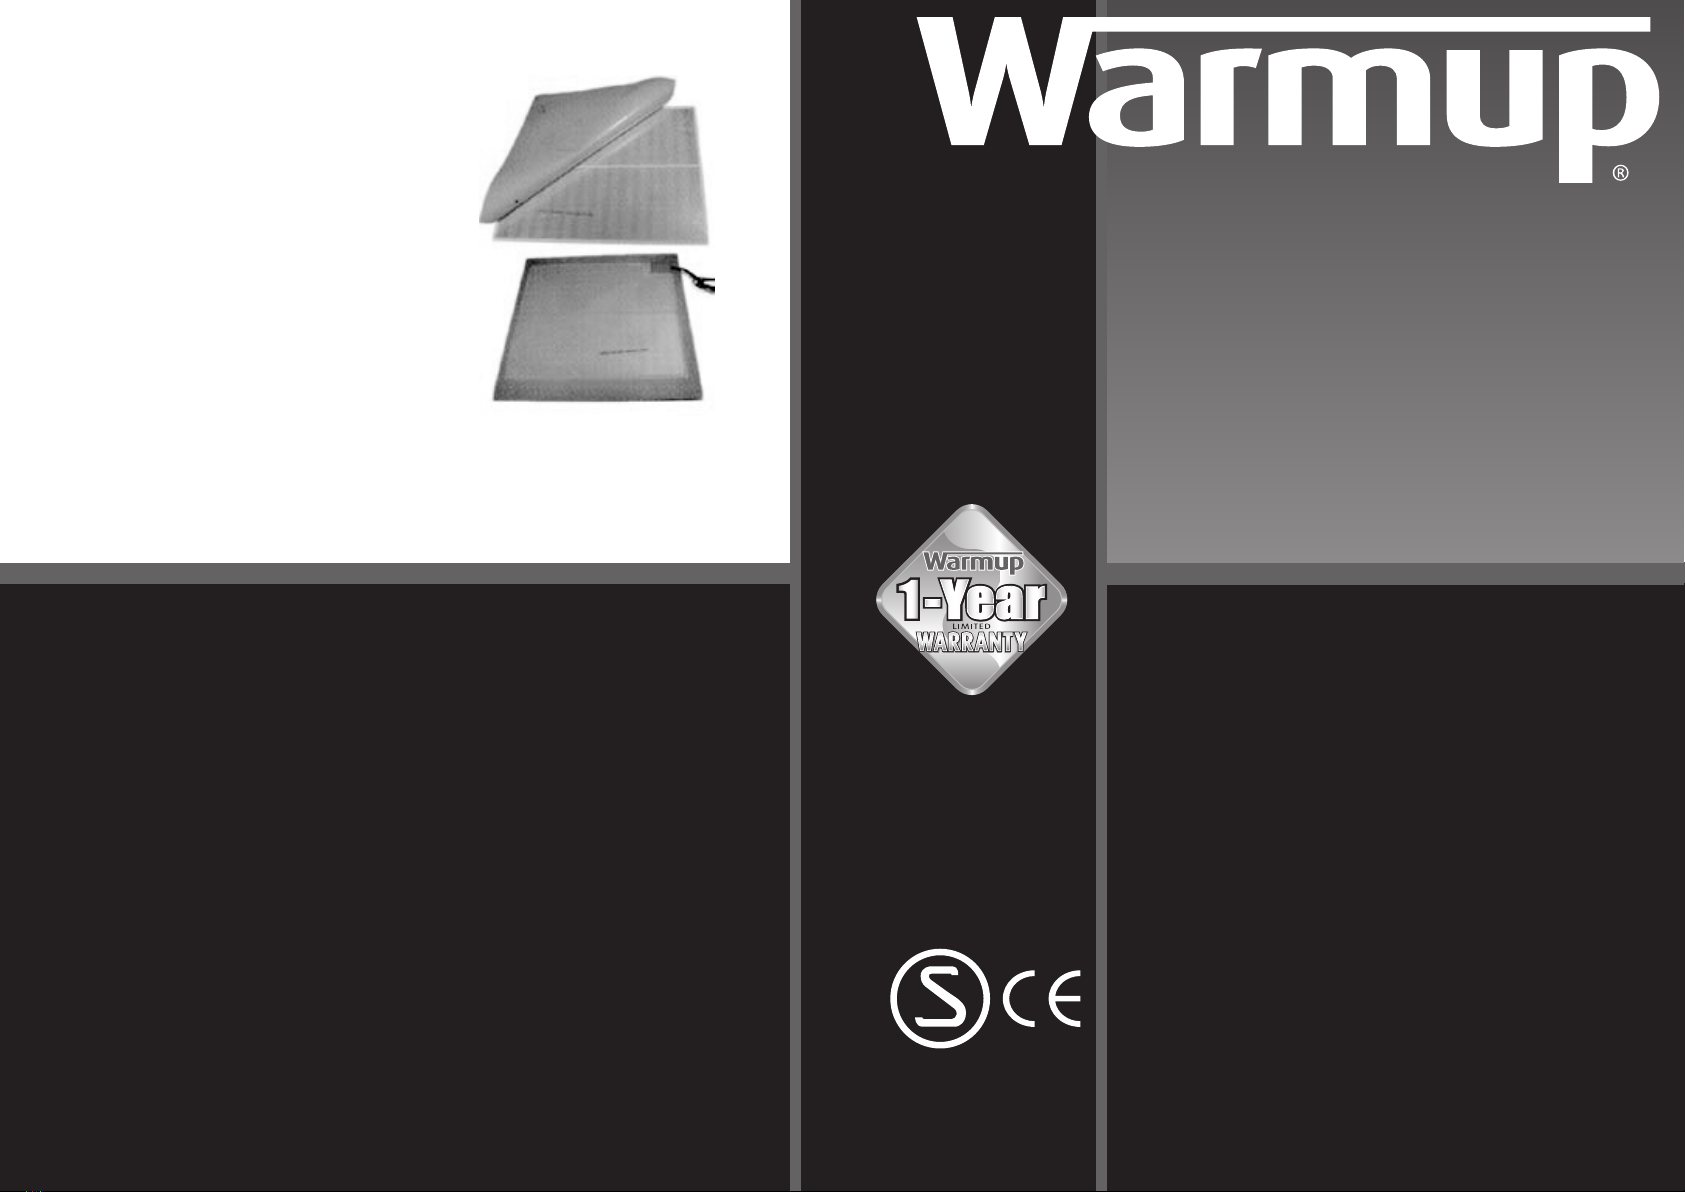
Installation Guidelines
It is important that heaters are checked for damage before installation to ensure that the
metallic lament has not been creased and that the protective lm has not been pierced.
The size must also be checked to ensure that it will t on the mirror with a minimum
10mm gap between the lm edge and the mirror edge.
The demister must NOT be visible after installation.
The mirror to be used in the application must be suitable for the purpose. The mirror
must be completely at and free of stress and crack lines. NO accessories or other mate-
rials should be adhered or xed to mirror surface as this can create uneven temperatures
and stress upon the mirror.
The Warmup® demister must be mounted directly on to the reverse side of the mirror OR
onto a surface which is in direct contact with the mirror. The demister is self -adhesive,
NO other adhesives should be used.
The mirror must be installed on to a wall which is sound, has a at and level surface,
which is free of moisture. The wall must also be capable of bearing the weight of the
mirror. The mirror must be xed completely at to the wall to prevent stress to the mirror
and in accordance with the manufacturer’s instructions, using suitable xings. Mechani-
cal xings must NOT pierce or touch the demister OR create undue stress on the mirror or
demister due to over tightening. If the demister is to be adhered to the wall the complete
surface of the mirror back and demister must be coated with the adhesive.
ALL the installed components of the Warmup® demister including the wiring must be
protected and covered so as to be inaccessible after installation, in compliance with na-
tional safety standards.
The Warmup® demister comes with a one meter power supply cable. This cable can be
extended if required using suitable connectors and a correctly rated cable.
Fitting Instructions
IMPORTANT: The lm should be applied slowly in a constant motion as the adhesive
protective cover is removed. The protective cover should NEVER be completely re-
moved before applying the heater to the mirror. The heater should not be creased OR
folded at any time. Ensure no air bubbles are trapped under the lm surface.
1. Mark the location of the demister on the back of the mirror.
2. Peel the adhesive protective cover away from one corner and place at the corner of the
area to be covered.
3. Continue to slowly peel the adhesive protective cover o the lm surface, applying rm,
even pressure to adhere the lm to the surface as the adhesive protective cover is removed.
(ensure no air bubbles are trapped at any time)
4. Once the heater is adhered to the mirror surface, locate the connector block adhered to
the mirror and measure its position relative to the mirror edges.
5. Cut a recess in the wall where the measured location of the demister power cable connec-
tor will be sited, so as to allow the mirror to be adhered ush against the fall surface.
6. Feed or recess power cables to point of connection as required.
7. Ax mirror to wall using suitable xings / adhesive as per the mirror manufacturer’s
guidelines, ensuring that no cables or connector are trapped behind the mirror which cause
the mirror to be stressed or sit unevenly on the wall.
Final connections should be made by a Part P certied electrician.
Electrical Considerations
As with all electrical projects governed by Part P regulations, all mains electrical connec-
tions must be undertaken by a certied electrician. All work must be carried out in accor-
dance with the IEE wiring regulations to BS7671 or national regulations.
The Warmup® mirror demister must be connected to a lighting circuit, with a maximum 5
amp fuse of circuit breaker in the distribution board/consumer unit.
The heater can either be connected directly to a switched light circuit, which will turn on
the heater when the light is switched on OR via a separate switch connected to the main
lighting circuit.
If more than one demister is to be installed, they edges MUST be at least 5mm apart and
the wiring MUST be in parallel. Heaters must NOT be connected in series. The power rating
of the circuit should also be checked to determine that the heaters will NOT overload the
lighting circuit.
Any metal parts which are accessible and are in contact with the mirror must be earthed /
grounded in compliance with BS7671 or national regulations.
Register your product online at www.warmup.co.uk
Warranty
The product is guaranteed for 12 months. The guarantee does not aect
your statutory rights.
Warmup PLC cannot be held responsible for damage or repairs required
as a consequence of faulty installation or application OR due to the use
of components or accessories which are not compatible with this unit.
Please keep your receipt as proof of purchase.