manuals.online logo
Brands
  1. Home
  2. •
  3. Brands
  4. •
  5. WE-EF
  6. •
  7. Projector
  8. •
  9. WE-EF FLD121 Installation and operating instructions

WE-EF FLD121 Installation and operating instructions

TO9210W0413 WE-EF 2013
Technical specifications are subject to change.
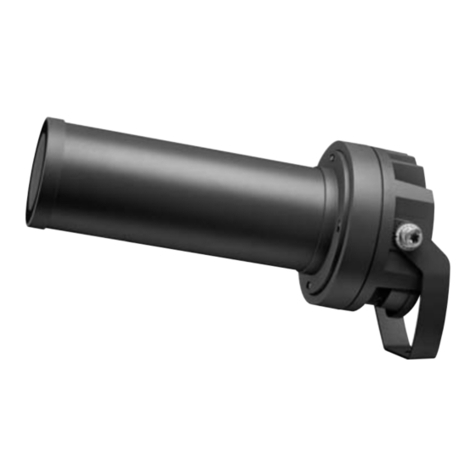
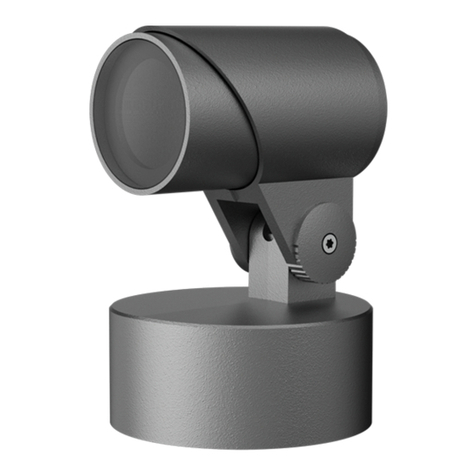
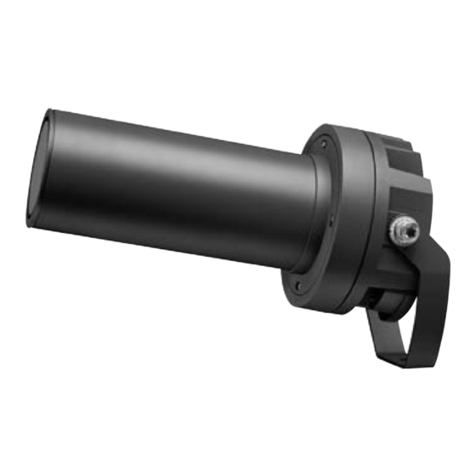
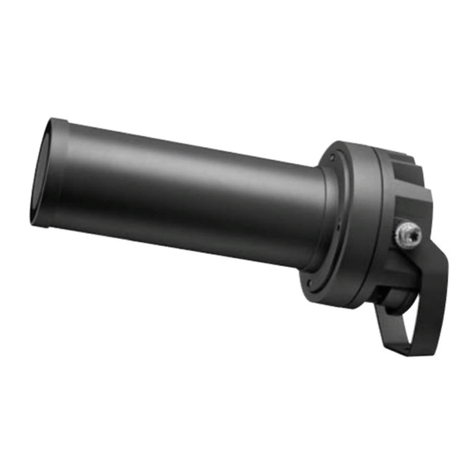
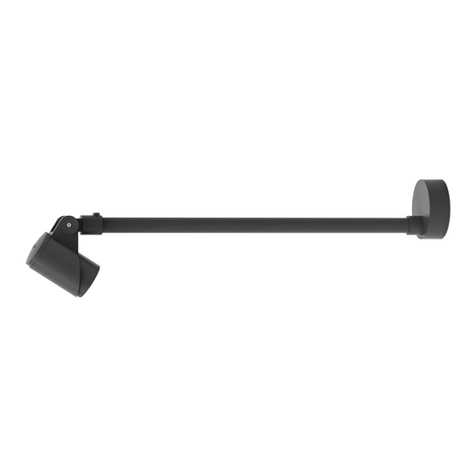
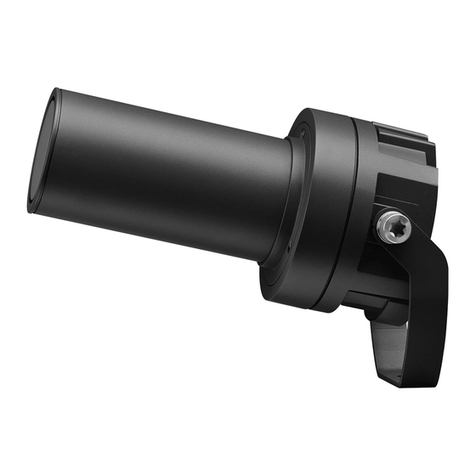
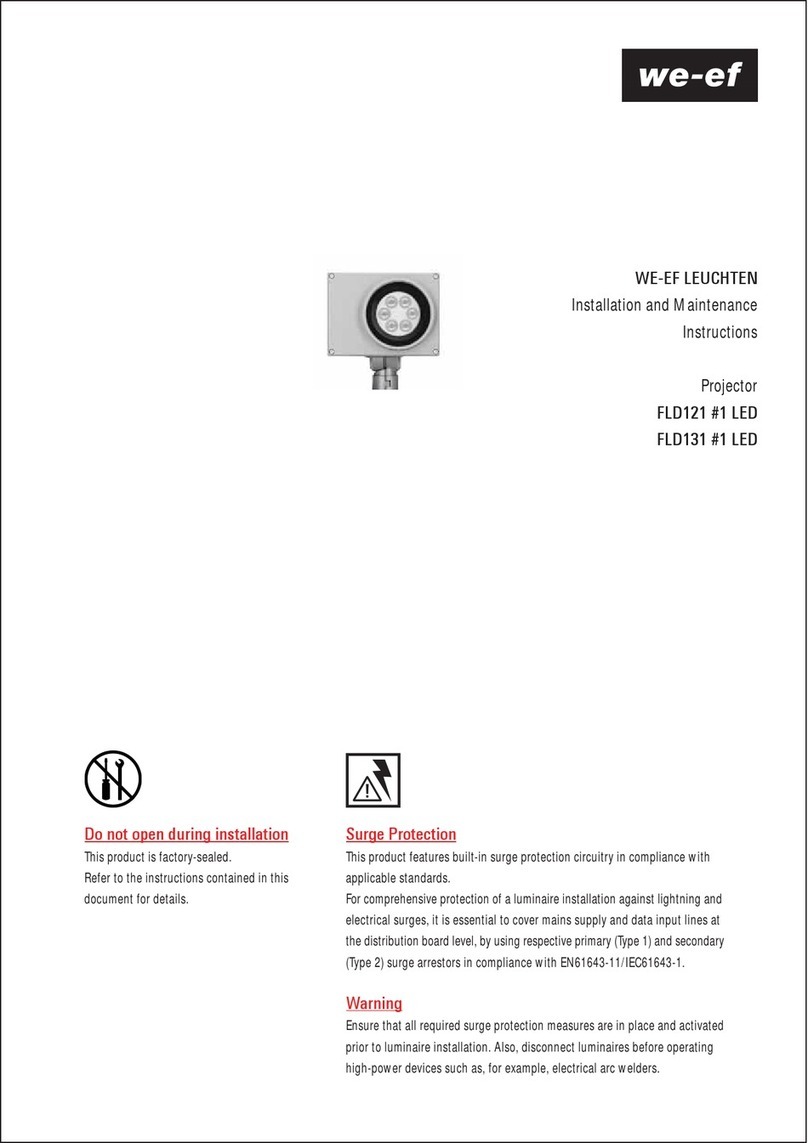
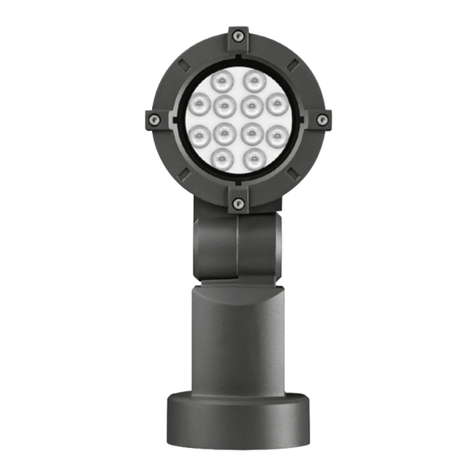
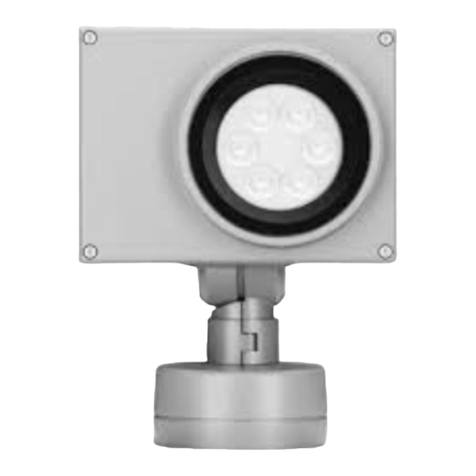
Projector LED
FLD121 #1 FLD131 #1
IP66, Class I, ta = 40˚C
Mounting Accessories
145-9535 Flat surface fitter 145-9536 Column fitter
WE-EF LEUCHTEN
Installation & Maintenance
Instructions
Projector
FLD121/FLD131 #1 LED
www.we-ef.com
WE-EF LEUCHTEN WE-EF LUMIERE
Germany France
Tel +49 5194 909-0 Tel +33 4 74 99 14 44
Fax +49 5194 909-299 Fax +33 4 74 99 14 40
[email protected] [email protected]
WE-EF HELVETICA WE-EF ILLUMINAZIONE
Switzerland Italy
Tel +41 22 752 49 94 Tel +39 029 0092354
Fax +41 22 752 49 74 [email protected]
[email protected]
WE-EF LIGHTING WE-EF LIGHTING
United Kingdom United States of America
Tel +44 115 989 0319 Tel +1 724 742 0030
Fax +44 115 989 0539 Fax +1 724 742 0035
[email protected] [email protected]
WE-EF LIGHTING WE-EF LIGHTING
Thailand Australia
Tel +66 2 738 9610-14 Tel +61 3 8587 0444
Fax +66 2 175 2174 Fax +61 3 8587 0499
[email protected] [email protected]
Light source
LED
Maintenance
Apart from cleaning the outside of the luminaire, no special maintenance is necessary.
Installation
The product must be installed and maintained by a suitably
qualified person in compliance with the latest applicable
regulations and relevant legislation.
The minimum distance of an object to be illuminated must be
observed (see illustration inside FLD131 but FLD121
doesn’t require a minimum distance).
Claims based on defects attributable to improper installation,
application, operation and/or any modification carried out by the
purchaser or third parties, and the consequences thereof, are
excluded.
Important: The luminaire is factory-sealed and does not need to be
opened during installation.
2) Installation method 2 for column fitter
Installation Procedure
1) Installation method 1 for flat surface fitter
Fig. II Wiring diagram 1-10 V analogue dimming interface
Flat Surface Fitter
o
Suitable for column diameter ≥76 mm.
Service door on column has to be provided for cable
termination (maximum 1.5 m from column fitter mounting
position).
2.1 Switch off mains electrical supply.
2.2 Determine position for fixing screws Dand cable entry
hole F. Drill relevant holes Eand Fon column X. Ensure
cable entry hole F is of sufficient diameter to feed cable C
from luminaire A through.
2.3 Set and fix column fitter Bin position. Insert and tighten
screws D firmly.
2.4 Feed cable Cfrom luminaire A through pivot Iand cable
entry hole Fon column X, while connecting luminaire Awith
column fitter B bysliding slip fitter H over pivot I. Turn
luminaire Atowards object to be illuminated. Ensure the slip
fitter H isproperly seated on pivot I, then tighten screw M
firmly.
2.5 Check that rating shown on luminaire label conforms
with mains electrical supply.
2.6 Mains supply cable C to be connected to incoming
supply using terminations supplied by others.
2.7Loosen screw Nslightly. Then aim luminaire in desired
direction and tighten screw N firmly.
Tighten set screw .
O
1.1 Switch off mains electrical supply.
1.2 Detach strain relief clip K out of flat surface fitter B.
Important: Keep strain relief clip K for locking cable later.
(item 1.6 in this installation instruction)
1.3 Feed cable Cfrom luminaire A through pivot I and hole L
of flat surface fitter B.
1.4 Determine positions for two fixing screws D. Drill relevant
holes Eand insert heavy duty wall plugs F. Insert and tighten
screws D.
Caution: Make sure not to damage any electric cable, water
pipe or other devices while drilling holes.
1.5 Release screw M on slipfitter H(do not turn it out) until
the splipfitter is split out slightly. Connect luminaire Awith
flat surface fitter B by sliding slipfitter H over pivot I, while
pulling cable Cthrough hole L and turning luminaire A
towards object to be illuminated. Ensure slipfitter H is properly
seated on pivot I, then tighten screw Mfirmly.
1.6 Clamp strain relief clip K on the cable Cand press into the
hole Lof flat surface fitter B. Ensure the strain relief clip K is
properly placed in position to lock the cable. (fig.I)
1.7 Check that rating shown on luminaire label conforms with
mains electrical supply.
1.8 Mains supply cable C to be connected to incoming supply
using terminations supplied by others.
1.9 Loosen screw Nslightly. Then aim luminaire in desired
direction and tighten screw N firmly.
Tighten set screw .
O
Fig. I Strain relief clip locking
This manual suits for next models

1

Other WE-EF Projector manuals

WE-EF FLD121 #1 Manual

WE-EF

WE-EF FLD121 #1 Manual

WE-EF FLC200 Series User manual

WE-EF

WE-EF FLC200 Series User manual

WE-EF FLC121 User manual

WE-EF

WE-EF FLC121 User manual

WE-EF FLC200 LED Series User manual

WE-EF

WE-EF FLC200 LED Series User manual

WE-EF FLC210 LED Instruction Manual

WE-EF

WE-EF FLC210 LED Instruction Manual

WE-EF FLD121 #2 User manual

WE-EF

WE-EF FLD121 #2 User manual

WE-EF FLC220 User manual

WE-EF

WE-EF FLC220 User manual

WE-EF FLD111 User manual

WE-EF

WE-EF FLD111 User manual

WE-EF FLC220 LED User manual

WE-EF

WE-EF FLC220 LED User manual

WE-EF FLD111 #3 LED User manual

WE-EF

WE-EF FLD111 #3 LED User manual

WE-EF FLC200 LED Series User manual

WE-EF

WE-EF FLC200 LED Series User manual

WE-EF FLC200 LED Series User manual

WE-EF

WE-EF FLC200 LED Series User manual

WE-EF FLC230 User manual

WE-EF

WE-EF FLC230 User manual

WE-EF FLC210 LED User manual

WE-EF

WE-EF FLC210 LED User manual

WE-EF FLC301 User manual

WE-EF

WE-EF FLC301 User manual

WE-EF FLC121 LED 2 User manual

WE-EF

WE-EF FLC121 LED 2 User manual

WE-EF FLC210-CC LED User manual

WE-EF

WE-EF FLC210-CC LED User manual

WE-EF FLD121 User manual

WE-EF

WE-EF FLD121 User manual

WE-EF FLC230 User manual

WE-EF

WE-EF FLC230 User manual

WE-EF FLC121 User manual

WE-EF

WE-EF FLC121 User manual

WE-EF FLC301 Manual

WE-EF

WE-EF FLC301 Manual

WE-EF FLC121 User manual

WE-EF

WE-EF FLC121 User manual

WE-EF FLD121 User manual

WE-EF

WE-EF FLD121 User manual

WE-EF FLC121 User manual

WE-EF

WE-EF FLC121 User manual

Popular Projector manuals by other brands

JVC DLA-RS520 Quick user guide

JVC

JVC DLA-RS520 Quick user guide

NEC NP-U321H user manual

NEC

NEC NP-U321H user manual

Casio SLIM XJ-A251 Function guide

Casio

Casio SLIM XJ-A251 Function guide

Optoma HD25 specification

Optoma

Optoma HD25 specification

LG HS102 owner's manual

LG

LG HS102 owner's manual

PROIETTA IMPRESSIVE EVO 1200 instruction manual

PROIETTA

PROIETTA IMPRESSIVE EVO 1200 instruction manual

InFocus IN112 manual

InFocus

InFocus IN112 manual

Ricoh Polaris-PJ1 Field service manual

Ricoh

Ricoh Polaris-PJ1 Field service manual

Optoma ML750 Brochure & specs

Optoma

Optoma ML750 Brochure & specs

Dell S320 Instructions for use

Dell

Dell S320 Instructions for use

Hitachi CP-AW2519NM user manual

Hitachi

Hitachi CP-AW2519NM user manual

Optoma ZH506 manual

Optoma

Optoma ZH506 manual

Panasonic PT-DW100 Brochure & specs

Panasonic

Panasonic PT-DW100 Brochure & specs

Epson Elp-3000 Product information

Epson

Epson Elp-3000 Product information

Sanyo PLC-XL50 Service manual

Sanyo

Sanyo PLC-XL50 Service manual

Mitsubishi Electric MH2850U supplementary guide

Mitsubishi Electric

Mitsubishi Electric MH2850U supplementary guide

Mitsubishi Electric XD206U user manual

Mitsubishi Electric

Mitsubishi Electric XD206U user manual

Panasonic PT-F200 Series Advanced operation guide

Panasonic

Panasonic PT-F200 Series Advanced operation guide

manuals.online logo
manuals.online logoBrands
  • About & Mission
  • Contact us
  • Privacy Policy
  • Terms and Conditions

Copyright 2025 Manuals.Online. All Rights Reserved.