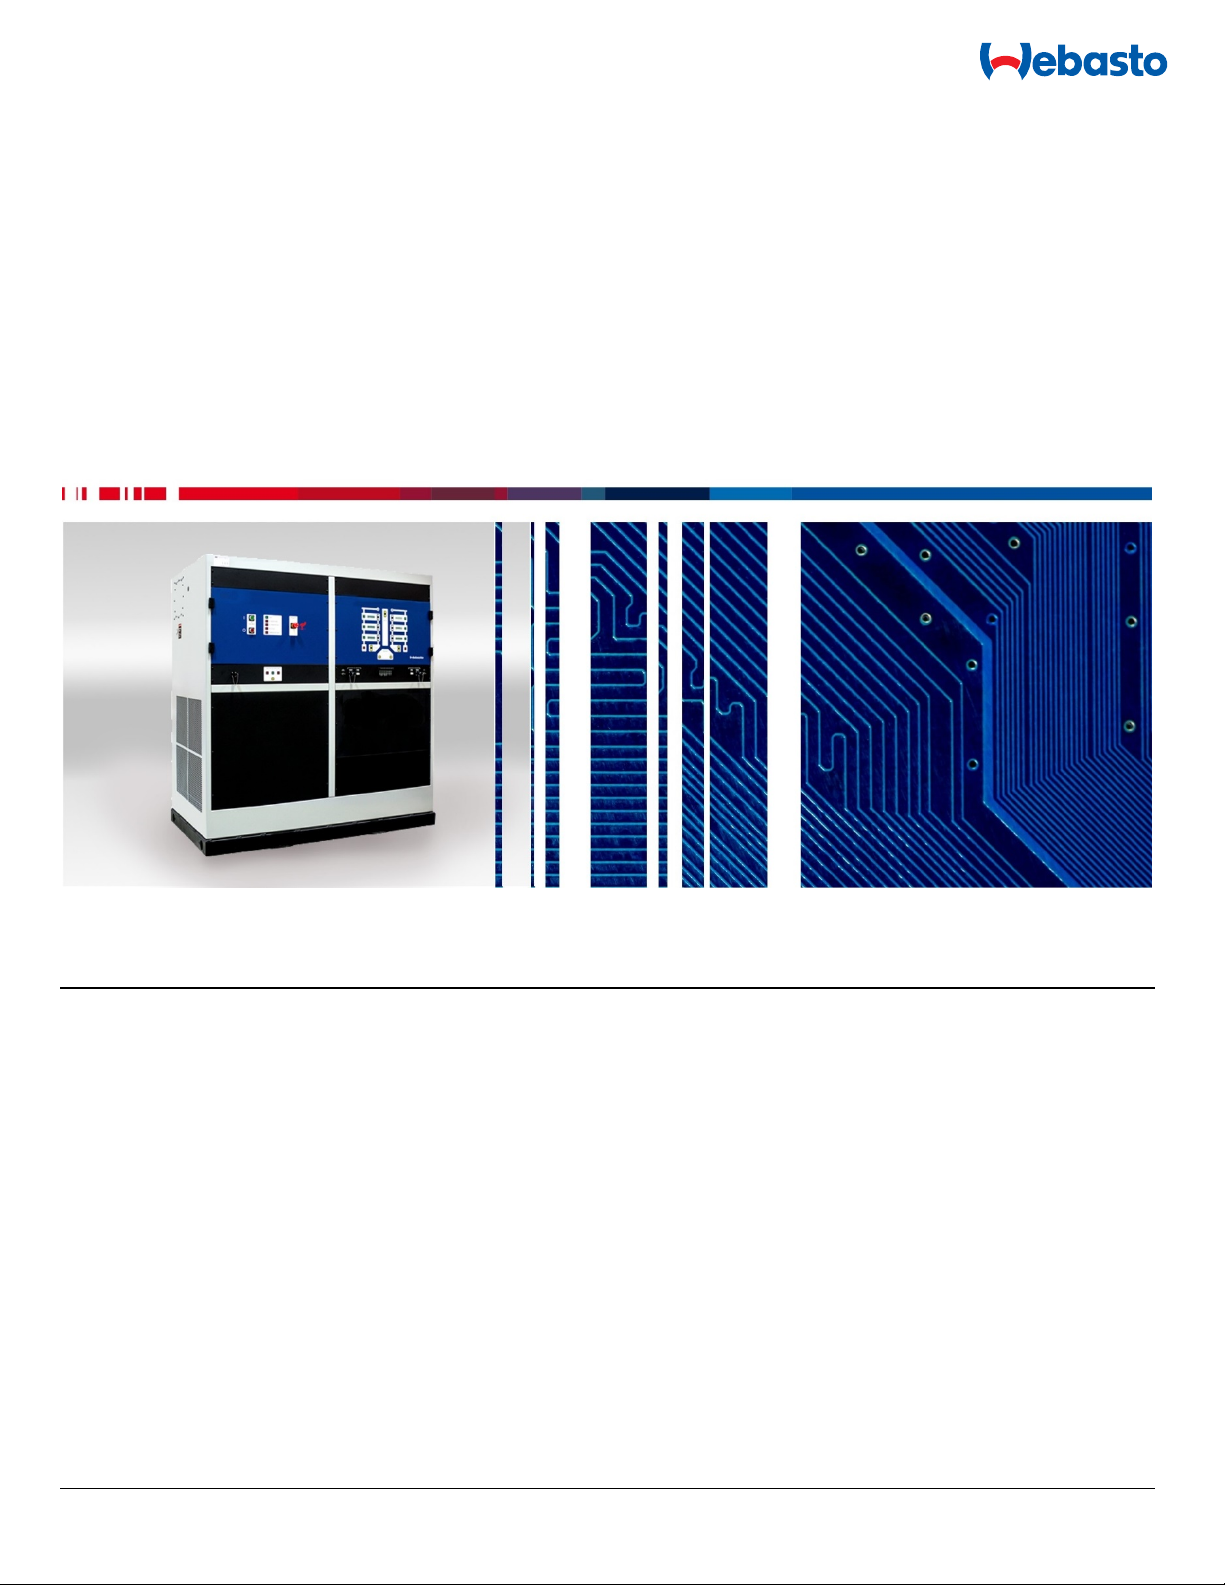
ABC-170 Installation, Operation & Maintenance
11780-03-E Page 10 of 52 Webasto Charging Systems, Inc.
Constant Voltage Source
In Voltage Mode, the ABC-170 regulates the voltage of a given DC output channel. The
load may draw current from the ABC-170 at the regulated voltage and the voltage level
may be varied on demand, as with a conventional DC power supply. In addition, the
ABC-170 allows the user to define voltage, current, and power limits to protect the load
and maintain safe operating conditions.
The ABC-170 also allows for bi-directional power flow (i.e., it allows the load to
discharge current back to the utility), unlike standard power supplies. However, during a
blackout, ABC-170 shuts down operation automatically.
Constant Current Source
In Current Mode, the ABC-170 regulates the current of a given DC output channel. As in
constant Voltage Mode, the load may draw or provide current bi-directionally subject to
user-defined limits.
Battery Quick Charging
Battery charging algorithms vary considerably depending on many factors. A basic
quick charging algorithm involves charging the battery at a constant current rate (i.e., the
maximum charge rate) until a certain voltage level is reached and then maintaining that
voltage level while the charge rate decreases to a trickle charge. This can be
accomplished very simply with the ABC-170.
By setting the correct upper voltage limit and operating the system in constant Current
Mode, the user can assure that the ABC-170 will charge the battery at the desired
current until its voltage rises to the limit and will then maintain that voltage. No manual
adjustment is needed during the test.
More complicated battery charge algorithms can be achieved by modifying the operating
limits, modes and command values as the test proceeds. Such algorithms can be
implemented manually or they can be programmed and run automatically using the
ABC-170 Remote Operation System.
Battery Pack Cycling
Battery packs used in electric vehicles (EV) endure constantly changing demands. As
the vehicle accelerates and brakes, the battery may go from rapid discharge to charge
and back again in a matter of seconds. In addition, the daily driving and charging of an
electric vehicle puts the battery through a large number of deep discharge cycles,
resulting in shortened battery life.
Because of these factors, EV battery pack testing is highly important but also very
difficult. Simulating the demands of an electric vehicle on a battery pack requires
computer controlled testing with a highly accurate and responsive battery cycling
system.
The ABC-170 was designed specifically to handle the demands of EV battery pack
cycling. Using the ABC-170 Remote Operation System, USABC compliant tests can be
developed and run to verify battery pack adherence to requirements. Repetitive use of
these automated compliant test profiles can be used for comparative research as well as
production level testing.
Battery Emulation