manuals.online logo
Brands
  1. Home
  2. •
  3. Brands
  4. •
  5. Weefine
  6. •
  7. Flashlight
  8. •
  9. Weefine WFS02 User manual

Weefine WFS02 User manual

使用说明书
WFS02 闪光灯
使用前请详细阅读说明书
组件
包装
电池安装
规格
24
100m
80W
1PCS散光 1PCS红光
200 lm (散光)
6000K(散光)
GN/1/1.4/2/2.8/4/5.6/8/11/16/22/24
>1000次
满功率1.5秒
4*18650锂电池 (3400 mAh)
长 119 x 宽 119mm x 高135.5 mm
1050克(含电池)
最大闪光指数
深度等级
最大能量
LED参数
亮度(流明)
色温
闪光指数挡位
闪光次数
回电时间
电池
尺寸
重量
WFS02 闪光灯
充电器
1.逆时针转动尾盖打开。
2.将锂电池放入电池仓内。 电池仓位于尾盖。
注意:电池正负极方向
3.顺时针转动尾盖以将尾巴重新连接到闪光灯。
扳手 说明书
球头 备用O圈 电池
尾盖
①
①
②
③
④
⑤
⑥
⑦
⑧
⑨
⑩
⑪
⑫
YS接头
显示屏
旋钮A
旋钮B
按键A
按键B
散光
红光
尾盖
遥控插孔
引闪插孔
指示灯
②
③
⑫
④
⑤⑥
⑦⑧
⑨
⑩⑪
01
0302
操作说明
长按按键B 2秒
S1(单次触发模式) S2(双次触发模式) SH(同步模式)
红光 散光
亮度调节:
旋钮A右旋编码器亮度增大,散光从0%到100%(10档)每档变化10%。
左旋编码器亮度减小,灯亮度从100%到0%(10档)。
调整闪光的强度:
在模式S1/S2(SH模式下不能旋钮调节闪光强度),旋钮B调整闪光的
强度,左旋编码器闪光指数减小(闪光指数值24、22、16、11、8、5.6、
4、2.8、2、1.4、1),右旋编码器闪光指数增强。
引闪模式:
在S1模式下,此模式下,接收到单次引闪信号时,闪光灯闪光。
在S2模式下,1秒内接收到两次引闪信号时,闪光灯闪光。
在SH模式(同步模式)下,(必须接光纤线)接收到引闪信号,根据信
号的输入量来闪光。
在正常模式下,关机时会记录当前的状态,再次开机时会跟上次关机的状
态一致。
(开机第一次遥控按键无效)长按 遥控器中间按键 大于2S
短按中间按键,在F模式下
短按中间按键,在L模式下
记忆功能
遥控功能
当电池电压过低,所有按键无效,只能关机。
低电保护
1.将直流充电器插头插入电池(如下图所示)。
2.将充电器插入墙壁插座。 当电池开始充电时,充电器上的指示灯
将变红。
3.当电池充满电时,充电器上的指示灯将变绿。
电池充电
开机、关机:
在关机状态下,短按 按键A 开机屏幕亮,在任何模式,长按按键A
大于2秒关机
触发闪光灯闪光:
短按 按键B 触发(SH模式下 按键B 不触发)
模式转换:
开机状态下,短按 按键A
*** 在开关机模式下,同时按下按键A和B进入调整屏幕正反模式
(forward show和backward show)短按按键A选择进入
屏幕的模式,长按按键A开机
F模式 L模式
红光 散光
S1(单次触发模式) S2(双次触发模式) SH(同步模式)
直流充电器插头
一般维护
尾帽中有两个O圈。 使用硅胶保持O圈润滑良好。 如果视频
灯长时间没有使用润滑O圈是很重要的,或者是O圈硬。 如果
O圈损坏,破损或变形,应该是取而代之的是一个新的O圈。
包括两个备用O圈与您的视频灯。
注意:不要使用锋利的工具去除O圈。
警告
1.当闪光灯在水中时,请勿打开尾盖。
2.不要将光直接照射到你的眼睛或另一个人的眼睛
2.请勿用湿手触摸电池和充电器。
4.只能使用制造商的电池和充电器系统。
5.如果闪光灯不会长时间使用应取出电池。
不遵守这些警告可能会导致损坏视频灯会使保修失效。
质量保证
自购买日起1年内,我们对制造商的缺陷提供保修;自购买日期后
15天内发生的制造商缺陷导致卖方产品的交换和所有其他制造商在采购
1年内出现的缺陷将免费维修。购买证明需要保证支持。
保修不包括因使用不当而导致的故障或缺陷(例如:修改;损坏),自
然灾害,或电池问题,包括不正确的电池安装。
0706
0504
MANUAL
WFS02 FLASH LIGHT
Please read the manual carefully before using the video light
Component
Unpacking
TO install the battery
Specifications
24
100m
80W
1PCS Wide light 1PCS Red light
200 lm (Wide light)
6000K(Wide light)
GN/1/1.4/2/2.8/4/5.6/8/11/16/22/24
>1000 times
1.5S (Full power)
4*18650Li-ion batteries (3400 mAh)
119 (L)x 119mm(W) x 135.5(H) mm
1050g(Include the battery)
Max. flash index
Depth Rating
Max. power
LED Parameters
Brightness(Lumen)
Color Temperature
Flash index level
Flashes
Restore power
Battery
Size
Weight
WFS02 Flash light
Charger
1.Turn the tail cap counter-clockwise to open.
2.Loading the Li-ion battery into the tail cap, make sure the
polarity battery must match the polarity of the diving light
contacts.
3.Turn the tail cap clockwise to reattach the tail to the head
of the flash light.
Wrench Manual
Ball mount O Ring Li-ion battery
Tail cap
①
①
②
③
④
⑤
⑥
⑦
⑧
⑨
⑩
⑪
⑫
YS Adapter
Screen display
Adjustment knob A
Adjustment knob B
Button A
Button B
Wide light
Red light
Tail cap
Remote port
Strobe Port
Indicator
②
③
⑫
④
⑤⑥
⑦⑧
⑨
⑩⑪
01
0302
Operate the light
Press the buttons B and hold it down for more than 2
seconds
Switch mode
(ON state) Press and immediately release the Button A
Trigger flash
Press and immediately release the Button A(it does not include
synchronization mode)
S1=Single trigger mode S2=Double trigger mode
SH=Synchronous mode
Red light Wide light
Brightness adjustment
(Adjustment knob A) Rotate clockwise +,
Wide light: Totally 10 levels from 0 to 100, A level is 10%,
Brightness adjustment(Flash)
(Adjustment knob A) Rotate counterclockwise-,
Wide light: Totally 10 levels from 100 to 0,
(Adjustment knob B) Rotate counterclockwise-,
(Flash index level: 24→22→16→11→8→5.6→4→2.8→2→1.4→ 1)
(Adjustment knob A) Rotate clockwise +,
On S1/S2 mode ( it does not include synchronization mode)
Strobe mode
On S1 mode, Flash light flashes when a single flashing signal is received.
On S2 mode, Flash light flashes when two flashing signals are received
within 1 second.
On HS mode, (it must be connected to fiber optic cable) received flash
signal, according to the letter To flash.
On normal mode, the current state will be recorded when the
machine is shut down, and the same state will be recorded when
the machine is turned on again.
(the remote control button for the first time is invalid)Press the middle
button and hold it down for more than 2seconds
Press and immediately release the middle button (On Flash mode)
Press and immediately release the middle button (On LED mode)
Memory function
Function of remote control
When the battery voltage is too low, all the Buttons are invalid and
can only be turned off.
Low power protection
1. Insert the DC charger plug into the battery.
2.Plug the charger into the wall receptacle. When the battery
beings to charge the indicator light on the charger will be red.
3.When the battery is fully charged the indicator light on the
charger will turn green.
To Charge the battery
Turn ON
(OFF state) Press and immediately release the Button A ,
Turn OFF
(ON state) Press the buttons A and hold it down for more than 2
seconds
(OFF state),Press the buttons A and B at the same time adjust
the screen orientation mode(forward show and backward show),
Press and immediately release the Button A enter the screen mode,
Press the buttons A and hold it down for more than 2 seconds
FlASH MODE LED MODE
DC charger plug
General Maintenance
There two-rings in the tail cap. Use silicone to keep the O-rings
well lubricated. It is important to lubricate the o-rings if the
flashlight has not been used in a long time or if the o-ring is
hard. If the O-ring is damaged, broken or deformed it should
be replaced with the spare.
Note:Do not use a sharp tool to remove the O-rings.
Warning
1.Do not open the tail cap when the video light is in the water.
2.Do not shine the light directly into your eyes or another
person’s eyes.
3.Do not touch the battery and charger with wet hands.
4.Use only the manufacturer’s battery and charger with this
system.
5.If the flash light will not be used for a long period of time the
battery should be removed.
Failure to comply with these warning may result in damage
to the video light and will nullify the warranty.
Warranty
We provides a warranty against manufacturer defects for 1 year
starting from the date of purchase. Manufacturer defects occuring
within 15 days of the date of purchase will result in an exchange of
product at the vendor. All other manufacturer defects occuring
within 1 year of the purchase will be repaired at no cost. Proof of
purchase is required for warranty support. The warranty does not
cover failures or defects resulting from misuse (e.g; modification;
damage), natural disasters, or battery issues, including incorrect
battery installation.
0706
0504
Red light Wide light
S1 S2 SH
S1 S2 SH

Other Weefine Flashlight manuals

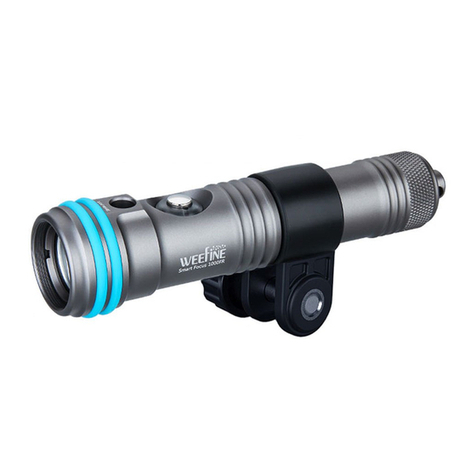
Weefine Smart Focus 3000 User manual

Weefine

Weefine Smart Focus 3000 User manual

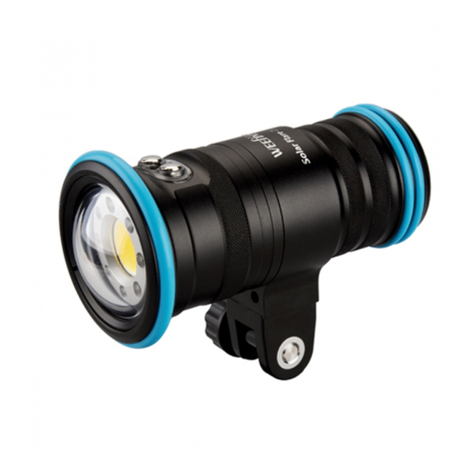
Weefine Solar Flare 5000 User manual

Weefine

Weefine Solar Flare 5000 User manual

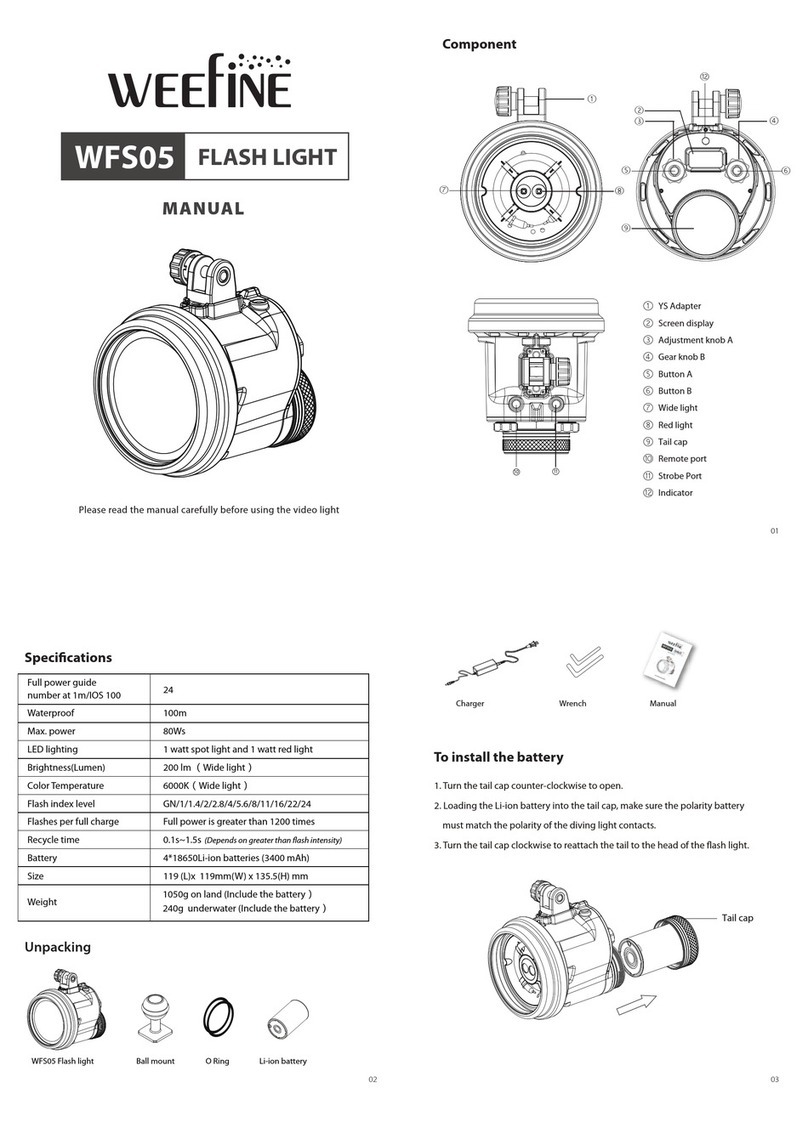
Weefine WFS05 User manual

Weefine

Weefine WFS05 User manual

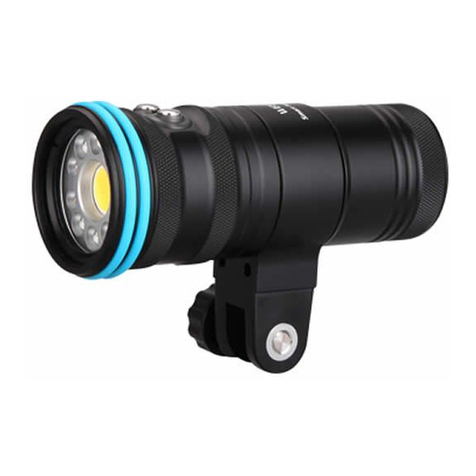
Weefine Smart focus 1000 User manual

Weefine

Weefine Smart focus 1000 User manual

Popular Flashlight manuals by other brands

Duracell 750 instructions

Duracell

Duracell 750 instructions

Pelican 9415i operating instructions

Pelican

Pelican 9415i operating instructions

DARAY HL560 operating manual

DARAY

DARAY HL560 operating manual

Lincoln Electric PCT 80 Operator's manual

Lincoln Electric

Lincoln Electric PCT 80 Operator's manual

HDS Systems EDC Tactical user guide

HDS Systems

HDS Systems EDC Tactical user guide

ESAB PT-38 instruction manual

ESAB

ESAB PT-38 instruction manual

Fiilex AL250 user manual

Fiilex

Fiilex AL250 user manual

Menuett 005129 operating instructions

Menuett

Menuett 005129 operating instructions

Nitecore MT10C user manual

Nitecore

Nitecore MT10C user manual

suprabeam V3r manual

suprabeam

suprabeam V3r manual

Cygolite TridenX 1300 Operation manual

Cygolite

Cygolite TridenX 1300 Operation manual

PARFORCE DGL8 Operating Instructions & Technical Details

PARFORCE

PARFORCE DGL8 Operating Instructions & Technical Details

Wicked lasers FlashTorch User's manual and safety guide

Wicked lasers

Wicked lasers FlashTorch User's manual and safety guide

Surefire EDC Series manual

Surefire

Surefire EDC Series manual

Astro Pneumatic 50SLMAX quick start guide

Astro Pneumatic

Astro Pneumatic 50SLMAX quick start guide

Eurotops Versand 46642 manual

Eurotops Versand

Eurotops Versand 46642 manual

BASETech 1601916 operating instructions

BASETech

BASETech 1601916 operating instructions

Weather X FR1807 user guide

Weather X

Weather X FR1807 user guide

manuals.online logo
manuals.online logoBrands
  • About & Mission
  • Contact us
  • Privacy Policy
  • Terms and Conditions

Copyright 2025 Manuals.Online. All Rights Reserved.