manuals.online logo
Brands
  1. Home
  2. •
  3. Brands
  4. •
  5. Weefine
  6. •
  7. Lighting Equipment
  8. •
  9. Weefine Smart Focus 2500 User manual

Weefine Smart Focus 2500 User manual

Other Weefine Lighting Equipment manuals

Weefine Solar Flare 13000 User manual

Weefine

Weefine Solar Flare 13000 User manual

Weefine Smart Focus 4000 User manual

Weefine

Weefine Smart Focus 4000 User manual

Weefine Smart Focus 7000 User manual

Weefine

Weefine Smart Focus 7000 User manual

Weefine WFS07 User manual

Weefine

Weefine WFS07 User manual

Weefine Smart Focus 2500 User manual

Weefine

Weefine Smart Focus 2500 User manual

Weefine 25000 User manual

Weefine

Weefine 25000 User manual

Popular Lighting Equipment manuals by other brands

Life 39.9F70020C quick start guide

Life

Life 39.9F70020C quick start guide

EuroLite LED ML-20 user manual

EuroLite

EuroLite LED ML-20 user manual

LIGMAN OD-50141 installation manual

LIGMAN

LIGMAN OD-50141 installation manual

Home Accents Holiday 1002461144 instructions

Home Accents Holiday

Home Accents Holiday 1002461144 instructions

Experia IRiS Ripple Light instruction manual

Experia

Experia IRiS Ripple Light instruction manual

Erco Gecko Mounting instructions

Erco

Erco Gecko Mounting instructions

Inter-lux ZTA.100.Surface Installation and maintenance instructions

Inter-lux

Inter-lux ZTA.100.Surface Installation and maintenance instructions

Whelen Engineering Company TN Series installation guide

Whelen Engineering Company

Whelen Engineering Company TN Series installation guide

IKEA BJÖRKSPIREA manual

IKEA

IKEA BJÖRKSPIREA manual

Toolland PM 6640 instruction manual

Toolland

Toolland PM 6640 instruction manual

GTD GTD-LP200 user manual

GTD

GTD GTD-LP200 user manual

LIVARNO home 1105-W-UK manual

LIVARNO home

LIVARNO home 1105-W-UK manual

ProLights EclPar IPMFC user manual

ProLights

ProLights EclPar IPMFC user manual

Velvet EVO Series user manual

Velvet

Velvet EVO Series user manual

IDTOLIGHT GENT installation instructions

IDTOLIGHT

IDTOLIGHT GENT installation instructions

MAYTONI S35 installation manual

MAYTONI

MAYTONI S35 installation manual

MaxLite MLFP14DP4535 user manual

MaxLite

MaxLite MLFP14DP4535 user manual

SLV Elektronik 550621 instruction manual

SLV Elektronik

SLV Elektronik 550621 instruction manual

manuals.online logo
manuals.online logoBrands
  • About & Mission
  • Contact us
  • Privacy Policy
  • Terms and Conditions

Copyright 2025 Manuals.Online. All Rights Reserved.

Installing the Battery
Insert the battery into the battery slot,as shown in the diagram
below.
Warning!! The polarity of the battery must match the polarity
of the contacts on the light。Make sure that the positive and
negative poles of the battery aligh with the positive and
negative poles of the light.
2500 lumens flood / 100 Red / 18W UV
100° flood / Red / UV
Approx. 60 minutes (100% flood)
Flood / Red / UV
100% / 50% / 25% / 300 lumen
100% / 50% / 25%
100%
3*18650 wrapped to single cell
5000K (Flood)
100m / 330ft
420g on land 195g underwater
52(D) x 120(L)mm
Standard Accessories
□ Diving Light □ Battery □ Charger □ Spare O-rings
□ User Manual □ O-ring Removal Tool □ Cetification
□ Guarantee Card
① Right Button ② Left Button
③Battery Leverl Indicator LED
④ Light Head ⑤Tail Cap ⑥ Flood Beam LED
⑦Red Beam LEDs ⑧ Electric Flash Optical Sensor
⑨UV Beam LEDs
⑩Fiber Optic Connector (For remote control brightness)
The remote control is options accessories.
Automatic Protection Against Overheating
When the light is used in areas in which the ambient
temperature is higher than 50°C, the light will automatically
reduce the brightness by 50%。 This will reduce heat and
protect the light components from damage。
Safety Mode
When the battery is almost exhausted, the light output drops
automatically to 20%, the light turns off after enters Safety
Mode in approximately 10 minutes.Unable to switch the mode
and adjust the brightness.
Battery Level Indicator
There are four colors to indicate the amount of power
remaining in the battery.
Blue approx. 100%~80%
Green approx. 80%~30%
Red approx. 30%~10%
Flash Red <10%
Brightness:
Beam Angle:
Burn Time:
Modes:
Flood Power Level:
Red Power Level:
UV Power Level:
Battery:
Color Temperature:
Depth Rated:
Weight:
Dimension:
Specifications
Please read the manually carefully before using the focus light
focus/video light
Smart Focus 2500
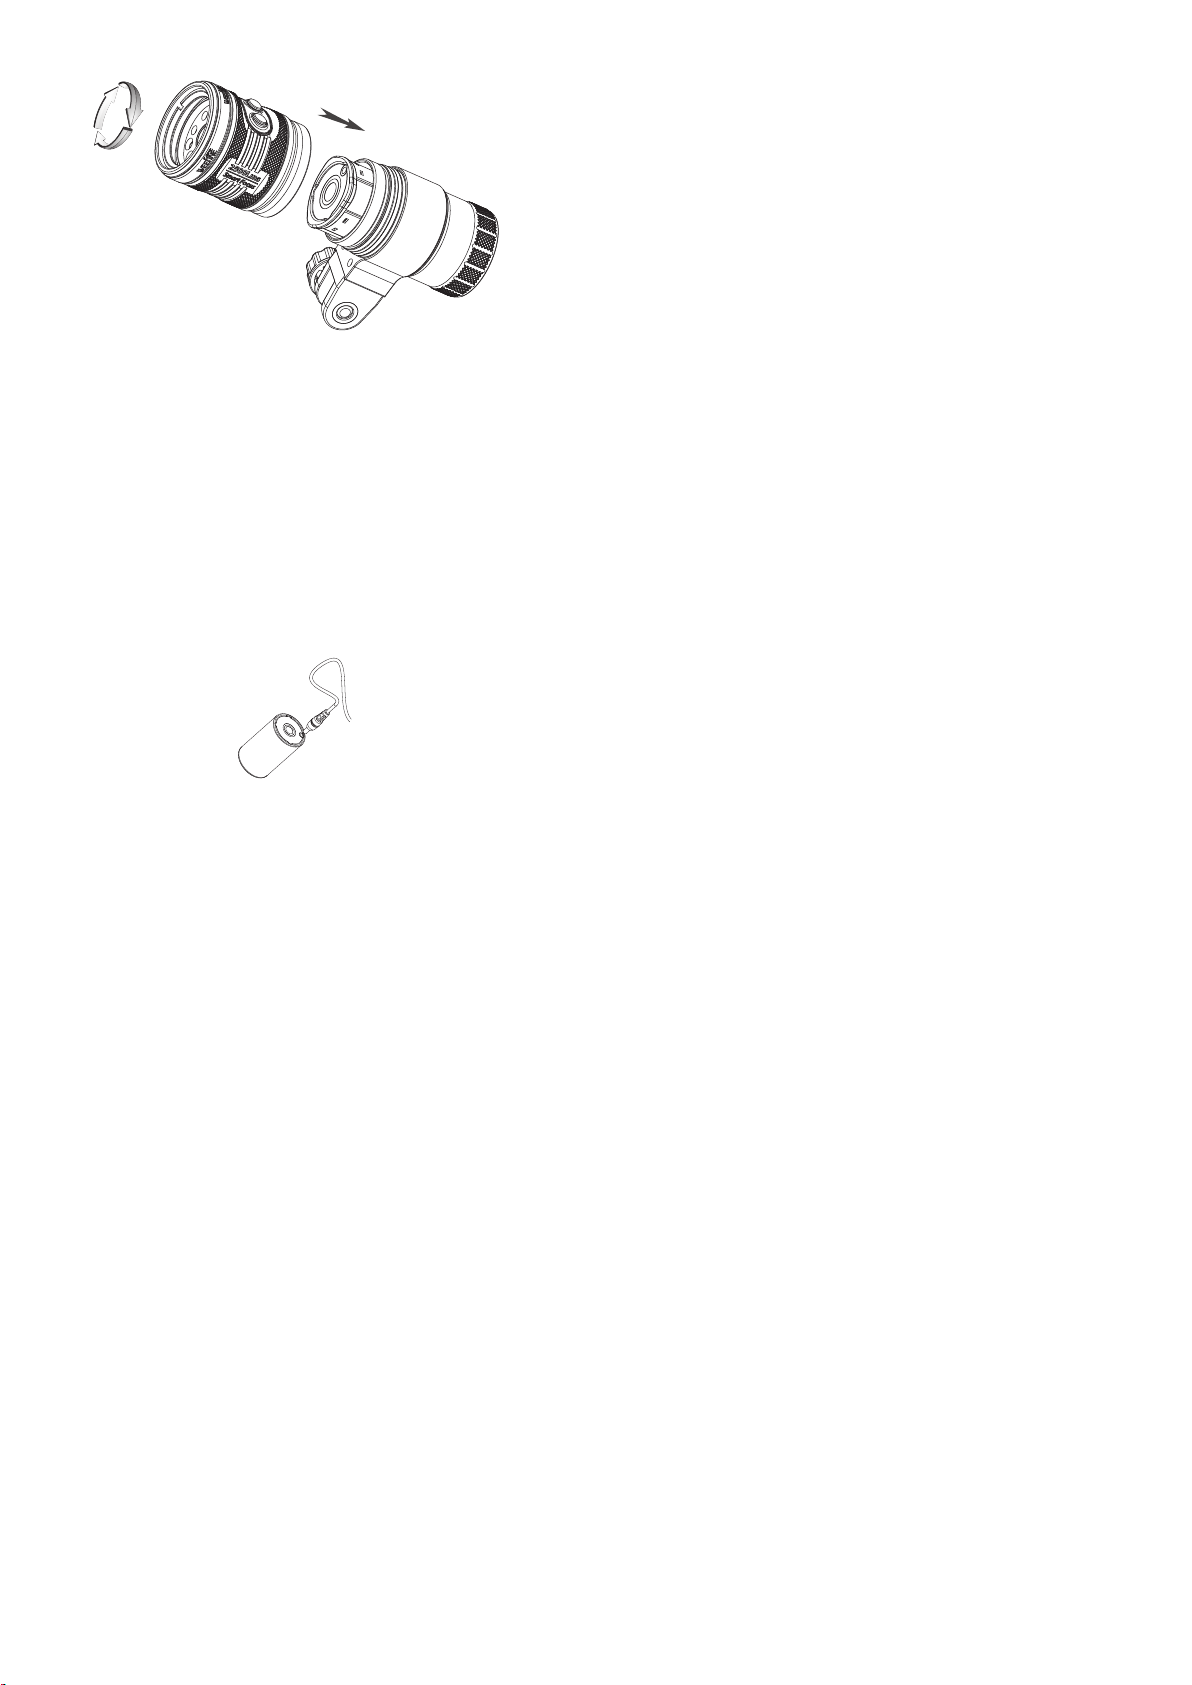
Charging the Battery
Step 1: Insert the DC plug into the battery. (As shown in the
diagram below)。
Step 2: Plug the charger into the wall outlet. The charger's
indicator will turn red signifying the charger is receiving power。
Step 3: When the battery has finished charging, the charger's
indicator will turn green.
Noted: Charge time is approximately 2.5 hours
Attention:
To protect the battery and extend battery life, please do not
charge the battery for more than 12 hours。
Operating Instructions
Turn on
Press the Right and Left button at the same time and hold them down for 0.5
second . When the light is turned on , press and release the left button for entering
into flood model at 100% brightness.
Turn off
Press the Right and Left button at the same time and hold them down for more
than 2 seconds.
Switch mode
Press the Left button for a short time . (Flood-Red-UV-Flood)
Adjust brightness
In the flood model, press the Right button to switch the brightness(100%→
50%→25%→300Lm→100%);
In the red model, press the Right button to switch the brightness(100%→
50%→25%→100%);
The UV brightness is not adjustable.
Flashing
When the light is off , press the Left and Right button at the same time for
more than 2 seconds to enter into flash model (Total 21 levels) .
Increase flashing rate : press and immediately release the Right button .
Decrease flashing rate: press and immediately release the Left button .
Exit : Press the Left button for more than 2 seconds .
Automatic shut-off mode
When the light is on , press the Right button for more than 2 seconds to
enter into automatic shut-off mode (The battery indicator is flashing ).
Sleeping model
When the light is on , press the right button for more than 2 seconds
to enter into sleeping model (Only the battery indicator is working).
Automatic Protection Against Overheating
When the light is used in areas in which the ambient temperature is
higher than 50°C, the light will automatically reduce the brightness
by 20%. This will reduce heat and protect the light components from
damage.
GENERAL WARINGS AND INSTRUCTIONS
* Do not disassemble the diving light.
* To avoid leaks the O-rings should be checked to ensure that they are free
from any dirt, sand, hair and dust every time before you open and close
the light. Use a soft cloth to the O-rings if required. The O-rings should also
be carefully checked for cracks or blemishes. Gently and evenly apply a thin
coat of grease to the entire O-rings regularly to prolong O-ring life.
Be care not to scratch the O-ring surface. If cracks or blemishes occur, the
O-rings should be replaced immediately.
* Do not open the light when using in the water.
* Wash the exterior of the light thoroughly with clean fresh water
immediately after use. Soaking the light in fresh water will help
to remove salt deposits prior to storage.
* Do not disassemble, modify,remanfacture,puncture or damage
the device or battery.
BATTERY WARNINGS
* Remove the battery if the light will not be used for long periods
of time (e,g., between dive trips).
* Do not use a sharp object to remove the battery.
*Keep the battery away from children.
* Contact your local waste disposal department to dispose of the
light/battery in accordance with applicable local laws and
regulations.
* If using an extermal battery charger, only use the WEEFINE
accessory approved for your product.
* Only replace the battery with the correct WEEFINE approved
replacement battery. Using an incorrect battery presents a risk
of fire or explosion.
To purchase a replacement battery, see your WEEFINE dealer or
the WEEFINE website.