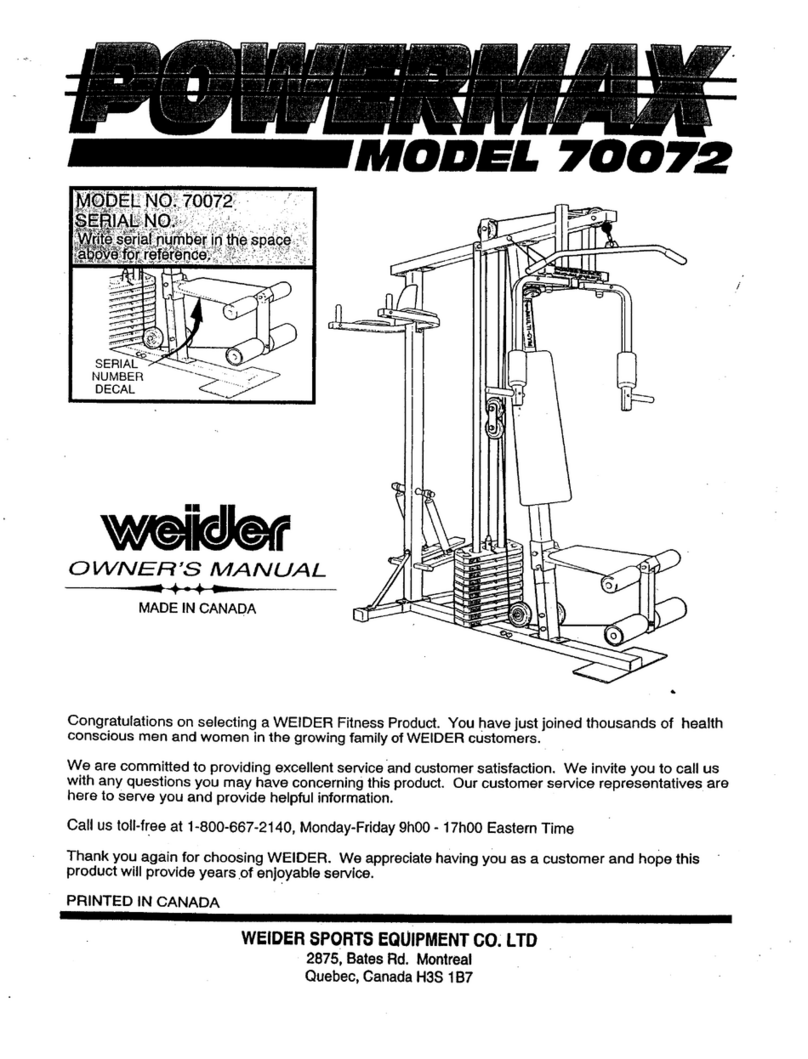
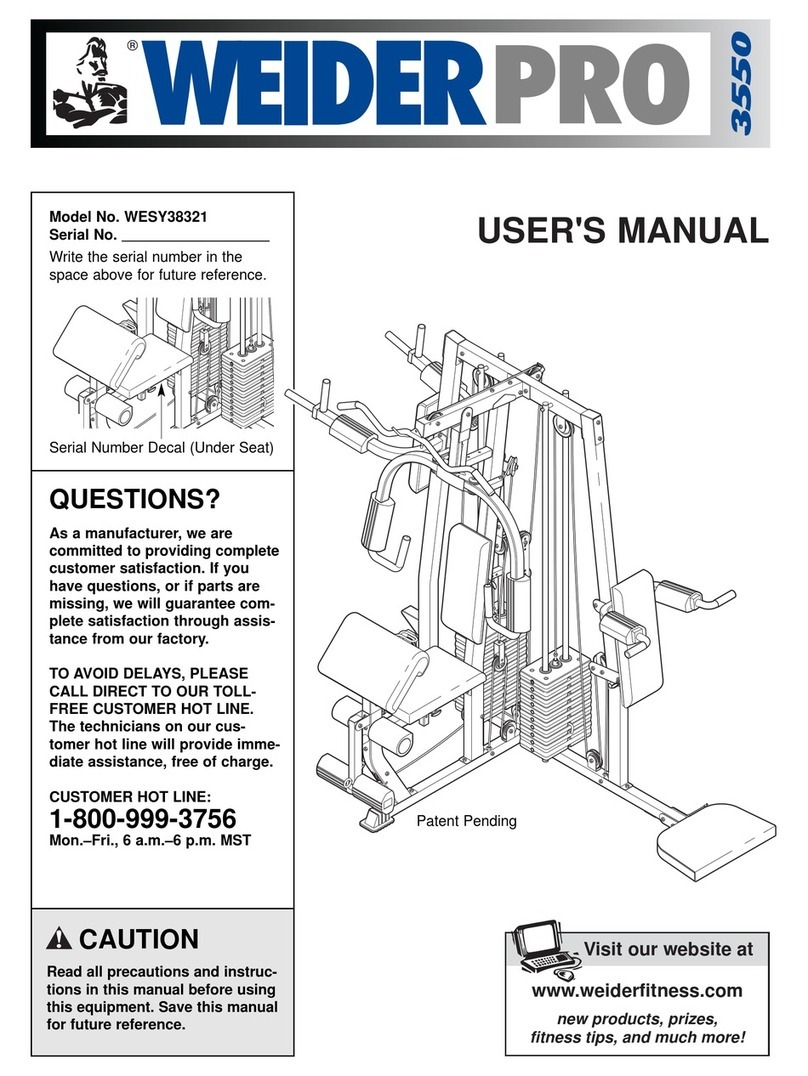
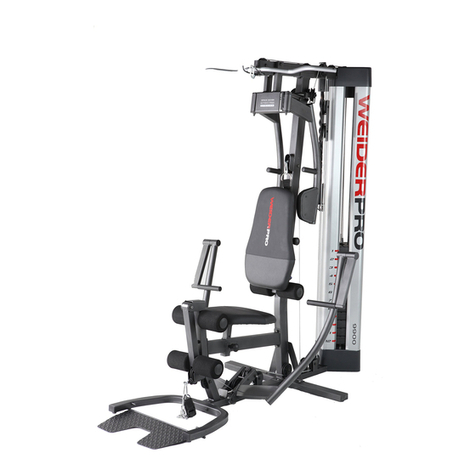
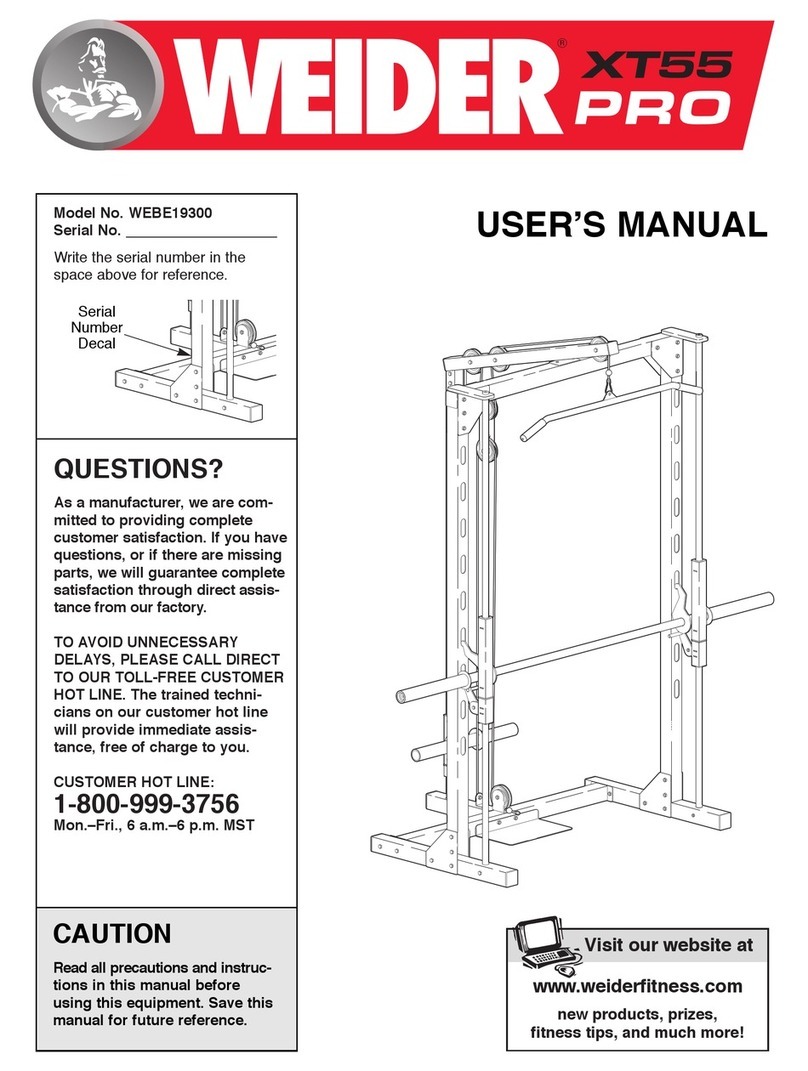
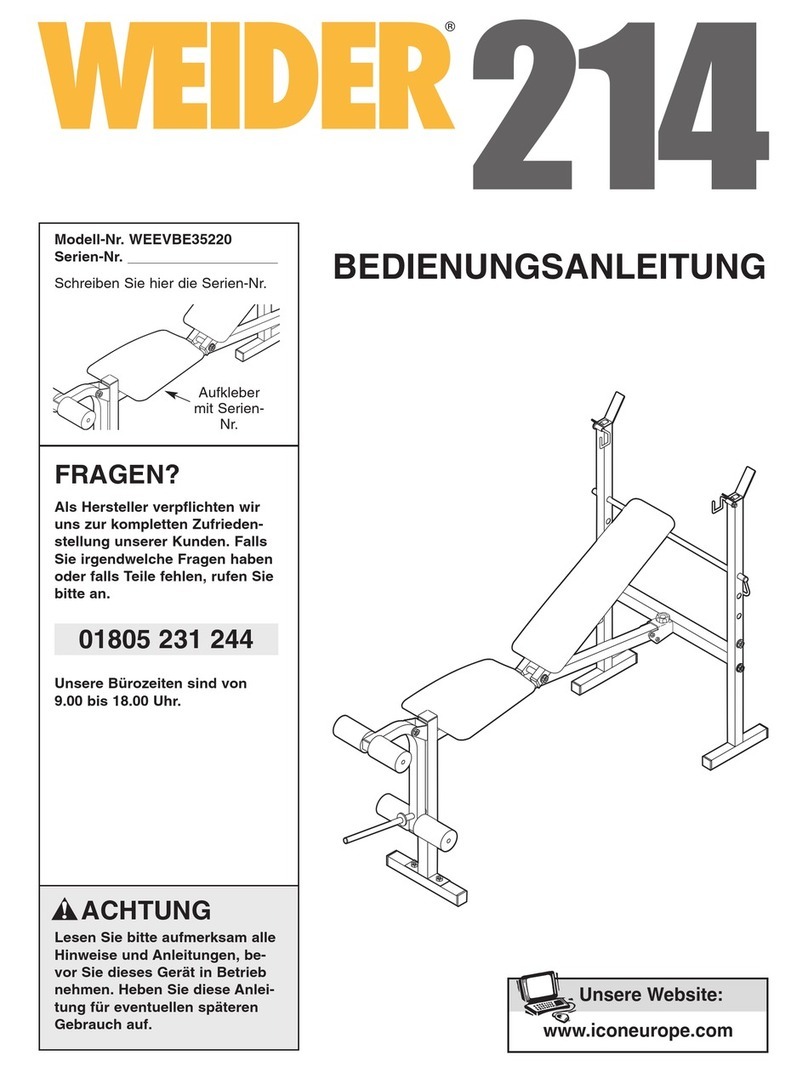
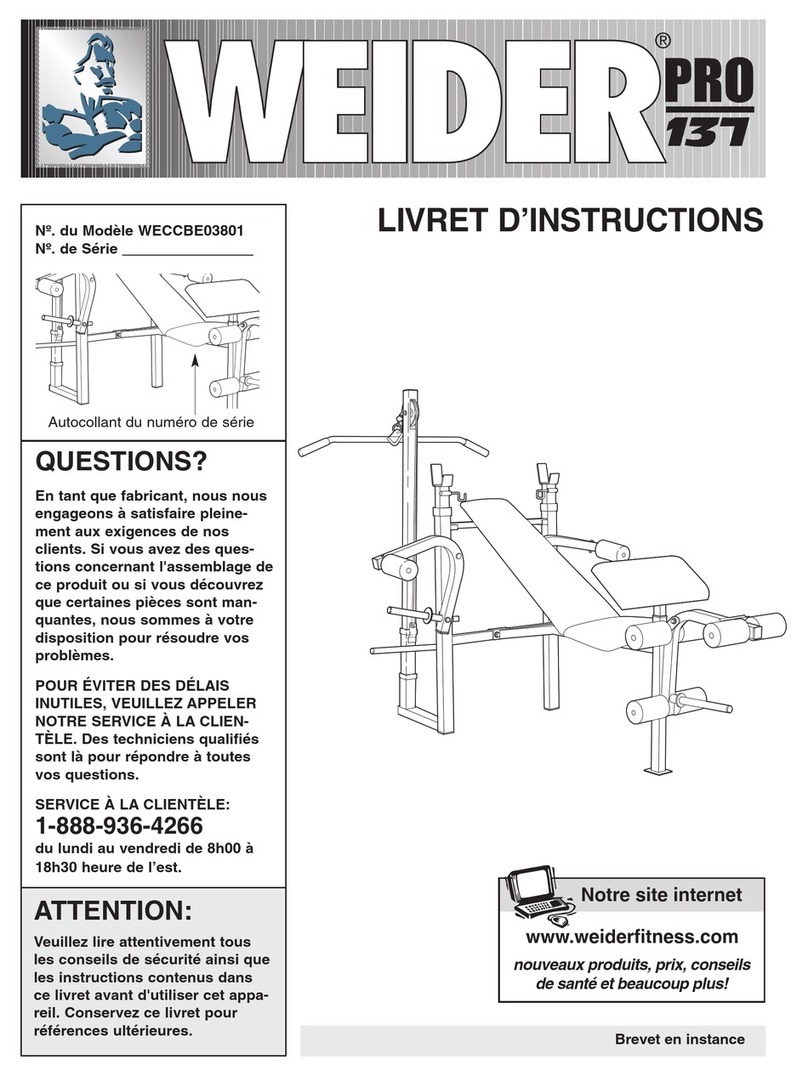
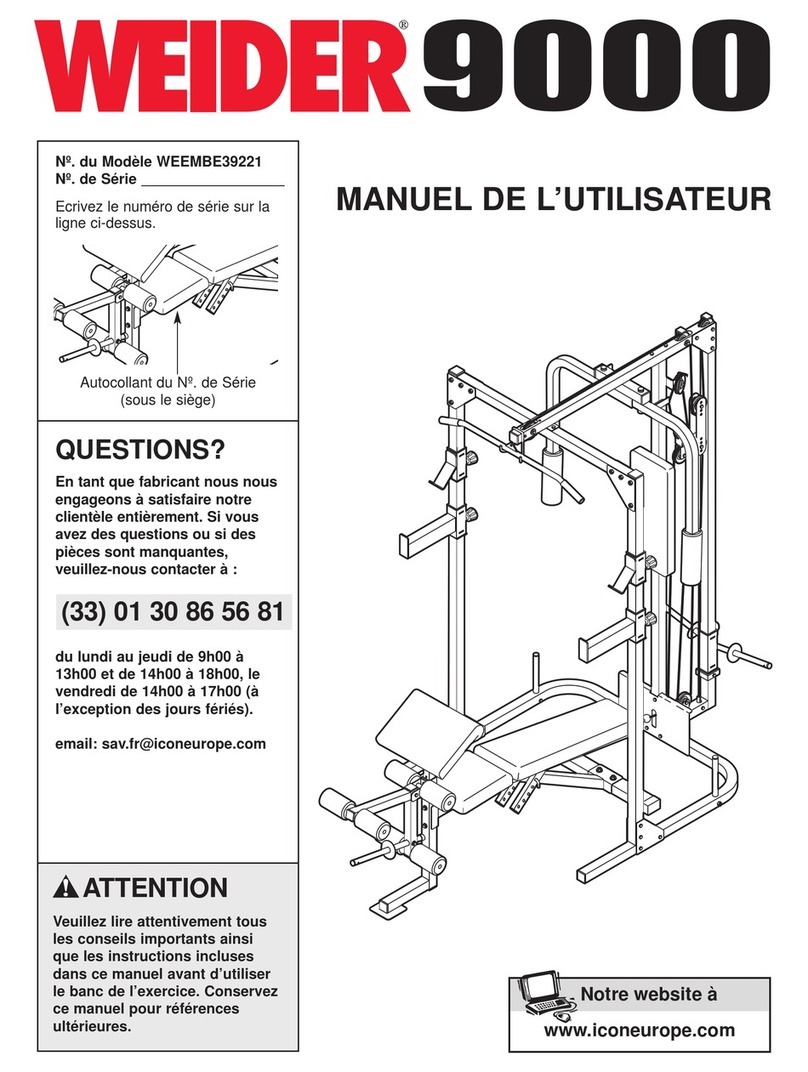
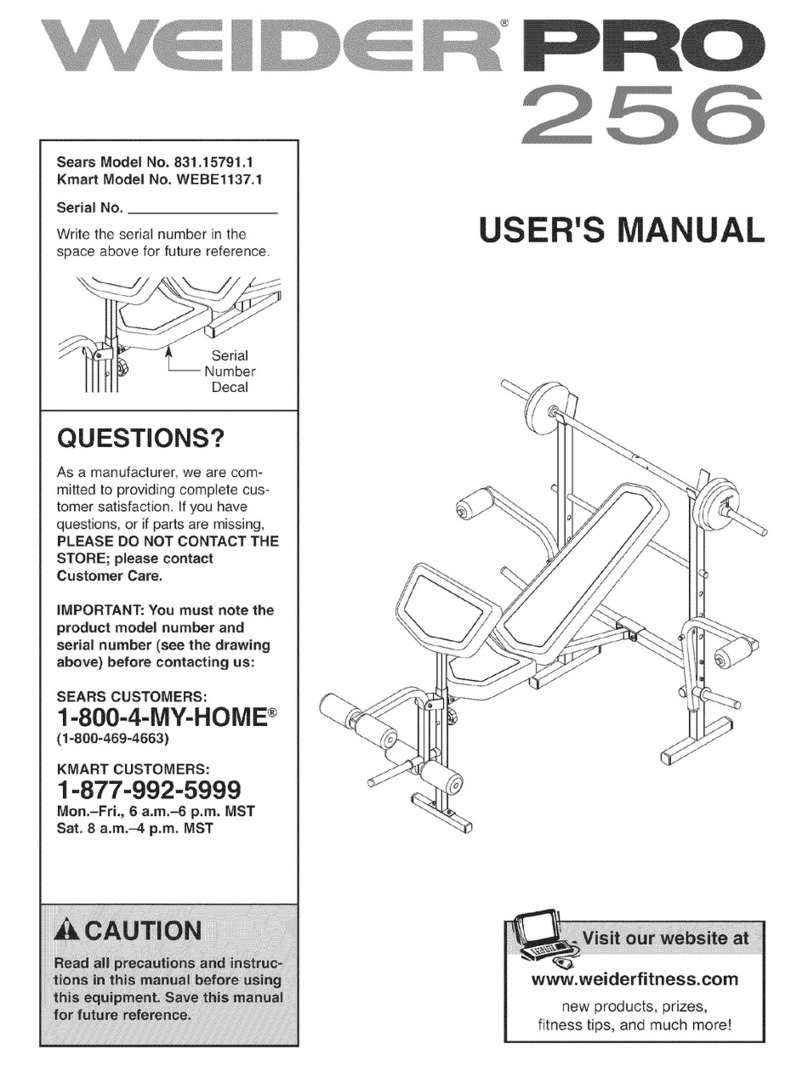
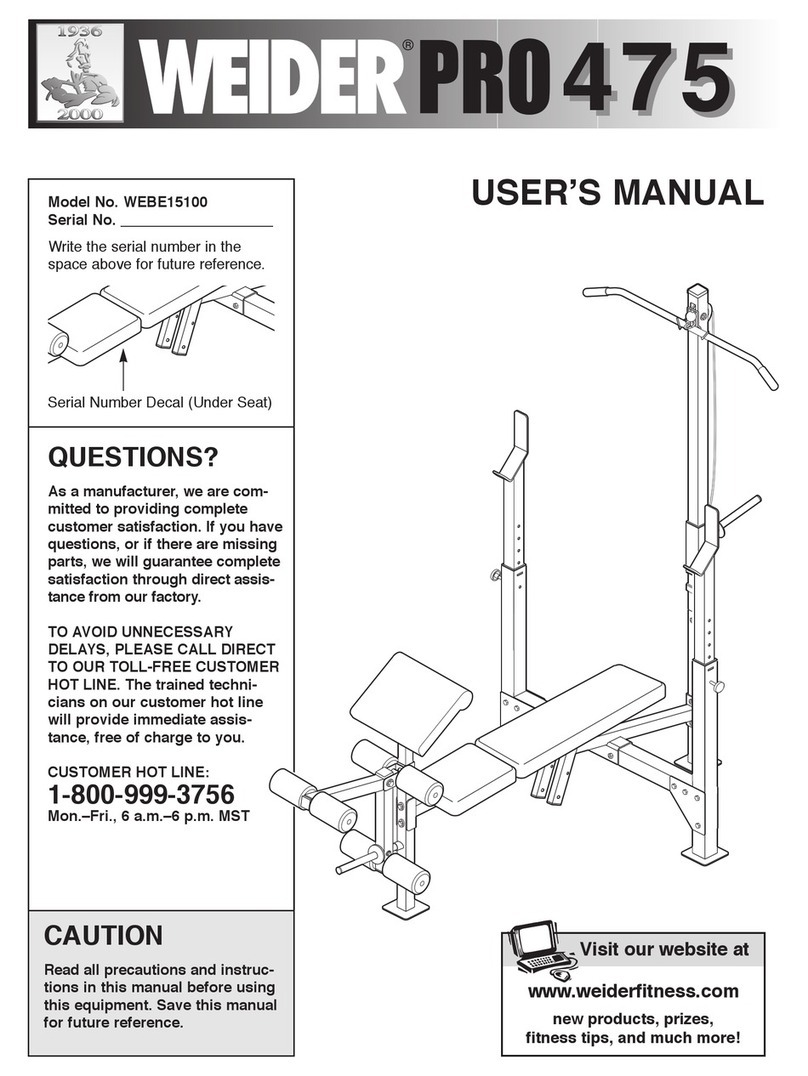
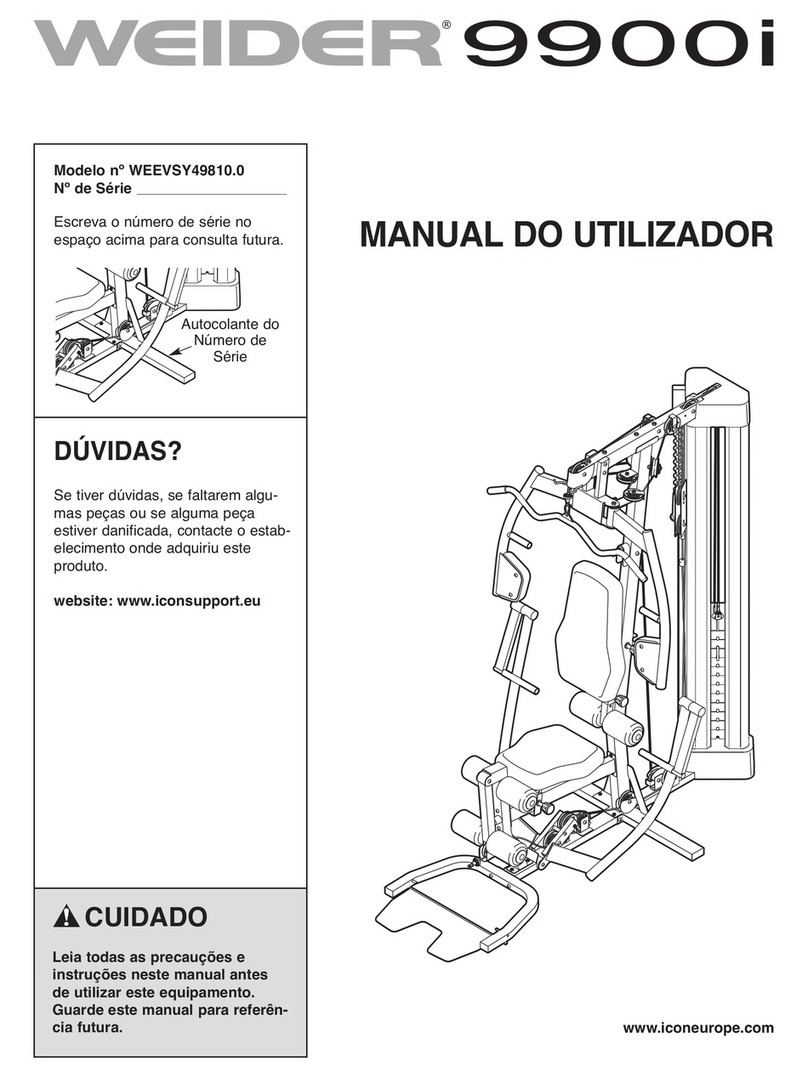
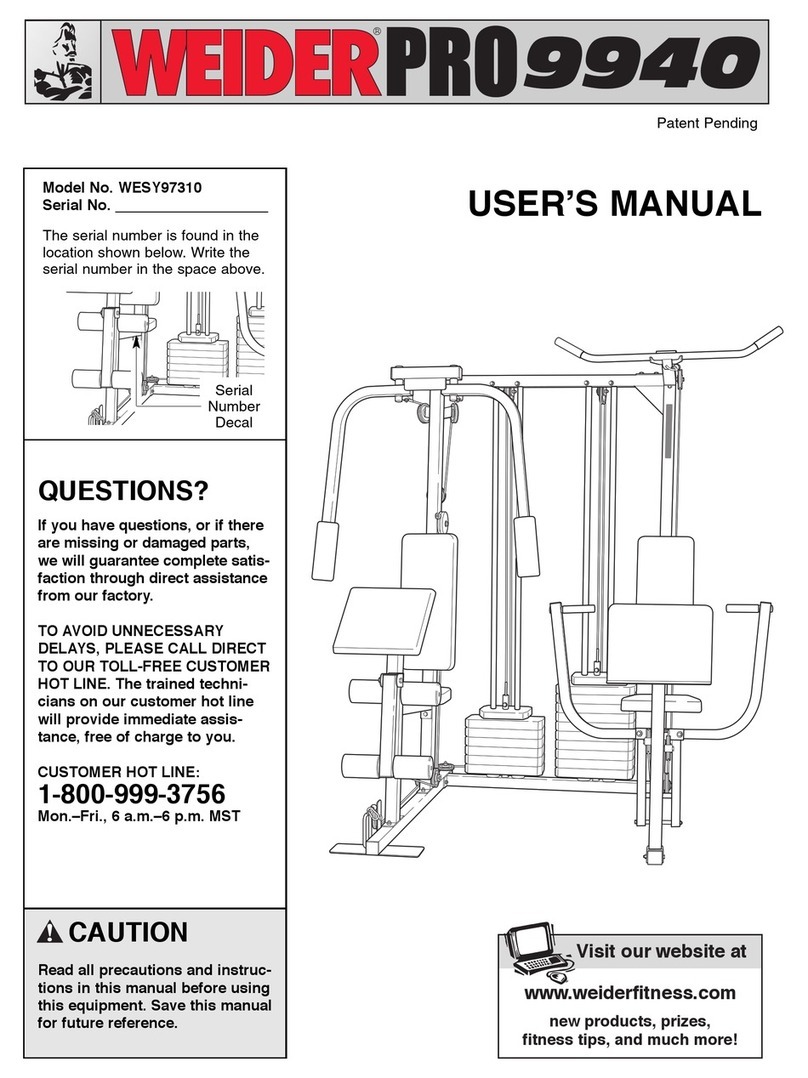
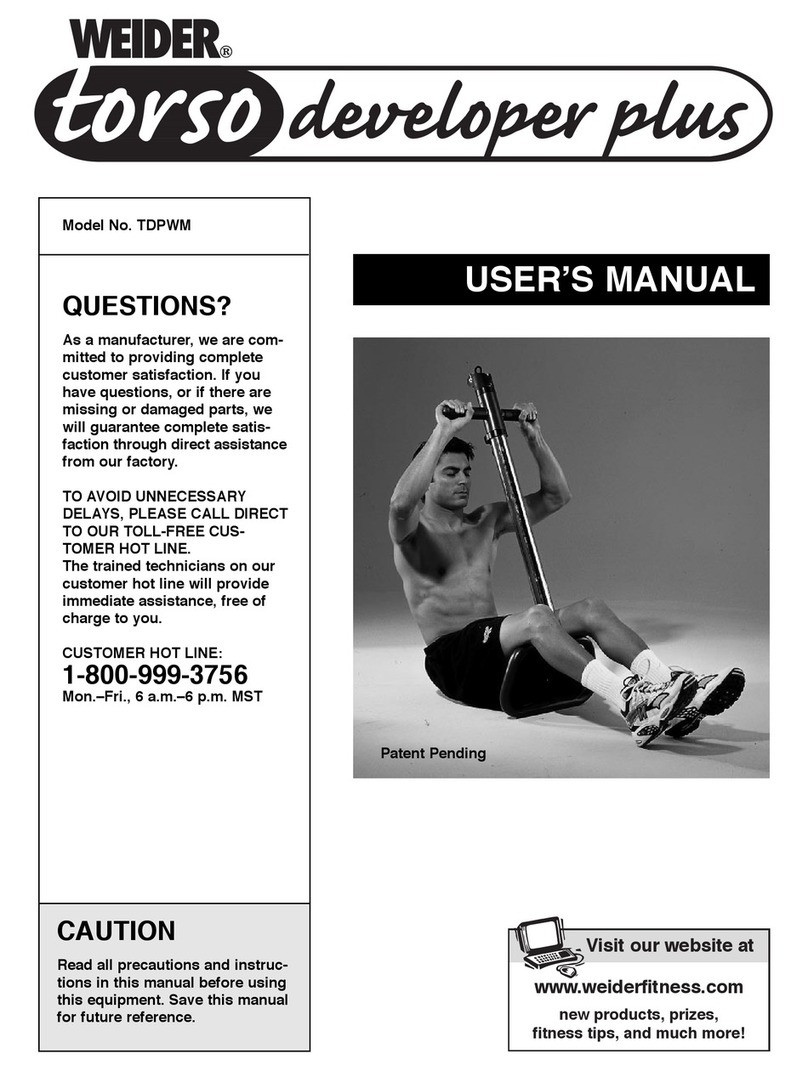
Weider PROLINE D700 User manual

АС
HIEVER
|
ASSEMBLY
INSTRUCTIONS
PROLINE
REPLACEMENT
PARTS
WEIDER
HEALTH
AND
FITNESS
21100
ERWIN
STREET,
WOODLAND.
HILLS;
CA,
USA
91367
`

PARTSLIST
10-03-90
ey
Еа
Er
SE
C1180-D19
C1197-D23
C1198-D23
C1199-D23
E
араа
FE
OES
|
3
о
|
Eee
اا
SET
ENS
a
ሚሙ:
лә
|
DIENIG
a
—
ao
f
awayf
a
`
|
esp
TE
ЕНЕ
LATCH
HOOK
|
t
awn
52001-923
—
በከር:
በመፍ
ር
o
-.FOAM
ROLLER
PAD
2
1/2"X
7"
E
PAD
ВАН
3/17
[
31
|
060559
|
ond
|
|
32
|
TOP
PULLEY
BRACKET
C6903-D23
|
-
-33
1
LATBARSLEEVE
C6500-D23
__
-4
[|
LATBAR
C6800-D23
VE
Se
ass
Gas
ee
——.
——
bo
o
t
|
зв
(|
DUMBBELL
HANDLE
ØRE
ee
|
39
—
ANKLE
STRAP
ØL
a
WEIGHT
PLATE
12
|
з:
f
LARGELOCKPIN
1
WW-7006
|.
42
[
6DIAMETER
PULLEY
1
АА-8121
|
-
4.
1.1
4
1/2
DIAMETER
PULLEY
5
АА-8122
2“
DIAMETER
ROLLER
2
AA-8116
l
45
|
|
287.
ыы.
FØRT
[ез
з
сз
.ሬሬሬፒ..ሬፌሬሬ...ቆ

macnn
uo}
—
ÅR
NAME
|
O
riene
|
.
|.
|
-8.
|
WEIGHT
SELECTOR
END
PLUG
|.
3:
|
sws,
1
|
у50
|
ROUND
RUBBER
BUMPER
|)
2
|
дағ
|
[ts
f
PLASTIG
KNOB
(MALE
ENJ
|
!
|[)
ብ
-
|52
|
RUBBERFEET
|
|
|—
|
‹
-
|]
Cd
|
53
|
2"SQUAREPLASTICGAP
|
3
|
ç
maso
|
|
54.
[Å
141/2"SQUARE
PLASTICCAP
|.
35
—
[|
meo%
|
|
5
—
|
11/2"
SQUARE
OPEN
END
СР
|
4
|
msa
|
|
596
|]
13/4
SQUARE
PLASTICCAP
1
2
|
AA
-
|
57
|
BACKREST
L-BRACKET
|
2
—
1
ceo
1
588
-|
sMauLtiockPN
|
.
.
|
ww-zo02
I
`
—
—]
omo
a
—
—]1————L—
ш
|
|
63
"|
5/16"-18
х
3/4"
HEX
HEAD
BOLT
ридо
|
6.
|
5/1618
X
2
1/4"
HEX
HEAD
BOLT
|
4
|
—
mese
1
|
65
|
**5/16"-18
X
21/2"
HEX
HEAD
BOLT
|
7
[|
—
HHss
|
|
66
|
5/1618
X23⁄"HEXHEADBOIT
ሸ
2
——
|
:
HH5058
|
|
67.
|
*5/16"-18
X
3
1/2"
HEX
HEAD
BOLT
|
5
|
HH-5294
|
|
69.
[
5/16-18Х51/2"
HEX
HEAD
BOLT
|
8
f
—
5205
5/16"-18
X
1
3/4"
HEX
HEAD
BOLT
HH-5301
HH-5059
—
n
|
enee
xai
Hex
HED
BOT
[|
2
|
mess
—
[-—
44
—
arwa
—[——
»
meer
—
——
m
еменкыл
|]
|
ses
|
e
|
1/4"-20
X
3/4"
SLOT
HEAD
SCREW
--і-
р-н”.
|
1/4"-20
X
2
1/4"
SLOT
HEAD
SCREW
1
90
4
|
1/4-20X23/4
SLOT
HEAD
SCREW
|
3
|
9]
“መ
|
a
|
መ”
..
680.
|
5/32"
#10
SELF
TAPPING
SCREW
|
о
|
-
ሠዝ520
|
в)
saz
FIATWASHER
|)
0
|
ннвм
|
SRE
БЕША
E
TT
TOTS
መም
ር.
|
|
ይ
|
зеңкял
|
|
-
669
|
|
ይ
|
5/32"
X
1
1/4"
SLOT
HEAD
SCREW
—
|
Hews
|
6
|
WEIGHTSELECTORPIN
|
1 |
чмлоз
1
вт
se"
X
1
1/4"
SHOULDER
BOLT
|на
|
ደ
|
5/1186
1/2"
HEX
HEAD
BOLT
|
30
|
mms
1.
ээ
|
soon
|
:
-
|
-
16700
|
|
9
|
FIREMANS
LATCH
HOOK
|
2
|
ww?
|
|
93
|
37/8
X
2"
HEX
HEAD
BOLT
НН-5059
FEST
o
ЕГИУ
PGS
FG
MM
=
GE
ር
22:።
1-...::.:.ብ
ደ.
TRENE
кесле!
EST
-
IPM
ታ”ሽ
፦-
--1.....
ee
es

"DIAGRAM
NO
PART
NAME
-
94
1.
2/8616
X
1
3/4"
HEX
HEAD
BOLT
|
95
|
1
1/4"
SPACER
SLEEVE
[
96
|
STOPPERTUSE
QTY
ORDERING
NO
HH-5308
C2113-D31
DE-4122
DE4131
DE-4127
DE-4137
C5839-D23
C5840-D23
C5841-D23
C5842-D23
CNN-1103
CNN-1094
CNN-1080
SLEEVE
(1/2"
DIA
X
3/4"
L)
|
әв
|
38'FLATWASHER
99
SLIDING
CABLE
STOP
2"
X
30"
SHROUD
DECAL
102
BENCH
PRESS
DECAL
(PAIR)
HARDWARE
BAG
(PLASTICS
&
BRACKETS)
HARDWARE
BAG
(FEET
&
GRIPS)
7/8
X
13"
SHROUD
STRIPE
DECAL
14
|
WEIGHT
SCALE
DECAL
ASSEMBLY
MANUAL
TRAINING
MANUAL
WALL
CHART
*
ONE
PRE-ASSEMBLED
TWO
PRE-ASSEMBLED
%%%
THREE
PRE-ASSEMBLED
«|
HARDWARE
BAG
(PULLEYS)
с

BEFORE
ВЕСІММІМС
ASSEMBLY
READ
THE
FOLLOWING
THIS
PRODUCT
REPRESENTS
THE`
STATE
ОР
THE
ART
IN
TECHNOLOGY
IN
HOME
FITNESS
EQUIPMENT.
EVERY
EFFORT
HAS
BEEN
MADE
TO
BRING
TO
YOU
А
PRODUCT
OF
THE
HIGHEST
QUALITY
AND
WORKMANSHIP.
WE
HOPE
YOU
WILL
FIND
THIS
PRODUCT
BENEFICIAL,
„То
Your
PHYSICAL
CONDITIONING
AND
WELL
BEING.
DO
NOT
LET
THE
QUANTITY
OF
PARTS
DISCOURAGE
YOU.
BY
READING
AND
FOLLOWING
THE
ASSEMBLY
INSTRUCTIONS,
YOU
WILL
FIND
IT
GOES
TOGETHER
EASILY.
THIS
UNIT
TAKES
APPROXIMATELY
THREE
HOURS
OF
ASSEMBLY
TIME.
.
TOOLS
REQUIRED
FOR
ASSEMBLY
INCLUDE:
A
HAMMER,
PLIERS,
MEDIUM
SIZE
FLAT
HEAD
ADJUSTABLE
WRENCHES.
2.
PRIOR
TO
BEGINNING
THE
ASSEMBLY
OF
THIS
PRODUCT
WE
RECOMMEND
THAT
YOU
TAKE
A
FEW
MINUTES
то
UNPACK
AND
LAY
OUT
ALL
THE
PARTS
SO
THEY
CAN
BE
EASILY
IDENTIFIED.
INCLUDED
WITH
THE
LITERATURE
‘OF
THE
UNIT
16
АМ
ILLUSTRATED
PARTS
LIST
TO
HELP
ІМ
IDENTIFYING
АМО
SIZING
PARTS.
IT
IS
EXTREMELY
HELPFUL
IF
THE
CONTENTS
OF
THE
HARDWARE
BAG
ARE
EMPTIED
OUT
AND
LIKE
PARTS
GROUPED
TOGETHER;
LE.
5/16"
X
3"
HEX
HEAD
BOLTS
TOGETHER,
ETC.
А
HANDY
PLACE
TO
HOLD
THE
HARDWARE
MIGHT
ВЕ
TO
USE
THE
INSIDE
OF
THE
CARTON
TOP.
AFTER
GROUPING,
PARTS
AGAINST
THE
HARDWARE
ILLUSTRATIONS
AND
PARTS
LIST
TO
IDENTIFY
PARTS
AND
SIZES,
WRITE
THE
SIZE
AND
PART
NAME
BESIDE
EACH
PART
SO
YOU
KNOW
EXACTLY
WHICH
PART
TO
GO
TO
FOR
A
PARTICULAR
ITEM.
3.
THE
ASSEMBLY
INSTRUCTIONS
HAVE
BEEN
WRITTEN
USING
CHECK
А5
YOU
GO
ASSEMBLY
METHOD.
BY
CHECKING
THE
BOXES
AS
YOU
GO
IT
IS
VERY
EASY
TO
FOLLOW
ALONG
THE
ASSEMBLY
WITHOUT
REREADING
TO
FIND
YOUR
PLACE
IN'
THE
ASSEMBLY.
YOU
WILL
ALSO
NOTICE
THAT
AT
THE
BEGINNING
OF
EACH
ASSEMBLY
STEP
THERE
IS
A
HARDWARE
LIST
SHOWING
THE
QUANTITY
AND
DESCRIPTION
OF
THE
HARDWARE
REQUIRED
TO
DO
ALL
ASSEMBLIES
IN
THAT
STEP.
BY
PRE-SELECTING
THE:
HARDWARE
FOR
EACH
STEP
YOU
WILL
SAVE
TIME
AND
CONFUSION.
.
TAKE
NOTE
OF
ANY
SPECIAL
WARNINGS,
CAUTIONS,
NOTES
OR
NOTICES.
LAY
OUT
UNASSEMBLED
PARTS:
FAMILIARIZE
YOURSELF
WITH
THE
DRAWINGS
THEN
READ
AND
UNDERSTAND
THE
INSTRUCTIONS
THOROUGHLY.
.
THIS
PRODUCT
MUST
BE
ASSEMBLED
BY
AN
ADULT
PRIOR
TO
USE.
.
DO
NOT
DESTROY
THE
PACKING
AND
CARTON
UNTIL
THE
UNIT
IS
COMPLETELY
ASSEMBLED.
.
DO
NOT
DESTROY
THE
INSTRUCTION
MANUAL,
USE
IT
FOR
ORDERING
REPLACEMENT
PARTS.
-
TO
HELP
SECURE
PLASTIC
CAPS
4N
TUBING
IT
15
ADVISABLE
TO
GLUE
ON
ALL
PLASTIC
CAPS
DURING
ASSEMBLY
USING
ANY
HOUSEHOLD
TYPE
GLUE.
.
PERIODICALLY
CHECK
THE
UNIT
FOR
BOLT
TIGHTNESS
AND
PARTS
WEAR
TO
INSURE
THAT
YOUR
EQUIPMENT
18
KEPT
IN
TOP
CONDITION.
THE.PLASTIC
SHROUDS
PROTECTING
YOUR
MACHINE
SHOULD
BE
CLEANED
PERIGDIGADEY
WITH
MILD
SOAP
AND
WATER.

STEP
1
BENCH
FRAME
ASSEMBLY
в];
в!
[insert
and
center
PIVOT
TUBE
(15)
imo
BASE
‘FRAME
(1)
and
secure
with
5/16"
X
3/4"
HEX
HEAD
(63).
DO
NOT
TIGHTEN!
"TI
Press
RUBBER
BASE
FEET
(52)
onto
each
end
of
Rectangular
Base
Frame
Section.
C]
stide
curved
SIDE
FRAMES
(2)
onto
PIVOT
TUBE
(15)
and
bolt
to
BASE
FRAME
(1)
using
5/16“
X
5
1/2"
HEX
HEAD
BOLTS
3.
(69),
5/16"
FLAT
WASHERS
(74),
апа
5/16"
НЕХ
NUTS
(75).
Маке
this
and
all
subsequent
connections
in
this
step
only
І
,
moderately
tight
so
adjustments
can
be
made
in
a
future
step
without
loosening
bolts.
[1
atign
bolt
holes
іп
TOP
FRAME
ASSEMBLY
(3)
and
SIDE
FRAMES
(2)
and
assemble
with
5/16"
X
5
1/2"
HEX
HEAD
BOLTS
(69),
5/16"
FLAT
WASHERS
(74),
and
5/16"
HEX
NUTS
(75).
REMEMBER,
DO
NOT
TIGHTEN!
C]
Assemble
REAR
FRAME
SUPPORTS
(4)
and
(5)
to
TOP
FRAME
(3)
using
5/16"
X
2
1/2"
HEX
HEAD
BOLT
(65)
and
5/16"
HEX
NUT
(75).
Attach
lower
end
of
REAR
FRAME
SUPPORTS
(4)
and
(5)
to
BASE
FRAME
(1)
using
another
5/16"
X
2
1/2"
HEX
HEAD
BOLT
(65)
and
5/16”
HEX
NUT
(75).
NOTE:
The
bolt
should
pass
through
the
tubular
sleeve
welded
at
the
rear
of
the
Base
Frame.
(See
circled details
in
diagram)
Securely
tighten
5/16"
x
3/4"
HEX
HEAD
BOLT
(63)
securing
PIVOT
TUBE
(15).
L]
Press
2°
SQUARE
PLASTIC
CAP
(53)
into
one
end
of
STOPPER
TUBE
(96).
Position
Tube
between
SIDE
FRAMES
(2)
and
secure
with
5/16"
X
5
1/2"
HEX
HEAD
BOLT
(69)
5/16"
FLAT
WASHERS
(74),
and
5/16"
HEX NUT
(75).
Align
Stopper
Tube
so
77
that
the
Plastic
Cap
is
positioned
forward
so
that
the
Cam
Arm
will
seat
flat
against
it
when
it
swings
back.
Tighten
securely
so
vit
will
remain
in
a
fixed
horizonta!
position.
“STEP
2
WEIGHT
STACK
FRAME
ASSEMBLY.
[
Pross
RUBBER
FEET
(52)
onto
each
end
of
НЕАН
BASE
LEG
(6).
When
doing
this,
orient
the
bracket
in
the
center
of
the
leg
so
that
its
offset
will
be
down.
The
Pads
on
the
RUBBER
FEET
will
keep
this
bracket
from
touching
the
floor.
[
вон
the
SIDE
MAIN
ҒНАМЕ
SUPPORTS
(8)
to
REAR
BASE
LEG
(6)
using
5/16"
X
2
1/4"
HEX
HEAD
BOLTS
(64),
5/16"
FLAT
WASHERS
(74)
and
5/16"
HEX
NUTS
(75).
Attach
this
assembly
to
BASE
FRAME
(1)
by
bolting
on
REAR
LEG
(6)
with
8/16"
X
2
3/4"
HEX
HEAD
BOLT
(66)
and
5/16”
HEX
NUT
(75).
Note
that
the
top
surfaces
of
the
base
frame
and
rear
leg
should
be
flush
with
one
another.


C]
Assemble
BACKREST
MAIN
FRAME
(7)
by
positioning
it
between
the
REAR
FRAME
SUPPORTS
(4)
and
(5)
and
attaching
with
5/16"
X
2
1/2"
HEX
HEAD
BOLTS
(65)
and
5/16"
HEX
NUTS
(75).
Do
not
tighten
at
this
time.
[]
Connect
the
upper
end
of
BACKREST
MAIN
FRAME
(7)
by
positioning
it
between
the
SIDE
MAIN
FRAME
SUPPORTS
(8)
and
fastening
with
5/16"
X
6
1/2"
HEX
HEAD
BOLT
(89)
5/16"
FLAT
WASHERS
(74)
and
5/16"
HEX
HEAD
NUT
(75).
Tighten
securely
this
and
previously
assembled
bolts
at
the
lower
end.
[
Cap
the
ends
of
the
Backrest
Main
Frame
and
Side
Main
Frame
Supports
with
2"
SQUARE
PLASTIC
CAPS
(53).
C]
Assemble
WEIGHT
GUIDE
RODS
(30)
and
(31)
into
BASE
FRAME
(1).
Notice
in
one
end
of
each
Guide
Rod
it
is
fitted
with
a
threaded
insert.
This
threaded
insert
should
be
at
the
top
of
the
assembly.
Г]
Insert
LONG
GUIDE
НОР
(30)
into
the
rear
hole
іп
BASE
ҒНАМЕ
(1).
Position
SHORT
GUIDE
НОР
(31)
into
the
front hole.
Slide
a
ROUND
RUBBER
BUMPER
(50)
over
each
ene
Rod
and
position
it
at
base
of
rod
against
Base
Frame.
Отк
Guide
Rods
out
from
under
BACKREST
МАІМ
FRAME
(7)
and
slide
on
11
of
the
12
WEIGHT
PLATES
(40)
(saving
one
for
a
later
assembly).
One
Plate
at
a
time.
Note
that
weight
plates
are
to
be
stacked
зо
that
the
embossing
on
the
covers
of
the
Plates
are
up
and
the
Weight
Pin
Slot
is
facing
the
same
side
as
the
Floor.
‘Pulley
Bracket
is
mounted.
(The
Left
side
as
you
face
the
unit)
Be
sure
to
Seren
the
Guide
Rods
while
re
the
plates.
C
Assemble
WEIGHT
SELECTOR
TUBE
an
by
first
tapping
POINTED
WEIGHT.
SELECTOR
END
PLUG
(48)
into
end
of
tube
which
has
all
the
holes
equally
spaced.
Н
Г]
Pass
the
WEIGHT
SELECTOR
TUBE
(25)
down
through
the
hole
in
the
center
of
the
Weight
Stack
until
the
Roll
Pin
rests
on
top
of
the
stack.
Г]
Place
the
last
ог
12th
Plate
оп
(ор
of
the
Roll
Pin.
[Г]
wnen
the
12
Plates
are
on,
tilt
Guide
Rods
back
under
Main
Frame.
Position
LAT
MAST
TUBE
(23)
with
MAIN
FRAME
TOP
PLATE
(47)
(NOTE:
the
MAIN
FRAME
TOP
PLATE
(47)
will
be
positioned
between
the
LAT
MAST
TUBE
(23)
and
the
BACKREST
MAIN
FRAME
(7)
)
atop
the
BACKREST
MAIN
FRAME
(7)
and
using
a
5/16"
X
4
1/2"
HEX
HEAD
BOLT
(73)
and
5/16"
FLAT
WASHER
(74)
bolt
down
through
the
back
hole
of
the
Tube
and
Main
Frame
and
into
LONG
GUIDE
ROD
(30).
Lift
up
on
Guide
Rod
and
fasten
this
bolt
only
finger
tight.
ÛJ
next,
bolt
TOP
PULLEY
BRACKET
(32)
to
SHORT
GUIDE
ROD
(31)
eee
slotted
hole
using
5/16"
X
3/4"
HEX
HEAD
BOLT
(63).
Tighten
this
bolt
only
finger
tight.
ÛJ
now
using
а
5/16"
X
4
1/2"
HEX
HEAD
BOLT
(73)
and
5/16"
FLAT
WASHER
(74),
bolt
down
through
the
front
hole
in
LAT
MAST
TUBE
(23),
BACKREST
MAIN
FRAME
(7)
and
ишеп
hole
іп
small
flange
of
TOP
PULLEY
BRACKET
(32)
and
securing
with
5/16"
HEX
NUT
(75).
C]
align
Pulley
Bracket
so
that
it
is
in
line
with
Main
Frame
(bolts
should
be
finger
tight
only
at
this
time).
ga
Now,
check
the
Guide
Rod
alignment
by
sliding
the
Top
Piate
up
to
the
underside
of
the
Pulley
Bracket,
and
then
tighten
the
5/6"
X
3/4"
HEX
HEAD
BOLT
(63)
іп
the
Front
Guide
Rod
adjusting
the
position
if
necessary.
Li
Lower
the
Top
Plate
to
the
Weight
Stack
once
again
and
ensure
that
it
is
completely
seated
down
on
the
Weight
Stack.
L]
tighten
5/16"
X
4"
HEX
HEAD
BOLT
(68),
5/16"
X
4
1/2"
HEX
HEAD
BOLT
(73),
and
5/16"
x
3/4"
HEX
HEAD
BOLT
(63)
drawing
the
Guide
Rods
and
Bracket
up
tightly
aginst
the
Main
Frame.
[]
Press
1
1/2"
SQUARE
PLASTIC
САР
(54)
open
end
of
Lat
Mast
Tube.

STEP
3
PULLEY,
CABLE,
РЕС
DECK,
AND
BACKREST
ASSEMBLY
HARDWARE
C
insert
looped
end
of
SHORT
LAT
CABLE
(35)
without
ball,
into
the
open
end
of
Weight
Selector
Tube.
C
insert
5/16"
x
1
3/4"
HEX
HEAD
BOLT
(70)
with
a
5/16"
FLAT
WASHER
(74)
into
Weight
Selector
Tube
and
through
Cable
Loop
Тапа
secure
with
a
5/16"
FLAT
WASHER
(74)
and
5/16"
HEX NUT
(75).
[]
Now
insert
the
WEIGHT
SELECTOR
PIN
(86)
іп
through
one
of
the
weights
and
through
WEIGHT
SELECTOR
TUBE
(25).
NOTE:
IN
USE
THE
END
OF
THIS
PIN
MUST
POINT
DOWNWARDS.
C]
вон
the
6*
DIAMETER
PULLEY
(42)
onto
TOP
PULLEY
BRACKET
432)
using
а
3/8"
X
1
3/4"
HEX
HEAD
BOLT
(94)
and.
wan
Hex.
NUT
(64).
~
ES
....
01658
‘U
shaped
ROLLER
BRACKET
(49).
to
BACKREST
man!
Я
FRAME
(7)
with
5/16"
X
2
1/2"
НЕХ
HEAD
BOLT
(65)
5/16"
FLAT.
WASHER
(74)
and
sne
HEX
NUT
(75).
NOTE:
The
hole
в“
uppermost.
T
4
:
С)
LAT
CABLE
over
6"
Pulley
and
then
trap
Cable
into
ROLLER:
BRACKET
(49)
with
small
2"
ROLLER
(44).
Bolt
Roller
to
Bracket
with
3/8"
X
2"
HEX
HEAD
BOLT
(93)
and
3/8"
HEX
NUT
(84).
Roller
should
be
able
to
turn
freely
so
DO
NOT
OVER
TIGHTEN.
O
toosety
assemble
DOUBLE
PULLEY
BRACKET
(45)
placing
one
4
1/2"
DIA.
PULLEY
(43)
between
the
plates
and
the
PLASTIC
PULLEY
COVERS
(46)
and
bolting
together
with
a
3/8"
X
1
3/4"
HEX
BOLT
(94)
and
3/8"
HEX
NUT
(84).
Do
not
tighten.
[Г]
Pass
the
Cable
around
the
Pulley
and
then
bring
the
cable
up
and
over
another
4
1/2"
DIA.
PULLEY
(43).
Bolt
this
Pulley
to
ng
the
LAT
TUBE
(23)
with
а
3/8"
X
3"
НЕХ
BOLT
(71),
3/8"
FLAT
WASHER
(95)
and
3/8"
НЕХ
МИТ
(84)
so
that
the
Rubber
Stopper
Ball
is
to
the
front
of
the
End
Plate
on
the
Lat
Tube.
C]
Assemble
the
LAT
BAR
(34)
into
the
LAT
BAR
SLEEVE
(33)
and
secure
in
place
ከሃ
bolting
a
5/32"
X
1
1/4"
SLOT
HEAD
SCREW
(65)
and
5/32"
HEX
NUT
(82)
thru
the
Bar
on
either
side
of
sleeve.
Press
1"
X
5“
FOAM
GRIPS
(59)
on
each
end
of
62)
Lat
Bar
and
cap
with
1"
ROUND
PLASTIC
CAPS
(61).
Connect
this
assembly
to
Lat
Cable
using
а
FIREMAN'S
LATCH
HOOK

OE
гамана
аана
>
ነ
>
)
———A—
oo
3
o
=
OTs
3
-
E
В
ғ
X64

[Г]
tay
the
tong
BASE
PULLEY
CABLE
(36)
with
the
Rubber
Ball
Stopper
end
into
the
Base
Pulley.
Bracket-on.
BASE
FRAME
(t).
[1
With
the
Ball
to
the
outside
of
the
Bracket,
assemble
a
4
1/2"
Dia.
Pulley,
into
the
Bracket
using
а
3/8"
X
1
3/4"
HEX
BOLT
(94)
and
3/8”
HEX
NUT
(64).
Cl
Push
the
SPACER
SLEEVE
(95)
into
the
front
hole
of
the
Bracket
and
align
with
the
hole.
Insert
a
5/16"
X
1
3/4"
HEX
HEAD
BOLT
(70)
through
Spacer
Sleeve
and
secure
with
5/16"
HEX
NUT
(75).
[]
Bring
Cable
up
and
over
another
4
1/2"
DIA
PULLEY
(43)
and
position
this
Pulley
into
lower
part
of
the
DOUBLE
PULLEY
BRACKET
(45).
Bolt
into
position
using
another
3/8*
X
1
3/4"
HEX
HEAD
BOLT
(94),
and
3/8"
HEX
NUT.
П
Now,
firmly
tighten
both
bolts
іп
the
Double
Pulley
Bracket.
O
ering
the
remaining
Cable
down,
and
with
another
4
uz
DIA
PULLEY
(43)
position
it
in
the
front.
portion
of
the
Base
Pulley
.Bracket
and
fasten
with
3/8"
X
1
3/4"
HEX
BOLT
(94)
and
3/8"
HEX
NUT
(84)
so
that
the
Cable
extends
toward
the
front
of
“the
unit.
`
Пл
this
point
check
that
the
cables
аге
properly
seated
in
the
groove
of
each
Риһеу
апа
that
all
Pulleys
revolve
freely.
(О
pass
the
Cable
between
the
REAR
FRAME
SUPPORTS
(4)
and
(5),
[]
Insert
the
1/2"
DIA
SLEEVE
(97)
through
loop
and
center
assembly
in
welded
bracket
on
bottom
of
CAM
ARM
(20).
Insert
3/8"
X
1
1/4"
SHOULDER
BOLT
(87)
with
3/8"
FLAT
WASHER
(98)
through
Bracket
and
Sleeve
and
secure
with
3/8"
FLAT
WASHER
(98)
and
5/16"
HEX
NUT
(75).
Ў
C
atter
making
certain
that
the
WEIGHT
SELECTOR
TUBE
(25)
із
properly
seated
down
оп
the
Weight
Stack
and
the
weights
are
pinned
with
WEIGHT
SELECTOR
PIN
(86),
pull
all
slack
out
of
the
complete
Cable
system
checking
that
cables
are
properly
seated
in
all
Pulleys.
At
Base
Pulley
Bracket,
slide
CABLE
STOP
(99)
tightly
against
the
Ball
and
tighten
Set
Screw
so
stop
is
held
tight.
``.
J
The
cable
should
have
as
little
slack
in
the
system
as
possible
to
give
a
smooth,
continuous
resistance
when
used.
Attach
"S*
HOOK
(91)
to
the
Cable
end
at
the
Base
Pulley
Bracket
in
order
to
attach
accessories
for
various
exercises.
(О
Loosely
assemble
BACKREST
L-BRACKETS
(57)
to
BACKREST
MAIN
FRAME
(7)
with
5/16"
X
2
3/4"
HEX
HEAD
BOLT
(66)
and
5/16"
HEX
NUT
(75).
П
Align
holes
in
BACKREST
L-BRACKETS
(57)
and
back
of
BACKREST
(10)
and
attach
with
1/4"
X
3/4"
SLOT
HEAD
SCREWS
(76).
Attach
bottom
of
Backrest
to
Backrest
Tube
using
1/4"
X
2
3/4"
SLOT
HEAD
SCREW
(78).
Г]
tighten
Hex
Bolt
holding
Backrest
L-Brackets
to
Backrest
Main
Frame.
10

8ТЕР4
SEAT
ASSEMBLY
C]
Before
assembling
Seat,
take
опе
of
the
PLASTIC
SIDE
COVERS
(12)
and
fit
it
to
the
frame
so
that
the
shroud
is
over
the
Curved
Side
Supports
and
up
against
the
Rear
Frame
Support
‘and
forward
against
the
Base
Frame
Foot.
Adjust
the
Frame
Members
slightly
if
necessary
to
obtain
the
best
fit.
Remove
the
Plastic
Shroud
and
securely
tighten
all
boits
that
were
previously
left
untightned
in
Step
1.
C]
Align
Бой
holes
in
SEAT
(9)
with
mounting
holes
in
Frame
Members.
Using
а
1/4"
X
2
3/4"
SLOT
HEAD
SCREW
(78)
through
TOP
FRAME
(3),
attach
rear
of
Seat.
.Cl
using;
1/47.
X:2
71/4"
SLOT.
HEAD
SCREWS
(77),
attach
tront,
of,
Seat,
through,
curved
SIDE.
FRAME
(2).
Make
this
attachment
very
loosely
зо
shroud
can
be
fitted
between
Seat
and
Frame
in
a
future
step.
te
2>!;
STEP
5
“ATTACHING
PLASTIC
SHROUDS
HARDWARE
[]
Position
each
PLASTIC
FRAME
SHROUD
(11)
апа
<(12)
over
Pivot
Tube
so
that
they
slip
between
the
'Seat.and
Frame
and:
'ዩስህፀካ
over
and
against
the
REAR
SUPPORTS
(4)
and
(5).
Align
holes
in
Cover
with
the
mounting
holes
in
the
REAR
SUPPORTS
(4)
and
(5)
“and
attach
with
5/32"
X
3/4"
SELF
TAPPING
SCREWS
(80),
and
5/32
FLAT
WASHERS
(81).
Front
of
Shroud
should
fit
tightly
against
Front
Foot
of
BASE
FRAME
(1).
Па
this
point,
-
tighten
the
three
Seat
Mounting
.
Screws
under
the
Seat
to
firmly
hold
the
top
of
‘shroud
between
the
Seat
and
Frame.
(О
Next,
using
two
1/4"
X
2
1/4"
SLOT
HEAD
SCREWS
(77),
5/16"
FLAT
WASHERS
(74)
and
1/4"
HEX
NUTS
(79)
bolt
down
the
front
lower
comers
of
shrouds
trapping
the
plastic
between
the
washer
and
frame.
SEE
DETAIL
DRAWING!
[]
Finally,
insert
the
LARGE
PLASTIC
COVER
PLATE
(13)
into
lower
portion
of
shrouds.
Align
holes
and
bolt
together
with
5/32“
Х
3/4"
SELF
TAPPING
SCREWS
(80),
and
5/32"
FLAT
WASHERS
(81).
11
Г]
Insert
SMALL
PLASTIC
COVER
PLATE
(14)
behind
upper
portion
of
shroud
and
attach
with
5/32"
X
3/4"
SELF
TAPPING
SCREWS
(80),
and
5/32"
FLAT
WASHERS
(81).
:

8ТЕР6
BENCH
PRESS
ASSEMBLY
HARDWARE
ыы
2.
[1
Remove
WEIGHT
SELECTOR
РІМ
(86)
from
welght
stack
so
there
із
no
load
on
leg
extension
and
it
can
be
swung
forward
and
out
of
the
way.
Se
qe
RINE
›
.
О
Press
1
1/2"
SQUARE
OPEN
END
PLASTIC
CAP
(55)
onto
each
end
of
BENCH
PRESS
ARMS
(18).
Slide
arms
onto
PIVOT
TUBE
(15)
and
up
against
Plastic
Shroud.
Î
next,
assemble
ROLLER
BRACKETS
(16),
with
angled
corners
upwards,
to
the
center
tube
on
BENCH
PRESS
CROSS
BRACE
(17)
with
5/16"
X
2
1/4"
HEX
HEAD
BOLTS
(77)
and
5/16"
HEX
NUTS
(75).
L]
Bolt
the
2"
DIAMETER
ROLLER
(42)
in
position
between
the
Roller
Brackets
using
3/8"
X
2
1/4"
HEX
HEAD
BOLT
(63)
and
3/8"
HEX
NUT
(84).
Tighten
securely
but
do
not
overtighten
and
check
that
roller
moves
freely.
П
Press
1
1/2"
SQUARE
PLASTIC
CAPS
(54)
into
ends
of
Cross
Brace.
[]
Position
Cross
Вгасе
into
the
open
section
of
shroud
and
attach
to
ВЕМСН
PRESS
ARMS
(18)
using
5/16"
X
3
1/2"
HEX
HEAD.
BOLTS
(67),
5/16"
FLAT
WASHERS
(74),
and
5/16"
НЕХ
NUTS
(75).
І
[]
Swiag.Leg
Extension
Assembly
down
slowly
and
align
Roller
with
curved
Cam
Tube
on
Extension.
Г]
Insert
ВЕМСН
PRESS
HANDLES
(19)
into
Arms
and
ріп
into
position
using
SMALL
LOCKING
РІМ5
(58).
C]
знае
SMALL
FOAM
GRIPS
(59)
onto
handles
and
cap
with
1
1/4"
ROUND
PLASTIC
CAPS
(60).
STEP
7
LEG
EXTENSION
ASSEMBLY
HARDWARE
Е
О
Press
1
3/4"
SQUARE
PLASTIC
CAPS
(56)
into
each
end
of
CAM
ARM
(20).
C
insert
CHROME
ROLLER
BAR
(24)
Into
lower
hole
in
CAM
ARM
COVER
(21)
and
center.
Hold
in
place
by
screwing
PLASTIC
KNOB
(51)
through
welded
nut
and
against
roller
bar.
|
12

[C]
Pross
4"
X
6"
ROLLER
PADS
(26)
over
roller
bar
and
up
against
cover
so
that
bar
protrudes
—
through
about
5"
on
each
side.
(Using
a
small
amount
of
liquid
detergent
wiped
along
the
surface
of
the bar
will
make
assembling
pads
easier.)
insert
1"
ROUND
PLASTIC
CAPS
(61)
7
as
ә
110
ends
of
bar.
%
p
DNS
=
|
[Г]
Lower
extension
cover
over
leg
extension
and
lock
in
place
with
LARGE
LOCK
PIN
(41).
2
wu
22)
(21)
=
FN
[]Press
3/4"
ROUND
PLASTIC
CAPS
(62)
into
(20)
*
8
7
ШЕ
c.
7/
each
end
of
PAD
BAR
(28).
Insert
bar
into
ROLLER
BRACKET
(29)
and
assemble
2
1/2"
X
7"
FOAM
ROLLER
PADS
(27).
Asmall
amount
Ae
of
liquid
dish
detergent
applied
to
the
Pad
Bar
will
make
this
assembly
easier.
STEP
8
DECAL
ASSEMBLY
О
ноте:
:
to
make
application
of
decals
easier,
E
"peel
only
&
small
end
section
of
backsheet
back
%
апа
align
decal
and
press
exposed
adhesive
`.
“section
down
against
surface.
tf
decal
is
.
positioned
properly,
remove
remaining
backing
{
and
finish
application.
О
assemble
7/8"
X
13"
STRIPE
DECAL
(100)
to
Å
¿upper
recessed
area
in
plastic
shroud.
:
Ln.
LARGE
SHROUD
DECALS
(101)
to
shroud
"|
5
sides
by
positioning
decal
about
1/2"
above
molded
recess
in
bottom
section
of
shroud.
Align
front
of
decal
with
molded
stripes.
[]
АНіх
ВЕМСН
PRESS
DECALS
(102)
to
arms
directly
below
bottom
edge
of
plastic
caps.
[С]
Position
LEG
EXTENSION
DECAL
(103)
to
`
upper
portion
of
extension
cover
and
press
in
place.
ÛÎ
Referring
back
to
step
2
illustration,
assembie
WEIGHT
SCALE
DECAL
(104)
to
the
lower
end
on
SIDE
MAIN
FRAME
SUPPORT
(8)
to
align
with
welght
etack.

USING
ACCESSORIES
Included
with
this
product
is
a
ACCESSORY
ROPE
(37),
DUMBBELL
HANDLE
(38)
and
ANKLE
STRAP
(39).
Exercises
for
their
use
are
covered
in
your
Training
Gulde.
It
should
be
noted
through
that
the
Accessory
Rope
is
used
for
exercises
using
the
Dumbbell
Handle
and
Lat
Bar
as
foliows.
1.
When
doing
exercises
where
you
begin
lifting
at
shoulder
height;
such
as
standing
presses
with
the
Lat
Bar,
hook
one
end
of
the
rope
to
the
"S"
Hook
on
the
Base
Pulley
and
attach
the
Lat
Bar
to
the
other
end
using
a
FIREMAN’S
LATCH
HOOK
(92).
This
full
length
of
Rope
should
position
the
Lat
Bar
at
approximately
chest
height.
.
When
doing
exercises
such
as
curls
where
the
exercising
load
begins
at
around
waist
f
`5
height,
the
rope
should
be
doubled
in
half
hooking
both
loop
ends.
of
the
rope
to
the
"S*
4:
Hook
at
the
Base
Pulley
and
clipping
the
Fireman's
Hook
in
the
middle
of
the
rope.
"MAINTENANCE
RUNS
AROUND
THE
PULLEYS.

IMPORTANT
BEFORE
CALLING
THE
800
NUMBER
IN
ORDER
TO
RECEIVE
SERVICE
ON
THIS
PRODUCT
YOU
WILL
HAVE
TO
FIRST
SEND
IN
YOUR
WARRANTY
CARD
CUSTOMER
SERVICE
1-800-225-0653
ALL
OF
THE
PARTS
FOR
THE
WEIGHTBENCH
CAN
BE
ORDERED
FROM
WEIDER
HEALTH
AND
FITNESS,
"PARTS
SERVICE
DEPT.,
900
WEST
ST
JOHN
ST
OLNEY,
IL.
62450.
WHEN
ORDERING,
PARTS
WILL
BE
:[:SENT
AND
BILLED
AT
THE
CURRENT
PRICES.
PRICES
MAY
BE
SUBJECT.TO-
CHANGE
WITHOUT
1
NOTICE.
STANDARD
HARDWARE
ITEMS
ARE
AVAILABLE
AT
LOCAL
HARDWARE
STORES.
7
TO
OBTAIN
PARTS
DO
NOT
GO
BA
STORE
WHERE
YOU
PURCHASED
ALWAYS
INCLUDE
THE
FOLLOWING
INFORMATION
WHEN
ORDERING
PARTS:
MODEL
NO.
NAME
OF
PART
ORDERING
NUMBER
WARNING
~
CONSULT
YOUR
PHYSICIAN
CONSULT
YOUR
PHYSICIAN
BEFORE
STARTING
YOUR
EXERCISE
PROGRAM.
ІТ
IS
ADVISABLE
TO
1
HAVE
ል
PHYSICAL
EXAMINATION
BY
YOUR
PHYSICIAN
BEFORE
YOU
ENTER
ANY
EXERCISE
“PROGRAM.
I
воя
.YOUR
OWN
SAFETY,
DO
NOT
BEGIN
ANY
EXERCISE
WITHOUT
PROPER
INSTRUCTION.
1:
CHILDREN
AND
HANDICAPPED
PERSONS
SHOULD
NOT
USE
ANY
EXERCISE
EQUIPMENT
WITHOUT
ል
|
;
QUALIFIED
PERSON
IN
ATTENDANCE.
5
TRAIN
WITH
А
PARTNER
МТ
IS
RECOMMENDED
THAT
АМ
INDIVIDUAL
SHOULD
МОТ
WORK
OUT
WITHOUT
A
TRAINING
PARTNER
IN
ATTENDANCE.
SET
UP
YOUR
PROGRAM
TO
ACCOMMODATE
TWO
PEOPLE
AND
YOU
WILL
BE
HIGHLY
MOTIVATED.
Table of contents
Other Weider Home Gym manuals

Weider
Weider Pro 208 User manual

Weider
Weider Pro 136 User manual

Weider
Weider WEEVBE33110 User manual

Weider
Weider C 625 User manual

Weider
Weider 214 Bench User manual

Weider
Weider 831.159010 User manual

Weider
Weider 4990 I Quick start guide

Weider
Weider XT20 User manual

Weider
Weider 200 Power Tower Bench User manual

Weider
Weider 831.150310 User manual

Weider
Weider 8980 I User manual

Weider
Weider C 875 User manual

Weider
Weider Pro 9640 User manual

Weider
Weider 240 Tc Bench User manual

Weider
Weider Wedier Pro 9635 User manual

Weider
Weider 244 Bench User manual

Weider
Weider Body Works Pro 2.0 Bench User manual

Weider
Weider 15CT User manual

Weider
Weider PRO 4850 User manual

Weider
Weider Muscle 131 User manual