manuals.online logo
Brands
  1. Home
  2. •
  3. Brands
  4. •
  5. weistek
  6. •
  7. 3D Printer
  8. •
  9. weistek IdeaWerk User manual

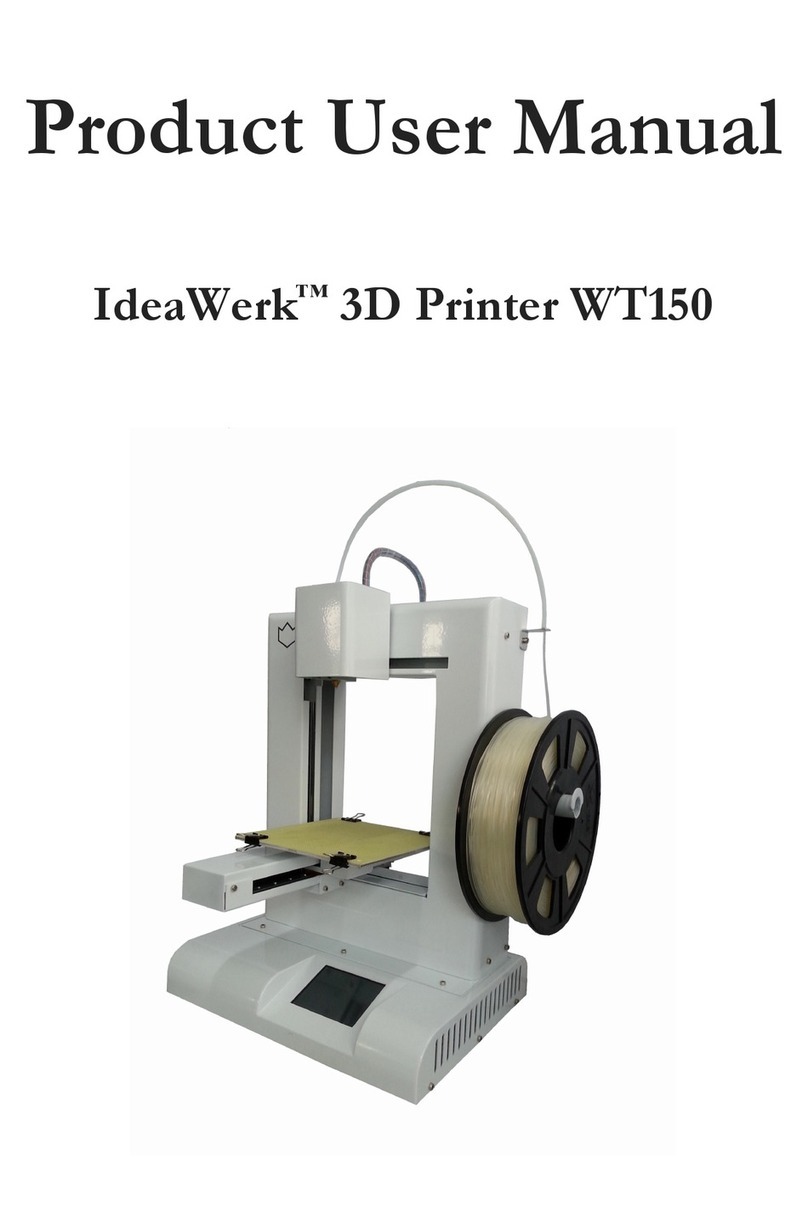
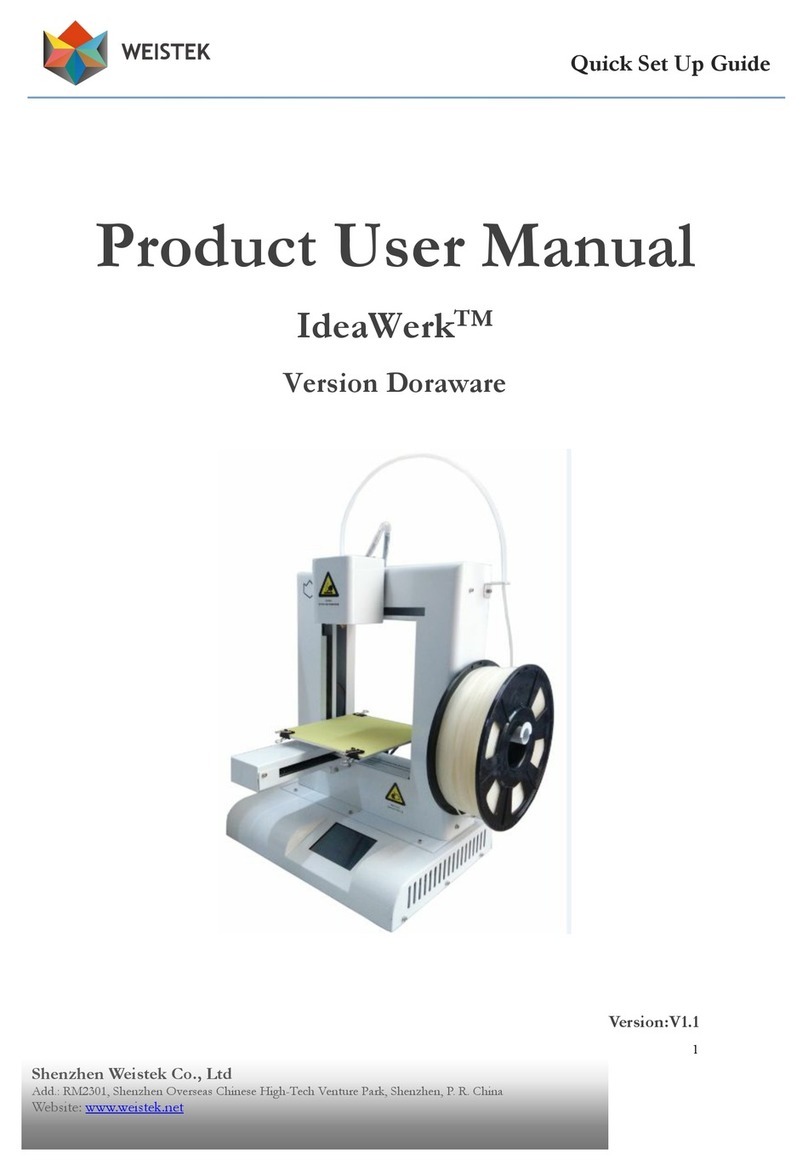
weistek IdeaWerk User manual

1
Quick Set Up Guide
Shenzhen Weistek Co., Ltd
Add.: RM2301, Shenzhen Overseas Chinese High-Tech Venture Park, Shenzhen, P. R. China
Email: contact@weistek.net Website: www.weistek.net
Quick Set Up Guide
IdeaWerk 3D Printer
2
Quick Set Up Guide
Shenzhen Weistek Co., Ltd
Add.: RM2301, Shenzhen Overseas Chinese High-Tech Venture Park, Shenzhen, P. R. China
Email: contact@weistek.net Website: www.weistek.net
Take out the machine after opening the box. In total 5 parts:
1Extruder part
2Main frame part
3Spool holder
4Y-axis part
5Main base part
Picture 1.1
Y-axis part
Main frame part
Extruder part
Base part
Spool holder
3
Quick Set Up Guide
Shenzhen Weistek Co., Ltd
Add.: RM2301, Shenzhen Overseas Chinese High-Tech Venture Park, Shenzhen, P. R. China
Email: contact@weistek.net Website: www.weistek.net
Main base part Y-axis part
Picture 1.2 Picture 1.3
Main frame and extruder part Spool holder
Picture 1.4 Picture 1.5
I. Assemble steps:
(1) Take out main frame and extruder part, and fix the extruder part in
the main frame part through a M3*12 screw by Allen wrench. Please
note distance between extruder and main frame part should be
same from top to bottom.
4
Quick Set Up Guide
Shenzhen Weistek Co., Ltd
Add.: RM2301, Shenzhen Overseas Chinese High-Tech Venture Park, Shenzhen, P. R. China
Email: contact@weistek.net Website: www.weistek.net
Picture 2.1
Picture 2.2 Picture 2.3
Picture 2.4 Picture 2.5
Screw M3x12
Maintain uniform
clearance between the
two parts to ensure a
good printing accuracy
Push extruder
part to confirm
if it moves
smoothly
Remove the
back cover
5
Quick Set Up Guide
Shenzhen Weistek Co., Ltd
Add.: RM2301, Shenzhen Overseas Chinese High-Tech Venture Park, Shenzhen, P. R. China
Email: contact@weistek.net Website: www.weistek.net
(2) Assemble motor base and main frame by 6 M3x6 screws (each 3
screws on front and back) and fasten with M3 Allen wrench.
Picture 2.6 Picture 2.7
(3) Connect eater cables in picture 2.8, DB 15-pin socket connector in
picture 2.9.
Picture 2.8 Picture 2.9
Screw M3x6
6
Quick Set Up Guide
Shenzhen Weistek Co., Ltd
Add.: RM2301, Shenzhen Overseas Chinese High-Tech Venture Park, Shenzhen, P. R. China
Email: contact@weistek.net Website: www.weistek.net
(4) DB 9-pin socket connector in picture 3.0 and picture 3.1.
Picture 3.0 Picture 3.1
(5) Fix Y-axis in main frame. First, fasten 2 M3x6 side screws, then 2
M6x6 bottom screws, 1 M3x6 side screw at last. After finishing
Y-axis assembly, connector cables should be stuck in the stick-type
wiring holder and also just in between two nylon cable ties in case
of movement caused by loosening.
Picture 3.2 Picture 3.3
7
Quick Set Up Guide
Shenzhen Weistek Co., Ltd
Add.: RM2301, Shenzhen Overseas Chinese High-Tech Venture Park, Shenzhen, P. R. China
Email: contact@weistek.net Website: www.weistek.net
Picture 3.4 Picture 3.5
Picture 3.6 Picture 3.7
(6) Recover the back cover, be careful not to press or stuck the cables.
Then fasten 7 M3x6 screws, among which 2 on the top, 3 on one
side and 2 on the other side.
The part between two nylon cable
ties is design to be clamped
The clamp
8
Quick Set Up Guide
Shenzhen Weistek Co., Ltd
Add.: RM2301, Shenzhen Overseas Chinese High-Tech Venture Park, Shenzhen, P. R. China
Email: contact@weistek.net Website: www.weistek.net
Picture 3.8 Picture 3.9
Picture 4.0
9
Quick Set Up Guide
Shenzhen Weistek Co., Ltd
Add.: RM2301, Shenzhen Overseas Chinese High-Tech Venture Park, Shenzhen, P. R. China
Email: contact@weistek.net Website: www.weistek.net
(7) Assemble the spool holder on the side with 2 M3x6 screws.
Picture 4.1
(8)Assemble the filament passing-through assistant. (Attention the
direction.)
Picture 4.2
10
Quick Set Up Guide
Shenzhen Weistek Co., Ltd
Add.: RM2301, Shenzhen Overseas Chinese High-Tech Venture Park, Shenzhen, P. R. China
Email: contact@weistek.net Website: www.weistek.net
(9)Connect the motor cable on Y axis.
Picture 4.3
(10) Set the build bed, fix it with 4 clips.
Picture 4.4
Note: the long tail of the clips
should be parallel to Y-axis
11
Quick Set Up Guide
Shenzhen Weistek Co., Ltd
Add.: RM2301, Shenzhen Overseas Chinese High-Tech Venture Park, Shenzhen, P. R. China
Email: contact@weistek.net Website: www.weistek.net
(11)Place the filament spool and feed the filament with the Teflon
filament guide.
Picture 4.5
II. Acknowledgements
Thanks for using IdeaWerk 3D printer.
For after sale service please contact with your retailer.

Other manuals for IdeaWerk

1

Other weistek 3D Printer manuals

weistek A-Box User manual

weistek

weistek A-Box User manual

weistek RS IdeaWerk Pro User manual

weistek

weistek RS IdeaWerk Pro User manual

weistek IdeaWerk WT150 Operational manual

weistek

weistek IdeaWerk WT150 Operational manual

weistek IdeaWerk Operational manual

weistek

weistek IdeaWerk Operational manual

Popular 3D Printer manuals by other brands

AnyCubic Kobra Go user manual

AnyCubic

AnyCubic Kobra Go user manual

Geeetech Prusa I3 A pro user manual

Geeetech

Geeetech Prusa I3 A pro user manual

Flashforge Creator 3 quick start guide

Flashforge

Flashforge Creator 3 quick start guide

Flashforge Guider II Assembly instruction

Flashforge

Flashforge Guider II Assembly instruction

Alunar M508 Prusa i3 quick start guide

Alunar

Alunar M508 Prusa i3 quick start guide

Emotion Tech mDelta Assembly instructions

Emotion Tech

Emotion Tech mDelta Assembly instructions

Creality CR-10 Series user manual

Creality

Creality CR-10 Series user manual

TENLOG TL-D5 instruction manual

TENLOG

TENLOG TL-D5 instruction manual

Snapmaker F350 quick start guide

Snapmaker

Snapmaker F350 quick start guide

Creality CR-100 Guide book

Creality

Creality CR-100 Guide book

NWA3D Afinibot A31 user manual

NWA3D

NWA3D Afinibot A31 user manual

Dremel DigiLab 3D45 Operating and safety instructions

Dremel

Dremel DigiLab 3D45 Operating and safety instructions

Stedi ModelSmart Pro 280 user guide

Stedi

Stedi ModelSmart Pro 280 user guide

Ultimaker S5 Material Station quick start guide

Ultimaker

Ultimaker S5 Material Station quick start guide

BALCO KOG6789 instruction manual

BALCO

BALCO KOG6789 instruction manual

Dremel 3D40 Idea Builder quick start guide

Dremel

Dremel 3D40 Idea Builder quick start guide

3DP Workbench user manual

3DP

3DP Workbench user manual

Renkforce FDM 3D Printer Pro 6+ user manual

Renkforce

Renkforce FDM 3D Printer Pro 6+ user manual

manuals.online logo
manuals.online logoBrands
  • About & Mission
  • Contact us
  • Privacy Policy
  • Terms and Conditions

Copyright 2025 Manuals.Online. All Rights Reserved.