2
TABLE OF CONTENTS
Thank You For your Purchase..................................................................................................................................................... 3
Unpacking Your New Welder ......................................................................................................................................................... 3
Welding Hazards and Safety....................................................................................................................................................... 4
Work Area ...................................................................................................................................................................................... 4
Personal Protective Equipment and Clothing (PPE) ....................................................................................................................... 4
Electromagnetic and Radio Frequencies –“PACEMAKERS”........................................................................................................... 5
Pre-Checks...................................................................................................................................................................................... 5
Warning.......................................................................................................................................................................................... 5
Storage and Transportation ........................................................................................................................................................... 5
Technical Description ................................................................................................................................................................. 6
Compliance Plate............................................................................................................................................................................ 6
Duty Cycle....................................................................................................................................................................................... 6
Input Plug ....................................................................................................................................................................................... 6
Operating Environment.................................................................................................................................................................. 6
Machine Layout ......................................................................................................................................................................... 7
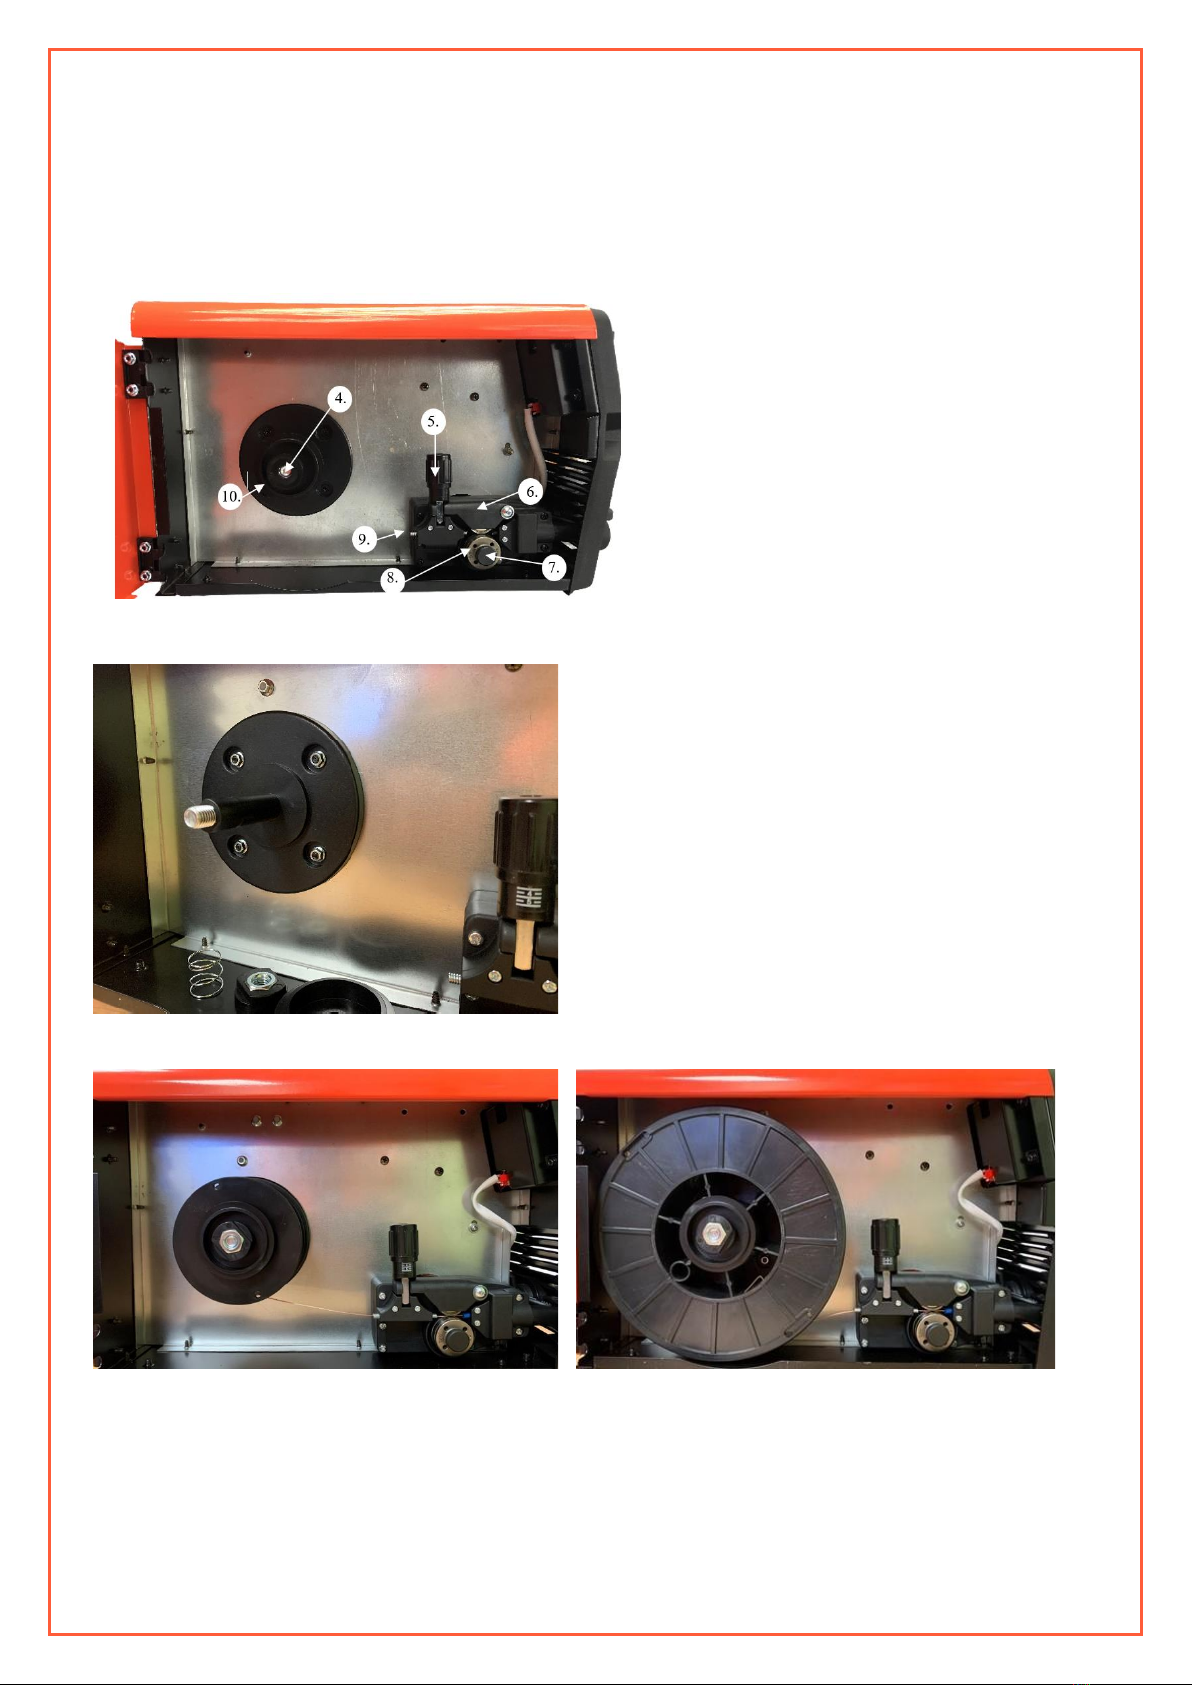
MIG Welding Setup .................................................................................................................................................................. 10
Fitting the Wire ............................................................................................................................................................................ 10
Gasless MIG Welding Setup ......................................................................................................................................................... 12
Gas MIG Welding Setup ............................................................................................................................................................... 14
MMA (Stick) Welding Setup ..................................................................................................................................................... 16
Maintenance............................................................................................................................................................................ 18
Warranty.................................................................................................................................................................................. 18
Troubleshooting....................................................................................................................................................................... 19
Power Supply................................................................................................................................................................................ 19
Welding Torch .............................................................................................................................................................................. 19
Wire Feeder.................................................................................................................................................................................. 20
Cables ........................................................................................................................................................................................... 20