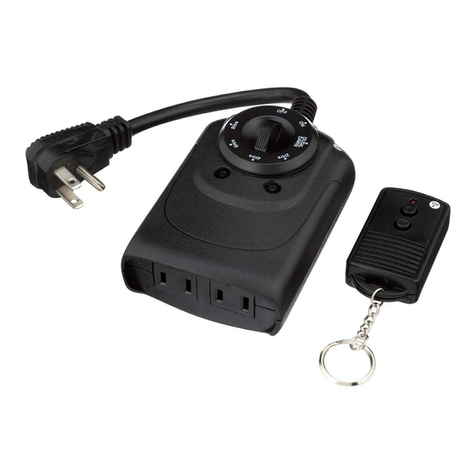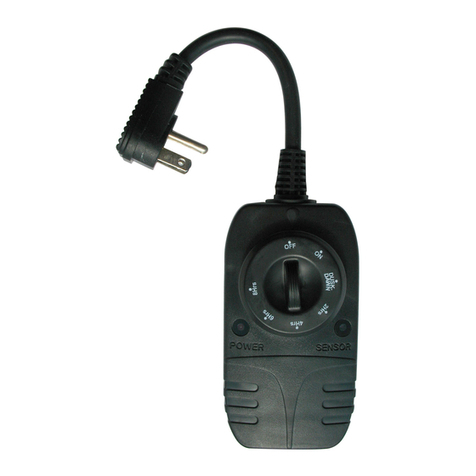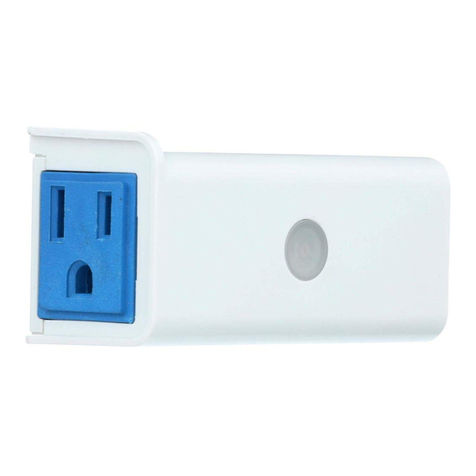
Extérieur
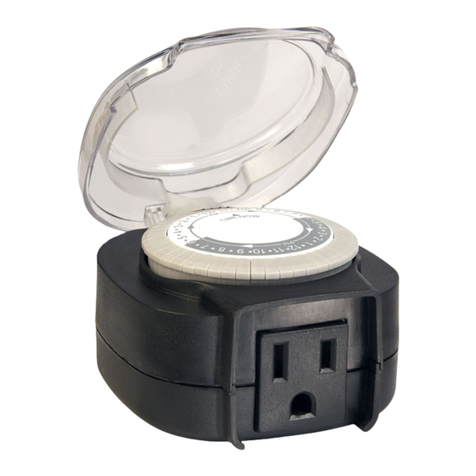
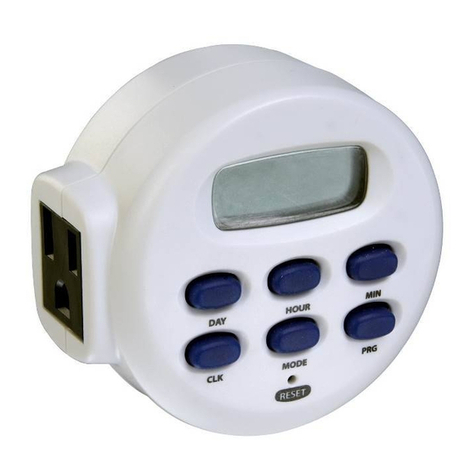
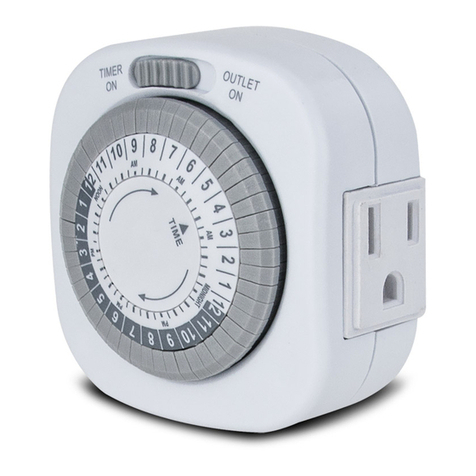
Minuteur numérique
avec 2 prises mises à la terre
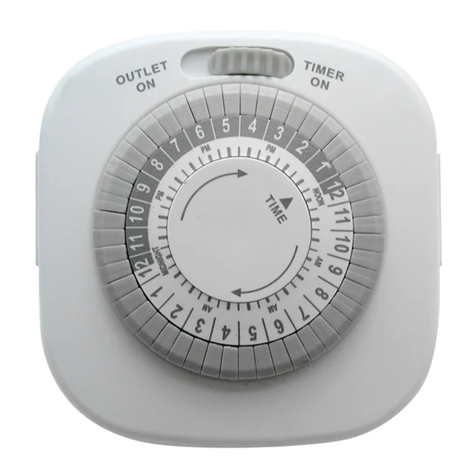
1. Programmation des périodes périodes
d’activation/désactivation
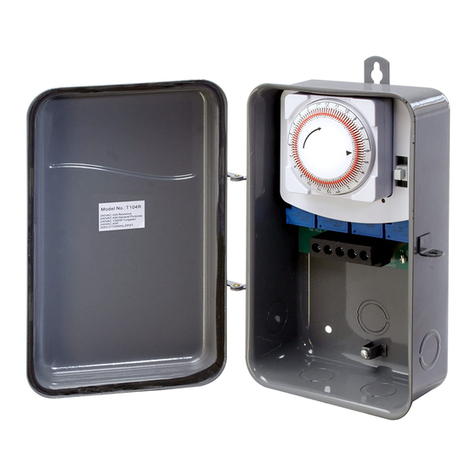
Cette minuterie peut programmer jusqu’à 48
commandes d'activation/désactivation par jour.
Relever toutes les tiges qui correspondent à
la période souhaitée de « désactivation »
avec le doigt, un crayon ou un tournevis.
Pour programmer la période souhaitée
d'« activation »,veiller à abaisser toutes
les tiges. Chaque tige correspond
à 30 minutes, 2 tiges correspondent
1 heure.
2. Réglage de l’heure
Tourner le cadran dans le sens horaire
de manière à orienter l'indicateur triangulaire
vers l'heure actuelle.Veiller à régler l’interrupteur
du dispositif à la position TIMER ON.
3. Branchement
Une fois programmées les périodes d’activation/
désactivation et l’heure réglée, brancher la minuterie
sur la prise murale,puis insérer la fiche de l'appareil
dans la minuterie.Veiller à ce que la prise murale
et l'appareil soient activés.La minuterie se déclenche
et active ou désactive l'appareil conformément
aux commandes de préréglage d’activation/
désactivation.
4. Activation/désactivation manuelle
Les commandes de préréglage d’activation/
désactivation peuvent être interrompues en utilisant
l’interrupteur prioritaire manuel situé en haut du
dispositif. Lorsque l’interrupteur est réglé à la position
OUTLET ON, l’appareil branché est activé en
permanence. Pour réactiver la commande de
fonctionnement de l’appareil par la minuterie,activer
l'interrupteur de l'appareil et régler l'interrupteur
prioritaire de la minuterie sur TIMER ON. En cas de
panne d'alimentation, effectuer le réglage de l’heure
comme indiqué à l'étape 2.
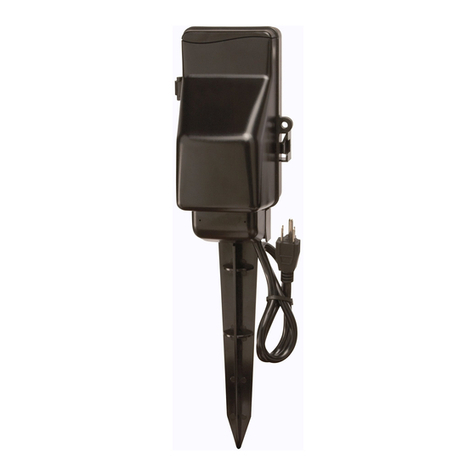
5. Montage mural
- Si le minuteur extérieur sur piquet est monté sur
un mur extérieur ou sur un poteau, il doit être à au
moins 0,9 m au-dessus du sol et suffisamment près
d’une prise électrique conçue pour les endroits
humides.
- Placer les fentes en trou de serrure sur les vis et
pousser vers le bas le minuteur extérieur sur piquet
pour verrouiller en place.
Fiche technique
15 A, 1875 W résistif
8 A, 1000 W tungstène
125 V~, 60 Hz
Garantie limitée d’un an
AmerTac™ garantit ce produit contre tout défaut de
matériaux et de main d’œuvre pendant une période
de un (1) an à partir de la date d’achat. Les obligations
d’AmerTac se limitent à la réparation ou au
remplacement de tout article défectueux et s’appliquent
seulement si l’article est retourné dans l’année de la
date d’achat à AmerTac, 250 Boulder Drive,
Breinigsville, PA 18031. AmerTac ne peut en aucun cas
être tenue responsable pour des dommages
consécutifs ou accessoires liés de quelque manière
que ce soit à ce produit.
Exterior
Temporizador diario
con 2 tomacorrientes a tierra
1. Cómo fijar los lapsos de Encendido/Apagado
Este temporizador puede configurar hasta 48
comandos de Encendido/Apagado al día.Con su
dedo, un bolígrafo o destornillador, tire hacia arriba
de todas las clavijas que correspondan al lapso
de "Apagado" deseado. Para el lapso de
“Encendido” deseado, asegúrese
clavijas se encuentrenabajo.
representa 30 minutos;
representan 1 hora.
2. Cómo fijar la hora
Gire el cuadrante hacia la derecha hasta
que el indicador triangular apunte a la
hora actual.Asegúrese que el interruptor
en la unidad esté colocado en la posición
"TIMER ON" (Temporizador encendido).
3. Conexión
Una vez se hayan fijado los lapsos de
Encendido/Apagado y la hora actual, enchufe el
temporizador en el enchufe de la pared, y enchufe
los aparatos en el temporizador. Asegúrese que el
enchufe de la pared y el aparato estén encendidos.
El temporizador comenzará a funcionar, y encenderá
y apagará el aparato según los comandos
preconfigurados de Encendido/Apagado.
4. Encendido/Apagado manual
Los comandos preconfigurados de Encendido/Apagado
pueden interrumpirse utilizando el interruptor de
anulación manual ubicado en la parte superior de la
unidad. Cuando se cambia a la posición OUTLET ON
(Tomacorriente encendido), el aparato conectado
quedará encendido de forma permanente. Para que
el temporizador recupere el control del aparato,
encienda el aparato y coloque el interruptor de
anulación del interruptor en la posición TIMER ON
(Temporizador encendido). En caso de un fallo de
alimentación, restablezca la hora del día según se
explicó en el paso 2.
5. Montaje en pared
- Si elTemporizador con estaca para exteriores se
monta en una pared o poste exterior, deberá instalarse
a 0.9 metros como mínimo sobre el terreno y lo
suficientemente cerca como para poder enchufarlo
en un receptáculo eléctrico adecuado para ubicaciones
húmedas.
- Coloque las ranuras de fijación sobre los tornillos
y presione el Temporizador de estaca para exteriores
para asegurarlo en su posición.
Especificaciones
15 A, 1875 W resistivo
8 A, 1000 W tungsteno
125 V~, 60 Hz
Garantía limitada de un año
AmerTac™ garantiza que este producto está libre de
defectos de material y mano de obra por un período
de un año a partir de la fecha de compra. Las obligaciones
de AmerTac se limitan a reparar o cambiar la unidad
defectuosa y son efectivas sólo si se devuelve en un
lapso de un año a partir de la fecha de compra a
AmerTac, 250 Boulder Drive, Breinigsville, PA 18031.
La garantía no será válida si el daño es causado por
mal uso o instalación inadecuada. En ningún caso
AmerTac será responsable por daños consecuentes o
incidentales relacionados en cualquier forma con este
producto.
5
4
3
2
1
12
1
1
10
9
8
7
5
4
3
2
1
12
1
1
10
9
8
7
AM
H
o
r
a
i
r
e
d
e
j
o
u
r
/
H
o
r
a
d
i
u
r
n
a
H
o
r
a
i
r
e
d
e
n
u
i
t
/
H
o
r
a
n
o
c
t
u
r
n
a
PM
