Page 9
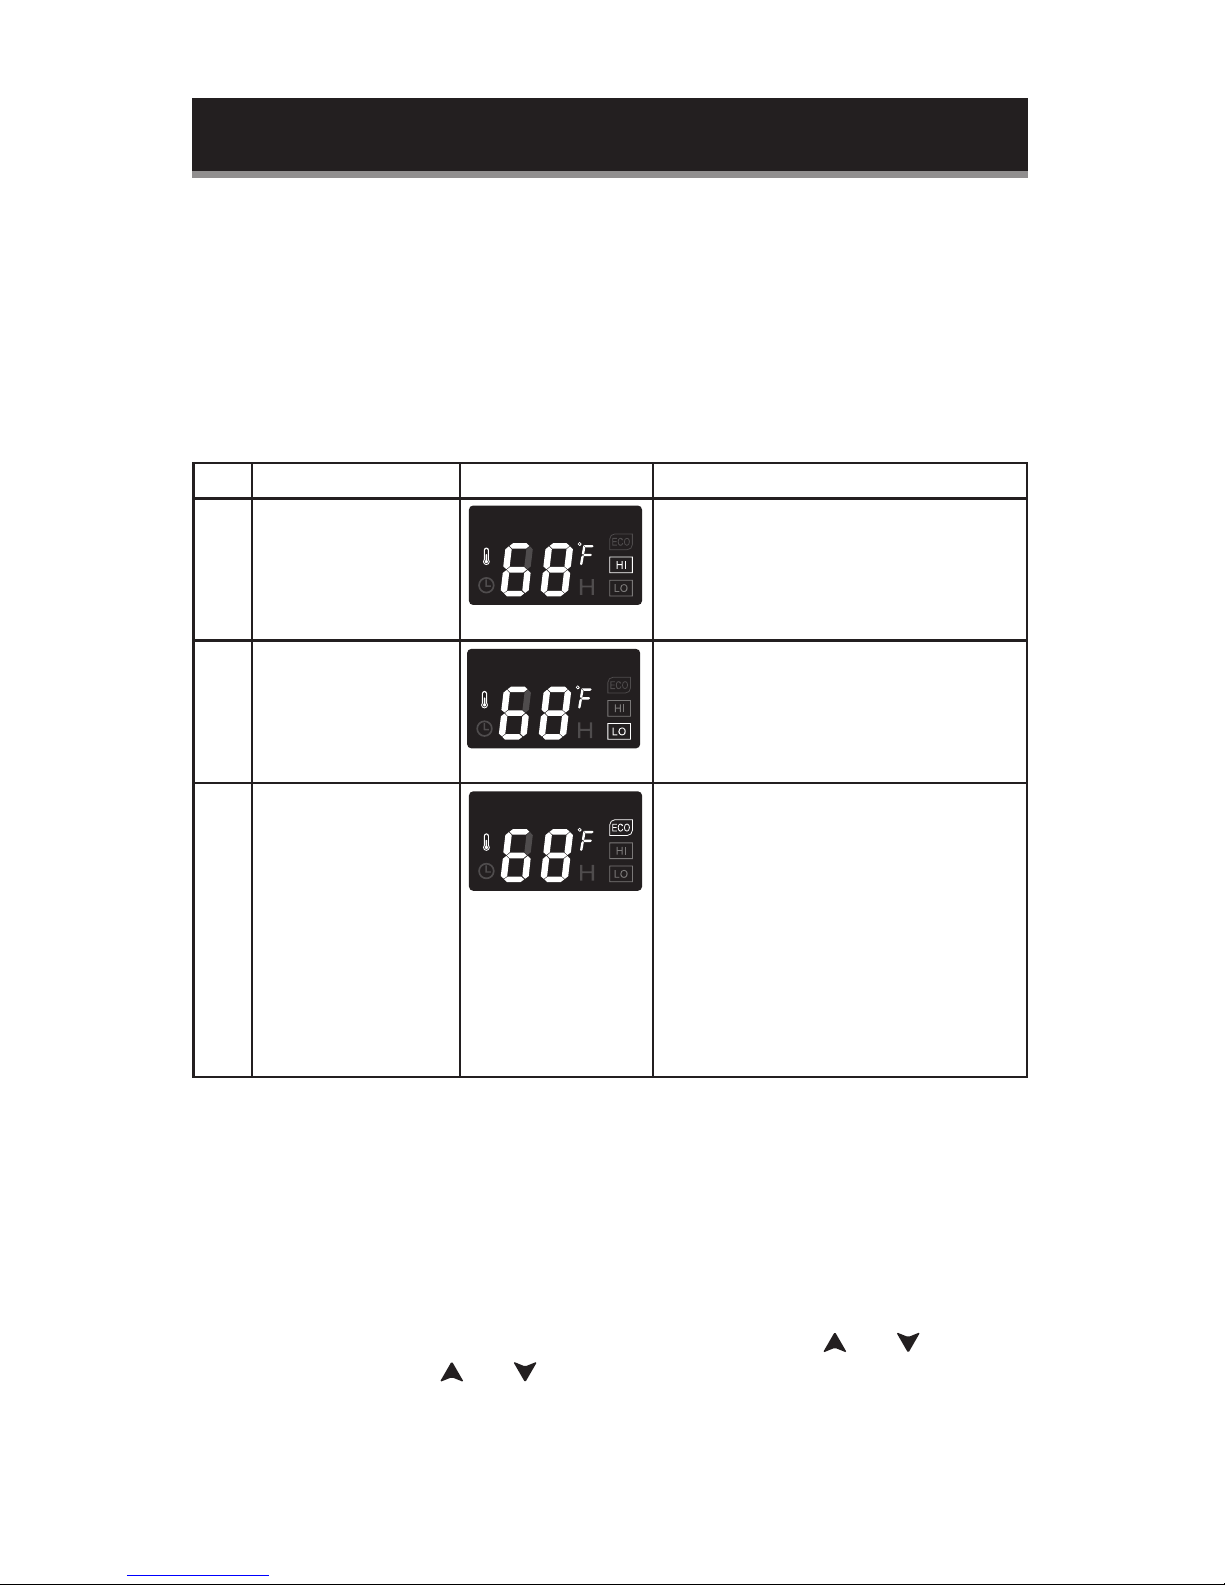
5. Temperature Control: During ON status, press (increase the set
temperature) or (decrease the set temperature) button to increase
or decrease the set temperature (range is 40~95°F). When the indoor
environment temperature is equal to or greater than the set temperature, it
turns off the heating element and fan, display doesn’t change; when the indoor
room temperature is less than or equal to the set temperature plus 3°F, it
works at corresponding work level. After powering on and starting the product
for the rst time, it doesn’t identify the temperature control. Unit enters into
the temperature control status 2 min later.
6. Oscillate Function: Press the (OSC) button (or remote controller
button) to turn on the OSC function. During heating status, if it stops heating
for temperature control and protection, OSC will immediately stop. The default
is no OSC function after starting, the OSC function is not memorized after
turning off.
7. Temperature Sensor Short Circuit, Open Circuit Protection Function: Under
any mode, temperature sensor has short circuit protection, LED ashes E1 at
1Hz frequency and it is invalid to operate any button.
Under any mode, temperature sensor has open circuit protection, LED ashes
E2 at 1Hz frequency, and it is invalid to operate any button.
8. Overheat Protection: Under ON state, all outputs will be turned off when
indoor room temperature exceeds 122°F, all LED indicators ashes for 75
seconds at 1Hz frequency, the product can’t be started within 75 seconds,
and any button and timing OFF are invalid, if the indoor room temperature
is <122°F, it doesn’t exit the protection, the product will automatically exit
protection state and enter into standby state after power on again.
9. Tilt / Overturn Protection: Under any mode, if the product is tilted, the
product will stop heating, the fan stops 15 seconds later, LED ashes E3 at 1Hz
frequency, and it is invalid to operate any button.
10. Memory Function: When the power of the product is not cut off, it memorizes
the past set temperature and works at the set temperature after starting,
if the power is cut off, the memory function will be unavailable, and the set
temperature of the product will recover to the default value (95°F) when
starting.
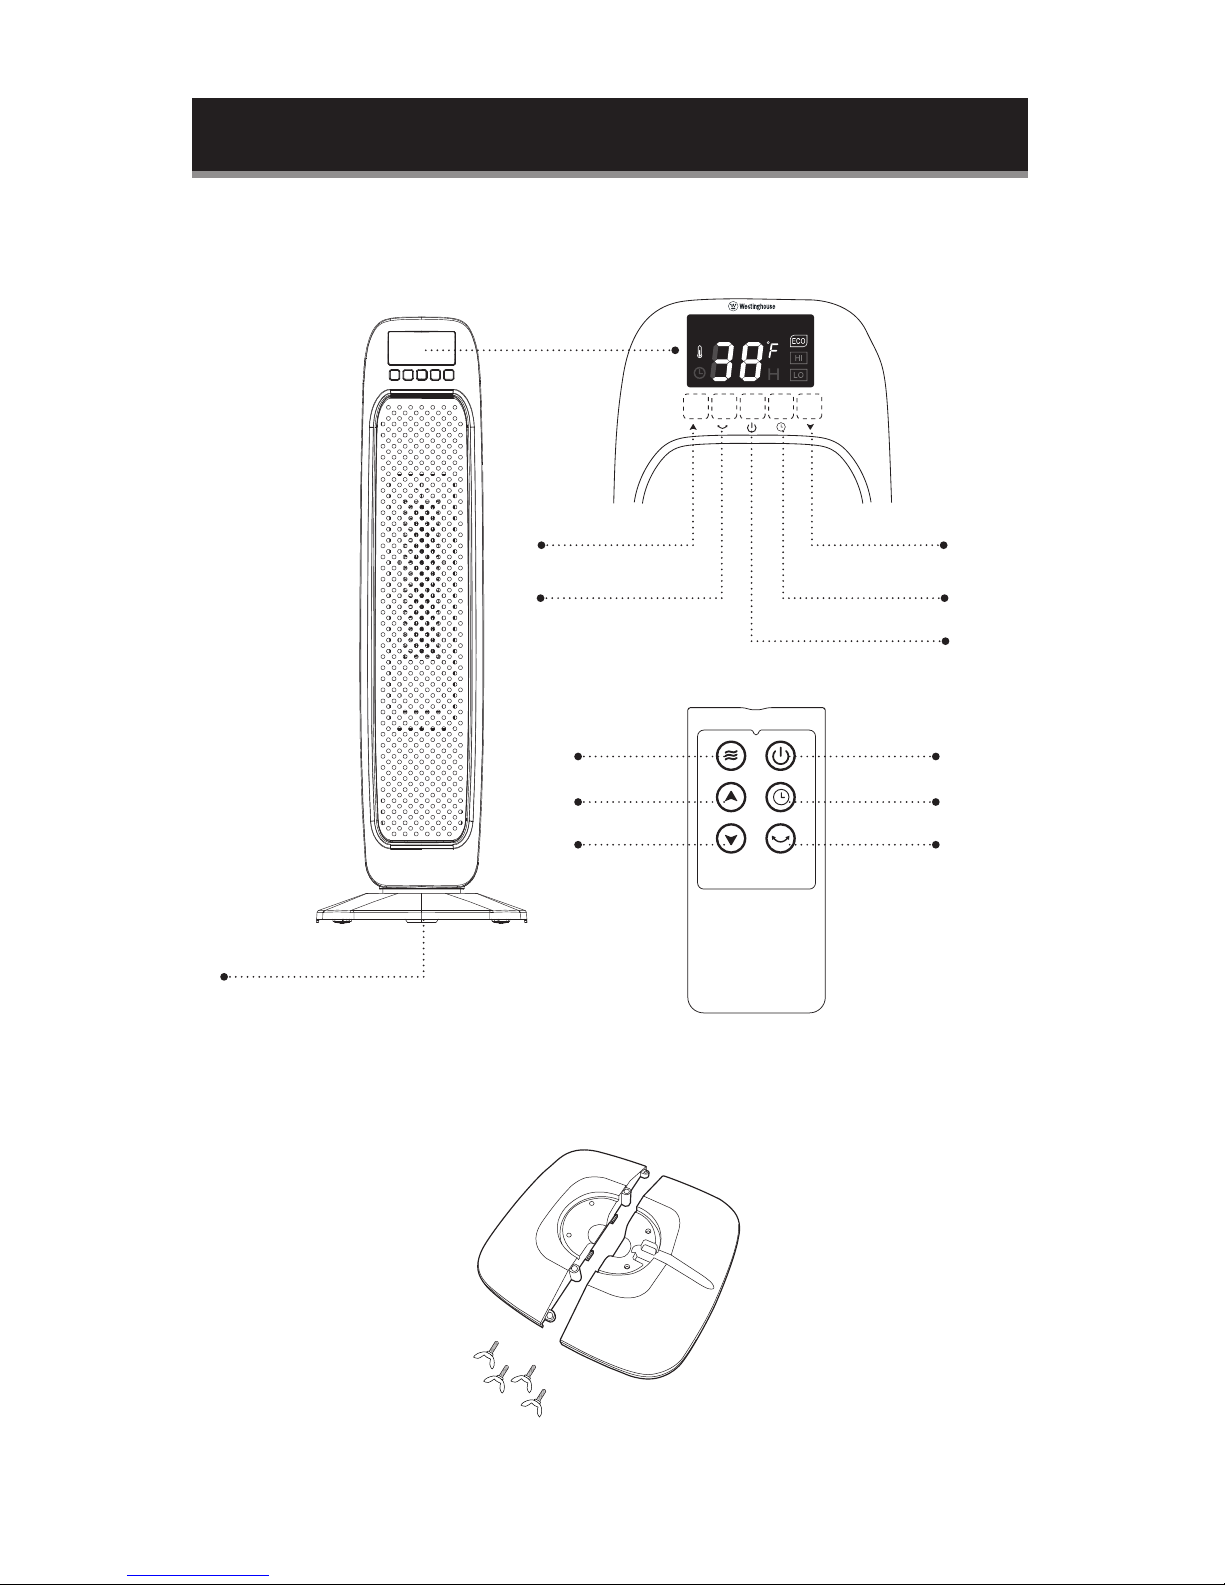
REMOTE CONTROL
The remote has 6 keys that have following functions:
Press to switch the heater on,press again to switch off
Press this key to select desired HEAT setting
Temperature adjustment key, press it to increase
temperature setting
Temperature adjustment key, press it to decrease
temperature setting
Press this key repeatedly to set the timer.
Press this key to start or stop the oscillation
SET UP & USE