manuals.online logo
Brands
  1. Home
  2. •
  3. Brands
  4. •
  5. Wetif
  6. •
  7. Tablet
  8. •
  9. Wetif DT301Y Assembly instructions

Wetif DT301Y Assembly instructions

Rugged Tablet DT301Y
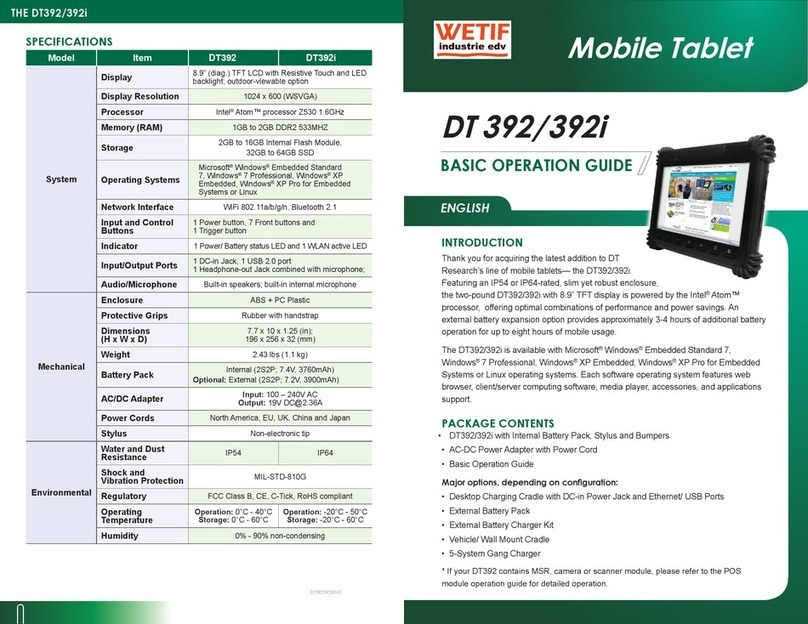
INTRODUCTION
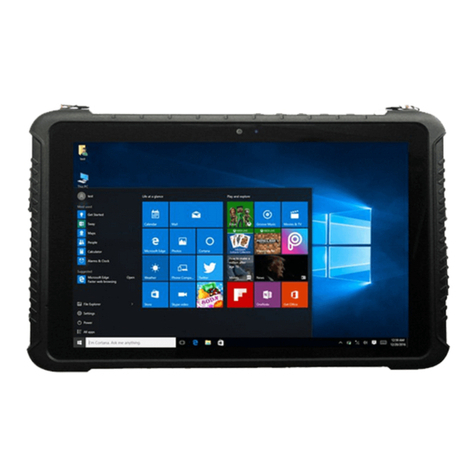
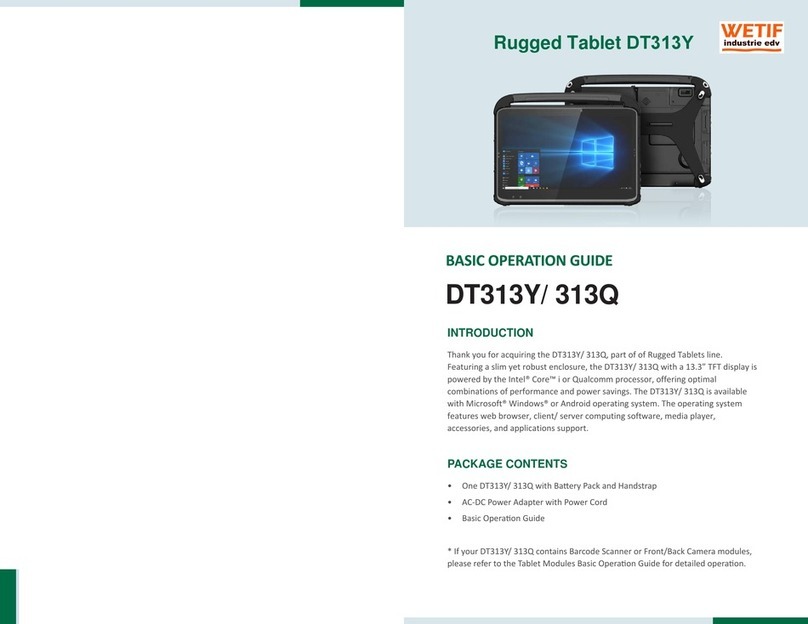
Thank you for acquiring the DT301Y/ 301Q, part of Rugged Tablets line. Featuring
a slim yet robust enclosure, the DT301Y/ 301Q with 10.1” TFT display is powered
by the Intel® Core™ i or Qualcomm octa-core processor, offering optimal
combinations of performance and power savings. The DT301Y/ 301Q is available
with Microsoft® Windows® or Android operating system. The software operating
system features web browser, client/ server computing software, media player,
accessories, and applications support.
PACKAGE CONTENTS
• One DT301Y/ 301Q with Baery Pack and Handstrap
• AC-DC Power Adapter with Power Cord
• Basic Operaon Guide
* If your DT301Y/ 301Q contains camera or barcode scanner, please refer to the
Tablet Modules Basic Operaon Guide for detailed operaon.
DT301Y/ 301Q
Federal Communication Commission Interference
This equipment has been tested and found to comply with the limits for a
Class B digital device, pursuant to Part 15 of the FCC Rules. These limits are
designed to provide reasonable protecon against harmful interference in
a residenal installaon. This equipment generates, uses and can radiate
radio frequency energy and, if not installed and used in accordance with
the instrucons, may cause harmful interference to radio communicaons.
However, there is no guarantee that interference will not occur in a parcular
installaon. If this equipment does cause harmful interference to radio or
television recepon, which can be determined by turning the equipment o
and on, the user is encouraged to try to correct the interference by one of the
following measures:
•Reorient or relocate the receiving antenna.
•Increase the separaon between the equipment and receiver.
•Connect the equipment into an outlet on a circuit dierent from that to
which the receiver is connected.
•Consult the dealer or an experienced radio/TV technician for help.
FCC Cauon: Any changes or modicaons not expressly approved by the
party responsible for compliance could void the user’s authority to operate
this equipment.
This device complies with Part 15 of the FCC Rules.
Operaon is subject to the following two condions: (1) This device may not
cause harmful interference, and (2) this device must accept any interference
received, including interference that may cause undesired operaon.
This device and its antenna(s) must not be co-located or operang in
conjuncon with any other antenna or transmier.
This Class [B] digital apparatus complies with Canadian ICES-003.
Cet appareil numérique de la classe [B] est conforme à la norme NMB-003 du
Canada.
2
Button Functions
BUTTON ACTION
Power Buon
Programmable Buons
Baery Latch *Push the switch up to unlock the latch, then slide the latch le to remove the baery.
Input/ Output Ports
Headphone Jack
LAN Port
USB 3.0 Port
USB Type-C Port (power input)
Smart Card Reader (DT301Y only)
1
2
3
A
B
C
E
D
Baery/Power LED Brightness
Control buons
2
2
3
1
E
A
C
D
B
3
PRECAUTIONS
•Always exercise care when operang and handling the DT301Y/ 301Q.
•Do NOT apply excessive pressure to the display screen.
•We recommend using the Digital Pen (oponal) to keep the screen clean.
•Avoid prolonged exposure of the display panel to any strong heat source.
Wherever possible, the DT301Y/ 301Q should face away from direct light to
reduce glare.
•If the AC-DC power adapter is used to recharge or power the tablet, do NOT use
any AC-DC adapter other than the one provided or acquired from the manufac-
turer or its partners.
•In the unlikely event that smoke, abnormal noise, or strange odor is present,
immediately power o the DT301Y/ 301Q and disconnect all power sources.
Report the problem to your device provider immediately.
•Never aempt to disassemble the DT301Y/ 301Q, as this will void the warranty.
BASIC FEATURES
The DT301Y/ 301Q rugged tablet integrates a bright display, USB ports, and
embedded networking elements such as wireless LAN and Bluetooth or oponal 4G.
A DT301Y/ 301Q typically integrates an 802.11ac wireless LAN (WLAN) adapter
that may connect to other wireless devices or access points. If your DT301Y/ 301Q
does not come with such a network adapter, please consult your device provider to
establish the desired network connecvity.
NOTE:
To obtain protecon consistent with any IP rang for the device, the I/O (audio,
power, USB, card reader, etc.) port doors must be closed. If the IP protecon is
compromised by mishandling or misuse, such as by leaving port doors open or
improperly closed, any resulng product damage will not be covered under any
DT Research warranty.
Start Up
If the power up (from Standby mode or otherwise) is successful, the appropriate
interface will be displayed aer a launch sequence of several seconds. The wireless
LAN connecon may take 10-15 seconds to be established.
Configuring the Mobile Tablet
The DT301Y/ 301Q may be congured using the ulies and methods dictated by
the soware operang system. The DT301Y/ 301Q should be congurable for various
properes such as user proles, network features, and several system elements.
Wireless Networking
Wireless LAN
The DT301Y/ 301Q is oen delivered with an embedded (user-inaccessible) 802.11ac
WLAN adapter equipped with a hidden custom antenna.
•Through the support of typical WLAN adapters, the DT301Y/ 301Q should be able
to detect all 802.11 access points in the vicinity for you to select the access point
of your choice for connecon.
•The SSID and WEP/WPA/WPA2 (if enabled) parameters on the DT301Y/ 301Q
and the access points have to match. The SSID is case-sensive and it is recom-
mended that you enable WEP/WPA/WPA2 encrypon (or advanced alternaves)
for secure access.
•When WEP/WPA/WPA2 is enabled, you may need to consult your network
administrator or your networking equipment literature to properly congure
associated sengs such as Authencaon mode, etc.
•Refer to the access point operang manuals for seng up the 802.11 access
points.
Bluetooth
The Bluetooth conguraon applicaon is enabled from the Windows System Tray
or from the Android Sengs APP. Follow the instrucons and opons provided
within the applicaon to congure and invoke Bluetooth connecvity with the
corresponding peripherals.
5
OPERATION
Powering ON and OFF
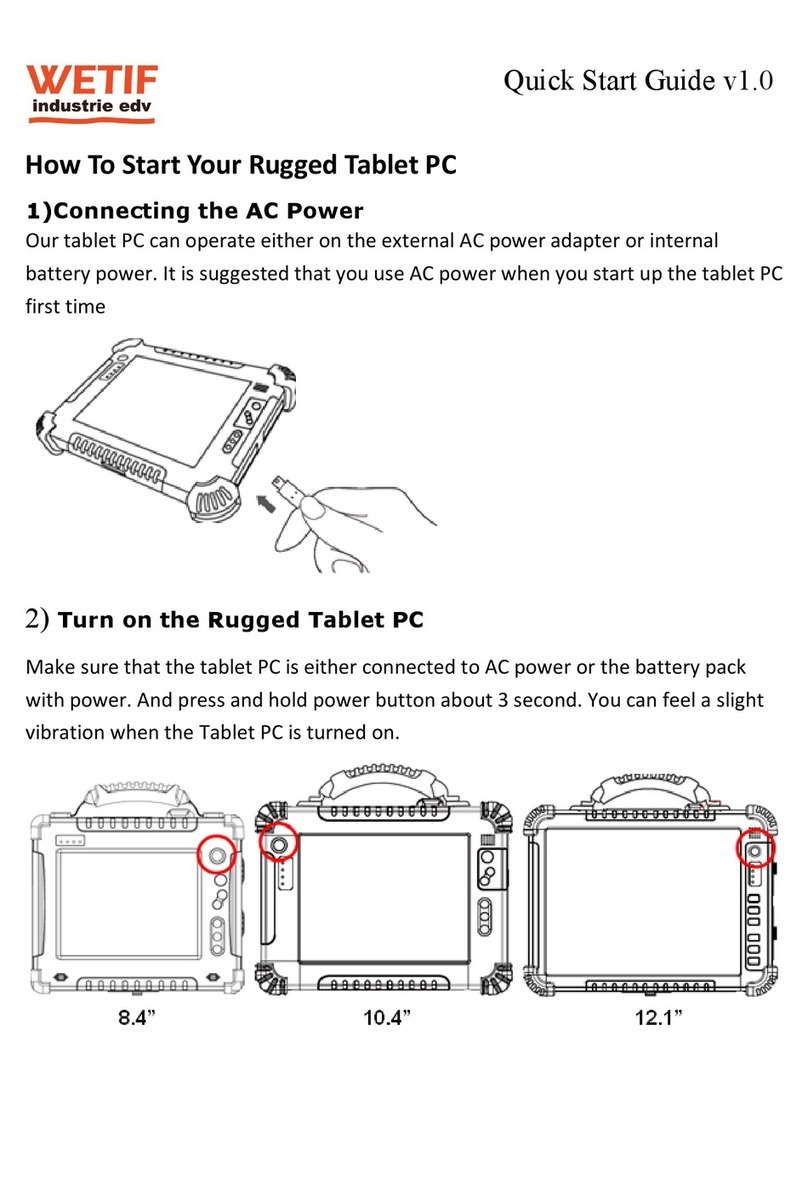
To acvate the DT301Y/ 301Q, push and quickly release the Power Buon. The display
will come on in a few seconds. To put the DT301Y/ 301Q in Standby mode, push and
quickly release the Power Buon. To turn the DT301Y/ 301Q o for extended storage,
power o safely using any soware funcon that “shuts down computer” provided in
the soware operang system.
NOTE:
The baery pack shipped with your tablet may be low in power—please use the
AC-DC adapter with the DT301Y/ 301Q when seng up for the rst me to fully
charge the baery pack, or use the oponal baery charger kit.
NOTE:
When the baery pack is charging, the blue-colored Baery LED should blink
slowly. If plugging in the AC-DC adapter does not trigger this blinking acvity
and the LED stays dark, the baery pack(s) may have been drained substanally.
Try unplugging/ replugging the AC-DC adapter to the DT301Y/ 301Q a few mes
to acvate the charging process.
NOTE:
To conserve power, use (push and quick release) the Power Buon to put the
tablet in “Standby” mode while not in use. Pushing briey on the same buon
will wake up the system within seconds.
NOTE:
For DT301Y, avoid using the Power Buon (“hold 4+ seconds” feature) to turn
o the tablet—this form of hardware shutdown is intended to be a means of
recovery from lockups, and not as normal operaon.
4
7
To Hold the Tablet
Le hand: grip the le back side of the tablet
with your le hand four index ngers, with
thumb resng on the top of the back side of the
tablet and palm securely against the back.
Right hand: grip the right back side of the tablet
with your right hand four index ngers, with
thumb resng on the top of the back side of the
tablet and palm securely against the back.
For More Support
Users can download the Tablet Modules Basic Operaon Guides from the DT Research
website.
If the DT301Y/ 301Q comes with a Mobile broadband module, please contact your
product and/or service provider for the SIM Card installaon procedures.
CAUTION:
There is danger of explosion if the baery is incorrectly replaced. Replace the
baery only with the Tablet manufacturer’s baery. Discard used baeries
according to the dealer’s instrucons.
CAUTION:
Do not aempt to disassemble the baery pack.
USING THE MOBILE TABLET
Peripherals Support
Through its USB 3.0 port, the DT301Y/ 301Q supports a wide range of USB-based
peripherals. These peripherals are applicable for soware installaon, applicaons
storage, data storage, and system soware recovery and updates.
Replacing the Battery Pack
1. Slide the baery latch to the unlocked posion.
2. Li the baery pack o the compartment.
6
3. Fit another baery pack into place.
4. Slide the latch to the locked posion.
5. If you want to purchase extra battery packs, please contact your dealers.
1
2
2
4
3
WETIF Industrie EDV Telefon +49 8142 448976-0
Senserstrasse 3 Telefax +49 8142 448976-4
D - 82140 Olching [email protected] www.wetif.com

This manual suits for next models

1

Other Wetif Tablet manuals

Wetif TE101 User manual

Wetif

Wetif TE101 User manual

Wetif DT313H User manual

Wetif

Wetif DT313H User manual

Wetif RT-101 User manual

Wetif

Wetif RT-101 User manual

Wetif DT313Y Assembly instructions

Wetif

Wetif DT313Y Assembly instructions

Wetif IA812 User manual

Wetif

Wetif IA812 User manual

Wetif PMA10 User manual

Wetif

Wetif PMA10 User manual

Wetif XT1100 User manual

Wetif

Wetif XT1100 User manual

Wetif RMI80-D User manual

Wetif

Wetif RMI80-D User manual

Wetif DT 312 Assembly instructions

Wetif

Wetif DT 312 Assembly instructions

Wetif DT 392i Assembly instructions

Wetif

Wetif DT 392i Assembly instructions

Wetif R10ID8M-RTXX User manual

Wetif

Wetif R10ID8M-RTXX User manual

Wetif PMG84 User manual

Wetif

Wetif PMG84 User manual

Wetif IM133 Installation and operation manual

Wetif

Wetif IM133 Installation and operation manual

Wetif FTP84 User manual

Wetif

Wetif FTP84 User manual

Wetif PMG102 User manual

Wetif

Wetif PMG102 User manual

Wetif TE80 User manual

Wetif

Wetif TE80 User manual

Wetif ID97 User manual

Wetif

Wetif ID97 User manual

Wetif TIG97 User manual

Wetif

Wetif TIG97 User manual

Wetif DT 362 Assembly instructions

Wetif

Wetif DT 362 Assembly instructions

Popular Tablet manuals by other brands

PiPO M3 user manual

PiPO

PiPO M3 user manual

Lenovo TB-8703F Safety, warranty & quick start guide

Lenovo

Lenovo TB-8703F Safety, warranty & quick start guide

HP Elite x2 G8 Maintenance and service guide

HP

HP Elite x2 G8 Maintenance and service guide

Denver TAQ-10213GMK2 user manual

Denver

Denver TAQ-10213GMK2 user manual

LG G Pad 10.1 quick start guide

LG

LG G Pad 10.1 quick start guide

Apollo Quicki 734 instruction manual

Apollo

Apollo Quicki 734 instruction manual

JetPad 100 owner's manual

JetPad

JetPad 100 owner's manual

Netbook Navigator 891A-NN user manual

Netbook Navigator

Netbook Navigator 891A-NN user manual

Sony Xperia Z3 Compact SGP621 user guide

Sony

Sony Xperia Z3 Compact SGP621 user guide

Huawei MediaPad T2 10.0 Pro user guide

Huawei

Huawei MediaPad T2 10.0 Pro user guide

RTC ProfitPoint user manual

RTC

RTC ProfitPoint user manual

SPC glow 8 user guide

SPC

SPC glow 8 user guide

Lenovo ideapad MIIX 700-12ISK Hardware Maintenance Manual

Lenovo

Lenovo ideapad MIIX 700-12ISK Hardware Maintenance Manual

Safran Morpho Tablet V2 user manual

Safran

Safran Morpho Tablet V2 user manual

i-onik TP7.85-1200QC quick start guide

i-onik

i-onik TP7.85-1200QC quick start guide

peoplenet eDriver Logs BLU.2 Quick reference guide

peoplenet

peoplenet eDriver Logs BLU.2 Quick reference guide

Sunstech TAB109QC user manual

Sunstech

Sunstech TAB109QC user manual

Samsung SM-T395 user manual

Samsung

Samsung SM-T395 user manual

manuals.online logo
manuals.online logoBrands
  • About & Mission
  • Contact us
  • Privacy Policy
  • Terms and Conditions

Copyright 2025 Manuals.Online. All Rights Reserved.