WiebeTech LLC
R a c k F i r e U s e r M a n u a l - 3 -
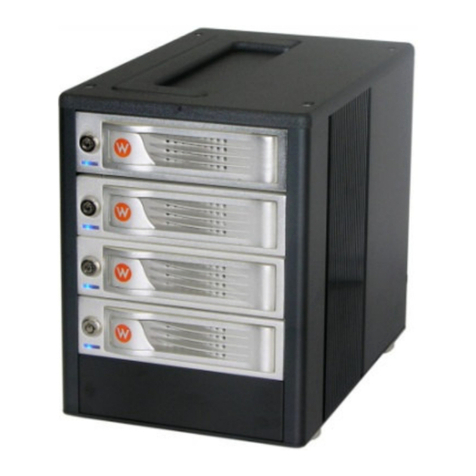
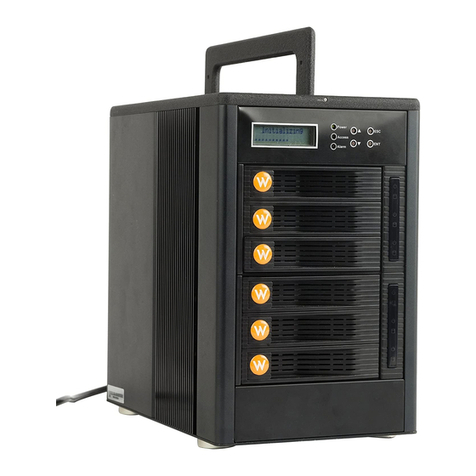
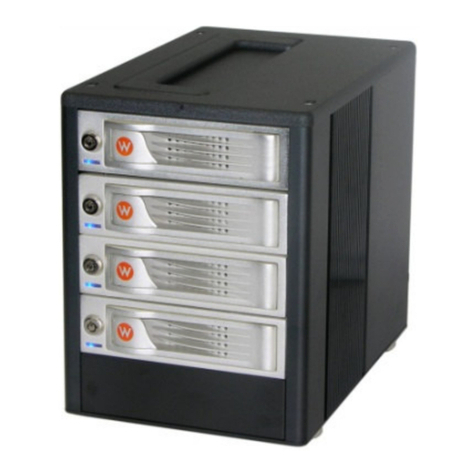
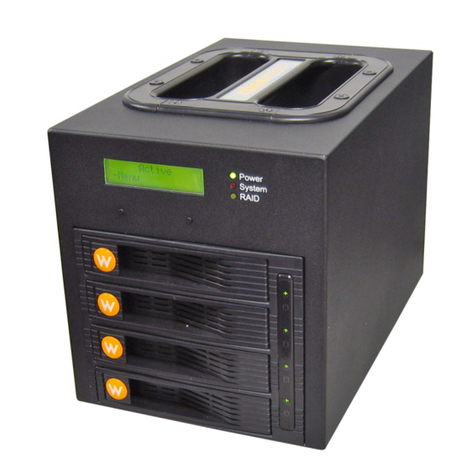
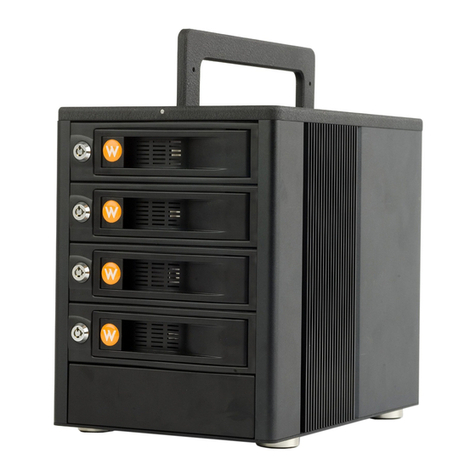
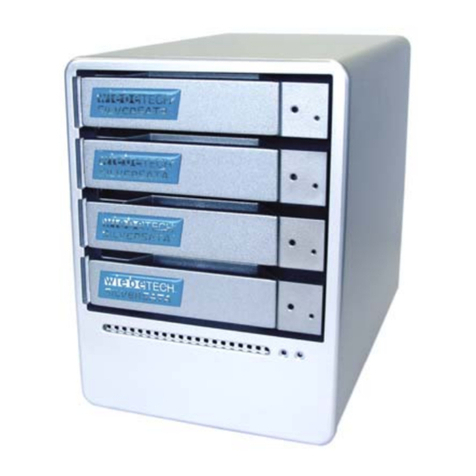
2) Insert the Trays into the RackFire. Using the keys provided, lock the Trays into position.
3) Connect both power cords included with the RackFire into the outlet.
4) Connect the FireWire 800 cables into the 800 ports on the RackFire and into a computer.
Usage with Macintosh computers
Compatibility
The RackFire is fully plug-and-play under Mac OS 10.2.6 or later. No additional drivers are needed. .
Mounting and Ejecting Volumes
When you connect the unit to the Mac for the first time and turn on the power,
you’ll probably see a message saying that the disk is unreadable. This is
because you must format the volume before using it. The easiest way to do
this is to use Mac OS X’s Disk Utility. If you plan to use the unit on both Macs
and PCs, select “MS DOS File System” as the format type. If you only plan to
use the unit on Macs, then select “Mac OS Extended”. After the volume is
formatted, an icon representing the drive volume will appear (“mount”) on the
desktop. You can now use the volume just like an internal hard drive.
Eject the volume before powering down the unit by dragging the volume’s icon
to the trash bin, or by selecting the volume then pressing Command-E. Shutting down the unit without
first ejecting the volume can result in data loss.
Usage with Windows computers
Compatibility
The RackFire is fully plug-and-play with Windows 2000, XP, and Server 2003. No additional drivers are
needed. RackFire may work with Vista though no testing has yet been done so there is no guarantee of
Vista compatibility.
Formatting Volumes
Before you can use your RackFire, you must first format the drives into a volume. Use Disk Management,
which you can find by right-clicking on My Computer then selecting Manage. Select NTFS for the format
WARNING: Always back up data
before switching RAID types. You
must reformat your drives afterwards.
