manuals.online logo
Brands
  1. Home
  2. •
  3. Brands
  4. •
  5. Wirquin
  6. •
  7. Toilet
  8. •
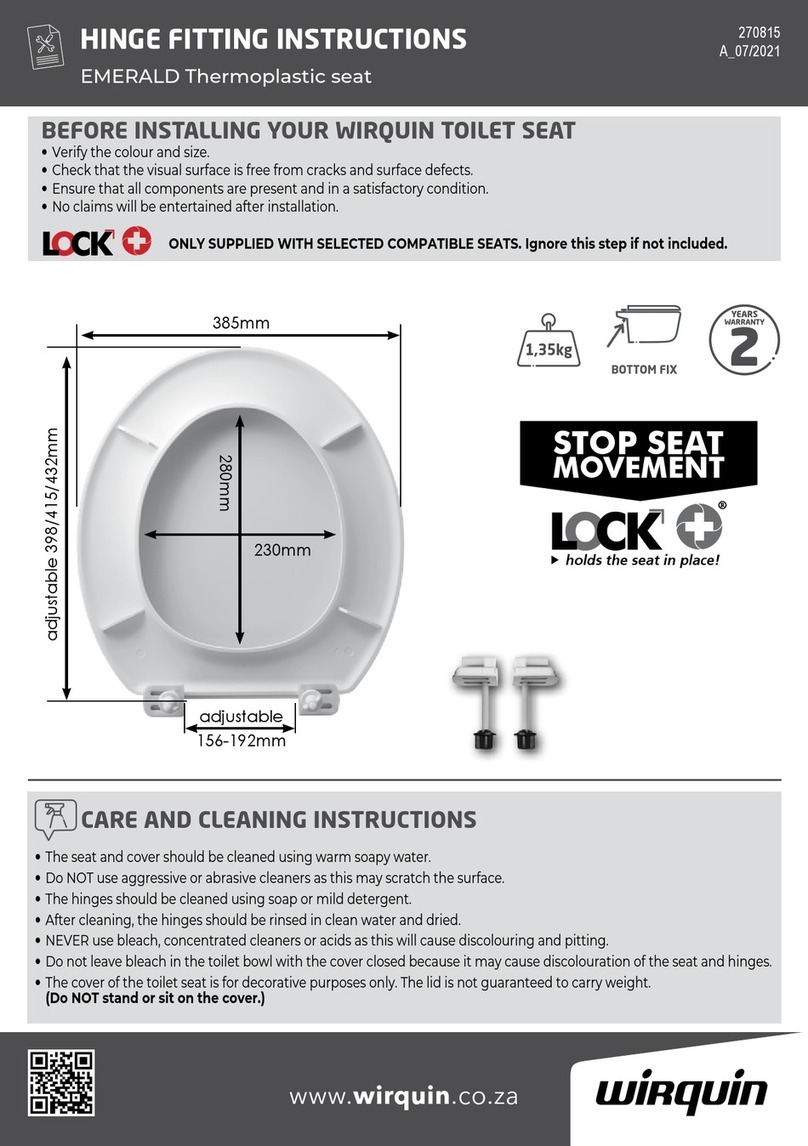
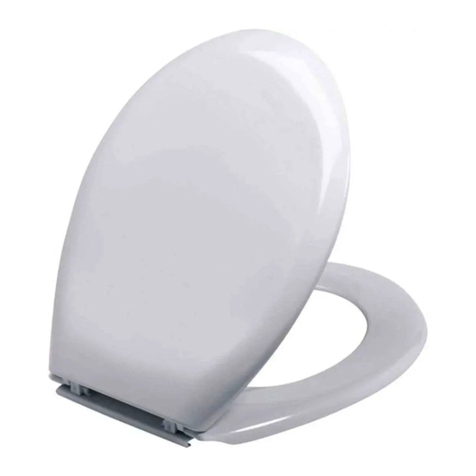
  9. Wirquin CELESTE PLUS User manual

Wirquin CELESTE PLUS User manual

IMPORTANT
Before starting work, please...
• Read these instructions carefully.
• Remove all packaging from the pottery and toilet seat and check for surface damage
or defects. No responsibility can be accepted for obvious defects after installation.
• Prepare a clear working area for seat assembly, ensuring that all products are
prevented from being scratched.
• Ensure that the WC is fully assembled and secured in position before attempting to
fit the seat.
WARNING
Failure to follow the fitting instructions correctly may result in an unstable
installation and may invalidate our guarantee.
CELESTE PLUS
WIRQUIN LTD - Warmsworth Halt Industrial Estate - Warmsworth - Doncaster DN4 9LS - UNITED KINGDOM
Sales / Aftersales: ) 0044 (0)333 222 4488 * [email protected].uk / [email protected].uk
www.celmac-wirquin.co.uk
INSTRUCTIONS D’ENTRETIEN NOTICE DE MONTAGE
Nettoyez l’abattant en utilisant une eau chaude et savonneuse.
N’utilisez pas d’accessoire agressif ou abrasif car cela pourrait rayer et
endommager la surface de l’abattant.
Nettoyez les charnières à l’aide de savon ou d’un agent nettoyant non
agressif. Après le lavage, rincez puis séchez les charnières.
N’utilisez pas de javel, de détergent concentré ou d’acide pour nettoyer
les charnières, cela dégraderait leur finition chromée le cas echeant.
Ne laissez jamais de javel dans votre cuvette avec le couvercle fermé,
cela pourrait engendrer une décoloration de l’abattant
et des charnières.
Faites attention à ne projeter aucune éclaboussure sur les charnières
lorsque vous versez de la javel dans votre cuvette.
NE PAS SE TENIR DEBOUT SUR L’ABBATANT LORSQUE CELUI-CI
EST MONTE SUR LA CUVETTE
For more information visit
www.celmac-wirquin.co.uk
Date:
Code:
Version:
240522
July 2019
2
CARE AND CLEANING INSTRUCTIONS
Wipe around the pan, cistern, seat and cover with a soft damp cloth.
DO NOT use scouring powder, scouring pads or abrasive
cloths as this may scratch the surface of the seat.
The seat should be cleaned using warm soapy water.
The hinges should be cleaned using soap, or a mild detergent.
After cleaning, the hinges should be rinsed with clean water and dried.
Never use bleach, concentrated cleaners or acids on the hinges
as this will cause discolouring and pitting.
Take care not to splash the hinges when using bleach in the toilet bowl.
Due to continuing product development, we reserve the right to
update and amend technical details without prior notice.
DO NOT STAND ON THE SEAT COVER AFTER FITTING
ASSEMBLY INSTRUCTIONS
IMPORTANT
Merci de lire attentivement les instructions de montage avant de commencer...
• Enlever tous les emballages et vérifier la conformité du produit
• Préparer une zone de travail propre afin d’éviter tout risque de rayures notamment.
• Assurez vous que la cuvette est montée et sécurisée avant de monter l’abattant.
ATTENTION
Le non respect de ces consignes de montage peut résulter en une installation
instable et invalider la garantie.
Complete hinge kit
Kit complet de charnière
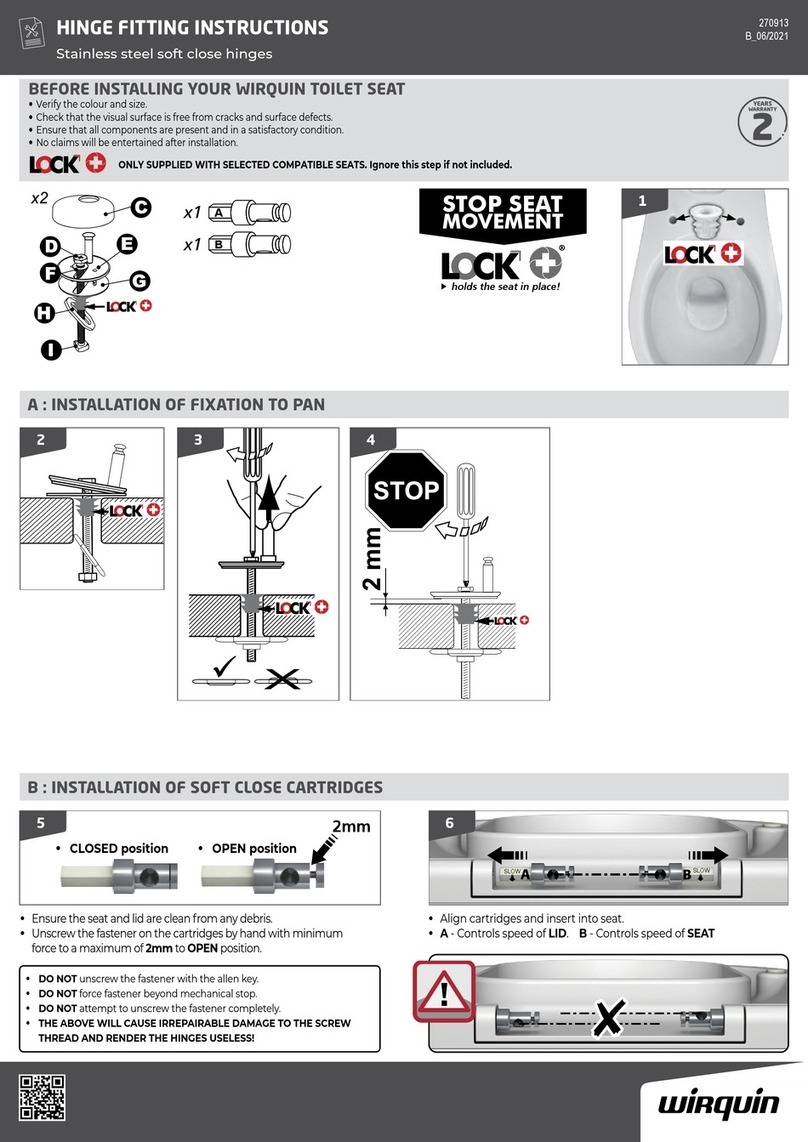
Insert both top fixings into
the WC pan
Insérer les deux fixations
supérieures dans
la cuvette
Pull up on the bolt and using a
suitable screwdriver tighten the
bolt, but do not fully tighten.
Tirez sur le boulon et à l’aide
d’un tournevis approprié, serrez
le boulon, mais ne le serrez pas
complètement
Refit the seat and tighten
the grub screws on both
sides using the Allen key
provided.
Remontez le siège et serrez
les vis sans tête des deux
côtés à l’aide de la clé Allen
fournie.
Use Allen key provided to remove the hinge support pillar
Utilisez la clé Allen fournie pour retirer le pilier boulon support de la charnière
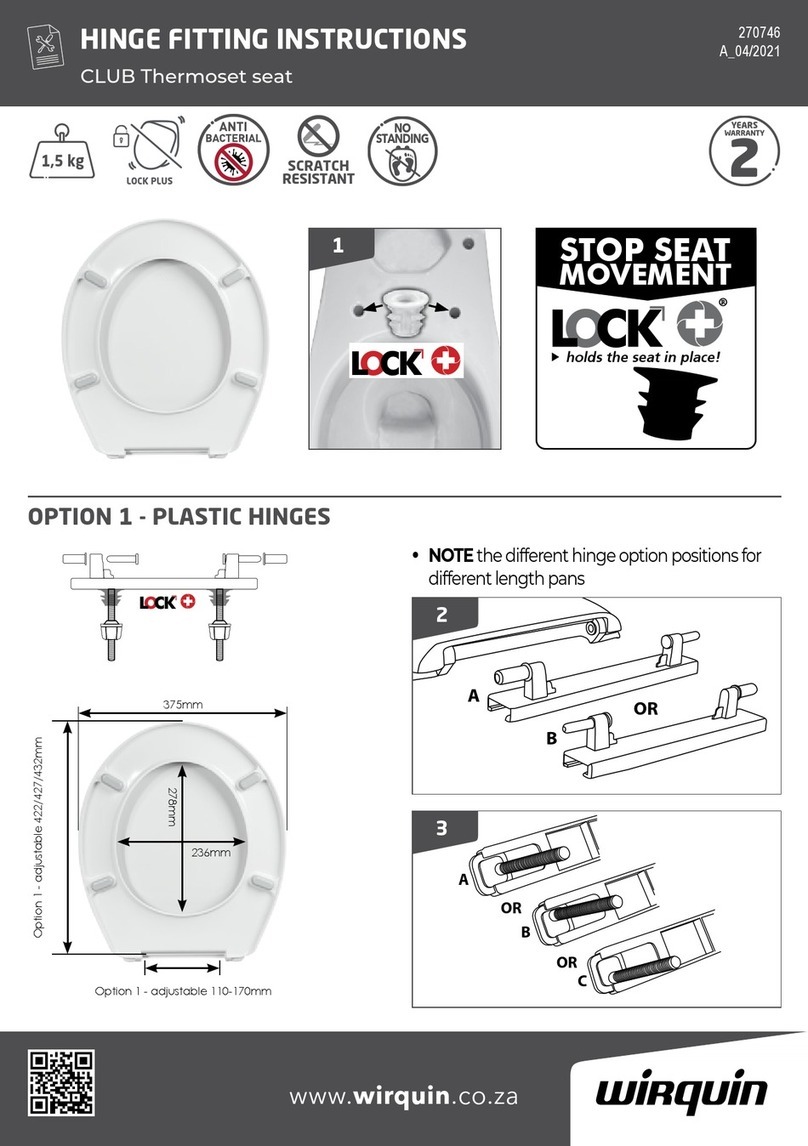
Replace the collar, fit the hinge support pillars onto the rod and place onto the top fix bolts.
Centralise the seat on the toilet pan, and tighten the collars.
Replacez le collier, montez les piliers boulon support de les charnière sur la tige et placez-les sur les
boulons de fixation supérieurs. Centrez le siège sur la cuvette des toilettes et serrez les colliers
.
1
2
3
4
6
7
HINGE ASSEMBLY -
MONTAGE DE LA CHARNIÈRE
HINGE ASSEMBLY -
MONTAGE DE LA CHARNIÈRE
BUFFER ASSEMBLY -
MONTAGE DES TAMPONS
HINGE ASSEMBLY, PILLARS -
ASSEMBLAGE DE LA CHARNIÈRE, PILIERS
5
BUFFER ADJUSTMENT -
AJUSTEMENT DES TAMPONS
Remove the seat with the hinge
pillars and tighten down the top fix
bolts, using a suitable screwdriver.
Retirez le siège avec les piliers de
charnière et serrez les boulons de
fixation supérieurs à l’aide d’un
tournevis approprié.
HINGE ALIGNMENT -
AJUSTEMENT DE L’ABATTANT
HINGE TIGHTENING - SERRAGE DE LA CHARNIÈRE
Fit the buffers with the tang to the
inside. Insert the screw, FINGER TIGHT
only.
Positionner le tampon support. Insérez
la vis. Serrez en utilisant un tournevis
manuel uniquement.
Remove one of the collars and thread the rod through the seat and cover
Retirez l’un des colliers et passez la tige dans la lunette et le couvercle
Push the buffer tangs in until they touch the pan. Internally tighten the screw and then push the
buffer pads into place.
Ajuster la languette de chaque tampon au bord interieur de la cuvette. Visser à la main. Positioner
le cache par-dessus.

This manual suits for next models

1

Other Wirquin Toilet manuals

Wirquin 20980001 User manual

Wirquin

Wirquin 20980001 User manual

Wirquin 20900501 User manual

Wirquin

Wirquin 20900501 User manual

Wirquin EMERALD User manual

Wirquin

Wirquin EMERALD User manual

Wirquin CLUB User manual

Wirquin

Wirquin CLUB User manual

Wirquin CLUB SEAT User manual

Wirquin

Wirquin CLUB SEAT User manual

Wirquin Duo Compact Concealed Cistern User manual

Wirquin

Wirquin Duo Compact Concealed Cistern User manual

Wirquin Macdee Kayla User manual

Wirquin

Wirquin Macdee Kayla User manual

Popular Toilet manuals by other brands

Toto NEOREST DH TCF9575 Series instruction manual

Toto

Toto NEOREST DH TCF9575 Series instruction manual

Reece CAROMA FORMA CLEANFLUSH INVISI II 9506686 manual

Reece

Reece CAROMA FORMA CLEANFLUSH INVISI II 9506686 manual

Kohler K-3322 Homeowner's guide

Kohler

Kohler K-3322 Homeowner's guide

Lippert Flow Max RV installation guide

Lippert

Lippert Flow Max RV installation guide

VITRA V-Care 5674/431470 user manual

VITRA

VITRA V-Care 5674/431470 user manual

DXV AT200 LS SpaLet troubleshooting guide

DXV

DXV AT200 LS SpaLet troubleshooting guide

Clou Hammock CL/04.01060.01 installation instructions

Clou

Clou Hammock CL/04.01060.01 installation instructions

Kohler K-5401IN-0 installation guide

Kohler

Kohler K-5401IN-0 installation guide

Toto SoftClose 0GU543 installation manual

Toto

Toto SoftClose 0GU543 installation manual

Coway BA13-AR Product installation document

Coway

Coway BA13-AR Product installation document

Separett PEE Series User & installation manual

Separett

Separett PEE Series User & installation manual

Toto NEOREST NX CS902 Series installation guide

Toto

Toto NEOREST NX CS902 Series installation guide

Avenue Grant TL-1261A-WL manual

Avenue

Avenue Grant TL-1261A-WL manual

Heritage Bathrooms CLOSE COUPLED W.C installation manual

Heritage Bathrooms

Heritage Bathrooms CLOSE COUPLED W.C installation manual

Laufen ILBAGNOALESSI One manual

Laufen

Laufen ILBAGNOALESSI One manual

Kohler OVE K-19950W installation instructions

Kohler

Kohler OVE K-19950W installation instructions

Raritan FRESH HEAD Installation and maintenance instructions

Raritan

Raritan FRESH HEAD Installation and maintenance instructions

Toto CS735 Series installation manual

Toto

Toto CS735 Series installation manual

manuals.online logo
manuals.online logoBrands
  • About & Mission
  • Contact us
  • Privacy Policy
  • Terms and Conditions

Copyright 2025 Manuals.Online. All Rights Reserved.