Wiseup GL7100 User manual

User Manual
Model Number: GL7100
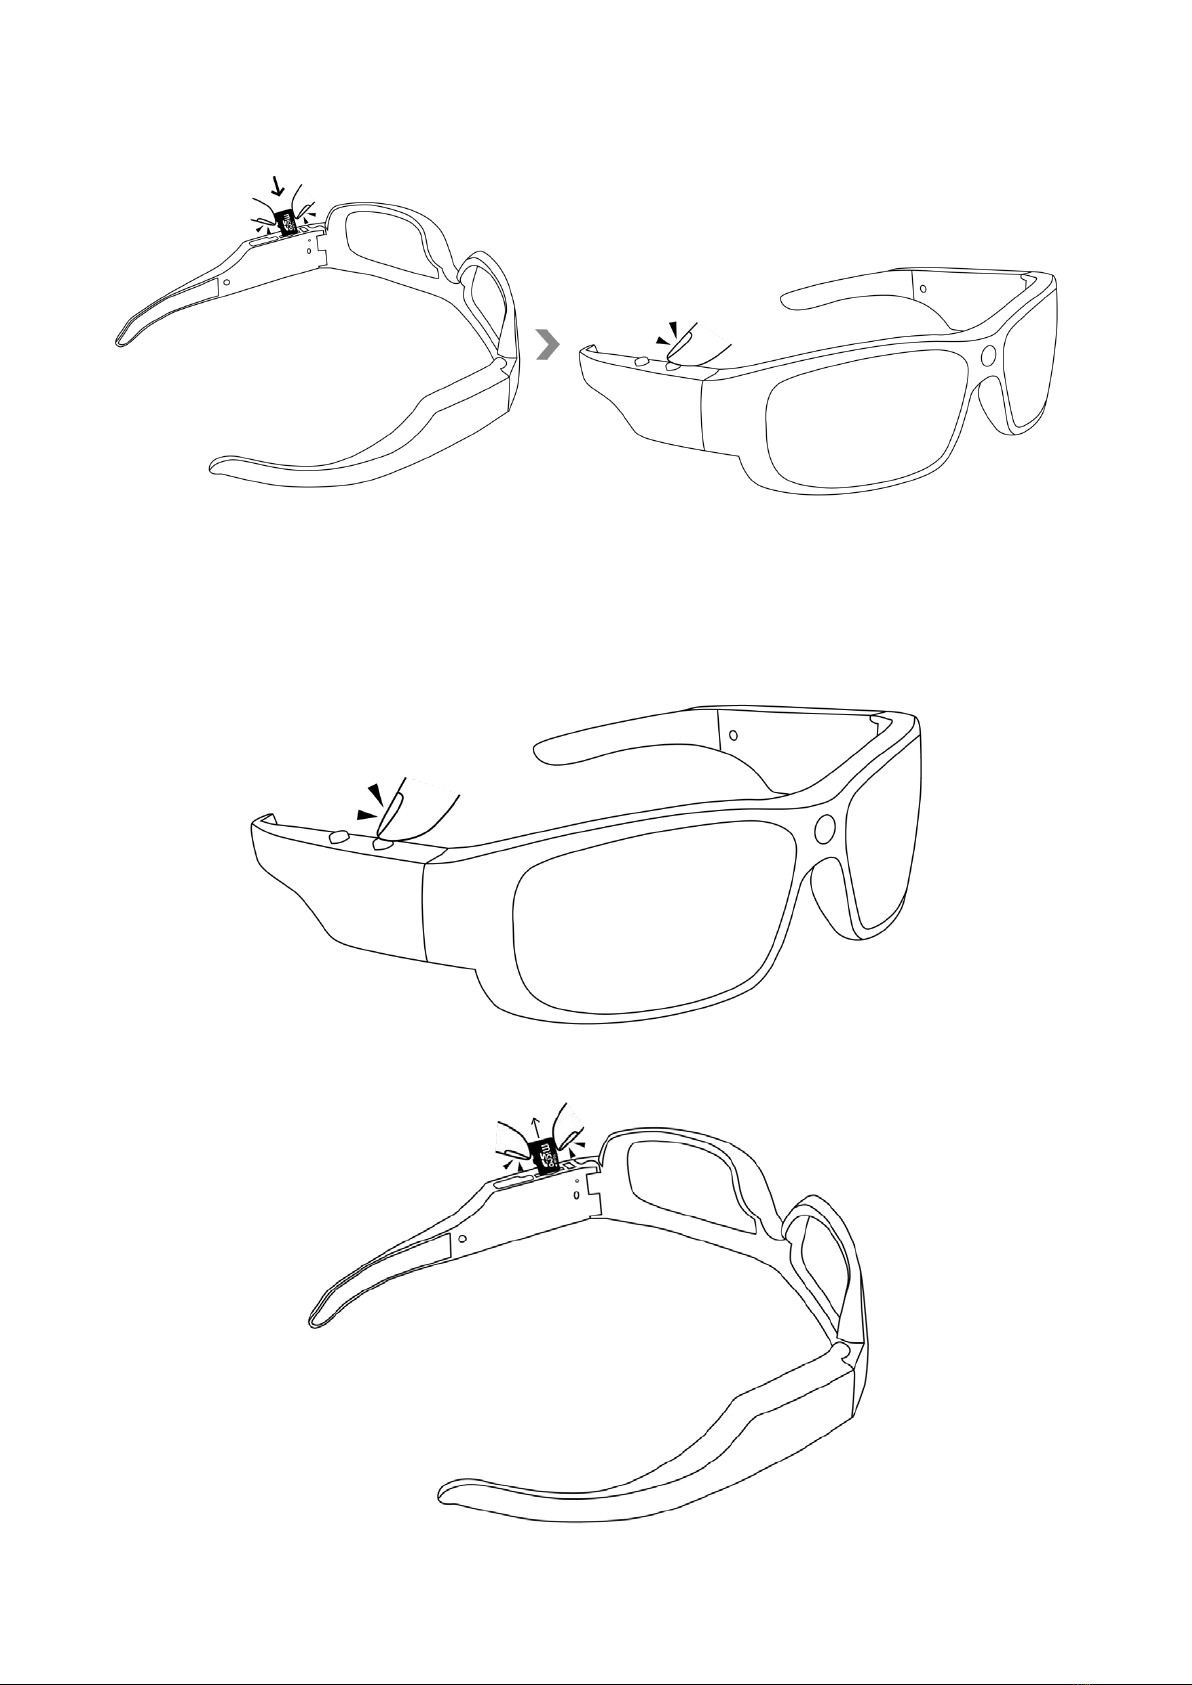
I. Product Overview
1. Camera Lens
2. Power Button
3. Camera Button
4. Microphone
5. Indicator Light
6. Reset Button
7. Micro SD Card Slot
8. Mini USB Port

II. What's in the box?
-1× Sunglasses Camera
-2x Complimentary Glasses Lenses
-1x USB Cable
-1x DC5V 1A USB Charger Adapter
-1x Carrying Bag
III. Get the camera ready
3.1 Recharge the camera with a DC5V 1A USB charger.
3.2 Make sure the memory card is formatted and is securely fitted into the camera SD card slot. The
internal memory of this memory card cannot exceed 32GB and we suggest you to use a micro SDHC
class 10 memory card.
IV. Video recording
4.1 Press the power button once to turn on the camera, the red indicator light will flash once and
then be solid on for about 3 seconds, then the red indicator light will keep flashing slowly, indicating
that the camera has started video recording.
4.2 Press the power button once again to stop video recording, the red indicator light will be solid
on, indicating that the camera has entered into standby mode.

4.3 Press the power button once again to resume video recording
4.4 Power off the camera by holding down the power button for about 3 seconds, the red indicator
light will be turned off.

V. Camera/still photography
5.1 Press the power button once to turn on the camera, the red indicator light will flash once and
then be solid on for about 3 seconds, then the red indicator light will keep flashing slowly, indicating
that the camera has started video recording.
5.2 Press the power button once again to stop video recording, the red indicator light will be solid
on, indicating that the camera has entered into standby mode.
5.3 Press the camera button once to take a photo, the red indicator will flash once every time you
take a photo.

5.4 Power off the camera by holding down the power button for about 3 seconds, the red indicator
light will be turned off.
VI. Time Stamp Setup
6.1 Turn off the camera.

6.2 Remove the memory card from the camera.
6.3 Insert the memory card into a card reader. Note: product price doesn't include any card readers,
you need to have a card reader by yourself.
6.4 Insert the card reader into a proper computer, the memory card will be recognized as a
removable disk drive.

6.5 Click on the drive in the root directory and inside the root directory, create a txt file named
“time.txt”.
6.6 Input the current date and time in the txt file with the correct format:
Year.Month.Date Hour:Minute:Second (for example: 2021.03.01 13:40:49)
6.7 Save the file, unplug the card reader from the computer.
6.8 Insert the memory card into the camera, and then turn on the camera, the system will upgrade
the program automatically.

VII. Video/image files upload
7.1 Turn off the camera.
7.2 Remove the memory card from the camera.

7.3 Insert the memory card into a card reader. Note: product price doesn't include any card readers,
you need to have a card reader by yourself.
7.4 Insert the card reader into a proper computer, the memory card will be recognized as a
removable disk drive.
7.5 All the video and image files can be accessed in the “DCIM” folder.

VIII. Reset
If for any reason, the camera stops working or isn’t working properly, use a pin to press the reset
button once to restart the camera, the camera will be restored to the factory default settings.
IX. Charging
9.1 Plug the camera onto an external power socket with a DC5V 1A USB charger adapter and USB
cable to recharge the camera.

9.2 The red indicator light will keep flashing every 3 seconds during the charging process, when the
battery is almost full, the red indicator light will be solid on for about 15 seconds and then flash
once, it will keep going like this until the battery is full.
9.3 The red indicator light will be solid on when the battery is fully charged.
9.4 It would take about 1 hour to obtain a full charge.
X. Important notes
10.1 Video resolution: 1440x1080; video format: AVI.
10.2 The camera will shut down automatically if it is in standby mode without any operation for
more than 2 minutes.
10.3 This camera supports charging and recording at the same time.
10.4 A video will be generated and saved every 10 minutes automatically.

Benutzerhandbuch
Modellnummer: GL7100
I. Produktübersicht
1. Kameraobjektiv
2. Ein- / Ausschalter
3. Kamerataste
4. Mikrofon
5. Kontrollleuchte
6. Reset-Taste
7. Micro SD-Kartensteckplatz
8. Mini-USB-Anschluss

II. Was ist in der Box?
-1× Sonnenbrillen Kamera
-2x Kostenlose Brillengläser
-1x USB-Kabel
-1x DC5V 1A USB-Ladeadapter
-1x Tragetasche
III. Bereiten Sie die Kamera vor
3.1 Laden Sie die Kamera mit einem DC5V 1A USB-Ladegerät auf.
3.2 Stellen Sie sicher, dass die Speicherkarte formatiert und sicher im SD-Kartensteckplatz der
Kamera sitzt. Der interne Speicher dieser Speicherkarte darf 32 GB nicht überschreiten. Wir
empfehlen Ihnen, eine Micro-SDHC-Speicherkarte der Klasse 10 zu verwenden.
IV. Videoaufnahme
4.1 Drücken Sie den Netzschalter einmal, um die Kamera einzuschalten. Die rote Anzeigelampe
blinkt einmal und leuchtet dann ca. 3 Sekunden lang. Die rote Anzeigelampe blinkt dann langsam
weiter, um anzuzeigen, dass die Kamera mit der Videoaufnahme begonnen hat.
4.2 Drücken Sie den Netzschalter erneut, um die Videoaufnahme zu beenden. Die rote
Anzeigelampe leuchtet dauerhaft und zeigt an, dass die Kamera in den Standby-Modus gewechselt
ist.

4.3 Drücken Sie den Netzschalter erneut, um die Videoaufnahme fortzusetzen.
4.4 Schalten Sie die Kamera aus, indem Sie den Netzschalter etwa 3 Sekunden lang gedrückt halten.
Die rote Anzeigelampe wird ausgeschaltet.

V. Kamera- / Standbildfotografie
5.1 Drücken Sie den Netzschalter einmal, um die Kamera einzuschalten. Die rote Anzeigelampe
blinkt einmal und leuchtet dann ca. 3 Sekunden lang. Die rote Anzeigelampe blinkt dann langsam
weiter, um anzuzeigen, dass die Kamera mit der Videoaufnahme begonnen hat.
5.2 Drücken Sie den Netzschalter erneut, um die Videoaufnahme zu beenden. Die rote
Anzeigelampe leuchtet dauerhaft und zeigt an, dass die Kamera in den Standby-Modus gewechselt
ist.
5.3 Drücken Sie die Kamerataste einmal, um ein Foto aufzunehmen. Die rote Anzeige blinkt jedes
Mal, wenn Sie ein Foto aufnehmen.

5.4 Schalten Sie die Kamera aus, indem Sie den Netzschalter etwa 3 Sekunden lang gedrückt halten.
Die rote Anzeigelampe wird ausgeschaltet.
VI. Zeitstempel einrichten
6.1 Schalten Sie die Kamera aus.
6.2 Entfernen Sie die Speicherkarte aus der Kamera.

6.3 Setzen Sie die Speicherkarte in einen Kartenleser ein. Hinweis: Der Produktpreis beinhaltet keine
Kartenleser. Sie benötigen einen eigenen Kartenleser.
6.4 Setzen Sie den Kartenleser in einen geeigneten Computer ein. Die Speicherkarte wird als
Wechseldatenträger erkannt.

6.5 Klicken Sie auf das Laufwerk im Stammverzeichnis und erstellen Sie im Stammverzeichnis eine
txt-Datei mit dem Namen "time.txt".
6.6 Geben Sie das aktuelle Datum und die aktuelle Uhrzeit mit dem richtigen Format in die txt-Datei
ein:Jahr.Monat.Datum Stunde:Minute:Sekunde (zum Beispiel: 2021.03.01 13:40:49)
6.7 Speichern Sie die Datei und ziehen Sie den Kartenleser vom Computer ab.

6.8 Setzen Sie die Speicherkarte in die Kamera ein und schalten Sie die Kamera ein. Das System
aktualisiert das Programm automatisch.
VII. Hochladen von Video- / Bilddateien
7.1 Schalten Sie die Kamera aus.
7.2 Entfernen Sie die Speicherkarte aus der Kamera.

7.3 Setzen Sie die Speicherkarte in einen Kartenleser ein. Hinweis: Der Produktpreis beinhaltet keine
Kartenleser. Sie benötigen einen eigenen Kartenleser.
7.4 Setzen Sie den Kartenleser in einen geeigneten Computer ein. Die Speicherkarte wird als
Wechseldatenträger erkannt.
Table of contents
Languages:
Other Wiseup 3D Glasses manuals