wolfappliance.com | 9
Installation
PLUMBED MODELS
1 Place the unit near the opening.
2 Remove the red cap from the water line.
3 Connect the drain tube with the provided clamp, then
secure the drain tube with the adhesive hose clamp
provided.
4 Hand tighten the water supply to the unit.
5 Cut or shift the water/drain line tape and adjust, if
necessary, then rotate the water connection in the
desired direction. Refer to the illustration below.
6 Connect the water connection to the water supply with
the fitting provided, then check for leaks.
7 Connect the drain tube following local code. The
drain connection will accommodate 1" (25), ⁄" (19), and
⁄" (16) drain connections. The connection must be cut
to fit ⁄" (19) and ⁄" (16) connections. If connecting to
a food waste disposer, remove the knockout prior to
making the drain connection.
8 Place the oven in the opening and slide back partially.
Verify the conduit, drain line, and water supply are not
kinked or trapped, then slide the oven back completely.
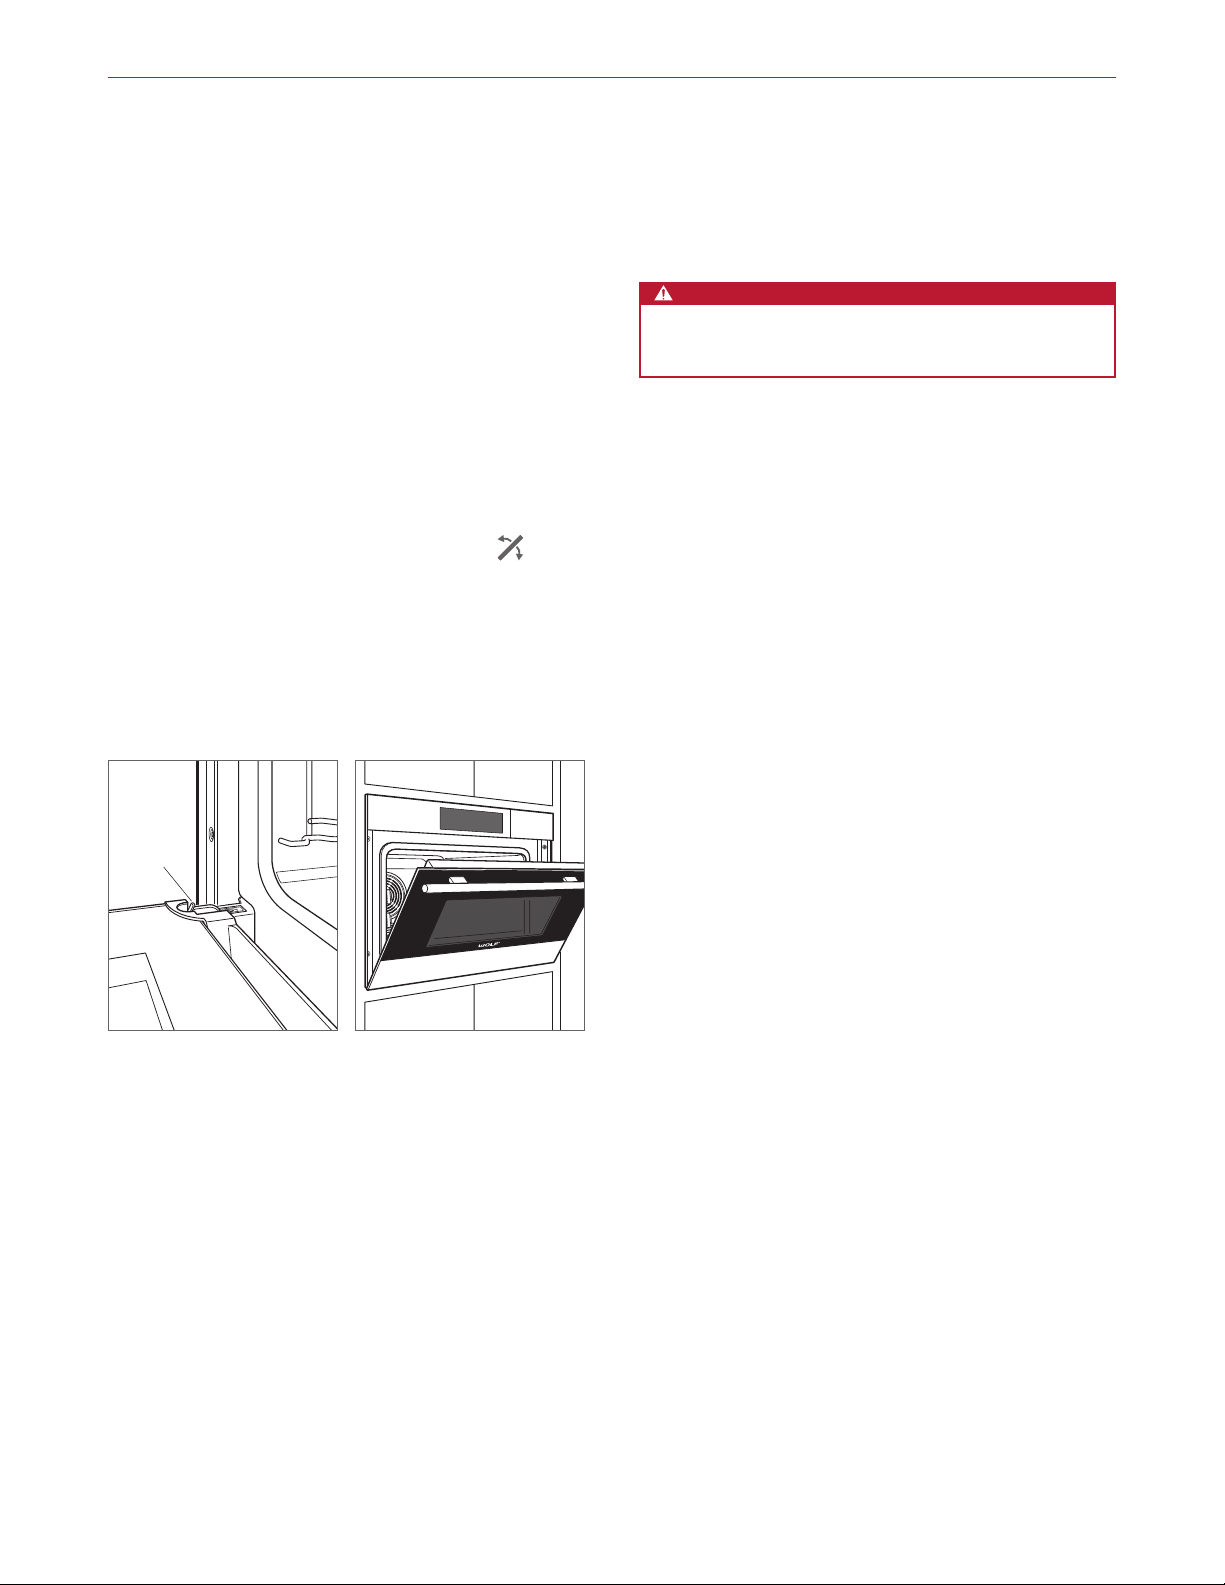
1 Locate the mounting holes on the oven side trim, two
on each side. Drill ⁄" pilot holes. Use the provided
mounting screws to secure the oven to cabinetry. Refer
to the illustration below.
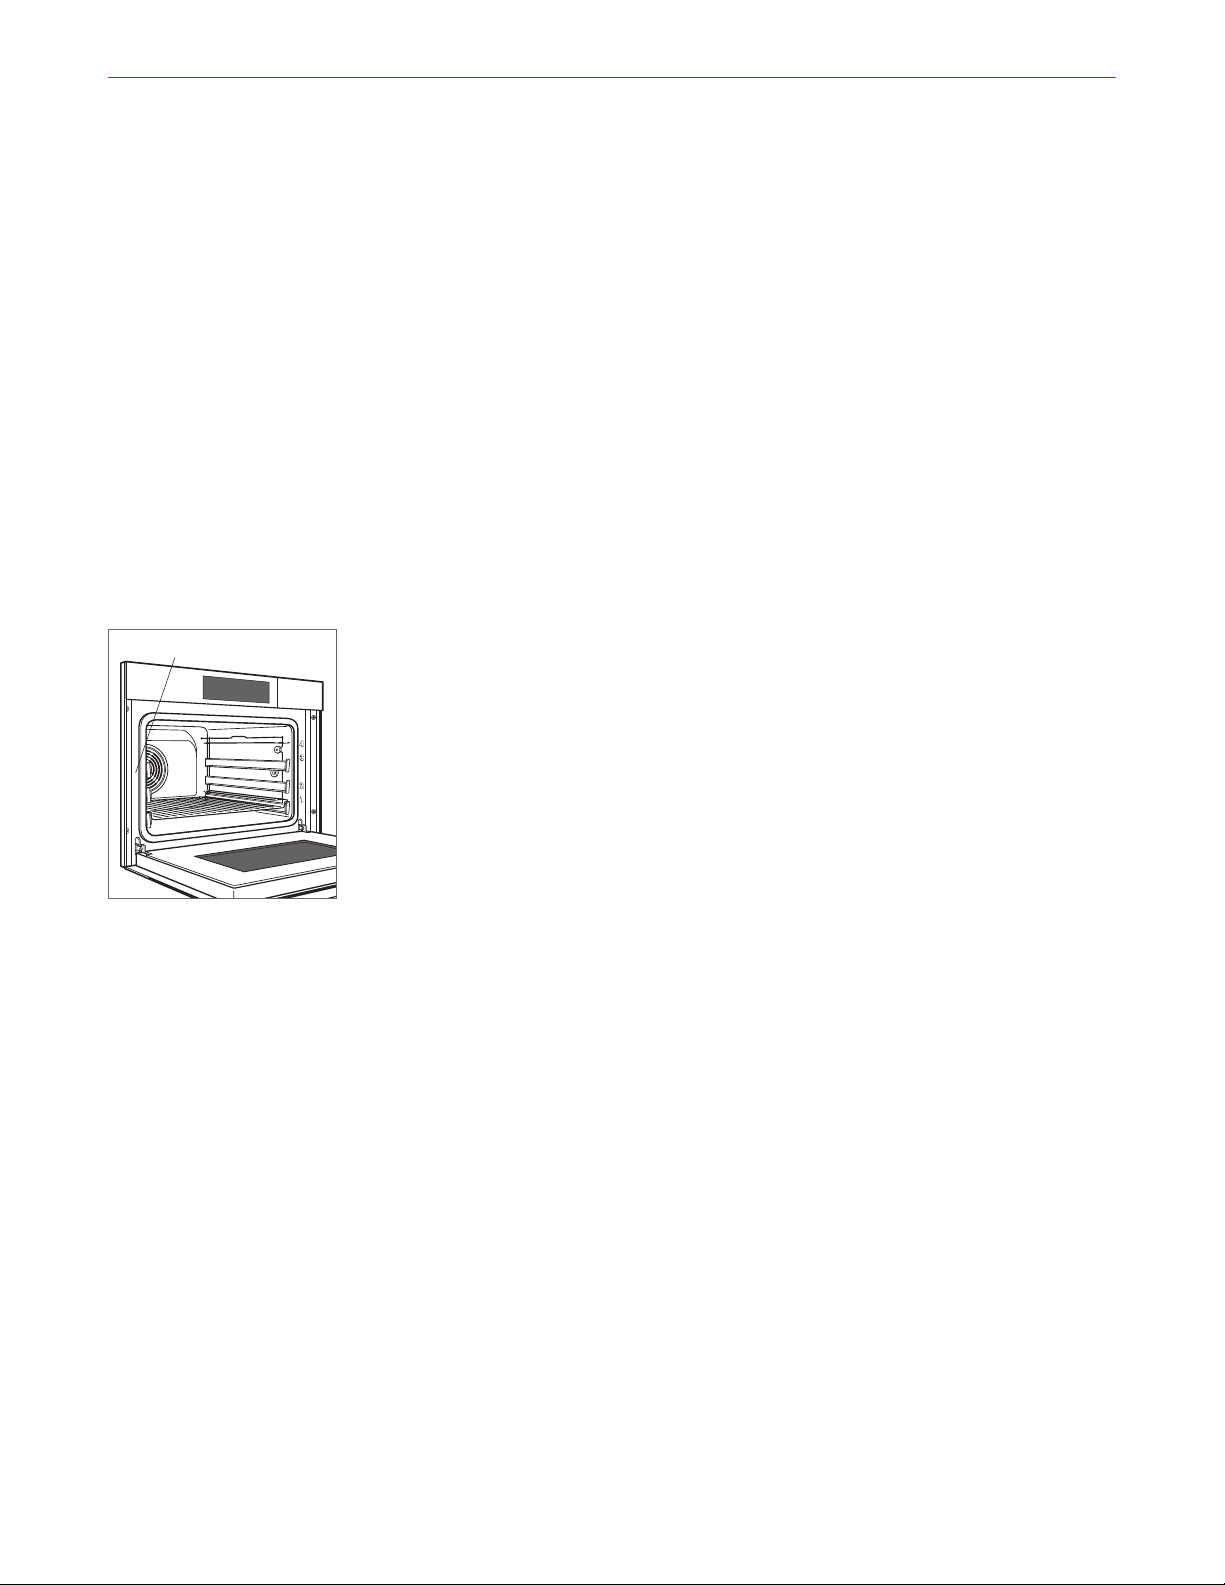
2 Remove all contents from the unit.
3 Remove the tape from the bottom of the oven cavity.
4 Insert the filter over the water outlet. Refer to the
illustration below.
5 Run a Steam cycle and check for leaks.
CAUTION
Failure to install the mounting screws may cause the
oven to tip forward during use.
DRAIN TUBE
CONNECTION
HOSE
CLAMP WATER
SUPPLY
BACK OF UNIT
Water connection
Installation
13
9
12
10
11
FILTER
Oven installation
Filter location