2
p) Degree of safety of application in the presence of a ammable anesthetic mixture with air or with oxygen or nitrous oxide: Equipment can not
be used in the presence of a ammable anesthetic mixture with air or with oxygen or nitrous oxide
1.3.2 Working condition
a) Environment temperature: +5°C to +40°C
b) Relative humidity: 30% ~75%
c) Atmosphere pressure: 70kPa to 106kPa
d) A temperature of the water at the inlet:not higher than +25°C
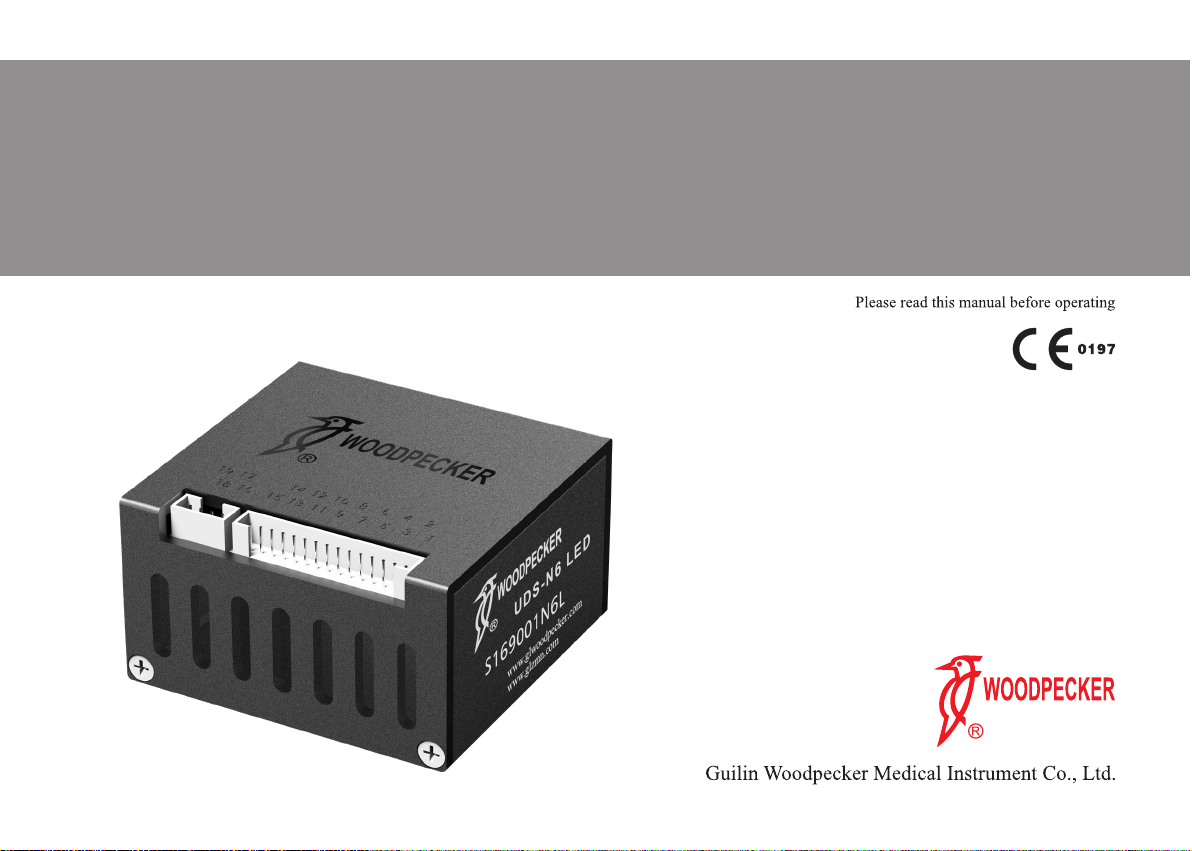
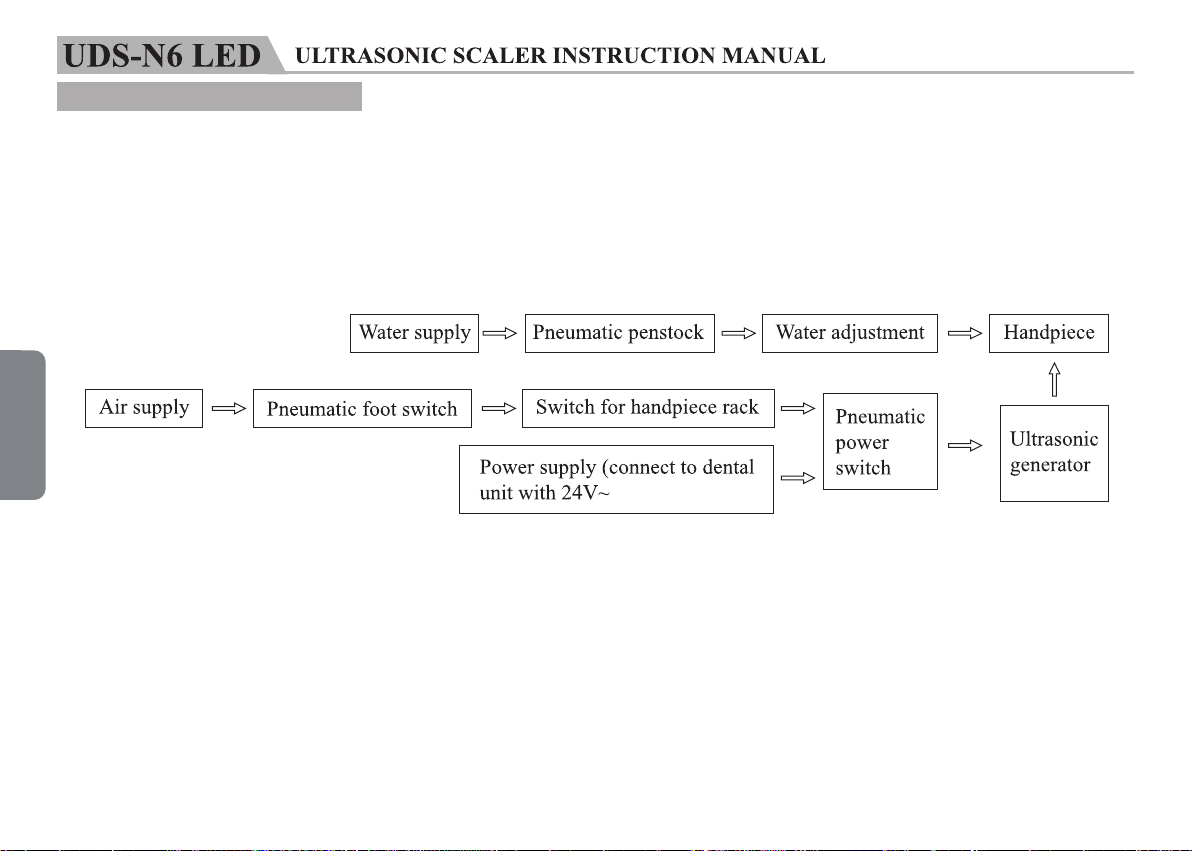
2 Installing of the equipment
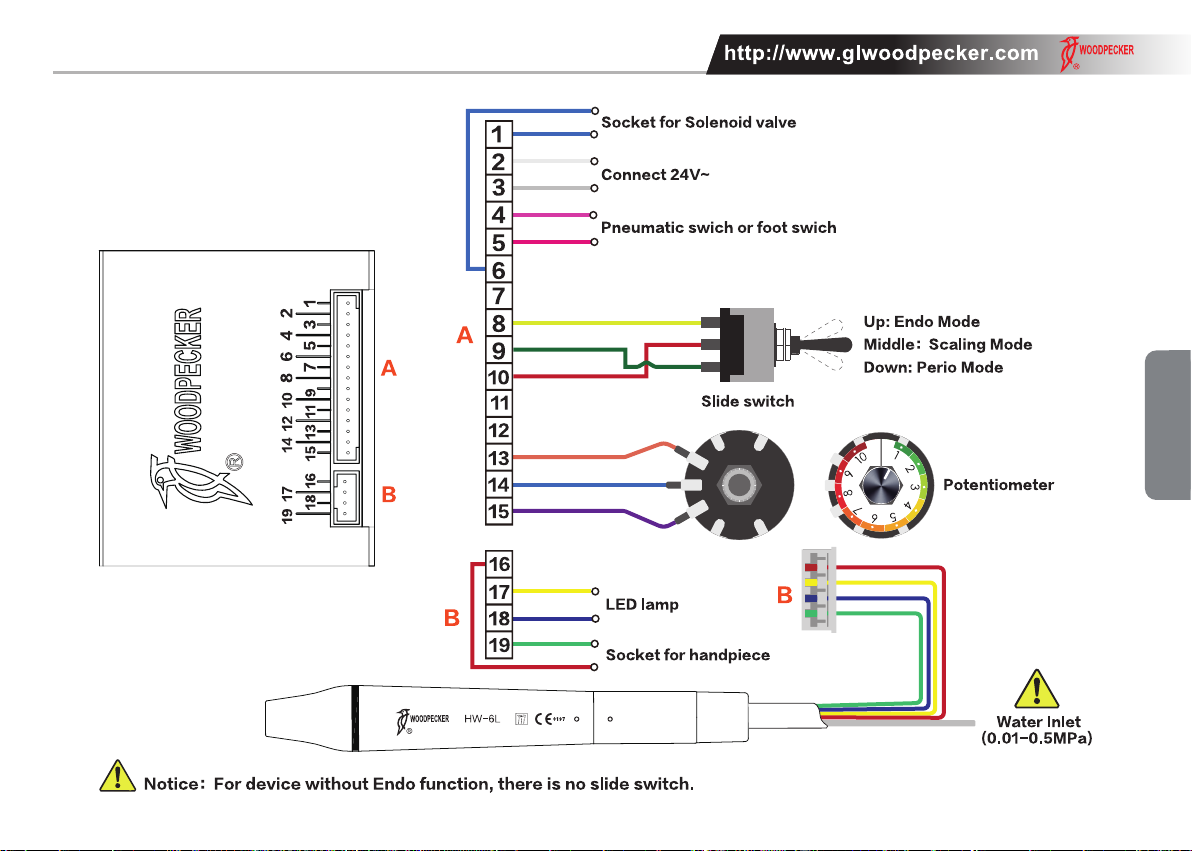
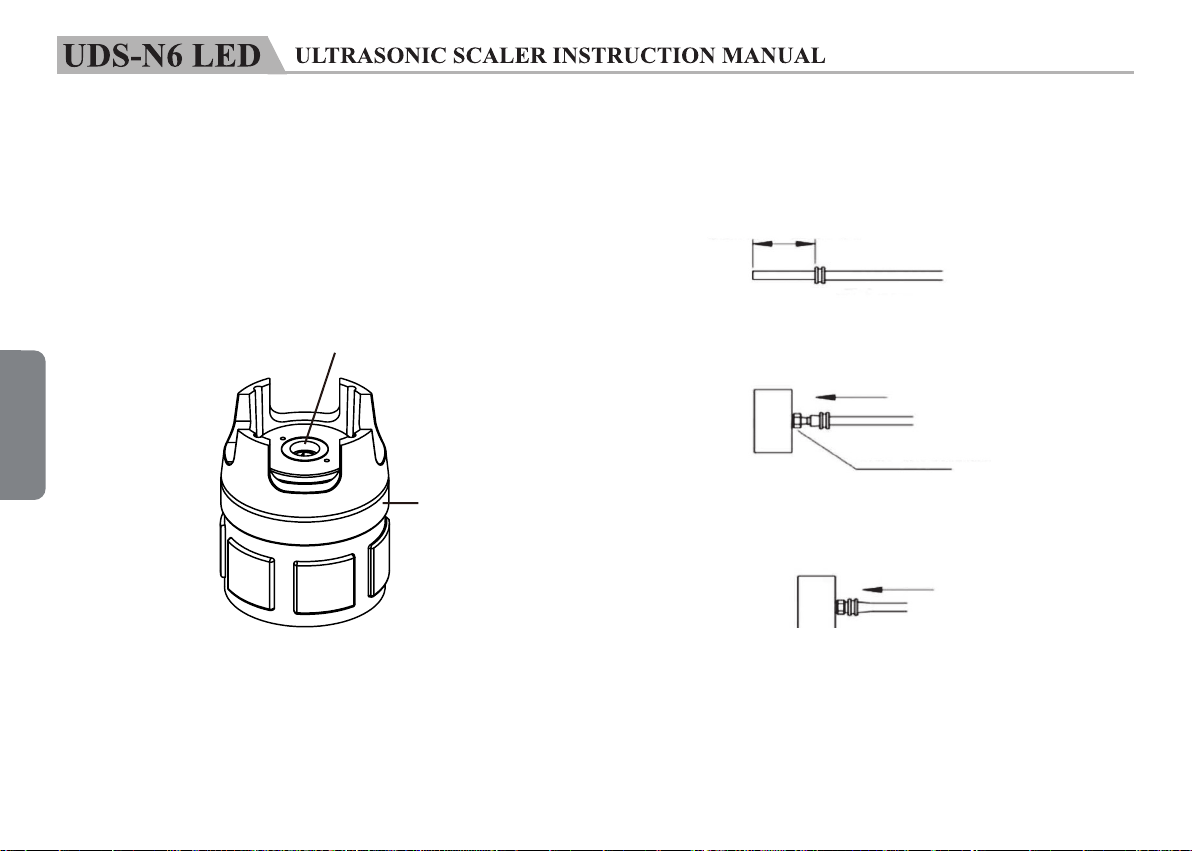
The main components of this equipment and installation are showed as picture 1.
2.1 Please connect power supply and pneumatic switch (or foot switch) showed as picture 1.
2.2 The No.2 lead and No.3 lead should be connected with 24V~, and this circuit isn’t allowed to act as switch circuit.
2.3 The No.4 lead and No.5 lead should be connected with pneumatic switch (or foot switch) directly, and this circuit isn’t allowed to do the short
circuit.
2.4 Potentiometer installation instruction
2.4.1 Ax the accompanying power adjustment dial to the corresponding position on dental unit panel so that the dividing line between "10"
and "1" is vertically downwards.
2.4.2 Insert the washer into the potentiometer, and then load the potentiometer into the corresponding position of dental unit vertically
downwards according to the wiring.
2.4.3 Put the at washer and nut into the potentiometer and tighten it, and then turn the potentiometer to the left.
2.4.4 Align the tick mark on the aluminum alloy knob with the "1" on the power adjustment dial to load the aluminum alloy knob.
2.5 Slide switch installation instruction (Only for device with Endo function)
2.5.1 Remove the built-in outer nut and washer on the toggle switch, and insert the toggle switch into the corresponding position of the dental
chair according to the wiring sequence of yellow, red and green.
2.5.2 Place the washer and nut into the toggle switch in turn and tighten the nut.
2.5.3 Ax the accompanying toggle switch label to an obvious position near toggle switch.
2.6 The followings should be noticed during installation:
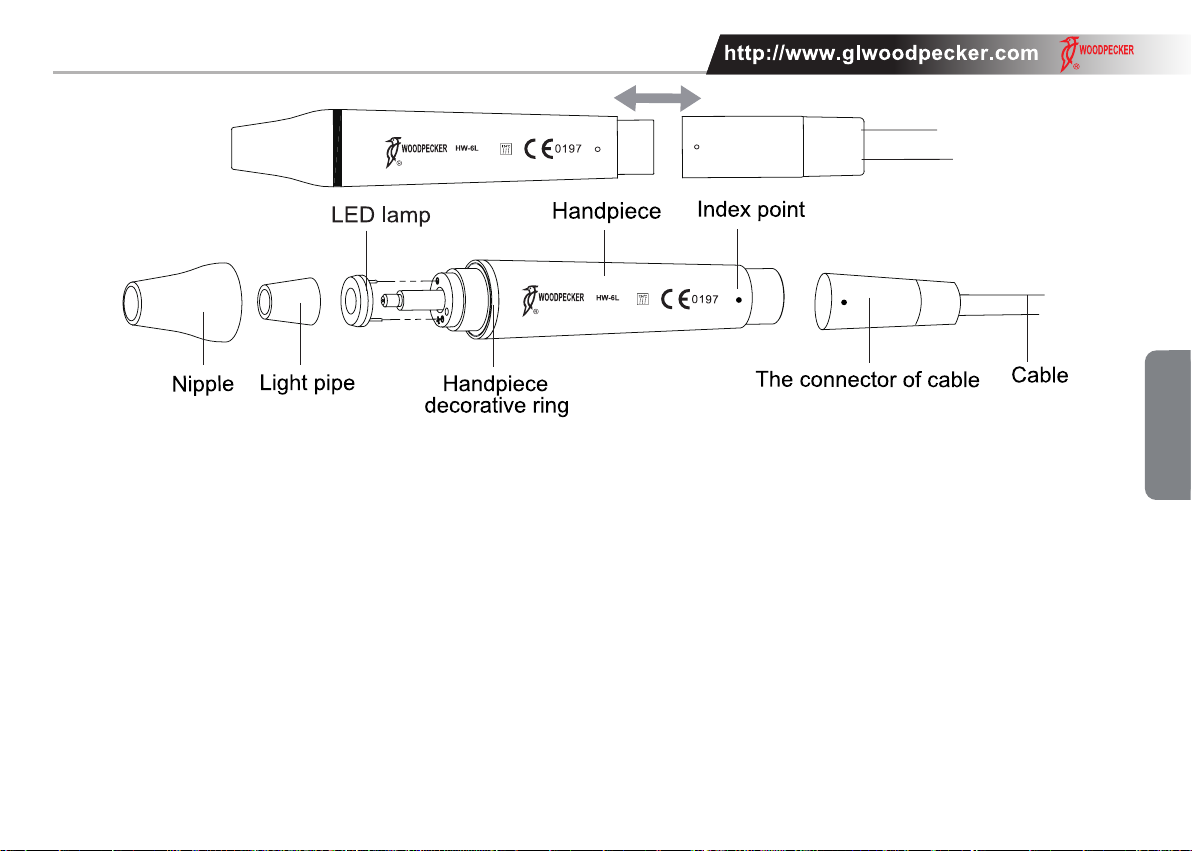
2.6.1 The manufacturers of dental unit, the dealers or end-users of the equipment need to dig holes in salver of dental unit so as to x potentiometer
and fetch out the silica gel pipe of handpiece pipe.
2.6.2 Keep enough space for dispersing heat of ultrasonic generator.
2.6.3 Built-in ultrasonic scaler without transformer occupies a little space, and works with current 24V~, power ≥20W.
2.6.4 Before turning on the scaler, turn the potentiometer knob to the minimum and the water control switch to the maximum.
2.6.5 The frequency of ultrasonic scaler is extremely high. Under normal water supply, a light touch and a certain to-and-fro motion will