manuals.online logo
Brands
  1. Home
  2. •
  3. Brands
  4. •
  5. Work Sharp
  6. •
  7. Accessories
  8. •
  9. Work Sharp E5 User manual

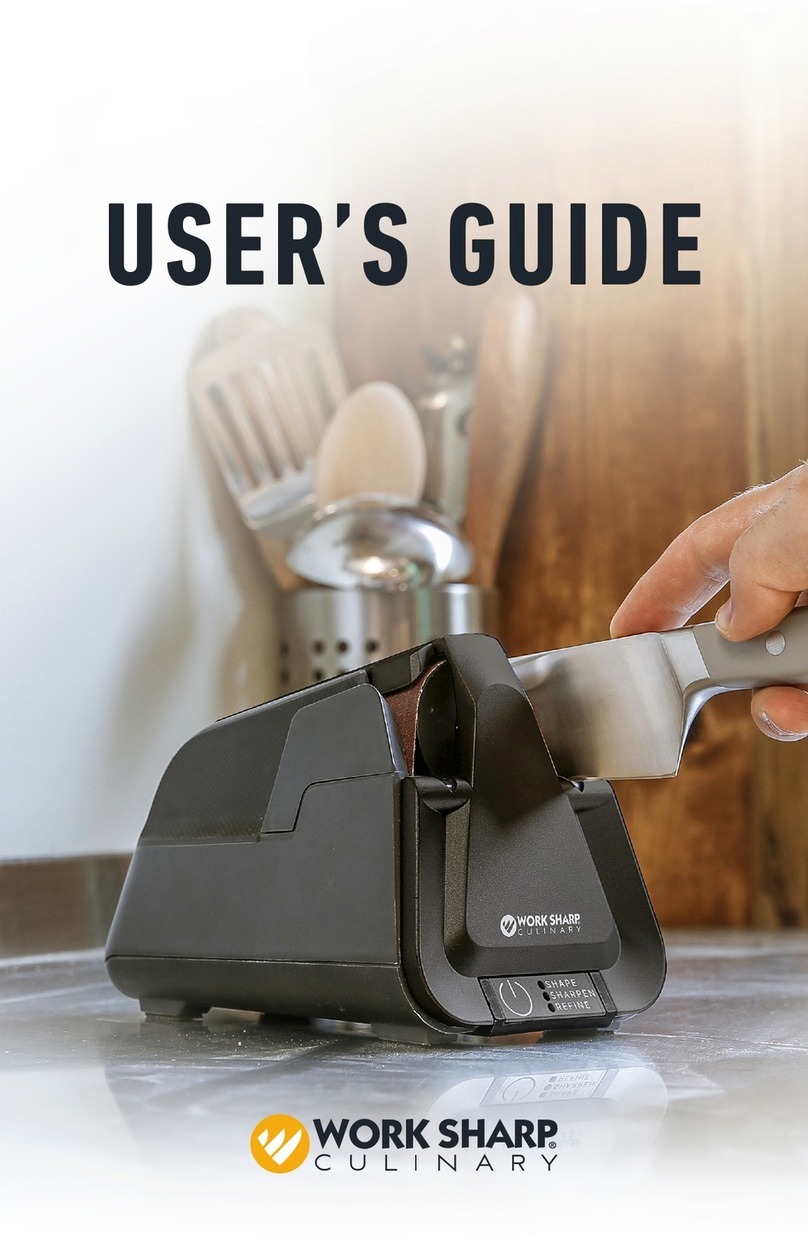
Work Sharp E5 User manual

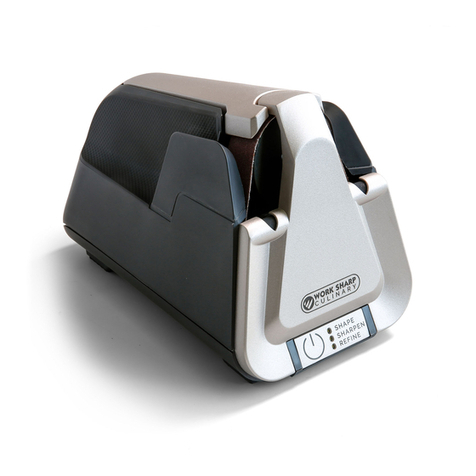
CHANGING GUIDES
1. Push back on guide from the front of the sharpener
until the guide snaps out of place.
2. Lift the guide to remove.
3. Place the new guide with the screw into the hole on the sharpener.
4. Push the guide forward toward the front of the sharpener until it
snaps into place. Make sure it is flush with the sharpener.
ONOFF
THIS KIT
INCLUDES:
15° EAST GUIDES20° WEST GUIDES
MASTER BELT KIT
Coarse, (2) Medium, Fine, Extra-Fine
° WESTERN RECIPE
SHAPE STAGE | TRIPLE CLICK | 90 SECONDS
MAINTAIN THE EDGE
ONCE OR TWICE
PER WEEK:
MAINTAIN THE EDGE
ONCE OR TWICE
PER WEEK:
 EASTERN RECIPE
SHARPEN STAGE | DOUBLE CLICK | 90 SECONDS
1. Install 15° EAST GUIDES
2. Start with ◼Grey Belt and cycle through SHARPEN stage.
3. Change to ◼White Belt and cycle through SHARPEN stage.
4. Test knife. If not sharp, change to ◼Red Belt and repeat
SHARPEN stage.
5. Repeat steps 2-3.
Use the ◼White Belt and cycle
through REFINE stage.
Use the ◼Grey Belt and cycle
through REFINE stage.
1. Install 20° WEST GUIDES
2. Start with ◼Red Belt and cycle through SHAPE stage.
3. Change to ◼Grey Belt and cycle through SHAPE stage.
4. Test knife. If not sharp, move to REPAIR AND RESTORE recipe.
UPGRADE KIT
USER GUIDE
FOR WESTERN STYLE KNIVES
FOR EASTERN STYLE KNIVES
HOW TO FEEL FOR A BURR
REPAIR AND RESTORE RECIPE
A burr will form on the opposite side of the blade you are
sharpening. A burr is a small, rolled over bit of steel that forms
as you sharpen. Using your fingers, brush across and away from
the knife edge.
You are feeling for the material that has rolled over. You can
feel a slight raise right as your fingers come to the edge of the
blade. If the edge feels smooth as you brush your fingers o the
edge, no burr has been raised.
FOR TIPS AND TRICKS,INSTRUCTIONAL VIDEOS
AND FREQUENTLY ASKED QUESTIONS VISIT:
1. Start with ◼Blue Belt. Press and hold the power button for 3 seconds to engage the untimed SHAPE cycle.
2. Using left side of the sharpener, pull knife through sharpening guide.Staying on left side (do not alternate),
make 2 more slow strokes through left sharpening guide (3 strokes total).
3. Check for a burr. (TIP: See below for how to feel for a BURR.)
4. If no burr is formed, repeat another 3 slow strokes on the left side. Continue this pattern until a burr is formed
along the entire length of blade.
5. Now repeat the SAME NUMBER OF STROKES on the right side as you did on the left so you sharpen your
blade evenly.
6. Click power button once to turn o.
7. Enter SHARPEN stage and complete full cycle with ◼Blue Belt (alternating sides).
8. Change to ◼Grey Belt and complete full cycle through SHARPEN stage (alternating sides).
CP00126 Rev 3
WORKSHARPCULINARY.COM
BE CAREFUL, EXERCISE CAUTION
WHEN FEELING FOR A BURR.
ONLY USE THE 20° WEST GUIDES WITH THIS RECIPE.
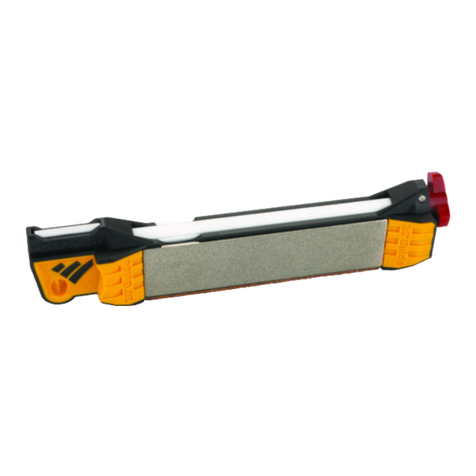
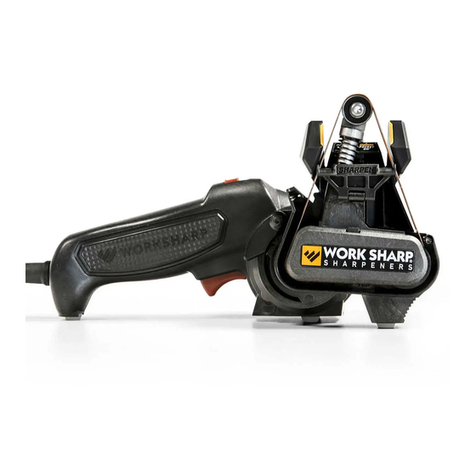
Other manuals for E5

3

Other Work Sharp Accessories manuals

Work Sharp PRECISION ADJUST User manual

Work Sharp

Work Sharp PRECISION ADJUST User manual

Work Sharp WSKTS2-I User manual

Work Sharp

Work Sharp WSKTS2-I User manual

Work Sharp Combo User manual

Work Sharp

Work Sharp Combo User manual

Work Sharp WSBCHPAJ-PRO User manual

Work Sharp

Work Sharp WSBCHPAJ-PRO User manual

Work Sharp E5 User manual

Work Sharp

Work Sharp E5 User manual

Work Sharp Guided Field Sharpener 2.2.1 User manual

Work Sharp

Work Sharp Guided Field Sharpener 2.2.1 User manual

Work Sharp CPE5-NH User manual

Work Sharp

Work Sharp CPE5-NH User manual

Work Sharp E5 User manual

Work Sharp

Work Sharp E5 User manual

Work Sharp E5 User manual

Work Sharp

Work Sharp E5 User manual

Work Sharp CPE2 User manual

Work Sharp

Work Sharp CPE2 User manual

Work Sharp Ken Onion User manual

Work Sharp

Work Sharp Ken Onion User manual

Work Sharp WS1 User manual

Work Sharp

Work Sharp WS1 User manual

Work Sharp M3 User manual

Work Sharp

Work Sharp M3 User manual

Work Sharp E3 User manual

Work Sharp

Work Sharp E3 User manual

Popular Accessories manuals by other brands

Honeywell P7640U installation instructions

Honeywell

Honeywell P7640U installation instructions

GEM GEM IP67 Specifications

GEM

GEM GEM IP67 Specifications

Homemanageables HM-FS001 manual

Homemanageables

Homemanageables HM-FS001 manual

Galeo SYRMA Instructions for use

Galeo

Galeo SYRMA Instructions for use

SSK SDIS - 1050 user manual

SSK

SSK SDIS - 1050 user manual

INSTEON 2420M quick start guide

INSTEON

INSTEON 2420M quick start guide

Keithley 2000-Scan instruction manual

Keithley

Keithley 2000-Scan instruction manual

Panamax MIW-POWER installation instructions

Panamax

Panamax MIW-POWER installation instructions

Dometic SC Series operating manual

Dometic

Dometic SC Series operating manual

Banner TCNM-ACM-OM110 installation manual

Banner

Banner TCNM-ACM-OM110 installation manual

PCB Piezotronics IMI SENSORS HT640B71 Installation and operating manual

PCB Piezotronics

PCB Piezotronics IMI SENSORS HT640B71 Installation and operating manual

Bticino 393015D quick start guide

Bticino

Bticino 393015D quick start guide

Saxby Lighting 94056 instruction manual

Saxby Lighting

Saxby Lighting 94056 instruction manual

IFM Electronic efector 200 OJ51 Series operating instructions

IFM Electronic

IFM Electronic efector 200 OJ51 Series operating instructions

Campbell CS100 product manual

Campbell

Campbell CS100 product manual

Sportcraft WRIGHTWOOD SC1008 Assembly instructions

Sportcraft

Sportcraft WRIGHTWOOD SC1008 Assembly instructions

Saxby 67346 Instruction leaflet

Saxby

Saxby 67346 Instruction leaflet

Vega MINITRAC 31 Quick setup guide

Vega

Vega MINITRAC 31 Quick setup guide

manuals.online logo
manuals.online logoBrands
  • About & Mission
  • Contact us
  • Privacy Policy
  • Terms and Conditions

Copyright 2025 Manuals.Online. All Rights Reserved.