woundwo Trendline Series User manual

INSTRUCTIONS FOR USE
TRENDLINE-SERIES
JOINTED ARM AWNING
841127_EN

2JOINTED ARM AWNINGS
www.woundwo.com
1. BASIC INFORMATION 2
2. EXPLANATION OF THE NOTICES 2
3. VALIDITY 3
4. SAFETY 3
5. INTENDED USE 3
6. PRODUCT INFORMATION 3 – 4
7. OPERATION 5
7.1 GENERAL SAFETY NOTICES 5
7.2 OPERATING THE CRANK DRIVE 5
7.3 OPERATING THE ELECTRIC DRIVE 6
8. CLEANING / CARE 6
9. MAINTENANCE 6
10. DISASSEMBLY 6
11. EC CONFORMITY 7
12. DECLARATION OF PERFORMANCE 8
13. WARRANTY CERTIFICATE 9
HANDOVER TO THE CUSTOMER 9
TABLE OF CONTENTS
Thank you for purchasing this WOUNDWO product.
You must have read and understood these instructions for use before commissioning the products to ensure failure-free permanent operation.
The notices in the instructions for use must be observed. Non-compliance shall release the manufacturer from its liability. Please also observe
the notices on the product and on the packaging.
We request that you keep all the instructions (instructions for assembly and use) and hand them over to the new owner should you sell the awning.
1. BASIC INFORMATION
Safety notices and important information can be found at the corresponding point in the text. These are equipped with a symbol.
This symbol indicates notices that are important for people‘s safety or for the awning‘s function.
This symbol indicates important product information for the user.
2. EXPLANATION OF THE NOTICES

3JOINTED ARM AWNINGS
08/2019 © WOUNDWO
WOUNDWO jointed arm awnings are primarily designed to protect against solar radiation. They can also be used as rain protection to a limited
extent (see 7.1. for details). Any other use or use that extends beyond this shall be deemed improper. The manufacturer assumes no liability for
any resultant damages.
No changes, additions or conversions may be made to the jointed arm awnings without the manufacturer‘s consent. Jointed arm awning parts
in an imperfect condition must be replaced immediately. Only genuine spare parts specified by the manufacturer may be used. In the case of
parts sourced from third parties, there is no guarantee that these have been designed and manufactured in line with safety and loading requi-
rements.
If the jointed arm awnings suffer additional loading as a result of suspended objects or the cord slackening, this can lead to the jointed arm
awnings malfunctioning and becoming damaged. Such actions are therefore impermissible.
Assembly and maintenance work may only be performed by qualified staff.
The connection must be fused and de-energised whilst inspecting or maintaining electrical parts.
WO&WO Sonnenlichtdesign GmbH & Co KG assumes no liability for damages caused by improper use.
It is important to follow these instructions for people‘s safety. These instructions must be kept.
All WOUNDWO awnings are designed and manufactured in line with the provisions set forth in the EN 13561 standard. Nonetheless,
dangers can arise for the people involved and/or the product can be impaired or other property damaged.
5. INTENDED USE
4. SAFETY
3. VALIDITY
OPERATING MOTORISED OPERATION AWNINGS:
Do not allow children to play with the awning‘s control unit. Keep remote controls out of the reach of children.
Examine the equipment regularly for signs of wear or damage on the cables.
Observe the programming instructions of the supplied control units.
Do not use if a repair is required.
MANUALLY OPERATING AWNINGS USING A CRANK HANDLE:
Take care when manually operating the retracted awning, as it can fall down quickly due to springs that are too weak or broken.
The product may only be operated as intended, in a technically perfect condition, in a safety- and risk-conscious manner and in
accordance with these instructions for use. Faults that could compromise safety are to be rectified immediately.
TECHNICAL DATA
The dimensions and technical details of jointed arm awnings can be found in the current catalogue available from specialist dealers, in the instruc-
tions for assembly or in the WOUNDWO partner area at www.woundwo.com.
PARAMETER VALUE
Mains voltage 230 V AC
Current consumption 0.45 – 2.1 A (depending on the drive)
Power consumption 90 – 460 W (depending on the drive)
Protection class – electric drive IP 44
Permanent operation – motor Approx. 4 minutes
DATA FOR THE ELECTRIC DRIVE
The electric motor is not designed for permanent operation. After approx. 4 minutes of operation, the thermal protection starts and the
motor switches off. The motor is ready for operation again after 15 – 30 minutes. However, the new actuation time is considerably red-
uced, lasting 1 – 2 minutes.
6. PRODUCT INFORMATION
These instructions for use are valid for the following WOUNDWO standard jointed arm awnings:
TRENDLINE CASSETTE, TRENDLINE SUNBOX, TRENDLINE SMARTBOX, TRENDLINE.

4JOINTED ARM AWNINGS
www.woundwo.com
NOISE EMISSION
The sound pressure level of this awning when disassembled is less than 70 dB(A) when measured pursuant to EN ISO 12100-2:2003.
ACCESSORIES
The following accessories are available for WOUNDWO jointed arm awnings:
- Wireless remote control
- Automatic sun / wind / rain control
- Room thermostat
- Vario valance
- Light strip
- Radiant heater
Detailed information about the right accessories and how to integrate them is available from all WOUNDWO specialist dealers.
WIND LIMIT VALUES
Depending on the product quality, awnings are divided into wind resistance classes to EN 13561 Section 4.1. The higher the class the higher the
product quality.
Wind resistance class Wind strength Wind speed
Class 0 undefined; product untested or unsuitable
Class 1 4 (on the Beaufort scale) 20 - 28 km/h
Class 2 5 (on the Beaufort scale) 29 - 38 km/h
WOUNDWO-Awnings and their components are designed and made to the provisions of EN 13561.
The different awning types are classified in different wind classes. The allocations of the products are defined as followed.
Classification of WOUNDWO awnings:
Projection in mm
Vario
valance 1500 2000 2500 3000 3500 4000 4500
TOPLINE CASSETTE –2* 2* 2* 2* 2* 2 –
with 2* 2* 2* 2 2 – –
TOPLINE PLUS –2* 2* 2* 2* 2* 2* 2
with 2* 2* 2* 2* 2* 2 –
TOPLINE –2* 2* 2* 2* 2* 2* 2
with 2* 2* 2* 2* 2* 2 –
TRENDLINE CASSETTE –2* 2* 2* 2 2 – –
with 2222–––
TRENDLINE SUNBOX –22222––
TRENDLINE SMARTBOX –22221 ––
TRENDLINE –2* 2* 2* 2 2 – –
with 2222–––
SWINGLINE CASSETTE –2* 2* 2 2 – – –
SWINGLINE – 2* 2* 2 2 – – –
WINGLINE – 2222222
FIRSTLINE – 2 2 1 – – – –
BASICLINE – 2 2 1 – – – –
* Wind resistance class 3 until revision of the classification under DIN EN 13561 with effect from 01.07.2015.
The jointed arm awnings may only be used up to the wind resistance class declared by the manufacturer. The wind class may
only be downgraded due to poor assembly conditions in exceptional cases and with the end user‘s consent.

5JOINTED ARM AWNINGS
08/2019 © WOUNDWO
A) SERIES: TOPLINE (TOPLINE, TOPLINE PLUS, TOPLINE CASSETTE),
TRENDLINE (TRENDLINE, TRENDLINE CASSETTE, TRENDLINE SUNBOX, TRENDLINE SMARTBOX)
EXTENDING THE AWNING: Hook the crank handle into the gearbox eye and extend the awning by turning the crank anti-clockwise until the
awning reaches either the desired or the end position. The awning‘s end position (fully extended) is permanently set in the factory. The awning
cloth remains tensioned at all times during this process. If the awning cloth loses tension, the tension should be restored by retracting the jointed
arm awning.
RETRACTING THE AWNING: Turn the crank handle anti-clockwise until the awning is closed.
When the inside and outside end positions have been reached, do not continue to forcibly turn the crank handle. There is the risk of
damages to the gearbox and of the cloth overexpanding or folding.
Jointed arm awnings may only be operated by persons who have received instruction from specialist staff. Ensure that children do not
operate the awning unattended. Keep remote controls out of the reach of children.
When working in the area surrounding the jointed arm awning‘s deployment area, the automatic control (wind, sun control) must be
switched off with a monitored, priority switching locking device (e.g. key switch), such that the jointed arm awning cannot be extended
when controlled automatically.
Jointed arm awnings should be retracted at night and before leaving home.
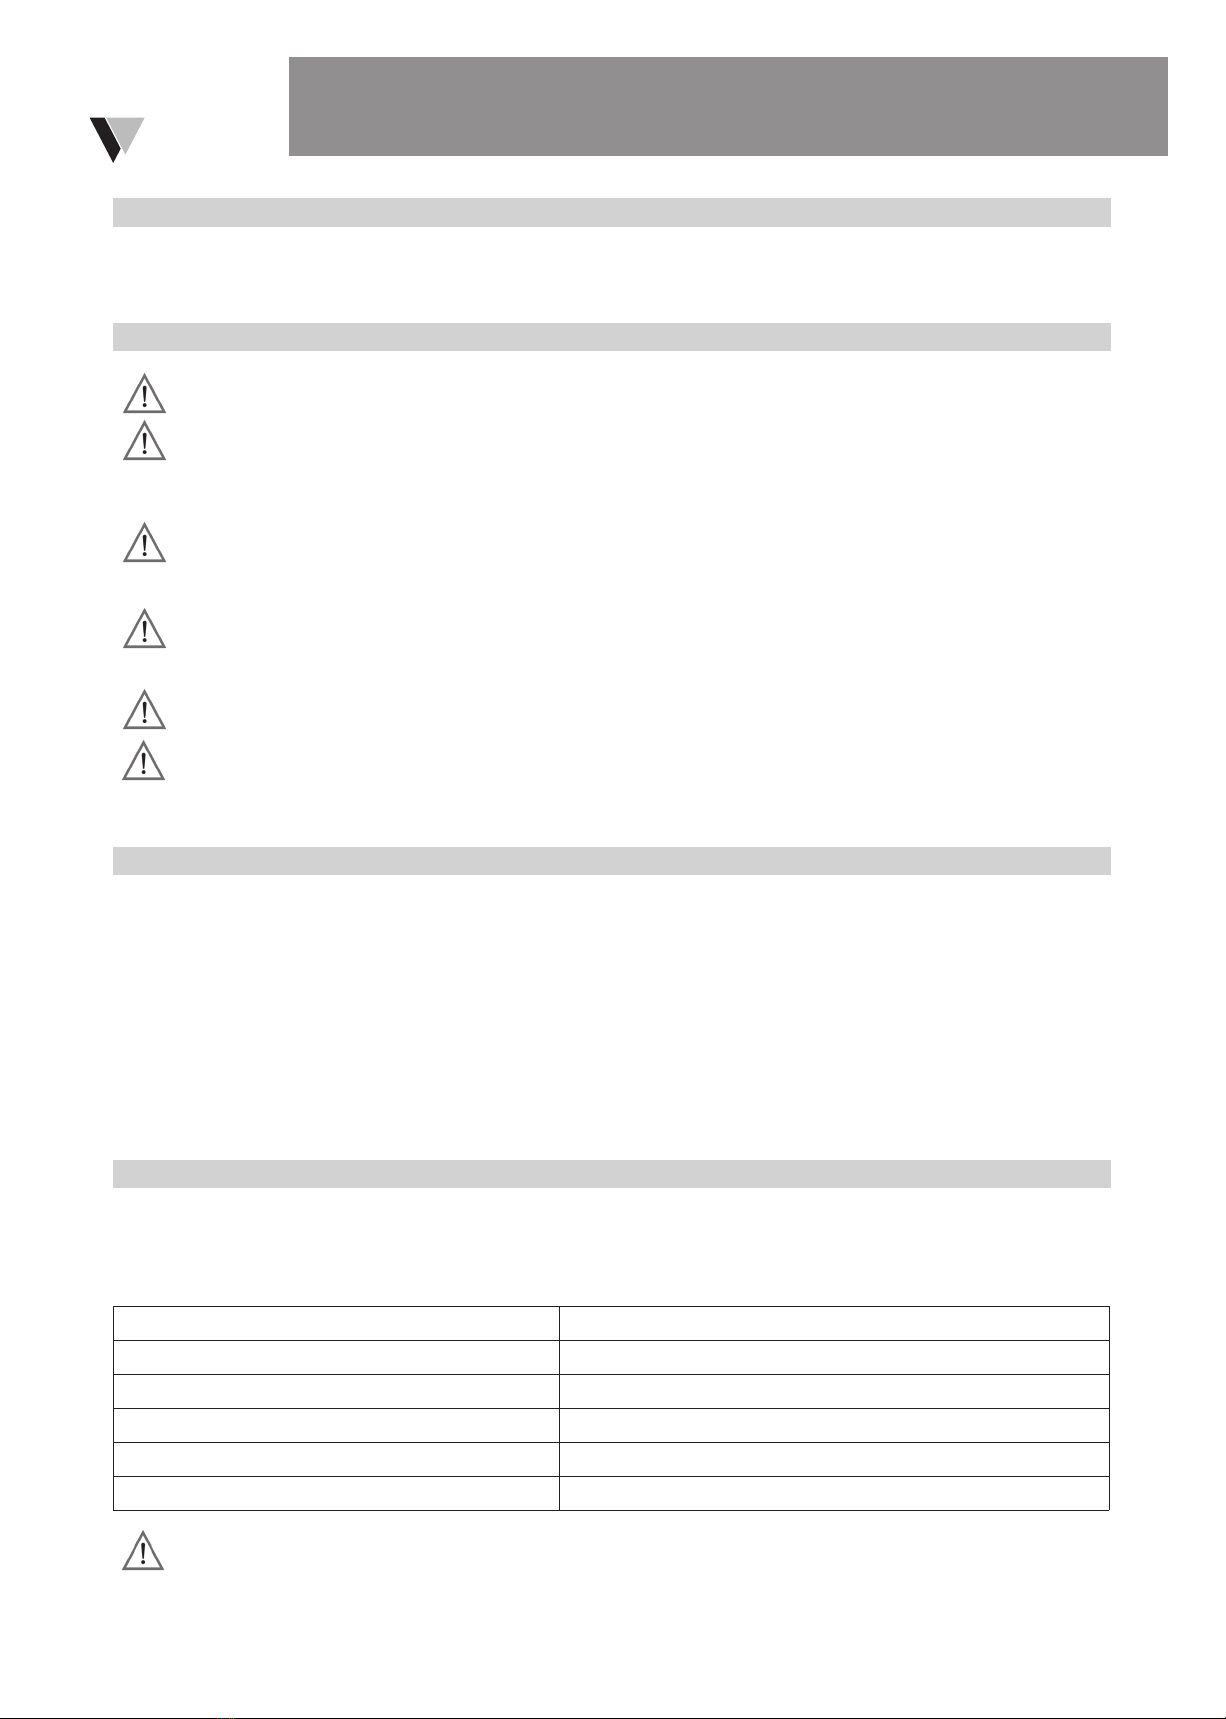
Do not extend jointed arm awnings in freezing, snowy or very windy conditions. Jointed arm awnings can be used as rain protection to
a limited extent. For this, the awning must be fully extended and the minimum incline is 14° (25%). Unsupervised use as rain protection
is not permissible, as it is not entirely possible to exclude the formation of water pockets.
Fixed objects must be at least 40 cm away from the extension area of the drop profile.
The Vario valance (an optional accessory) must be rolled up before the jointed arm awning is retracted.
7.1 GENERAL SAFETY NOTICES FOR OPERATING JOINTED ARM AWNINGS
7. OPERATION
7.2 OPERATING JOINTED ARM AWNINGS WITH A CRANK DRIVE
B) SERIES: SWINGLINE (SWINGLINE, SWINGLINE CASSETTE)
The crank gearboxes of the SWINGLINE series of awnings have no end stop on the front, but a freewheel to prevent incorrect cloth
winding. At this point, however, the cloth can sag without any tension.
EXTENDING THE AWNING: Hook the crank handle into the gearbox eye and extend the awning by turning the crank anti-clockwise until the
freewheel reaches the end point and the cloth is relieved of tension. Briefly turning back achieves the best cloth tension.
RETRACTING THE AWNING: Turn the crank handle anti-clockwise until the awning is closed.
Do not continue to forcibly turn the crank handle when it reaches the end positions inside. There is a risk of damages to the gearbox
and of the cloth overexpanding or folding. This is prevented on the outside by the freewheel.
C) SERIES: FIRSTLINE, BASICLINE
These crank gearboxes have no end stop on the front to prevent incorrect cloth winding. At this point, however, the cloth can sag
without any tension.
EXTENDING THE AWNING: Hook the crank handle into the gearbox eye and extend the awning by turning the crank anti-clockwise until the end
point is reached and the cloth is tensioned.
RETRACTING THE AWNING: Turn the crank handle anti-clockwise until the awning is closed.
Do not continue to forcibly turn the crank handle when it reaches the end positions inside. There is a risk of damages to the gearbox
and of the cloth overexpanding or folding.

6JOINTED ARM AWNINGS
www.woundwo.com
EXTENDING THE AWNING: Press (and hold) the operating element and extend the jointed arm awning until it reaches either the desired or the
end shading position. The end position is reached when the motor switches off.
RETRACTING THE AWNING: Press (and hold) the operating element and retract the jointed arm awning until it reaches either the desired or the
end shading position. The end position is reached when the motor switches off. Please refer to the documentation for control and operating units
for additional notices about special functions.
Improper assembly activities can result in personal injury or property damage.
When the system is being handed over, specialist staff must provide instruction on operating the electric drive. During this process, an
explanation of how the operating elements are assigned is provided.
Use suitable climbing aids and de-energise the drive motor!
Remove the cover for the lateral part from the cassette before cleaning the TRENDLINE SMARTBOX!
No high-pressure cleaners, scouring agents or scouring pads should be used for cleaning!
Solvents such as alcohol or benzine must not be used!
7.3 OPERATING JOINTED ARM AWNINGS WITH AN ELECTRIC DRIVE
8. CLEANING AND CARE
10. DISASSEMBLY
CLEANING THE PRODUCT:
Dirt can be removed from the jointed arm awning using a soft brush or hand brush. Clean the awning cloth using a fine liquid detergent and
rinse thoroughly with cold water. The frame of the jointed arm awning can be cleaned using a commercially available cleaner and wiped with a
damp cloth. The awning cloth must be left to dry after cleaning.
Only have a WOUNDWO specialist dealer perform disassembly work.
Please refer to the product instructions for assembly for specifications / notices.
Reliable and safe use of the jointed arm awning can only be guaranteed if the system is checked and maintained on a regular basis.
9. MAINTENANCE
The jointed arm awning is to be checked regularly for signs of wear and damage on the cover and frame. If damages are found, the specialist
dealer or a suitable servicing company is to be tasked with the repair work. Jointed arm awnings needing repair must not be operated.

7JOINTED ARM AWNINGS
08/2019 © WOUNDWO

8JOINTED ARM AWNINGS
www.woundwo.com

9JOINTED ARM AWNINGS
08/2019 © WOUNDWO
To make subsequent enquiries or suggestions about the product easier, the product data should be documented by the specialist dealer.
Assembly date Handed over by / on: (Specialist dealer‘s stamp and signature)
HANDOVER TO THE CUSTOMER
1. WARRANTY PERIOD
1.1. Within the warranty period of 5 years from delivery, we will remedy
all defects to the awning which can be proven to result from
manufacturing, material or design defects.
1.2 The 5-year warranty automatically comes into effect upon delivery
of the awning.
2. CONDITIONS FOR THE PROVISION OF WARRANTY SERVICES ARE:
2.1. Immediate inspection of the awning upon delivery to ensure it is free
from defects. If defects are found, the awning must not be installed.
2.2. The awning is correctly installed by the authorised WOUNDWO
specialist dealer in accordance with the assembly instructions, using
only original mounting parts.
2.3. You must notify us promptly in writing in the event of any claim.
Please provide the following information: date of damage, nature
and extent of the damage, invoice date and number, name and
address of the customer.
3. SETTLEMENT OF CLAIMS
3.1. Where defects are accepted by us as being covered by warranty,
the remedying of such defects will involve the specialist dealer
dismantling the awning and sending it to our factory.
3.2. We will assume all material costs necessary to correct the defects
that fall under the terms of the warranty within the period specified
in Item 1.
4. THE FOLLOWING ARE EXCLUDED FROM THE WARRANTY:
4.1. Damage to the awning caused by improper installation as a result of
failure to follow the installation instructions and failure to use original
mounting parts.
4.2.Damage caused by force majeure and exceptional loads, such as
the effects of extremely high winds, snow, rain or ice.
4.3.‘Minor cosmetic flaws’ in awning fabrics, which are set out in the
‘Guidelines for the evaluation of ready-made awning fabrics’
produced by the IVRSA (ITRS e.V. professional group), do not
constitute a defect and are therefore not covered by the warranty.
4.4.Parts that are subject to normal wear. These include motors,
gearboxes, controllers and covers.
4.5.Visual flaws.
5. OTHER PROVISIONS
5.1. If a damage incident necessitates inspection by our customer
service department, no changes must be made to the awning under
investigation.
5.2.In the event of a damage incident, the subsequent procedure will
be conducted in writing. For insurance reasons, it is not possible to
resolve the matter over the telephone.
5.3.All claims under the warranty shall be null and void if third party
spare parts are used or following any repairs made by persons who
are not authorised WOUNDWO specialist dealers, or if any changes
are made to the awning.
5-YEAR GUARANTEE
13. WARRANTY CERTIFICATE

Printing errors excepted. Subject to change without notice.
Publisher: WO&WO Sonnenlichtdesign GmbH & Co KG
Content: WO&WO Sonnenlichtdesign GmbH & Co KG
Place of publication: 8054 Graz, AUSTRIA.
Table of contents
Other woundwo Accessories manuals
Popular Accessories manuals by other brands

PRASTEL
PRASTEL FT25B Series quick start guide

MK Sensors
MK Sensors K4015 Installation and commissioning instructions

Bauhn
Bauhn APB26-815 Instructions for use

weinor
weinor Plaza Viva Instructions for assembly

Georg Fischer
Georg Fischer Signet 2650 DryLoc operating instructions

Kelvion
Kelvion TEC1 Installation & maintenance