Warranty Information
This product is covered by a 3 year limited parts and labor warranty. During this period there will be no charge for unit repair,
component replacement or complete product replacement in the event of malfunction. The decision to repair or replace will
be made by the manufacturer. This limited warranty only covers defects in materials or workmanship and excludes normal
wear and tear or cosmetic damage. Visit the product page located at wyrestorm.com for additional information on this
product including important technical information not provided in this document and warranty terms & conditions.
Specications
Copyright © 2017 WyreStorm Technologies | wyrestorm.com
NHD-000-CTL Quickstart Guide | 171206
North America: 518-289-1294 | EMEA/ROW: 44 (0) 1793 230 343
2 of 2
Troubleshooting
Verify that all NHD devices contain the latest version of rmware.
This will ensure that all devices are up to date and working at their highest
performance level.
NetworkHD Software fails to locate TX/RX/CTL Devices
• Verify that all NHD and Network devices are powered On.
• Adjust Windows Firewall Settings – Create an exception for Conguration
Tool for WyreStorm NetworkHD 000 Series or disable completely.
• Verify that the PC, the CTL, and NHD encoders and decoders are on the
same LAN/VLAN.
• Verify that all network switches share the same VLAN conguration.
• Reboot all system components including the NHD-000-CTL and the PC/Mac.
• Ensure that only one CTL port is connected per LAN/VLAN. If only one LAN/
VLAN exists only use the AV port.
• Ensure the network switch is fully congured per the appropriate switch
conguration guide.
Failure to Connect to CTL Controller
• Follow the previous steps for failing to connect to devices. If these are
unsuccessful, press and Hold the reset button on the front of the CTL for 5
seconds.
• After a reboot the CTL will be returned to the default IP address of
192.168.11.243 for the control port and 169.254.1.1 for the AV port.
No Image Appearing on Displays
• Verify that all NHD, Network, Source, and Display devices are powered On.
• Test sources and displays by connecting them directly together.
• Swap out the HDMI cable
• Connect the power supply to the component rather than using PoE.
• If the display is only HDMI 1.4/HDCP 1.4 – Ensure the decoder is set to
HDCP 1.x by right clicking the unit in the NetworkHD Console and opening
the video settings option.
Power
Power Supply Input: 100~240V AC 50/60Hz
Output: 12V DC 1A
PoE <15.4W | 802.3af
Max Power Consumption 1.6W
Environmental
Operating Temperature 32°F ~ 113°F (0°C ~ 45°C) | 10% ~ 90%,
non-condensing
Storage Temperature -4°F to ~ 158°F (-20°C ~ +70°C) | 10% ~ 90%,
non-condensing
Maximum BTU 5.45 BTU/hr
Dimensions and Weight
Rack Units/Wall Box 0.58U
Height 26mm/1.1in
Width 93.2mm/3.67in
Depth 138.7mm/5.47in
Weight 0.4kg/0.88lbs
Regulatory
Safety and Emission CE | FCC | RoHS
Communication and Control
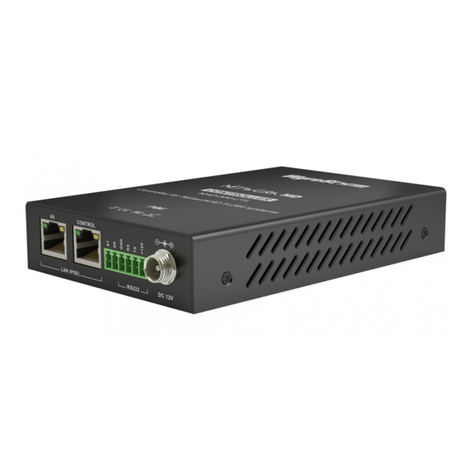
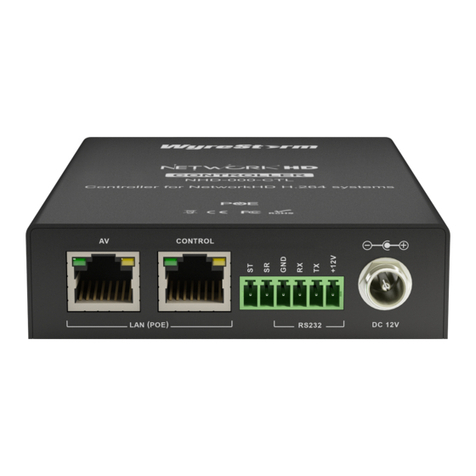
Inputs/Outputs 1x LAN AV - 8-pin RJ-45 female | 1x LAN Control - 8-pin RJ-45 female
Ethernet 1x LAN AV - 8-pin RJ-45 female | 1x LAN Control - 8-pin RJ-45 female 10/100 Mbps auto-negotiating
RS-232 1x RS-232 6-pin Phoenix Connector
