Installation and Operation
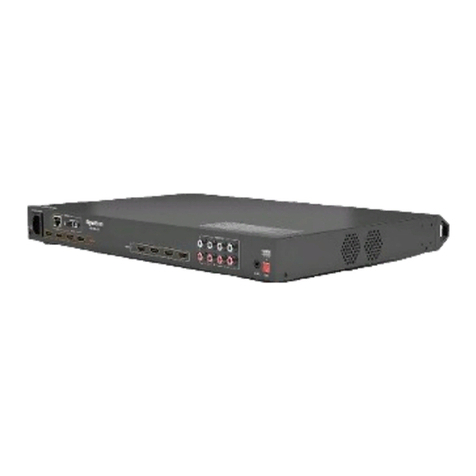
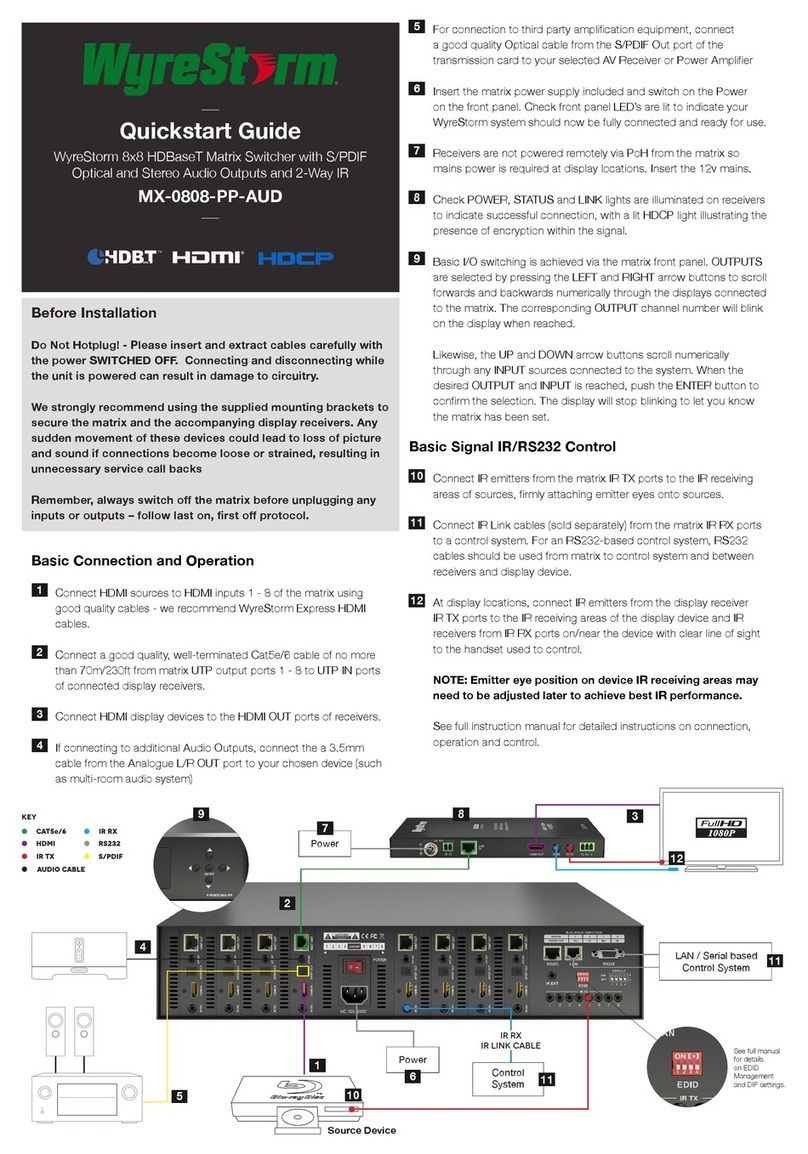
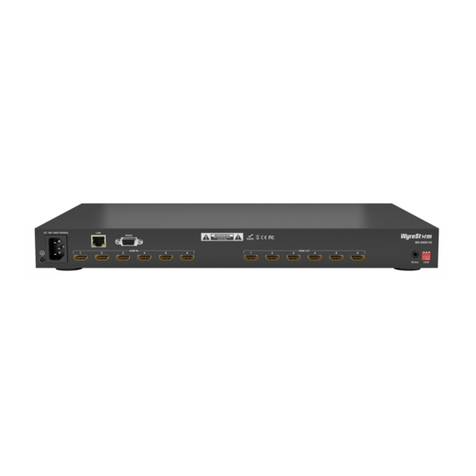
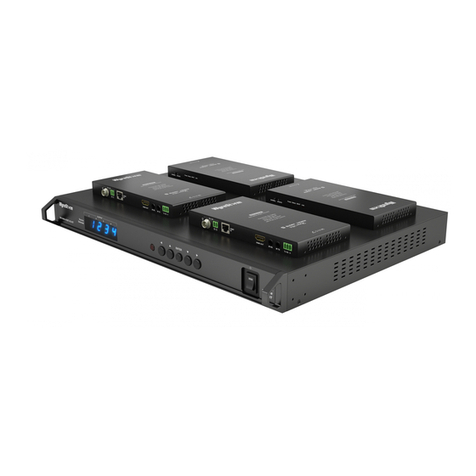
1. Connect HDMI sources to INPUT ports 1-4 using good quality HDMI cables.
2. Connect an HDMI display device to the HDMI OUT ports of the switcher.
3. Turn the power on using the included remote handset, ensuring LED power indicators are fully lit on the front of the switcher. If not, check to make sure the
HDMI cables are rmly connected.
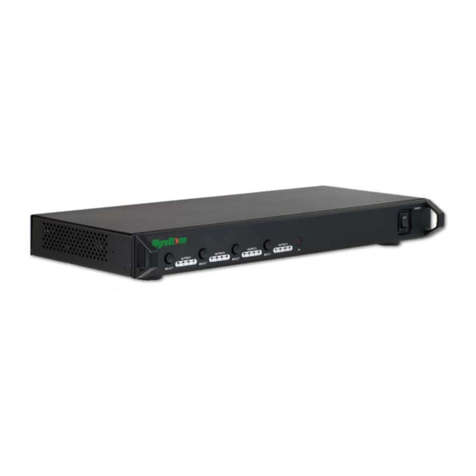
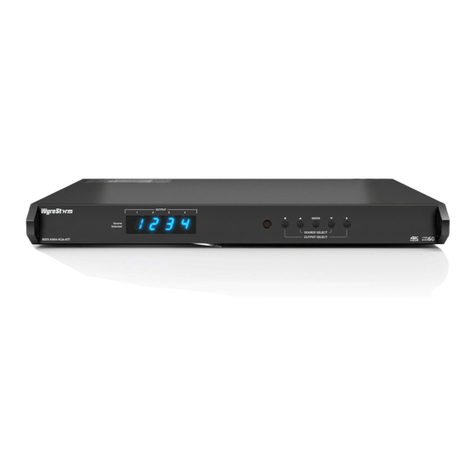
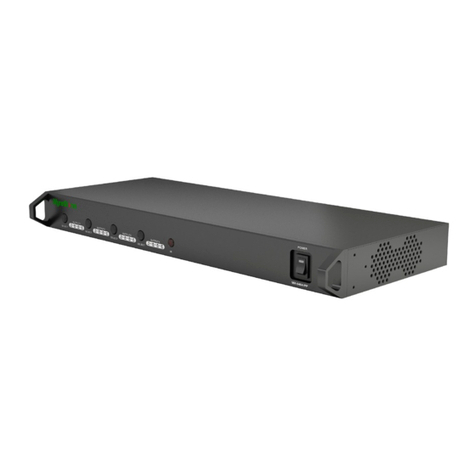
4. To operate the switcher, press the SWITCH buttons on the front of the unit to scroll numerically through connected sources.
5. Alternatively, use the remote control handset to scroll forwards and backwards through the inputs or push buttons 1-4 corresponding to the connected
sources. Furthermore, a RS-232 connection from a control system can be used to control the device.
Copyright © 2020 WyreStorm Technologies | wyrestorm.com
EXP-MX-0404-H2 Quickstart Guide | 200422
UK: +44 (0) 1793 230 343 | ROW: 844.280.WYRE (9973)
2 of 3
RS-232 Wiring
The EXP-MX-0402-H2 uses a 3-pin RS-232 with no hardware flow control.
Most control systems and computers are DTE where pin 2 is RX, this can vary
from device to device. Refer to the documentation for the connected device for
pin functionally to ensure that the correct connections can be made.
Refer to RS-232 Mode Settings for details on setting RS-232 modes.
Pin 1 TX (Transmit) ---> To ---> RX (Receive)
Pin 2 RX (Receive) ---> To ---> TX (Transmit)
Pin 3 G (Ground) ---> To ---> G (Ground)
Setup and Conguration
Troubleshooting
No or Poor Quality Picture (snow or noisy image)
• Verify that power is being supplied to all devices in the system and that they are powered on.
• Verify that all HDMI connections are not loose and are functioning properly.
• If transmitting 3D or 4K, verify that the HDMI cables used are 3D or 4K rated.
Troubleshooting Tips:
• WyreStorm recommends using a cable tester or connecting the cable to other devices to verify functionality.
Wiring and Connections
WyreStorm recommends that all wiring for the installation is run and terminated prior to making connections to the switcher. Read through this section in it’s
entirety before running or terminating the wires to ensure proper operation and to avoid damaging equipment.
IMPORTANT! Wiring Guidelines
• The use of patch panels, wall plates, cable extenders, kinks in cables, and
electrical or environmental interference will have an adverse effect on
signal transmission which may limit performance. Steps should be taken
to minimize or remove these factors completely during installation for best
results.
• WyreStorm recommends using pre-terminated HDMI cables due to the
complexity of these connector types. Using pre-terminated cables will
ensure that these connections are accurate and will not interfere with the
performance of the product.
Audio Connections
Tip:
Ring:
Left Channel
Right Channel
Sleeve: Ground (GND)
Note: WyreStorm reserves the right to change product specication, appearance or dimensions of this product at any time without prior notice.
Specications
Copyright © 2020 WyreStorm Technologies | wyrestorm.com
EXP-MX-0404-H2 Quickstart Guide | 200422
UK: +44 (0) 1793 230 343 | ROW: 844.280.WYRE (9973)
3 of 3
Audio and Video
Inputs 4x HDMI In: 19-pin type A
Outputs 4x HDMI Out: 19-pin type A | 1x IR Extension | 4x S/PDIF Coaxial
Audio Formats HDMI: 2ch PCM | Multichannel: LPCM and up to DTS-X and Dolby Atmos
Coaxial: 5.1ch surround sound
Video Resolutions (Max)
Resolution HDMI
1920x1080p @60Hz 12bit
1920x1080p @60Hz 16bit
3840x2160p @24Hz 10bit 4:2:0 HDR
3840x2160p @30Hz 8bit 4:4:4
3840x2160p @60Hz 10bit 4:2:0 HDR
4096x2160p @60Hz 8bit 4:2:0
4096x2160p @60Hz 8bit 4:4:4
15m/49ft
7m/23ft
5m/16ft
7m/23ft
5m/16ft
7m/23ft
5m/16ft
Supported Standards DCI | RGB | HDR | HDR10 | Dolby Vision up to 30Hz | HLG | BT.2020 | BT.2100
Maximum Pixel Clock 600MHz
Communication and Control
HDMI HDCP 2.2 | DVI-D supported with adapter (not included)
IR 1x Front Panel Sensor
RS-232 1x 3-Pin Terminal Block
Ethernet 1x LAN: 8-pin RJ-45 Female | 10/100 Mbps auto-negotiating | IP Control
Power
Power Supply 5V DC 2A
Max Power Consumption 10W
Environmental
Operating Temperature 0 to + 45°C (32 to + 113 °F), 10% to 90%, non-condensing
Storage Temperature -20 to +70°C (-4 to + 158 °F), 10% to 90%, non-condensing
Maximum BTU 17.06 BTU/hr
Dimensions and Weight
Rack Units/Wall Box <1U
Height 42mm/1.65in
Width 215mm/8.46in
Depth 120.2mm/4.73in
Weight 0.88kg/1.94lbs
Regulatory
Safety and Emission CE | FCC | RoHS | EAC
