Xavant STIMPOD NMS 450X User manual

Intelli Cable Software:
NMS 450X
STIMPOD
NMShow
XM400-201A04 v1.0

NMS 450X
STIMPOD
Intelli Cable Software: NMShow

Introduction 1
Installation Guide 1
Connecting to a PC 2
Starting NMShow 3
Create a New User 3
User Login 4
Activity Selection 5
Creating a New Session 6
Live View 7
Stimpod Status 9
Tab Controls 10
Stimulation Details 10
Contents
Zoom Controls 10
Main Display Area 11
Profile Graph 11
Pulse Data Graph 13
Stimulation Data Table 13
Stimulation Selector 14
Toolbar 14
Adding Comments 15
Exporting to PDF 17
Clock 18
Review a session 18
Archive view 12

1
Installation Guide
Online: Go to www.xavant.com and navigate to Products > Stimpod NMS450X > Manuals & Support.
Click the Download NMShow button. When the download is complete open the file to start installation.
The installation should proceed automatically.
USB drive: Insert the supplied USB drive. Open the USB drive from the file manager and double click
Nmshow.exe. The installation will proceed automatically.
Updating: Xavant will occasionally release updates to improve or fix the application. When this happens, the
application will automatically update if run on a device which is connected to the internet. When
the application is opened, it will attempt to connect to the internet to determine whether an update
is available. If an update is available, it will be downloaded in the background and installed when
the application is closed. When the application is reopened, it should be updated to the latest version.
If the application is run on a device which is not connected to the internet, it is the users’ responsibility to
download the latest version of the software from the Xavant website and install it on the device
by following the installation process as above.
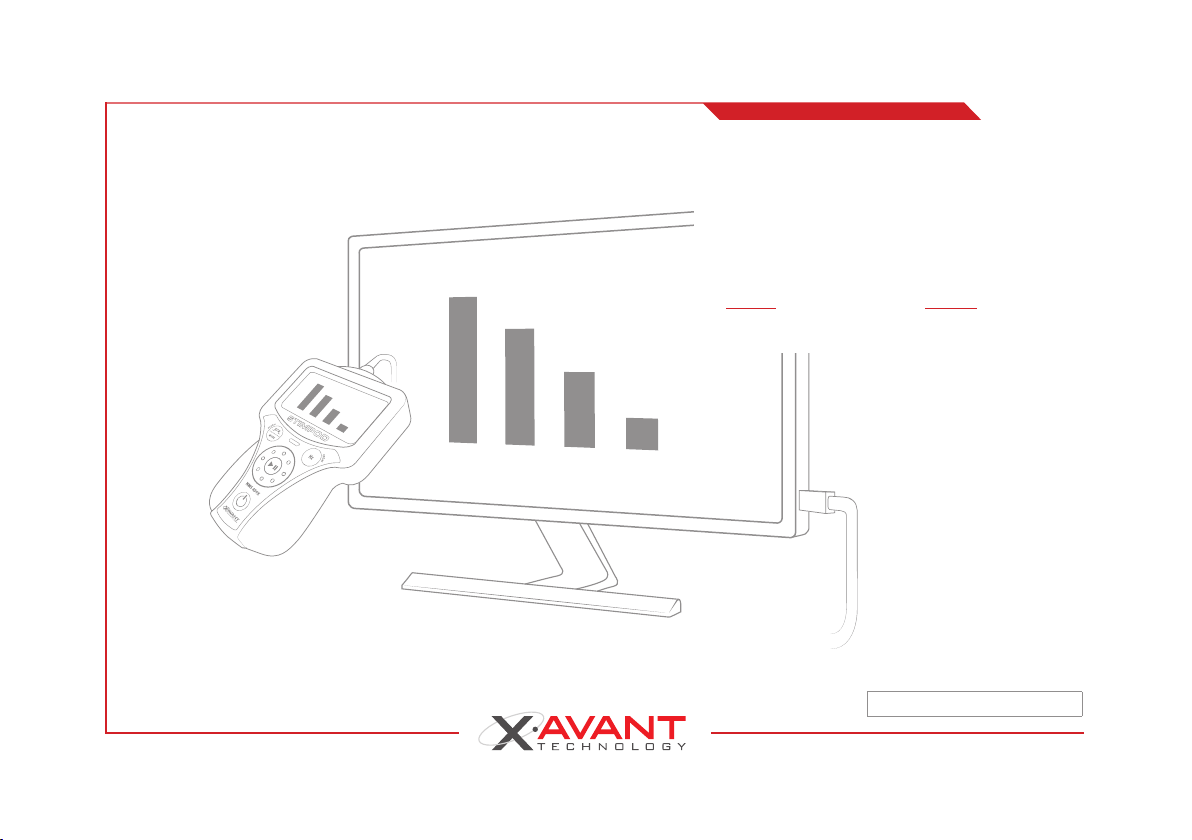
Introduction
The New Stimpod Intelli cable allows a user to connect a Stimpod NMS450X to a PC with the new NMShow software
(Windows only). This grants the user the options to either Live View a currently active session on a Stimpod or Archive
options to review all data from any recorded session.
STIMPOD NMS 450XIntelli Cable Software: NMShow

NMS450XSTIMPOD
Intelli Cable Software: NMShow
2
Connecting to a PC
Step 01: Plug the NMS450X Intelli cable into the FireWire port of the Stimpod.
Step 02: Plug the NMT Monitoring cable into the FireWire port of the Intelli cable.
Step 03: Plug the USB cable from the Intelli cable into the PC.
FireWire Cable NMT Monitoring Cable
USB Cable
(Cable to Stimpod) (Cable to Patient)
(Cable to PC)
Step 01:
Step 02:
Step 03:
Fig. 1:

3
NMS450XSTIMPOD
Intelli Cable Software: NMShow
Starting NMShow
After the installation is complete the user can run the NMShow application from the desktop icon or the start menu item.
The application will open and display the login screen.
Creating a New User
To create a new user, follow the steps below or see the instructions onscreen. Firstly ensure that the Stimpod is on and the
NMT Monitoring cable in inserted. Navigate to the screen as shown in the picture below by clicking the Create New button
on the login screen. If a user has already been created, proceed to the Login section.
1. Click on Create new to create a new user account (First time users).
2. Click Login if you have already created a user account .
Fig. 2:
1
2

NMS450XSTIMPOD
Intelli Cable Software: NMShow
4
1. Enter a username in the Username field. The username should be at least 4 characters long and
may not be the same as another user’s username on the same device. When all the fields are filled in and
the Create button is clicked, the application will check if the user already exists and inform the user if this is
the case.
2. Enter your full name in the Name field. This field is not validated and optional.
3. Enter a password in the Password field. The password should be at least 6 characters long.
Please be sure to keep the password in a safe place to ensure the user’s data is secure as a password
cannot be recovered.
4. Retype the password in the Repeat field.
5. Click the Create button. This will create and save the user before returning to the login screen.
Fig. 3:
User Login
If a user has been created, proceed to log in using the steps below. If a user has not been created yet, please see the
Create a New User section. The Login Screen will display when the application is open. It can also be accessed from the
Create User screen by clicking the Go to Login button
1
2
3
4
5

5
NMS450XSTIMPOD
Intelli Cable Software: NMShow
Activity Selection
The Activity Selection screen is a menu where the user can select whether to view old sessions in the Archive or Create a
New Session to receive data from the Stimpod by using Live mode.
1. Enter a username. This is the unique identifier linking the user to the sessions recorded.
2. Enter a password.
3. Click the Login button. If the correct username and password combination has been entered, the user will be
logged in and the Activity Selection screen will be displayed; if not, an error message will be displayed.
1. Archive - View any of your previous sessions.
2. Live - View data live from Stimpod
Fig. 05:
Fig. 4:
1
2
1
2
3

NMS450XSTIMPOD
Intelli Cable Software: NMShow
6
Creating a New Session
To view data live from the Stimpod, an NMS450X has to be connected to the host device via the NMS450X Intelli cable.
Ensure that the NMT Monitoring cable is inserted. Click on Live from the Activity selection screen to initiate a new session.
Several fields are available which will be attached to the session; however, only the Device and File name fields are
required.
Fig. 6:
1
2
3
4
5
6
7
8
9
10
12
11

7
NMS450XSTIMPOD
Intelli Cable Software: NMShow
Live View
The main components of the Live view are described below. Please note that this functionality works best with the Auto
mode of the Stimpod NMS450X.
1. Device selection – This allows the user to select the NMS450X device to be linked from the list of
devices connected to the PC.
2. Refresh button – Click this to refresh the list of devices connected to the PC.
3. File name – An identifier to help the user distinguish this session from other sessions when using
the archives.
4. Memo (optional) – Any general notes or additional information to attach to the session.
5. Record ID (optional) – A internal record to which this session should be linked.
6. Date of birth (optional) – Date of birth of the patient.
7. Height (optional) – The height of the patient can be entered here, either in centimeters or in feet and
inches. The centimeter field will automatically update from the feet and inches and vice versa.
8. Weight (optional) – The weight of the patient.
9. Gender (optional) – Insert patient’s gender.
10. Class (optional) – The patient’s ASA (American Society of Anesthetists) physical status classification.
11. Create button – When a device has been selected and a file name has been entered, and the user is satisfied
with the information captured in the optional fields, clicking this button will create the session and open the Live
data view screen.
12. Back Button - This button will clear all fields and return to the Activity selection screen.

NMS450XSTIMPOD
Intelli Cable Software: NMShow
8
Closed
Circuit
Fig. 7: 1
2
3
4
5
7
8
6

9
NMS450XSTIMPOD
Intelli Cable Software: NMShow
1. Stimpod Status – Indicates the battery level and whether a closed circuit has been detected.
2. Tab controls – Change the view to display either the session profile, single stimulation or stimulation data.
3. Stimulation details – Display details for the selected stimulation sequence.
4. Zoom controls – Investigate a smaller portion of the profile graph, or get a big picture overview.
5. Main display area – Displays either the profile graph, the stimulation graph or the stimulation data table.
6. Stimulation mode selector – Select the stimulation mode for which to display details.
7. Toolbar – Start a new session, add a comment or export data and more. See the Toolbar subsection for more info.
8. Clock – Displays the current time, a stopwatch or a timer indicating the time since the start of the session.
Stimpod Status
The closed circuit status and battery voltage is displayed at the top of the window. These will be grayed out if no
communication has been received from the Stimpod.
Closed
Circuit
1. Closed Circuit indicates whether a closed circuit configuration has been established
2. Indicates the Stimpod battery life.
Fig. 7.1:
1
2

NMS450XSTIMPOD
Intelli Cable Software: NMShow
10
Tab Controls
These controls change the contents of the main display area. Clicking the Profile tab control will display a graph to visualize
the results of all the stimulations for the current session, showing the depth of the block in different zones. This presents
the results of the session in a single view, allowing for an overview of the full procedure.
The user can click on the Pulse Data tab control to view the results of a single stimulation sequence. This will display the
bars for each pulse of the selected stimulation as is displayed on the Stimpod.
The third tab controlis the Data Table and displays the data for each stimulation in tabular format, including a time stamp,
measured and set current, the stimulation result and the stimulation mode.
Stimulation Details
The stimulation details bar indicates the result, set and measured currents and the mode for a selected stimulation
sequence. This will be shown for both the profile and the pulse data graphs.
Fig. 7.2:
Zoom Controls
The zoom controls allow the user to show the profile graph in more detail. Click the magnifying glass with the plus or minus
sign to zoom in or out. Please note that the zoom is relative and affected by the number of stimulation sequences which
have been recorded.

11
NMS450XSTIMPOD
Intelli Cable Software: NMShow
Profile Graph
The profile graph displays all stimulation results of the current session, indicating the result, the depth-of-block zone and
the relative time from the start of the session. Only Auto, Train of Four (TOF) and Post Tetanus Count (PTC) modes are
supported. Unsupported modes’ results will be shown as a grayed-out dot on the graph. The graph is subdivided into the
following six depth of block zones:
• Recovered – Train of four (TOF) ratios over 90% are classified as recovered.
• Minimal – TOF ratios between 40% and 90% are classified as a minimal block.
• Shallow – A shallow block corresponds to TOF ratios between 10% and 40%.
• Moderate – TOF counts between one and three are classified as a moderate block. TOF counts of four with a ratio
less than 10% technically constitutes the boundary between Shallow and Moderate.
• Deep – A TOF count of zero, or a PTC of one or more are classified as deep.
• Profound – If a PTC of zero has been observed, the depth-of-block is classified as profound.
Please note that occasionally the communication may be interrupted due to either electromagnetic noise, user input or
communication malfunction. Any failed stimulation sequence will be grayed out for this stimulation on the graph and the
zone will be set to Failed.
Main Display Area
Depending on the selection made using the tab controls, the content of the main display area is changed to either the
profile graph, the pulse data graph or the stimulation data table.

NMS450XSTIMPOD
Intelli Cable Software: NMShow
12
1. Depth-of-block zone explanations in terms of the mode and result.
2. Depth-of-block zone descriptions.
3. The depth-of-block zone for the latest stimulation.
4. The result of a single stimulation, in this case TOF.
5. A depth-of-block zone.
6. Commented stimulation sequences.
7. Bar indicating the currently selected stimulation. This will be the stimulation for which the details in the
Stimulation details bar is applicable.
8. The relative time for the selected stimulation since the start of the session.
9. The start time of the session.
Fig. 7.3:
1
3
5
6
7
6
8
9
2
4

13
NMS450XSTIMPOD
Intelli Cable Software: NMShow
Pulse Data Graph
The pulse data graph displays the results of the selected stimulation sequence. It will display bars indicating the magnitude
of the accelerometer response in a similar way as on the Stimpod.
Stimulation Data Table
The stimulation data table displays the stimulation results, set and measured currents, the depth-of-block zone, stimulation
mode and timestamp for each stimulation sequence. A stimulation can be selected by clicking it once, after which the
pulse data graph will be displayed by clicking the selected stimulation result again.
Fig. 8:
Fig. 9:

NMS450XSTIMPOD
Intelli Cable Software: NMShow
14
Stimulation Selector
The selected stimulation can be changed by either using the slider below the main display area, scrolling the mouse wheel
on one of the graphs or by using the data table as mentioned above.
Fig. 7.4:
Toolbar
The toolbar consists of some essential functions the user can perform. These functions are described as the following:
1. New Session - This button will open the Activity selection screen, from which the user can once again choose to
use the Archive or start a new Live session.
2. Comment - Add a comment to the current stimulation. See the Adding comments sub-section below.
3. Export CSV - Export all the session data on a pulse level to a csv (comma separated value) file, which can be
opened with a text editor or Microsoft Excel. No additional user input is required.
4. Export PDF - Open this pop-up window and find the Exporting to PDF sub-section below.
5. Session info - Open a pop-up window displaying information captured on the Create a Session window.
6. Help - Initiate a tour of the Live window explaining different sections on the screen.
Fig. 7.5:
1 2 3 4 5 6

15
NMS450XSTIMPOD
Intelli Cable Software: NMShow
Adding Comments
One or more comments may be added to each stimulation. Comments will be indicated on the profile graph as an empty
circle. Hovering the mouse pointer over these empty circles will display the comment text.
Fig. 7.6:
Alternatively, previous comments will also be displayed on the Add Comment screen. Custom comments can be added on
the Add Comment screen by entering text into the text area and clicking the Save comment button. Standard comments
can be selected from a dropdown menu, after which it can be customized in the text area before saving it using the Save
comment button.
Fig. 10:
John01
Jane01

NMS450XSTIMPOD
Intelli Cable Software: NMShow
16
Standard comments can be added, edited or deleted using the Edit Standard Comments screen, which is opened from
the Add Comment screen. Simply enter text into the text area and click Save standard comment to add a new standard
comment. To edit a standard comment, click the Edit link on the appropriate comment from the list. This will populate the
text area, where it can be changed. Remember to save after any changes have been made. Clicking the delete link will
remove that comment after confirmation.
Please note that standard comments are shared between all users using the NMShow application on a single host device.
Fig. 11:
Intubation
Sugammadex 300mg
Extubation

17
NMS450XSTIMPOD
Intelli Cable Software: NMShow
Exporting to PDF
A report can be generated from the session data, including the captured session information, statistics, the profile graph,
comments and optionally all the stimulation data as on the data table. Click the Download button to save this report as a
PDF file.
Fig. 12:
Table of contents
Other Xavant Medical Equipment manuals
Popular Medical Equipment manuals by other brands

Cytori Therapeutics
Cytori Therapeutics celution GP Quick reference guide

Stryker
Stryker SYSTEM G 7305-001-000 Instructions for use

Geister
Geister Iron Assistant Instructions for use

Nasco
Nasco Life/form LF03593U instruction manual

Siemens Healthcare
Siemens Healthcare epoc Resource Guide

SOMNOmedics
SOMNOmedics DOMINO manual

Teufel
Teufel Osteo-Comfort user manual

Halo
Halo 77301 user manual

MEDICAL ILLUMINATION
MEDICAL ILLUMINATION System One Installation & service manual

Oticon Medical
Oticon Medical Neuro Instructions for use

Medrad
Medrad Stellant D Operating guidelines

Chattanooga
Chattanooga Intelect Mobile 2 Ultrasound quick start guide