manuals.online logo
Brands
  1. Home
  2. •
  3. Brands
  4. •
  5. xLab
  6. •
  7. Bicycle Accessories
  8. •
  9. xLab TORPEDO SYSTEM 50 User manual

xLab TORPEDO SYSTEM 50 User manual

TORPEDO SYSTEM 50
TORPEDO SYSTEM 50
TOOLS REQUIRED:
4mm non-ball ended Allen wrench.
8mm open ended wrench.
IMPORTANT:
PLEASE COMPLETELY UNDERSTAND ALL USER INSTRUCTIONS AND SAFETY INFORMATION BEFORE USING THIS PRODUCT. AS WITH ANY HIGH TECH PRODUCT YOU
WILL NEED TO ROUTINELY CHECK FOR LOOSE HARDWARE, CRACKS OR OTHER DAMAGE AND REPLACE ITEMS AS NECESSARY.
DO NOT USE PRODUCT IF ANY OF THESE CONDITIONS EXIST.
STEP 1 MINI MOUNT AND CAGE ATTACHMENT
1. REMOVING BOTTLE. Hold Mount and twist bottle clockwise,
lift nose and pull bottle forward and out of the cage. Figure (A)
2. POSITIONING CAGE AND MINI MOUNT. Ensure the rear screw is as at the rear
of the cage and in the rear of the slot in the Mount Figure (B). Tighten the screws
to 30 in lbs of torque.
3. ATTACHING MOUNT. Lay the Mount onto the aerobars. Position the rear straps as far back on the bars as possible.
If any parts of the mount or screws touch the stem, then add the Velcro Pads to the mount.
Thread straps through buckles and tighten. Figure (C)
4. FINAL STRAP TIGHTENING. The non-slip silicone on the straps should be touching the aerobars.
Center the Mount and tighten opposite straps. Then go back and re-tighten all straps to ensure
all straps are as tight as you can get them. Make sure that the reinforced (double thickness)
section of the polyester straps are in the slot on the TORPEDO MINI MOUNT. Figure (D)
Figure (A)
Figure (C)
Figure (B)
Figure (D)
AERODYNAMIC ACCESSORIES
Figure (F)
Figure (E)
WARRANTY
VEE CAGE – Limited 2 Year
MINI MOUNT ALUM – Limited 2 year
TORPEDO BOTTLE – Limited 2 Year
All Other Parts – Limited 6 Months
‘With’ Figure (G) ‘Without’ Figure (H)
STEP 2 BOTTLE INSTALL
1. EASY INSTALL. Rotate the bottle clockwise approximately 1/2 inch. Push rearwards, ensuring the rear tab of the
cage slides into the rear bottle recess. Next ensure the rear cage screw head clicks into the long recess on the
bottom of the bottle. The rear cage tab should now sit against the vertical surface inside the back of the bottle.
Figure (E)
2. STRAW INSTALL. Determine which hole is best suited for you. Install the plug in the other hole from the inside of the bottle.
Start the plug at an angle and push up around the perimeter of plug. Ensure the top of the plug is completely through the hole.
of the
straw while pushing it into the hole. For the straw to be vertical, tuck the end of the straw behind the groove in the bottom
of the bottle. Figure (F) After each ride, gradually trim the straw to your optimum length.
3. LID INSTALL
STEP 3 COMPUTER INSTALL (OPTIONAL)
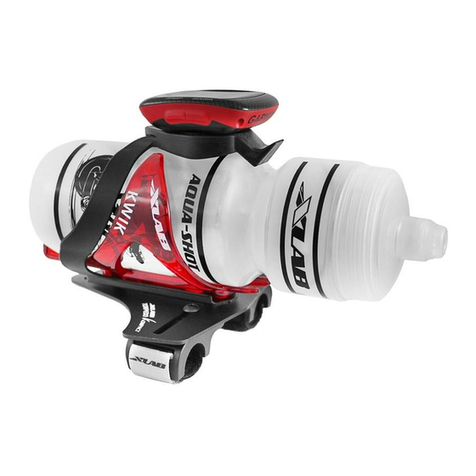
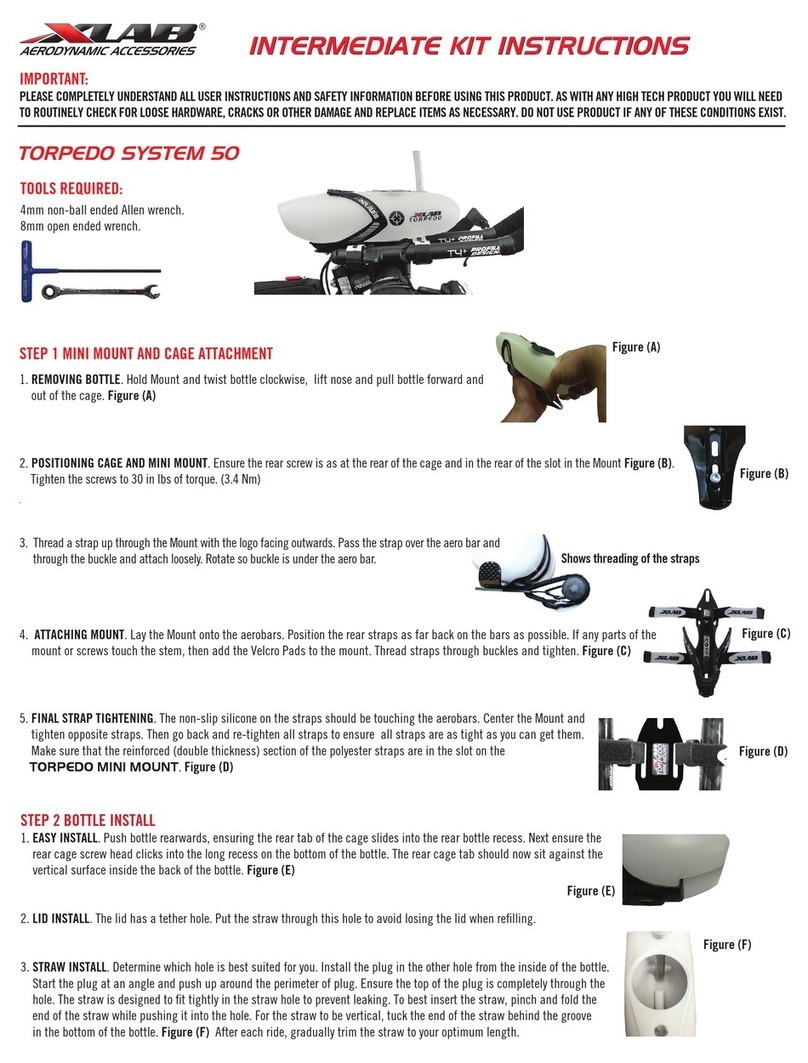
The TORPEDO SYSTEM 50 is designed to be used with or without a computer in front of the
bottle for optimal visibility and functionality. Figure (G) & Figure (H)
1. Mountthe (optional) XLAB AERO COMPUTER MOUNTon the nose of the TORPEDO MINI MOUNTwith the supplied hardware and instructions.
2. The front edge of the computer should sit slightly behind the rider’s wrist. Slide the mount along the slot on the TORPEDO MINI MOUNT
to accomplish this placement and tighten completely to 30 in. lbs of torque.
STEP 4 BOTTLE CARE
WASH YOUR TORPEDO BOTTLE, STRAW, PLUG AND LID EVERY TIME YOU USE IT AND BEFORE INITIAL FIRST USE.
Dishwasher
1. Remove all accessories from the bottle before washing (straw, plug and lids)
2. Wash in top rack only.
Hand Wash
1. Not necessary to remove accessories when cleaning by hand.
2. Fill bottle with soapy water.
3. Use one hand to cover the holes on top of the bottle.
4. Shake bottle vigorously.
5. Rinse and repeat.
Cleaning Straw: Use long thin brush to clean tube.
‘Without’ Figure (H)

Other xLab Bicycle Accessories manuals

xLab TORPEDO SYSTEM 50 User manual

xLab

xLab TORPEDO SYSTEM 50 User manual

xLab TORPEDO SYSTEM 100 User manual

xLab

xLab TORPEDO SYSTEM 100 User manual

xLab Torpedo Kompact User manual

xLab

xLab Torpedo Kompact User manual

xLab TORPEDO KOMPACT 100 User manual

xLab

xLab TORPEDO KOMPACT 100 User manual

xLab TORPEDO VERSA 500 User manual

xLab

xLab TORPEDO VERSA 500 User manual

xLab TORPEDO SYSTEM 400 User manual

xLab

xLab TORPEDO SYSTEM 400 User manual

xLab TORPEDO VERSA 200 User manual

xLab

xLab TORPEDO VERSA 200 User manual

xLab TORPEDO VERSA 200 User manual

xLab

xLab TORPEDO VERSA 200 User manual

Popular Bicycle Accessories manuals by other brands

moon LUNAR User guideline

moon

moon LUNAR User guideline

Marzocchi Z1 Wedge ext. Preload instructions

Marzocchi

Marzocchi Z1 Wedge ext. Preload instructions

Continental Refrigerator Ergon Series Original instructions

Continental Refrigerator

Continental Refrigerator Ergon Series Original instructions

Tune TURNSTANGE manual

Tune

Tune TURNSTANGE manual

Frog Bikes CITY manual

Frog Bikes

Frog Bikes CITY manual

VDO Cyclecomputing HC12.6 instruction manual

VDO Cyclecomputing

VDO Cyclecomputing HC12.6 instruction manual

Tern Physis 3D quick start guide

Tern

Tern Physis 3D quick start guide

Cateye MITY 3 instruction manual

Cateye

Cateye MITY 3 instruction manual

ADDITIVE BAG V3 owner's manual

ADDITIVE

ADDITIVE BAG V3 owner's manual

Polini motori E-P3 manual

Polini

Polini motori E-P3 manual

SRAM PIKE RCT3 Service manual

SRAM

SRAM PIKE RCT3 Service manual

CYCLIC Switcharoo Series Owner's instruction and safety manual

CYCLIC

CYCLIC Switcharoo Series Owner's instruction and safety manual

Ohlins DH38 Workshop manual

Ohlins

Ohlins DH38 Workshop manual

HOZAN C-402 instruction manual

HOZAN

HOZAN C-402 instruction manual

Lumenus ioLight-1.0 user manual

Lumenus

Lumenus ioLight-1.0 user manual

Look E-POST R5 Mounting instructions

Look

Look E-POST R5 Mounting instructions

Brightz Cosmic instructions

Brightz

Brightz Cosmic instructions

Crivit 68643 instruction manual

Crivit

Crivit 68643 instruction manual

manuals.online logo
manuals.online logoBrands
  • About & Mission
  • Contact us
  • Privacy Policy
  • Terms and Conditions

Copyright 2025 Manuals.Online. All Rights Reserved.