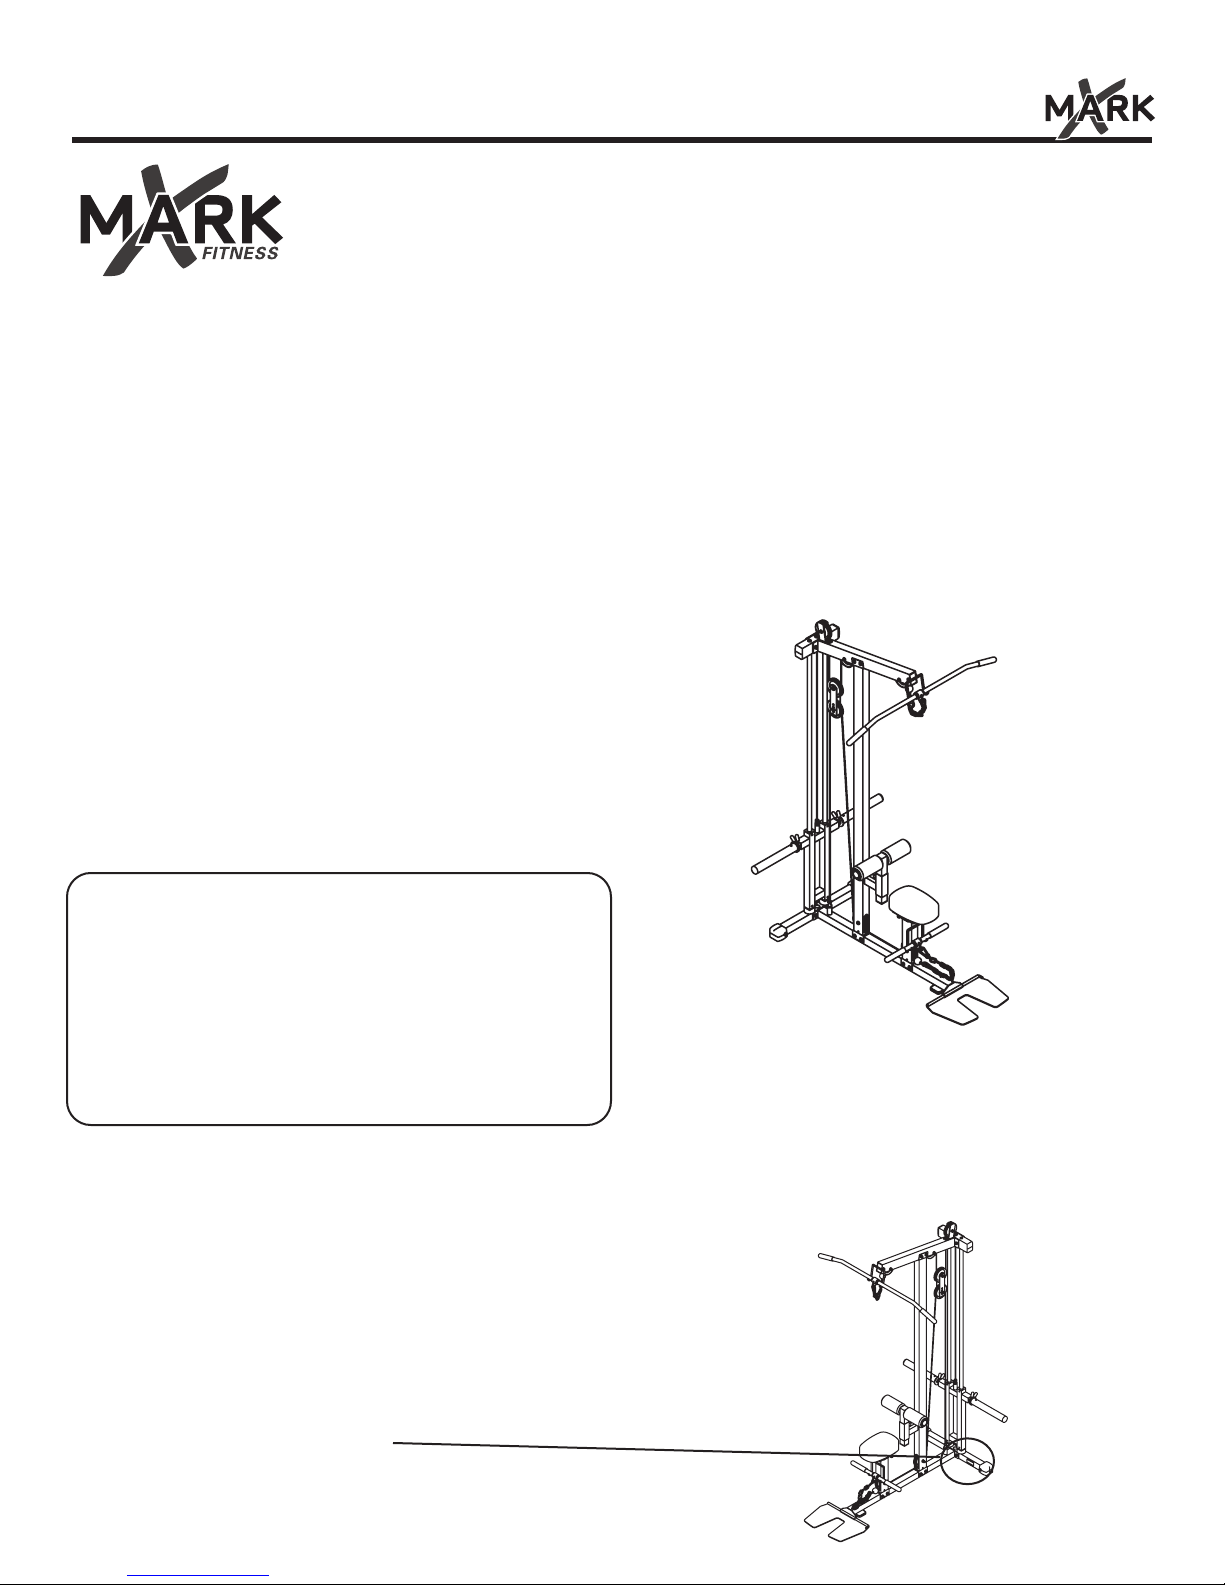
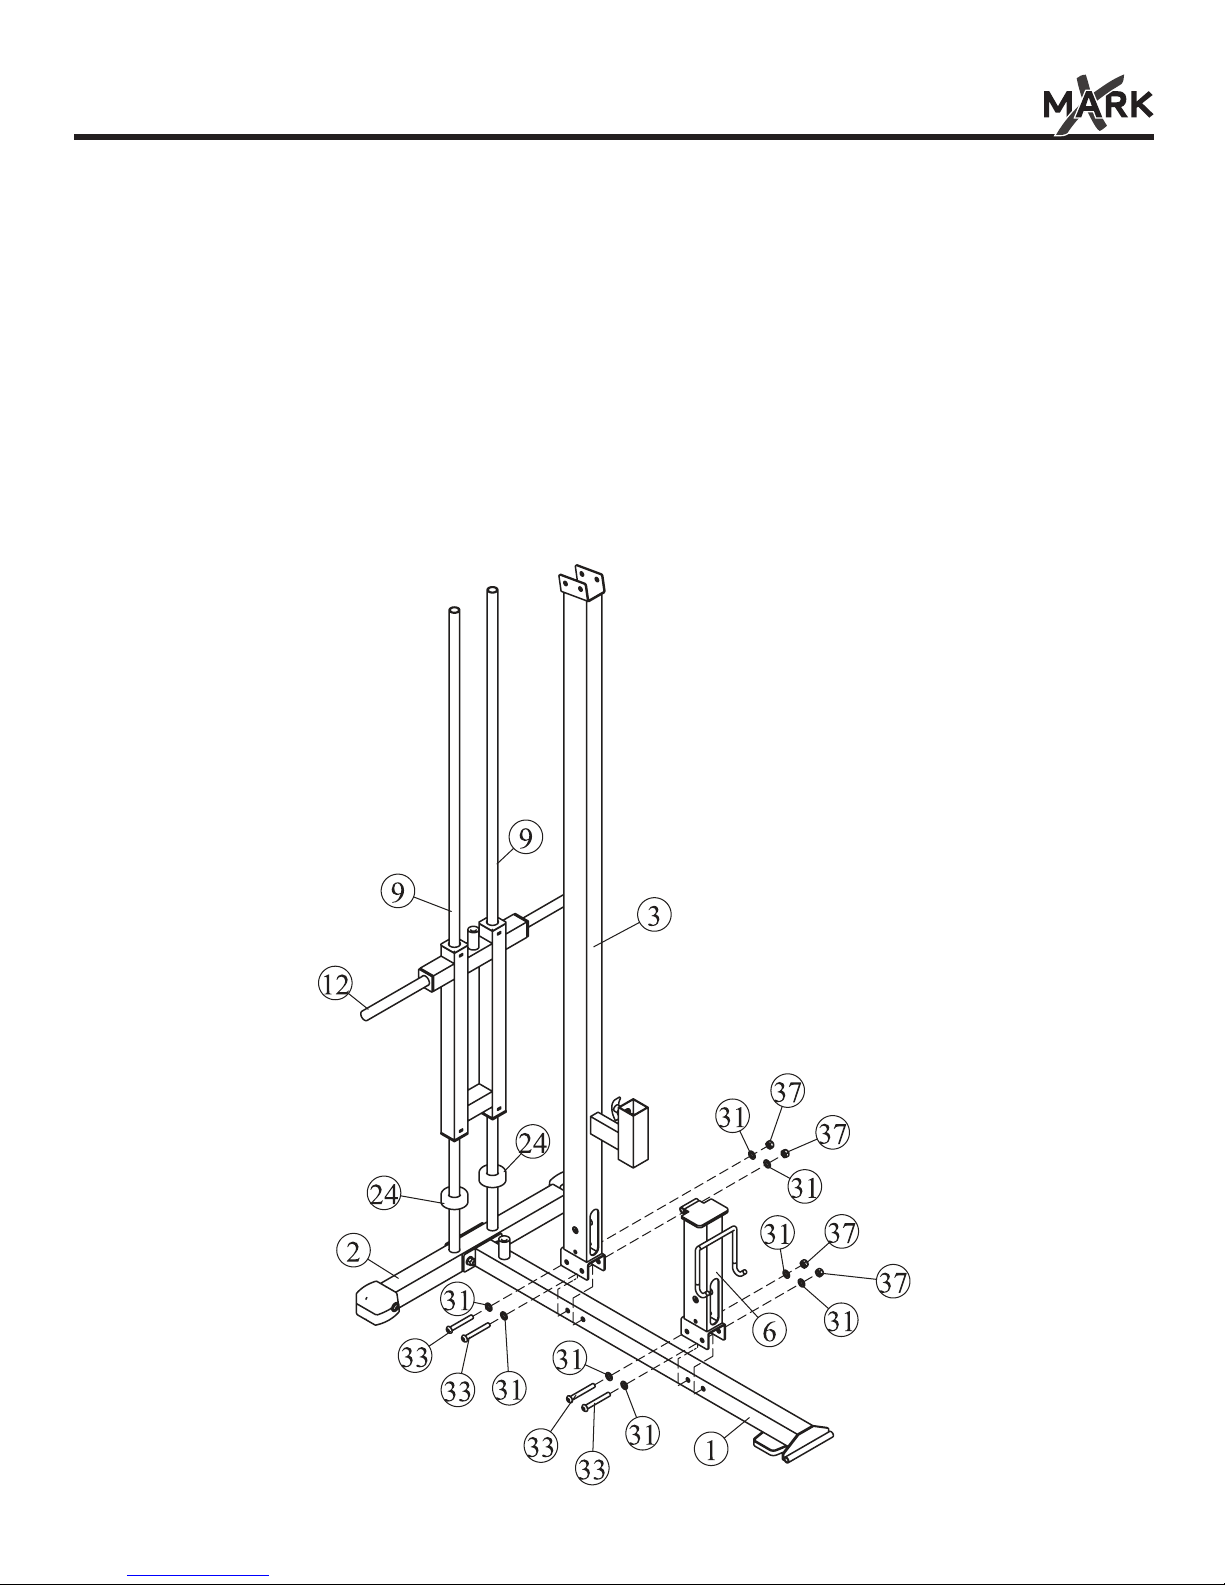
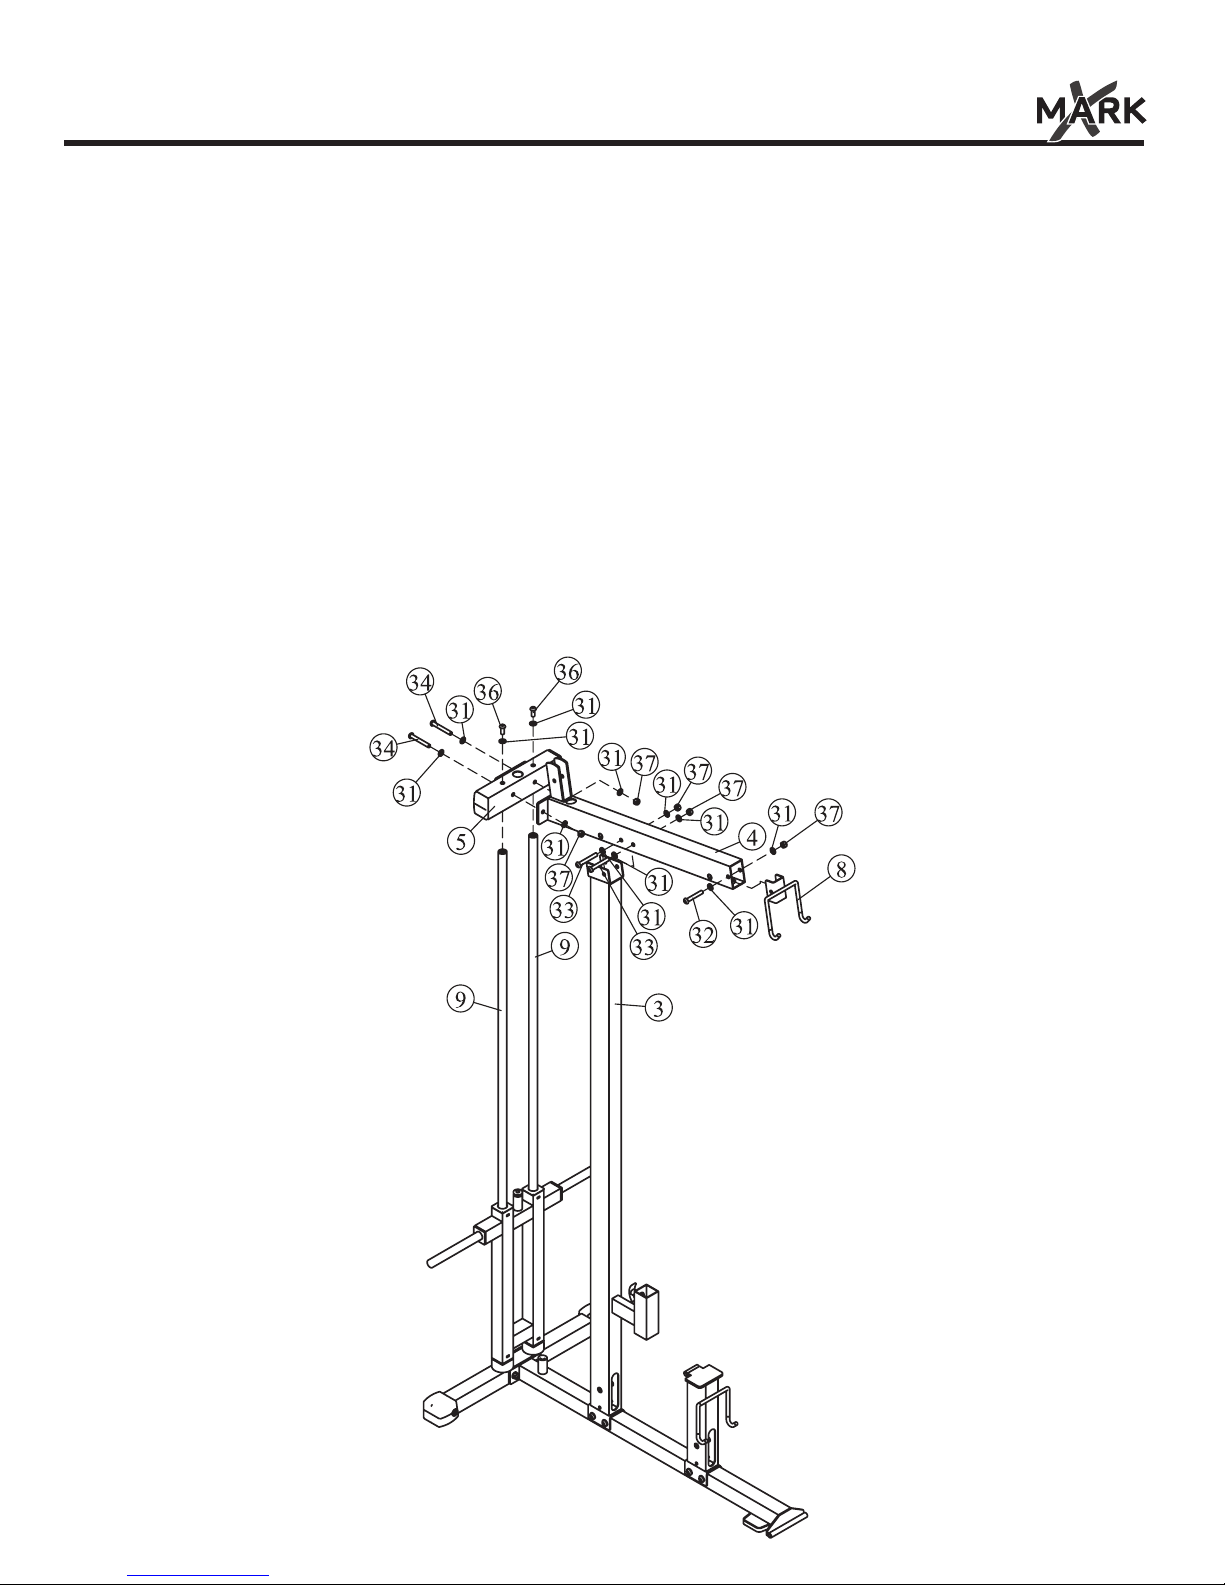
Assembly
NOTE: Hand tighten bolts and Nylon Lock nuts until machine is fully assembled.
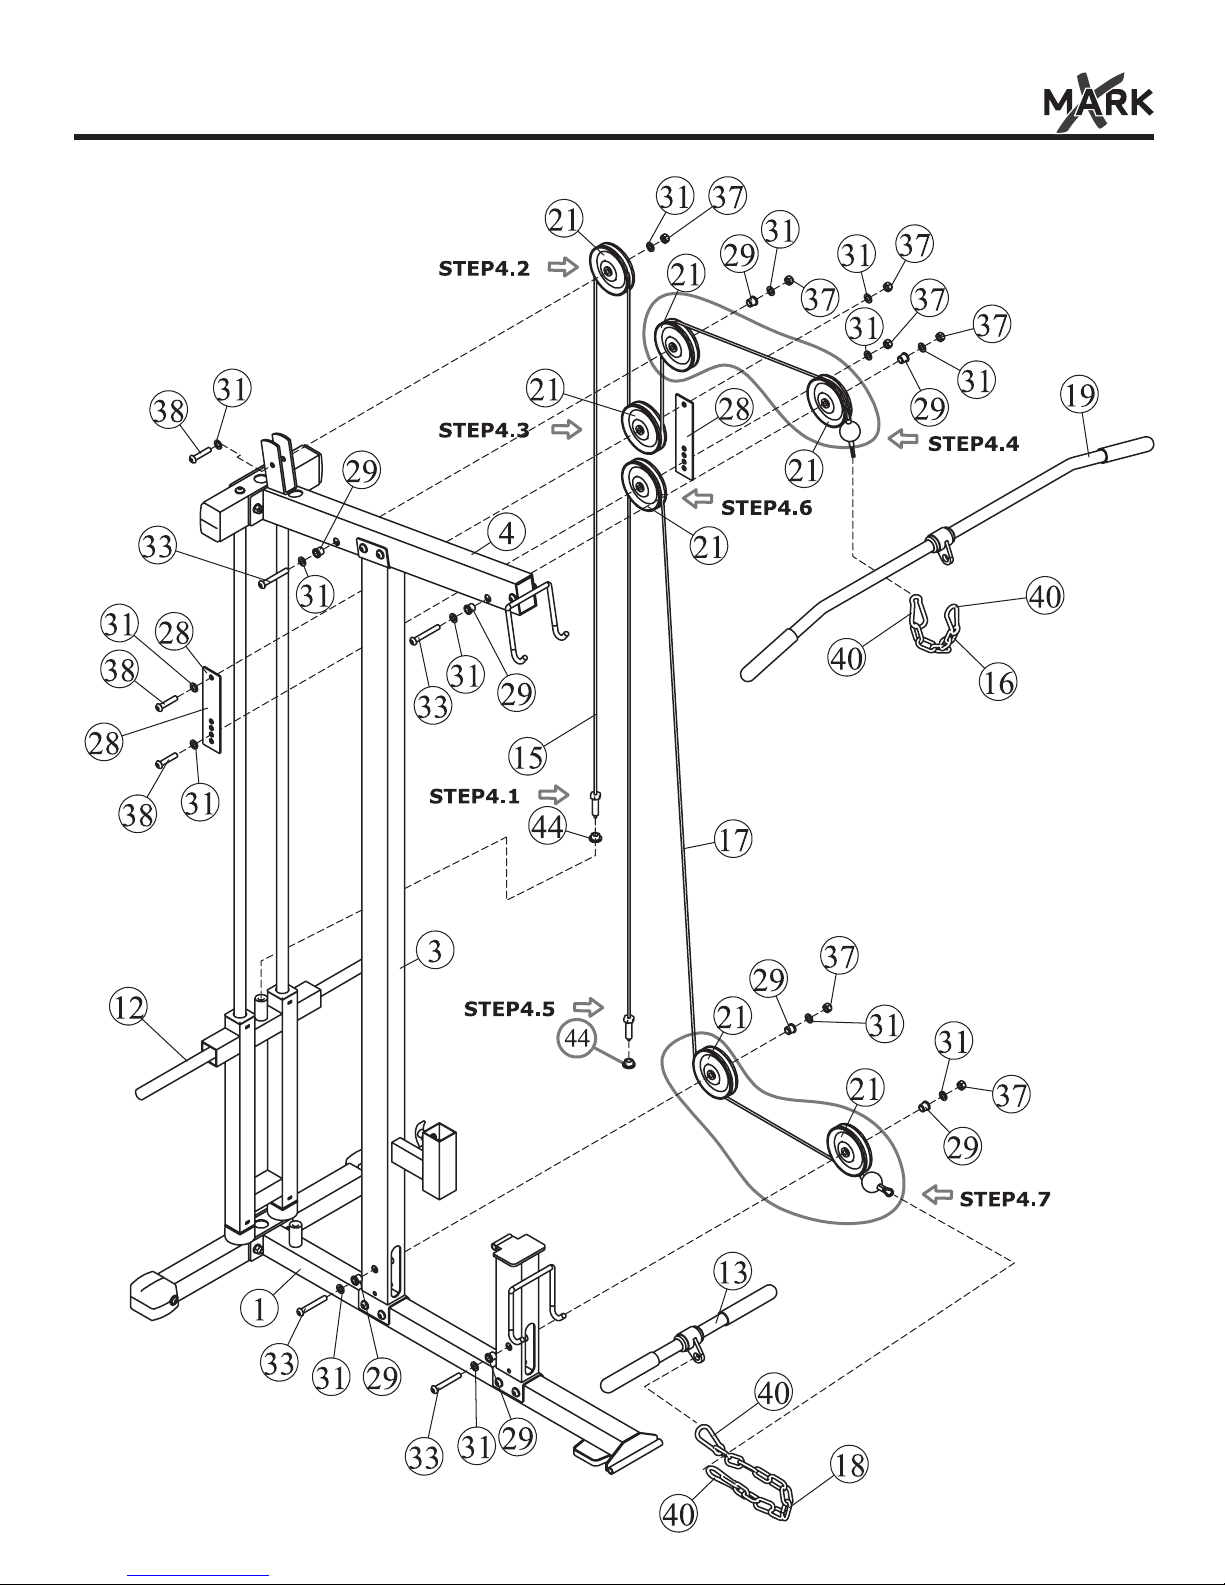
Step 4
Start by attaching the High Pully Cable (#15) to Slide Weight Support (#12) using:
• one 1/2"-12 Jam Nut (#44)
Attach one Big Pulley (#21) to the Top Frame (#4) using:
• one M10*50 Button Head Cap Screw (#38) • two Φ11*Φ20*2 Flat Washer (#31)
• one M10 Nylon Locknut (#37)
Attach one Big Pulley (#21) to Pulley Plates (#28) using:
• one M10*50 Button Head Cap Screw (#38) • two Φ11*Φ20*2 Flat Washer (#31)
• one M10 Nylon Locknut (#37)
Attach two Big Pulley (#21) to the Top Frame (#4) using:
• two M10*75 Button Head Cap Screw (#33) • four Φ11*Φ20*2 Flat Washer (#31)
• two M10 Nylon Locknut (#37) • four Φ11*Φ16*15 Pulley Spacer (#29)
Start by attaching Low Pully Cable (#17) to Main Base (#1) using:
• one 1/2"-12 Jam Nut (#44)
Attach one Big Pulley (#21) to Pulley Plates (#28) using:
• one M10*50 Button Head Cap Screw (#38) • two Φ11*Φ20*2 Flat Washer (#31)
• one M10 Nylon Locknut (#37)
Attach two Big Pulley (#21) to Upright (#3) & Seat Support (#6) using:
• two M10*75 Button Head Cap Screw (#33) • four Φ11*Φ20*2 Flat Washer (#31)
• two M10 Nylon Locknut (#37) • four Φ11*Φ16*15 Pulley Spacer (#29)
Attach the Short Bar (#13) to the Low Pully Cable (#17) using:
• two Gear Hook (#40) • one Long Chain 12 (#18)
Attach the Long Bar (#19) to the High Pully Cable (#15) using:
• two Gear Hook (#40) • one Short Chain 4 (#16)
9