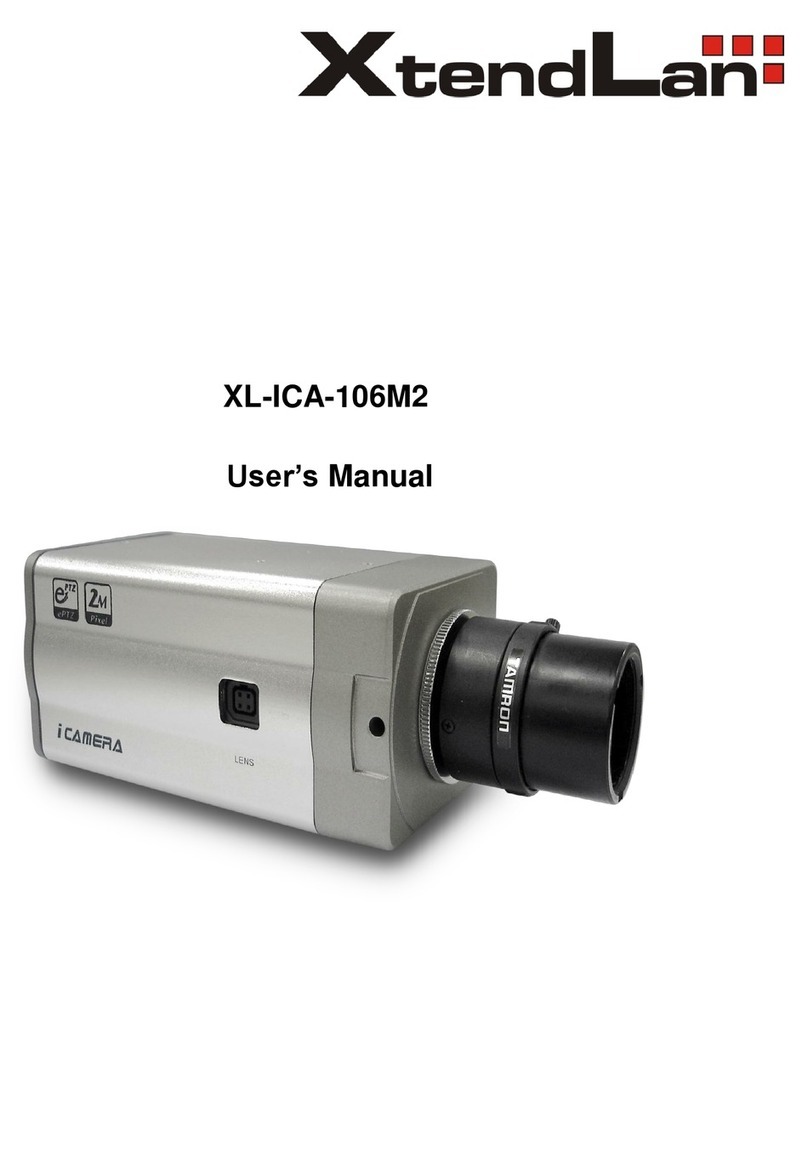
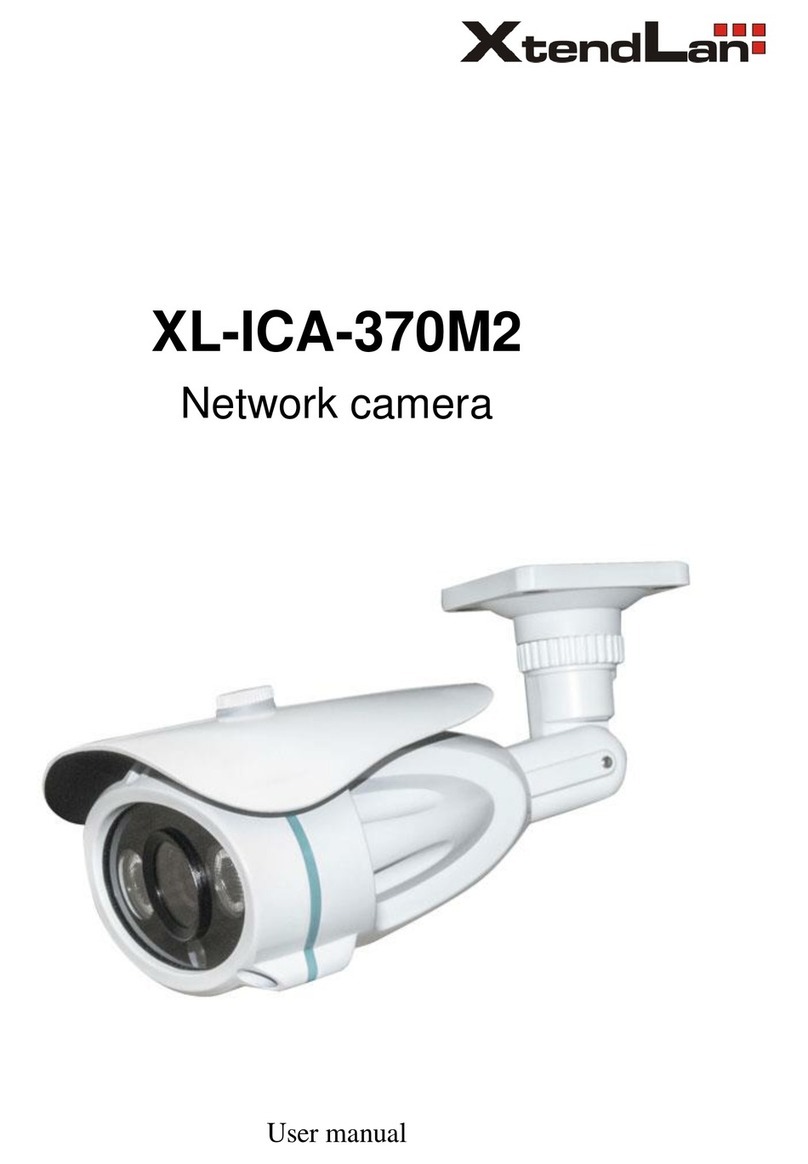
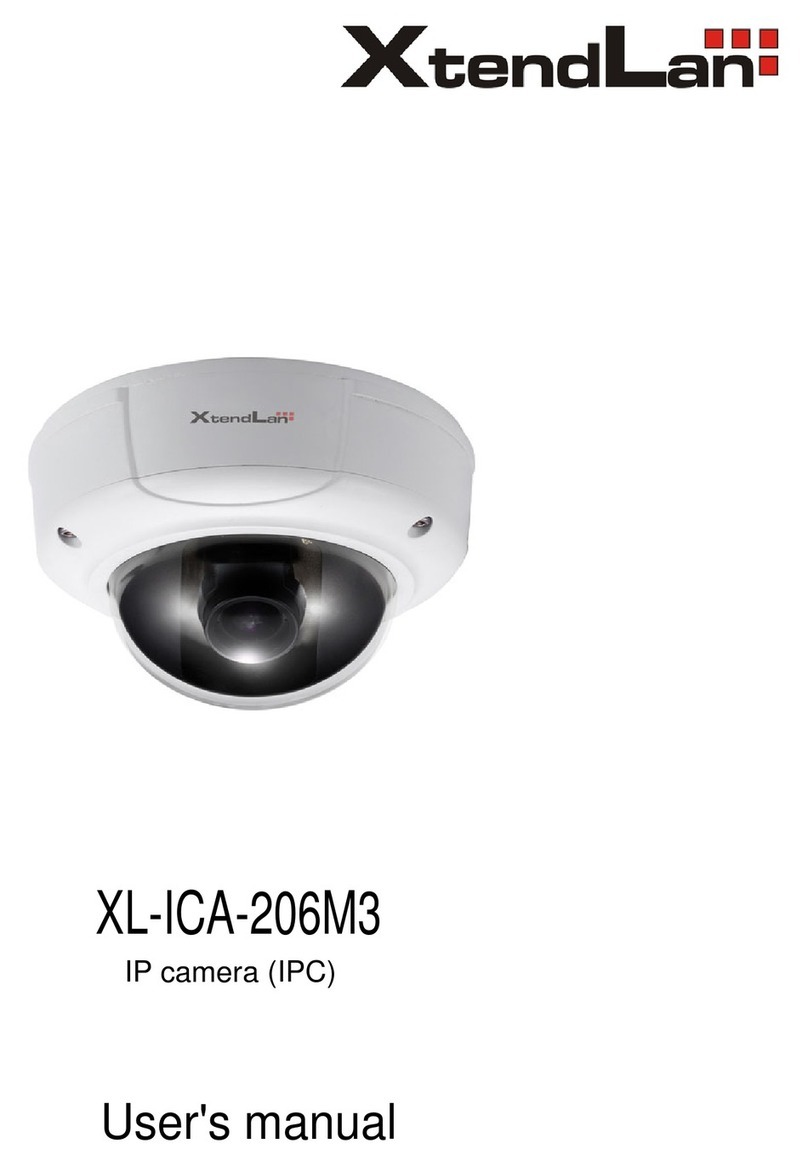
XtendLan XL-ICA-105M2 User manual

XL-ICA-105M2
2.0 MegaPixel IP Camera
User’s Guide

1
Safety Instruction
These instructions are intended to ensure that user can use the product correctly to avoid danger or property loss.
The precaution measure is divided into “Warnings” and “Cautions”
Warnings: Serious injury or death may cause if any of the warnings is neglected.
Cautions: Injury or equipment damage may cause if any of the cautions is neglected.
Warnings Follow these safeguards to prevent
serious injury or death.
Cautions Follow these precaut ions to prevent
potential injury or material damage.
Warnings
1. In the use of the product, you must be strict compliance with the electrical safety regul ations of the
nation and region.
2. Input voltage should meet both the SELV(Safety Extra Low Voltage) and the Limited Power Source
with AC 24V or DC 12V according to the IEC60950-1 standard. Please refer to technical specifications
for more details.
3. Do not connect several devices to one power adapter as adapter overload may cause over-heat or fire
hazard.
4. Please make sure that the plug is firmly inserted into the power socket.
5. When the product is installed on wall or ceiling, the device shall be firmly fixed.
6. If smoke, odor or no ise rise from the device, turn off the power at once and unplug the power cable, and
then please contact the service center.
7. If the product does not work properly, please contact your dealer or the nearest service center. Never
attempt to disassemble the camera yourself. (We shall not assume any respo nsibility for problems
caused by unauthorized repair or maintenance.)
Notice:
1. Make sure the power supply voltage is correct before using the camera.

2
2. Do not drop the camera or subject it to physical shock.
3. Do not touch CCD (Charge Coupled Device) modules with fingers. If cleaning is necessary, use clean
cloth with a bit of ethanol and wipe it gently. If the camera will not be used for an extended period,
please turn on the lens cap to protect the CCD from dirt.
4. Do not aim the camera at the sun or extra bright places. A bloo ming or smear may occur ot herwise
(which is not a malfunction however), and affecting the endurance of CCD at the same time.
5. The CCD may beburned out bya laser beam, so when any laser equipment is on using, make sure that
the surface ofCCD will not be exposed to the laser beam.
6. Do not place the camera in extremely hot, cold(the operating temperature shall be-10℃~+60℃),
dusty or damp locations, and do not expose it to high electromagnetismradiation.
7. To a void heat accumulation, good ventilation is required for operating environment.
8. Keep the camera away from liquid while on using.
9. While on a delivery, the camera shall be packed in its originalpacking, or packing of the same texture.
10. Regular part replacement: a few parts (e.g. electrolytic capacitor) of the equipment shall be replaced
regularly according to their average enduring time. The average time varies because of differences
between operating environment and using history, so regular checking is recommended for all the
users. Please contact with your dealer for more details.

3
INDEX
CHAPTER 1 INTRO DUC TION..................................................................................................................................................4
1.1 Network camera Functions and Features ..........................................................................................................................4
1.2 Applications ..........................................................................................................................................................................5
CHAPTER2 INSTALLATION .....................................................................................................................................................6
2.1 Notice options .......................................................................................................................................................................6
2.2 Panels Description................................................................................................................................................................6
2.2.1 Side Elevation of the Ca mera ...... ........... ......................... ..... ........... ......................... ...... ................ ...... ............................6
2.2.2 Rear Panel Des cription ....................................................................................................................................................7
2.3 Hardware Installation........................................................................................................................................................11
2.3.1 Topological Graph of Network.......................................................................................................................................11
2.3.2 Alarm Output Connection..............................................................................................................................................12
2.3.3 Pin Definition .................................................................................................................................................................13
2.4 Installation of Client software 4.01...................................................................................................................................13
2.5 XL-ICA-105M2 camera Menu illustrate and E-PTZ operation.....................................................................................17
2.5.1 products e‐ptz function .................................................................................................................................................17
2.5.2 menu instruction .........................................................................................................................................................18
2.5.3 menu instruction .........................................................................................................................................................26
CHAPTER3 PA RA METERS CONFIGURATION ......................................................................................................................... 32
3.1 Set Parameters through IE................................................................................................................................................32
3.2 Parameter Configuration through Client Software.........................................................................................................34
CHAPTER4 WAN ACCESS ..................................................................................................................................................... 40
4.1 Dial Up WithPPPoE..........................................................................................................................................................40
4.2 WAN Access ........................................................................................................................................................................40
Q&A .................................................................................................................................................................................. 42
APPENDIX TECHNOLOGY SPECIFICATION ............................................................................................................................ 43

4
Chapter 1
Introduction
Network camera is a kind ofembedded digital surveillance product that combines the features of both
traditional analog camera and net DVS (Digital Video Server). Due to the embedded Linux operation
system and the latest Davinci hardware platform of TI, the system operates with high scheduling
efficiency. Furthermore, the firmware is bur ned in the flash, which makes the product small, reliable and
highly stable.
1.1 Network camera Functions and Features
Functions
Video encoding standard which provides high compact ratio and flexible processing.
Network Function:Support the complete TCP/IP protocols, video/alarm/audio data and IE browsing.
Heartbeat Function: The server can acquire real time operating performance of the network
camera through the heartbeat function.
Alarm:The prod uct inc lude s 1 c hannel of alarmsignal input and 1 channelofalarmon/off output, a nd
supports motion detection, video missing, mask alarm and externalalarminput.
Voice Talking:Support bidirectional voice talking and monomial voice broadcasting.
User Management: Support multilevel right management. The administrator can create up to
15 separate users with different right levels, which highly improves the system security.
(-E)illustration of support PoE (power over ethernet).
Compression Functions
XL-ICA-105M2 camera Support resolutions of UXGA (1600*1200),HD720p(1280*720),
SVGA(800*600), VGA(640*480), 4CIF(PAL:704*576,NTSC:704*480), DCIF (PAL:528*384,NTSC:528*320),
2CIF(PAL:704*288,NTSC:704*240), CIF(PAL:352*288,NTSC:352*240)to QCIF(PAL:176*144,NTSC:
176*120).
Support watermark techniques.

5
Remote Control
-
The product offers a 10M/100M self-adaptive Ethernet interface.
-
Support PPPoE and DHCP protocols.
-
You can set the parameters, browse real time videos or check the camera performance through
software or IE, and get external alarming and store the compressed bit rate through network.
-
Support remote upgrades and maintenance.
1.2Applications
This camera is ideal for remote control network applications. E.g.:
- Network surveillance for ATM, bank counters, supermarkets and factories.
- Remote surveillance for nursing homes, kindergartens and schoo ls.
- AI janitors.
- AI building/district management systems.
- Self-service systemsofpowerplants.
- Outdoor monitoring systems for bridges, tunnels and crossroad traffic.
- Pipelining and warehouse monitoring.
- 24-hour monitoring for road traffic.
- Remote monitoring of forest and water resources.
- Surveillance for airdrome, railway station, bus stop etc.

6
Chapter2 Installation
2.1 Notice options
1. Please check if all the items on the package list have been included with your camera.
2. Read the following contents carefully before the installation.
3. Make sure that all the related equipment is power-offduring the installation.
4. Check the power supply to prevent any damage caused b y mismatching problems.
5. This product is not for any environment of high humidity or high temperature. Conditions ofrain,
airlessness or frequent shaking are also prohibited.
6. If the product does not operate properly, please contact your dealer or the nearest service center.
Never attempt to disassemble the camera yourself. Users are responsible for any problem caused
by modification or repairing without authorization.
【Notice】Powersupply, lens and SD card are optional.
2.2 Panels Description
2.2.1 Side Elevationof the Camera

7
Fig 2.2.3 Side Elevation of XL-ICA-105M2 series camera
【Notice】:The mark of and illustration of support automatic
switching color to white&black、e-PTZ 、progressive scan and 200 million Pixels.
【Notice 】:The mark of and illustration of support automatic
switching color to white&black、progressive scan and 130 million Pixels.
2.2.2 Rear Panel Description

8
Rear panel interfaces descriptions (from left to right and top to bottom):
1. Standard Ethernet (UTP) RJ45 (10M/100M self-adaptive).
2. 1 channel voice talk inp ut,3.5mm audio interface, 2.0~2.4Vp-p, 1kΩ.
3. 1 channel voice talk output, 3.5 mm audio interface, electric line level, 600Ω.
4. Power lamp.
5. Power supp ly (DC12V). Please refer to the appendix for detailed specification, and always remember
to use a matched regulator.
6. 1 channel alarm output (1A 1B). Please refer to Section 2.3.2 for pin definition.(The external
series-wound power shall be under 12V DC/ 30mA.)
7. 1 channelalarminput signal(IN,G).
8. RS-485 bus interface(T+T-).
9. SD card slot (Support SDHC ).
10. Standard BNC for 1 channel video output.
Fig. 2.2.6 Rear Panelof XL-ICA-105M2 camera
1. Standard Ethernet (UTP) RJ45 (10M/100M self-adaptive).
2 1 channel voice talk input,3.5mm audio interface, 2.0~2.4Vp-p, 1kΩ.
3. 1 channel voice talk output, 3.5mm audio interface, electric line level, 600Ω.
4. ANT interface, it is use for install antenna slot.
5. 1 channel alarm output (1A 1B). Please refer to Section 2.3.2 for pin definition.(The external
series-wound power shall be under 12V DC/ 30mA.)
6. 1 channelalarminput signal.
7. RS-485 bus interface(T+T-).
8. Standard BNC for 1 channel video output.
9. SD card slot(Support SDHC )
10. Power supply indicate lamp.
11. Power supply interface ofAC24V and DC12V.

9
Address& protocols dial switch, de fine for dial switch: , from 1 to 5 dial switch
function as follows:
switch function
ON
OFF
1
SHARP
SOFT
2AES AI
3
BLC
OFF
4
FL
ON
5
NAGC
SAGC

10

11
2.3.1 Topological Graph of Network
Fig.2.3.1 TopologicalGraphofNetwork camera for XL-ICA-105M2

12
Physical Interface Connection
UTP Network
Interface
Connect to network devices, such as switch , HUB, etc.
Please refer to Appendix B for pin Definition.
Audio Input
(AIN)Connect to audio inp ut devices such as active tone (2.0~
2.4Vp-p, 1kΩ)
Audio Output
(AOUT)
Connect to sounders like loudhailer.
Power Supply
(DC12V)
Please refer to the appendix for specified types. Please use
a matched regulator.
Alarm Output
(1A1B)
1 channel alarm out. Please refer to Section 2.3.2
for
connecting instructions. (external series-wound power
shall be under 12V DC / 30mA)
Alarm Input(IN
G)
1 channelalarmin.
RS-485 Interface
(T+ T-)
Connect to RS-485 devices like PTZ.
SD card slot Insert an SD card for local storage.
Video Output
(VOUT)
Standard BNC, connect to monitor.
2.3.2Alarm Output Connection
Description of Alarm Output Connection
The alarm output is an on/off output that requires externalpower supp ly on connection. The external
power supp ly shall be 12V DC/30mA, or use AC with external relays. Equipment damage or electric
shock may cause if without relays.

13
2.3.3 Pin Definition
(1)UTP between the network port of camera and HUB (Direct Cable)
(2)UTP between the network port of camera and PC (Cross Cable):
2.4 Installation of Client software 4.01
【Notice】Your PC adaptor shall support colorspace conversion and zooming .Adaptors like Nvidia
Tnt/Tnt2、Geforce Mx 200/400/420/440 Fx5200/5600, ATI Radeon 7000/7200/7500/8500 /9000/9200
/9500/9600, MatroxG450/550,INTEL845G/865G are already tested. Be aware of that the drive of
adaptor should support BLT.
Step1: Double click “C lient software (v4.01)” under Windows Operating System. The “Preparing
Setup” dialog box will pop up as Fig.2.4.1 and go to Fig2.4.2 automatically.

14
Fig.2.4.1 C lient Software Installation
Fig.2.4.2 License Agreement
Step2: Enable the option “I accept the terms ofthe license agreement” and click the “Next” button to go
to the next step as Fig.2.4.3.

15
Fig.2.4.3 Customer Information
Step3:Input “User Name”, “Company Name” and click “Next” to go to the next step.
Fig.2.4.4 Destination Folder
Step4: Select the destination folder and click “Next” to go to the next step.

16
Fig2.4.5 Ready to Install the Program
Step5: Click “Install” to start installation shown as Fig2.4.6.
Fig2.4.6 Install Process
Step6: After finishing the installation, the installation completed dialog box will popup as Fig.2.4.7.

17
Fig2.4.7 Installation Complete
Click the “Finish” button to c lose the dialog bo x.
After the client software being installed, you can find the remote client software through “Start” ->
“Program”on your PC
2.5 XL-ICA-105M2 camera Menu illustrate and E-PTZoperation
2.5.1 XL-ICA-105M2 products e-ptz function
Under the resolution ofQCIF/CIF/DCIF/2CIF/VGA/D1/SVGA, support pan\tilt\zoom operation,
pan and tilt operation can be carried out only after zoo ming in,Support 127 preset positions(95
excluded,used to call menu)。Cruise path supports the preset of movement fromTop left-hand corner
of the screen to the bottom right-hand, support manual disposition too.HD720p resolution only
supports pan and tilt operation,does not support zoom operation。UXGA resolutiondoes notsupport
e-ptz function。
Max support frame rate:
XL-ICA-105M2:
50Hz QCIF/CIF/2CIF/DCIF/VGA/D1/SVGA/HD720p 25FPS UXGA12.5fps
60Hz QCIF/CIF/2CIF/DCIF/VGA/D1/SVGA 30fps HD720p 15fps UXGA 10fps

18
Support vlc standard media player, connected as below(default):
Attention: 852F/752F will force to reboot when change the resolution to UXGA or HD720p.
2.5.2 XL-ICA-105M2 menu instruction
1、Display menu
Invoke Pre-set position95;Double click presetting po ints of “95th ”,main menu display on screen .
<MAIN MENU >
LANGUAGE CHINESE/ENGLISH
FLICKER CONTROL
50Hz
RESOLUTION
CIF
FRAME
25fps
SHUTTER OFF
AUTO GAIN LOW
DAY/NIGHT
Auto
WHITE BALANCE Auto
EFFECTS MODE
OFF
MIRROR
OFF
EPTZ
OFF
<EXIT> <SAVE>

19
Select OSD menubyPTZcontrolkey, as follows:
※U P ↑: Means select OSD menuitem
※DOWN↓: Means select OSD menuitem
※LEFT ←: Means select parameter on OSD
※RIGHT→: Means select parameter on OSD
Attention:
Parameter on OSD exception “FLICKER CONTROL”, others become effective in time
Parameter on OSD of “RESOLUTION” and “FRAME” are only for usage of display, and can not be
selected by left and right key.
2、Exit menu
“Iris+”means『enter』,you can select “save”、“cancel” or “preset” according to the exit options.
3、Menu detailed operations
The menu selection is implemented through “up” “down” “left” “right” buttons, you can select the
menu function by “up” “down” buttons, a nd the sube ntry of the specified function by left” “right” buttons.
◆LanguageCHINESE
ENGLISH
Switch CHINESE/ENGLISH by left” “right” buttons
◆Flicker control 50Hz
60Hz
The switch between 50Hz and 60Hz will take effect after clicking “Iris+”.
Table of contents
Other XtendLan IP Camera manuals

XtendLan
XtendLan XL-ICA-220 User manual

XtendLan
XtendLan XL-ICA-311 User manual

XtendLan
XtendLan XL series User manual

XtendLan
XtendLan XL-ICA-106M3 User manual

XtendLan
XtendLan XL-ICA100U User manual

XtendLan
XtendLan XL-ICA-370M2 User manual

XtendLan
XtendLan XL-ICA-H662 User manual

XtendLan
XtendLan XL-ICA-206M3 User manual

XtendLan
XtendLan XL-ICA-106M2 User manual

XtendLan
XtendLan XL-ICA-301 User manual