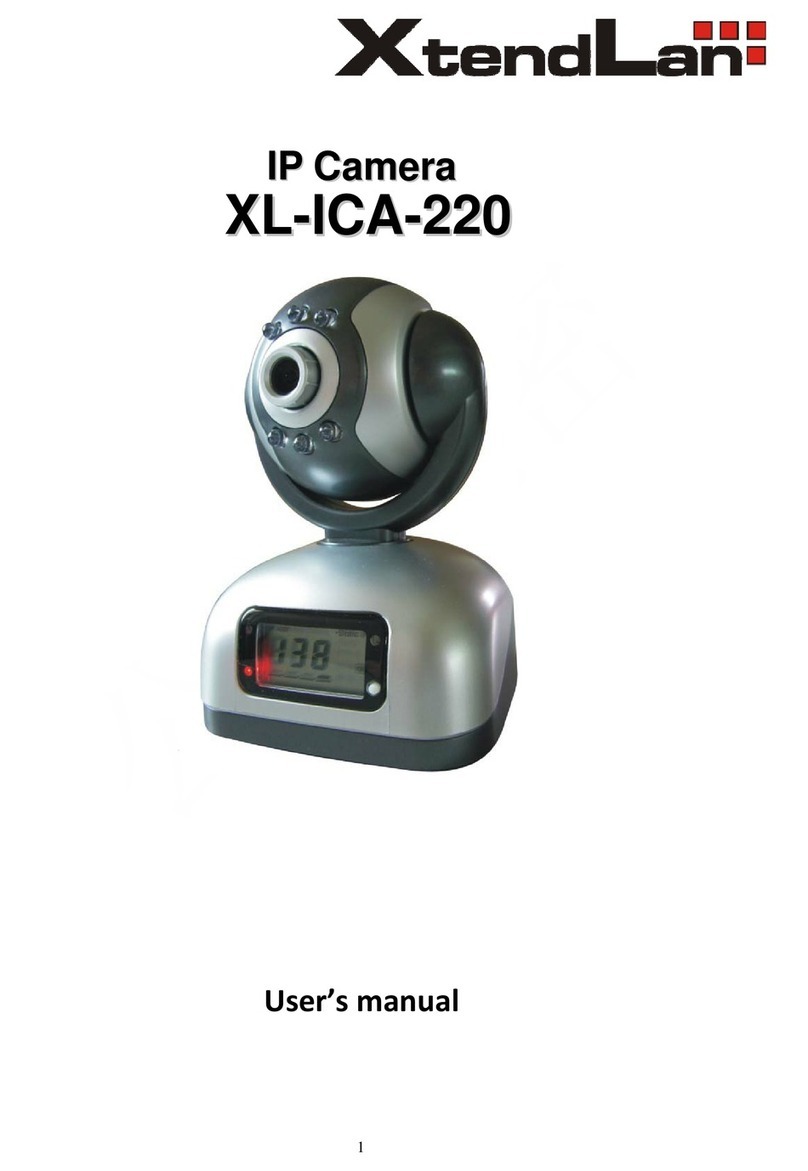
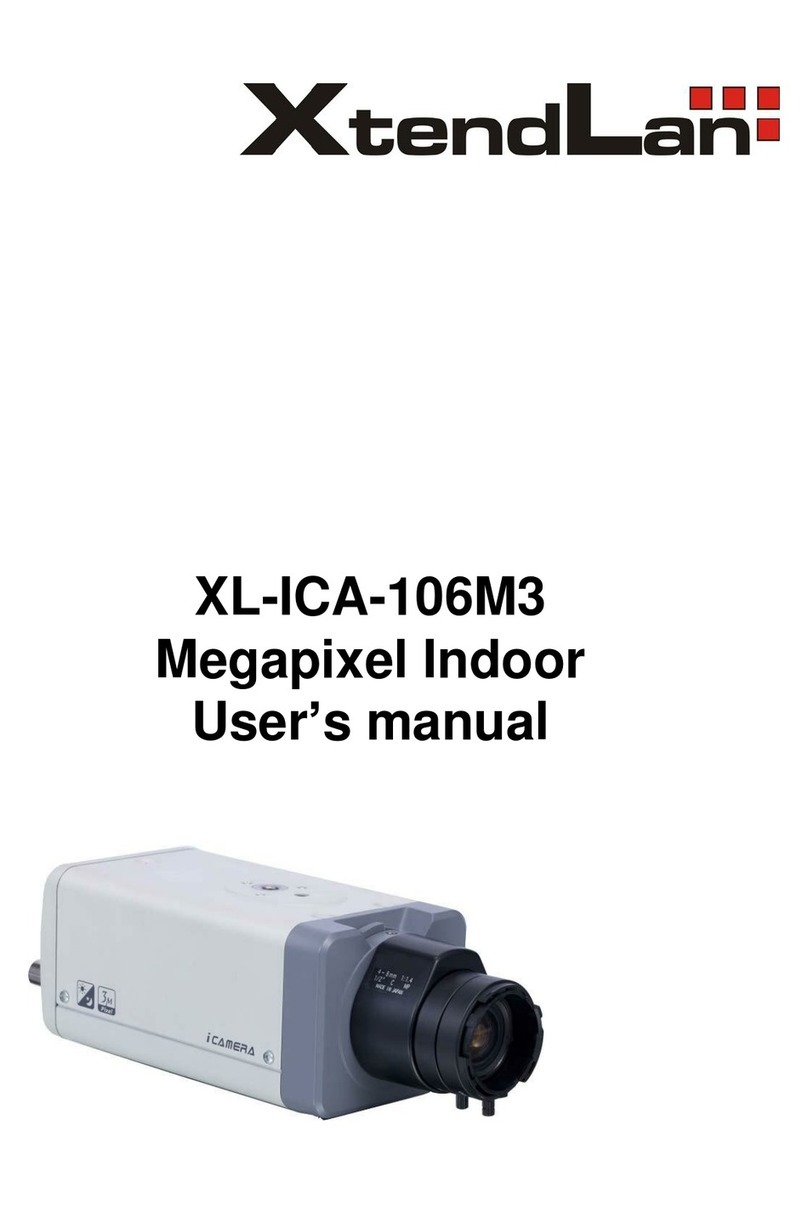
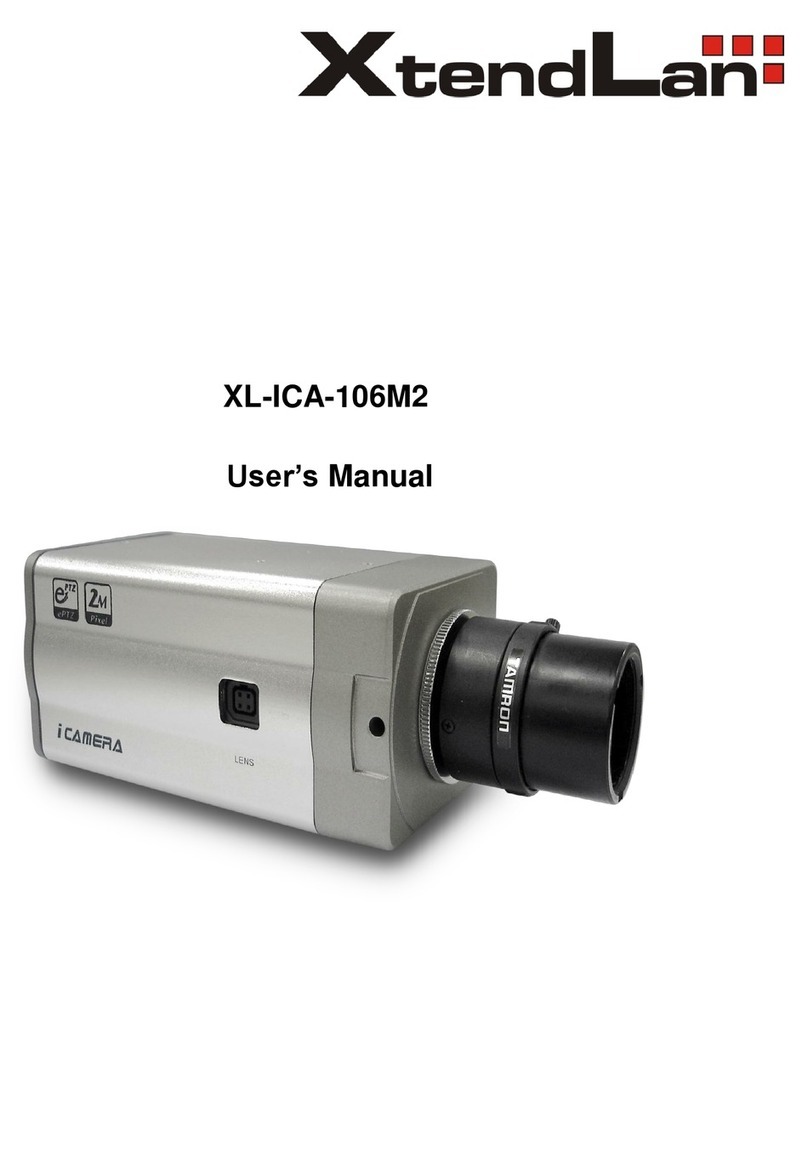
XtendLan XL series User manual

I
Mega Pixel IP Camera
User Manual

Thank you for purchasing our XL series
pixel CCD IP camera.
Mega Pixel IP Camera User Manual
II
Introduction
IP cameras. This manual is to
introduce how to set parameters of cameras and explain each function for you
to use the camera effectively and stably.
Users should read this manual thoroughly before you install/utilize the
cameras.
This manual is suitable for 2.0 Mega pixel CMOS IP camera and 1.3 Mega

Mega Pixel IP Camera User Manual
III
Contents
Chapter1 Product Overview ..............................................3
1.1 Main Features.............................................................................. 3
1.2 Basic Specification...................................................................... 3
1.3 Hardware Requirement............................................................... 4
Chapter2 Appearance and Installation.............................6
2.1 Interface Introduction.................................................................. 6
2.1.1 Box camera........................................................................................6
2.1.2 Dome IP camera................................................................................7
2.1.3 IR Waterproof IP camera...................................................................7
2.1.4 Speed Dome IP camera .....................................................................8
2.2 Hardware Installation.................................................................. 9
2.2.1 Connection via IP switch...................................................................9
2.2.2 Connect via crossover cable..............................................................9
Chapter3 Search Device ..................................................11
3.1 Search Device and Modify Network Parameters.......................11
3.1.1 Run SearchNVS software.................................................................11
3.1.2 Set IP address ..................................................................................11
3.2 Check Connection..................................................................... 12
Chapter4 Introduction of IE.............................................14
4.1 Install ActiveX and Login Device............................................. 14
4.2 Live Preview............................................................................. 15
4.3 Record playback........................................................................ 17
4.4 Set System Parameters.............................................................. 19

Mega Pixel IP Camera User Manual
IV
4.4.1 System Settings ................................................................................19
4.4.2 Video Settings...................................................................................20
4.4.3 Alarm Settings..................................................................................22
4.4.4 Network Settings..............................................................................25
4.5 User Management..................................................................... 30
4.6 Front-end Settings..................................................................... 31
4.7 Storage Device.......................................................................... 31
4.7.1 Device Management ........................................................................31
4.7.2 Record Schedule ..............................................................................32
4.7.3 Snap Schedule..................................................................................33
4.8 Local Settings............................................................................ 33
Appendix A: Network Interface for IP Camera...............35
Appendix B: Default Network Parameters .....................36
Appendix C: Visit IP Camera under Different Network
Environment......................................................................37
Appendix D: FAQ..............................................................42

3
Chapter1 Product Overview
1.1 Main Features
User can visit the mega pixel IP camera to perform real-time monitro and
playback via IE
Adopt standard H.264 video compression algorithm to satisfy the transmission of
high definition video in narrow bandwidth network
High sensitivity CCD or progressive CMOS sensor
Support network monitor and audio talkback
It supports max 16 users visit it at the same time
Support infrared night vision (depending on specific models)
Local PC storage and network storage permitted. It supports built-in SD slot and
several network storage protocols. The maximum capacity of SD card is 32GB
Support real-time encoding at a maximum definition of 1600x1200
Support local or remote arming or disarming.
Support warning detecting and gang video recording scheme. Send the snapped
picture or alarm message by email or FTP server.
Support video masking. Up to 4 video mask areas can be set.
Support CDMA1X and GRPS Mobile network.
Set motion detection to alarm for recording. It supports 4 detection areas.
Support many network protocols, for example: HTTP, TCP/IP, UDP, SMTP,
DDNS, DNS, SNTP, BOOTP, DHCP, FTP, RTSP, UPNP and SNMP.
Bi-directional audio talkback and broadcast
Support dynamic domain name service, LAN and Internet (ADSL, Cable Modem)
Network self-adapting to match the network bandwidth for the bit rate and frame
rate.
Support sending alarm message for Video Lost, Motion Detection (sensitivity and
area can be set) and Sensor Alarm.
Support remote configuration, upgrade, failure detection and auto- inspection.
1.2 Basic Specification
CMOS: 2M progressive scan CMOS sensor. Min 1.5Lux
Image Sensor CCD: 1.3M progressive scan CCD sensor. Min 0.01Lux
Video Compression H.264 Main Profile, MJPEG
Dual Stream Primary and Secondary streaming H.264 & MJPEG
CMOS: 1600*1200, 1280*960, 1280*720, 800*600.
Video Definition CCD: 1280*960, 1280*720, 640*480
Video Parameters Brightness, Chroma, Saturation, gamma, Contrast, Acutance, Red, Blue and
Image quality.

4
Streaming Type Pure Video Streaming or Audio and Video streaming.
CMOS: Primary stream-1~15fps(1600*1200),1~25fps(other resolutions)
Secondary stream-1~25fps
Video Frame Rate
CCD: Primary stream-1~25fps Secondary stream-1~25fps
Video Compression bit
rate
30Kbit/S~16MKbit/S
Audio Input 1 channel linear input, input impedance 1 K Ohms
Audio Compression G.726
Audio Output 1 channel Linear output
Audio Talkback Input Built-in MIC(depending on specific models), support bi-directional audio talk
Title OSD Support channel name, date/time and stream information overlay. OSD location is
adjustable.
SD Card Interface SD2.0 standard, maximum storage 32G. Support video storage and image
snapping.
System Interface
10Base-T/100Base-TX Ethernet Port
1 RS485
SD Slot
Wireless Network
“-W” means Wifi is supported
“-3GC, -3GW, -3GT” means 3G function is supported.
802.11b/g protocol, 2.4GHz, maximum wireless distance can be 100 meters
Support WEP, WPA, WPA2 Encryption Protocol
Alarm Input 1 channel on/off input, Support NO(open) or NC(closed)
Alarm Output 1 channel on/off output, 120VAC 1A/24VDC 1A
PoE Support 802.3AF-class 0 protocol. “-E” means POE is supported.
Power Supply DC 12V/1A or DC 12V/3A(refer to specific product model)
Power Consumption 6-10W (refer to specific product model)
Work Temperature -10℃~ 55℃
Work Humidity 10% ~ 85%
Storage Temperature -20℃~ 70℃
1.3 Hardware Requirement
The lowest configuration for hardware
◆CPU: Pentium 2.8 GHz
◆Memory: 512 MB
◆Graphic Card: TNT2
◆Sound Card: Speaker, Two-way talk
◆Hard Disk: Larger than 40G
Recommended configuration for hardware
◆CPU: Dual-core 2.6GMhz
◆Memory: 1GB

5
◆Graphic Card: Nvidia Geforce FX5200 or ATI RADEON 7000(9000) series
256MB video memory
Operation System
◆32 bit Windows2000, Windows XP, Windows2003, Windows Vista and 64 bit
Windows2003, Windows XP.
Software
◆IE 6.0 or Better
◆DirectX8.0 or Better
◆TCP/IP protocol
PC system other requirement
The PC graphics card is required to support conversion and zoom in & out of image
color. The tested VGA are as follows: Nvidia Tnt/Tnt2, Geforce Mx200/400/420/440,
Fx5200/5600 and its series; ATI Radeon 7000/7200/7500/8500/9000/9200/9500/9600
series, MatroxG450/550; INTEL845G/865G series. Please attend that the driving of
graphics card must support hardware zoom in & out function.

6
Chapter2 Appearance and
Installation
2.1 Interface Introduction
2.1.1 Box camera
Note:
The power input is DC12V, 1A. Don’t use other power supply to avoid damaging
the mega pixel IP camera.
Interface explanations:
DC12V: Power input, DC12V/1A
Video Output: Video Output interface
Alarm in/out: Alarm input and output. 1A and 1B connect to alarm output. IN
connects to alarm input. G connects to signal ground
RS485 interface: RS485 Control interface. Left side connects to RS485 - and right
side connects to RS485 +
USB interface: USB interface
Reset: Reset button. Restore parameters to factory settings. Please use this button
with caution.
Wifi: Wireless antenna interface
Audio in: Audio Input
SD Slot: SD card slot
Audio out: Audio Output
LAN: Ethernet port
POWER: Power Indicator Light

7
DC AUTO IRIS: Auto Iris Lens interface. DC lens supported.
2.1.2 Dome IP camera
Back View of Dome IP Camera
Rear panel illustration of dome IP camera
Rear panel interface description
Wifi: Wireless antenna interface
USB: USB interface
DC12V: Power input, DC12V/1A
Vout: Video Output
LAN: Ethernet port
Alarm out: Alarm output. A and B connect to alarm output.
Alarm in: Alarm input. IN connects to alarm input. GND connects to signal ground.
Audio in: Audio Input
MIC INT/EXT: MIC input, INT means built-in MIC and EXT means external MIC.
Audio out: Audio output
RF: RF antenna port
Reset: Reset button. Restore parameters to factory settings. Please use this button
with caution.
SD CARD: SD card slot
RS232: RS232 control interface. Left side is for receiving data and right side is for
transmitting data.
2.1.3 IR Waterproof IP camera

8
Infrared box IP camera (cable model) Infrared box IP camera connection diagram
Interface explanations:
DC 12V: Power input, DC12V/3A
LAN: Ethernet port
Audio in: Audio Input
Audio out: Audio Output
Reset: (Yellow) Reset button. Restore parameters to factory settings. Please use
this button with caution.
GND: (Grey, brown) Signal ground, alarm ground and RS485 ground
Alarm in: (Red) on/off alarm input
Alarm outA: (Orange) on/off alarm output A
Alarm outB: (Purple) on/off alarm output B
RS485 +: (Green) RS485 control interface +
RS485 -: (Blue) RS485 control interface -
2.1.4 Speed Dome IP camera
High speed dome IP camera
Connection cables
Connection cable ports description:

9
DC IN: Power input (input voltage depends on specific models)
LAN: Ethernet port;
Audio in: Audio Input
Audio out: Audio Output
Reset: (Yellow) Reset button. Restore parameters to factory settings. Please use
this button with caution.
GND: (Grey, brown) Signal ground, alarm ground and RS485 ground
Alarm in: (Red) on/off alarm input
Alarm outA: (Orange) on/off alarm output A
Alarm outB: (Purple) on/off alarm output B
RS485 +: (Green) RS485 control interface +
RS485 -: (Blue) RS485 control interface -
2.2 Hardware Installation
2.2.1 Connection via IP switch
Step1: Connect power supply (DC 12V)
Step2: Connect LAN port with router/network switch/ hub via RJ45 cable.
2.2.2 Connect via crossover cable
Connect power supply. Then, connect IP camera to PC with crossover cable as
below:

10
The Light of LAN port will turn green within 5 seconds under the normal network
situation after power on to indicate the physical connection of IP camera has been done
successfully.

11
Chapter3 Search Device
3.1 Search Device and Modify Network
Parameters
Run “SearchNVS” to find the default IP and modify mega pixel IP camera network
parameters according to clients’ local PC IP gateway (Such as IP address, subnet mask,
gateway and so on)
3.1.1 Run SearchNVS software
How to run “SearchNVS”:
1. Find the NVSCenter software in 【Application】file from the CD and then install
it.
2. Click【Start】---【all programs】--- 【NVS Center】---【Search NVS】to run
it.
Note:
The default factory settings of the IP Camera are as follows:
IP: 192.168.55.160
Subnet mask: 255.255.255.0
User name: admin; Password: admin
Run the SearchNVS software to search and modify IP Camera network parameters.
It is multicast protocol. But the firewall forbids the multicast data packet. So please
close the firewall first.
【Local IP】Display the local PC IP. If your PC is NIC or multi-addressed local IP,
please select one IP address to connect NVS.
The main window indicates that your PC has found the IP camera in LAN. If there
are several IP cameras in your LAN, you can determine which camera is the one you
purchased through “device name” in the main window. There is a unique device ID
number in your package. The default device name is “NVS + device ID number”.
3.1.2 Set IP address
The gateway of your IP camera and local PC must be the same so that you can
visit the IP camera. So we need to set the IP address for the IP camera before using.
To get your local PC IP configuration information: Click “start” and choose “run”,

12
then, input “command” or “cmd”(Windows 2000/XP system). Click “confirm” and then
input “ipconfig” and press “Enter” button, you will get the following information:
Now please remember the above IP Address, Subnet Mask, Default Gateway, then,
set the IP address of mega pixel ip camera according to your local PC IP address. For
example: 192.168.1.100.
Please make sure the Default Gateway and Subnet Mask should be the same as
your PC. And its IP should not be conflict with other PC or IP devices.
Click 【Set】to get the following window:
Modify related network parameters and click “OK”, then, the IP camera will save
the parameters and restart.
3.2 Check Connection
Check to see whether the IP camera is running and properly connected. Click
“Start”→“Run”→input “cmd” and press “Enter” Key to open command window. Input:
ping 192.168.1.100 and click “Enter” button, then, the interface as below will be shown:

13
If the command can generate a reply, meaning the IP camera works normally and
is connected to network correctly. If not, please confirm the IP address and gateway
settings, and check the network cables.
Then, use SearchNVS software to search and modify network parameters (such as
IP address, subnet mask and gateway etc. according to clients’ local IP information).

14
Chapter4 Introduction of IE
4.1 Install ActiveX and Login Device
You need to install ActiveX when you visit mega pixel IP camera for the first time
through Internet Explorer.
How to install ActiveX:
Download the ActiveX from Internet Explore: input the IP address of mega pixel IP
camera in Internet Explore. Then, login interface will apear as follows:
Click “File” to download the ActiveX.
A new dialogue box pops up, click 【Run】or 【Save】to download ActiveX, after
download it, double-click the downloaded file “xdview.exe” to install it as follows:
Note:
ActiveX has to be installed.
Close current Internet Explorer and click “Install” button to install the ActiveX. After
it is installed, “Install OK!” will be shown.
Open Internet Explorer and input IP address of one IP Camera. For example:
192.168.55.160. Then, the below interface will be shown:

15
Input User name (Default: admin), Password (Default: admin), click “Submit” to
enter the live view interface:
4.2 Live Preview
Live view page is shown as below:

16
In the Liveview interface, users can do operations like Snap, Record, Playback,
Talkback, Monitoring, Clear Alarm, Log Search, Local Zoom of Image, Full-screen
Viewing, Lightness and Color Adjustment and Lens Control etc.
[Snap]: Click “Snap” to snap the current image and save it in .JPG format
automatically to the storage directory of snapped images.
[Record]: Manual image recording. Record current images automatically and save
them in H.264 format to the storage directory of recorded images after the recording
function turned on. Displayed status after recording starts:
[Playback]: Click “Playback”, the playback page will pop up for searching and
playback of recorded files or snapped pictures.
[Talkback]: After turn on the audio talkback switch, the talkback between PC and IP
camera can be performed given that audio talkback device is installed to the IP camera.
The displayed status after audio turns on:
[Monitoring]: You can monitor sound at the device end after the monitor is switched
on. The displayed status after monitoring starts is .
[Alarm]: When there is an alarm, double-click [Alarm] to cancel the alarm manually.
[Log]: Allow users to search for operations and alarm log. The maximum capacity is
512 entries of message, when the number of entries exceeds 512, system will delete
records of the earliest date automatically.
[Zoom In]: This feature allows the manual drag and drop of video display area to
realize partial zoom in.
[Full Screen]: Display images in full-screen, right click to exit full screen mode.
[PTZ Control]: Allow four-directional rotation, automatic adjustment of PTZ rotation
speed.
[Lens Control]: Allow PTZ operations like Zoom, Focus, Aperture, Light, Brush,
Preset, and Recall.
[Video Parameters]: Adjust the lightness, contrast, chroma and saturation of video.

17
PTZ Control Lens Control Video Parameters
4.3 Record playback
Click [Playback] button to enter into video playback page as follow:
User can search for record files or snapped pictures in local PC or storage device
according to date.
[Date]: User can select certain date to search record files or snapped pictures.
Click “date” button , then, data selection page will pop up as follow:
[Local]: User can select certain date to perform record file or snapped picture

18
(stored in local PC) searching.
[Device]: User can select certain date to perform recorded image file or snapped
picture (stored in device SD card).
[File List]: Show the record files or snapped pictures.
The way to search for record files or snapped pictures of a specific period:
[Play]: Choose the record file or snapped picture in file list, right click the file or
picture or click “play” button to play. The contents will be displayed in the window
on the right. Users can view the play information and control the process, see below
picture:
[Download]: Select the record files or snapped pictures searched from SD card in
the file list, click “download” button to download the files to PC.
[Download information]: User can view the information downloaded after click
“Download”, see below picture:
Table of contents
Other XtendLan IP Camera manuals

XtendLan
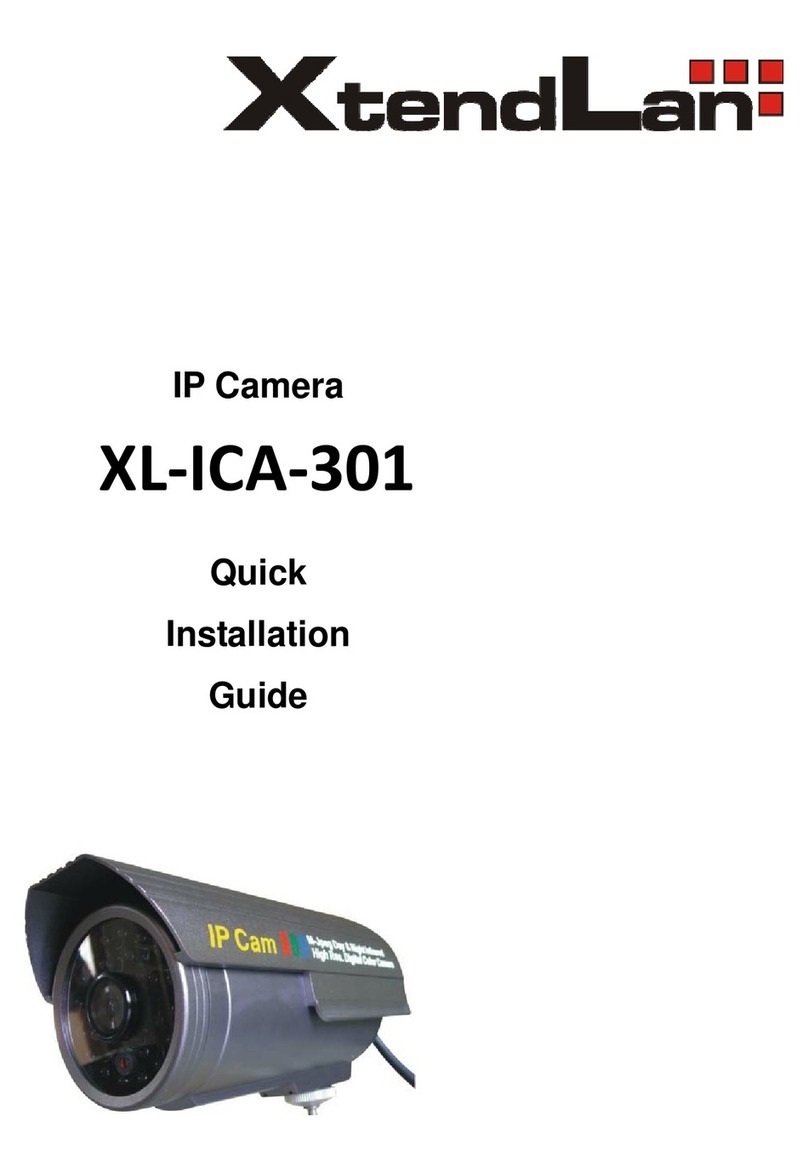
XtendLan XL-ICA-301 User manual

XtendLan
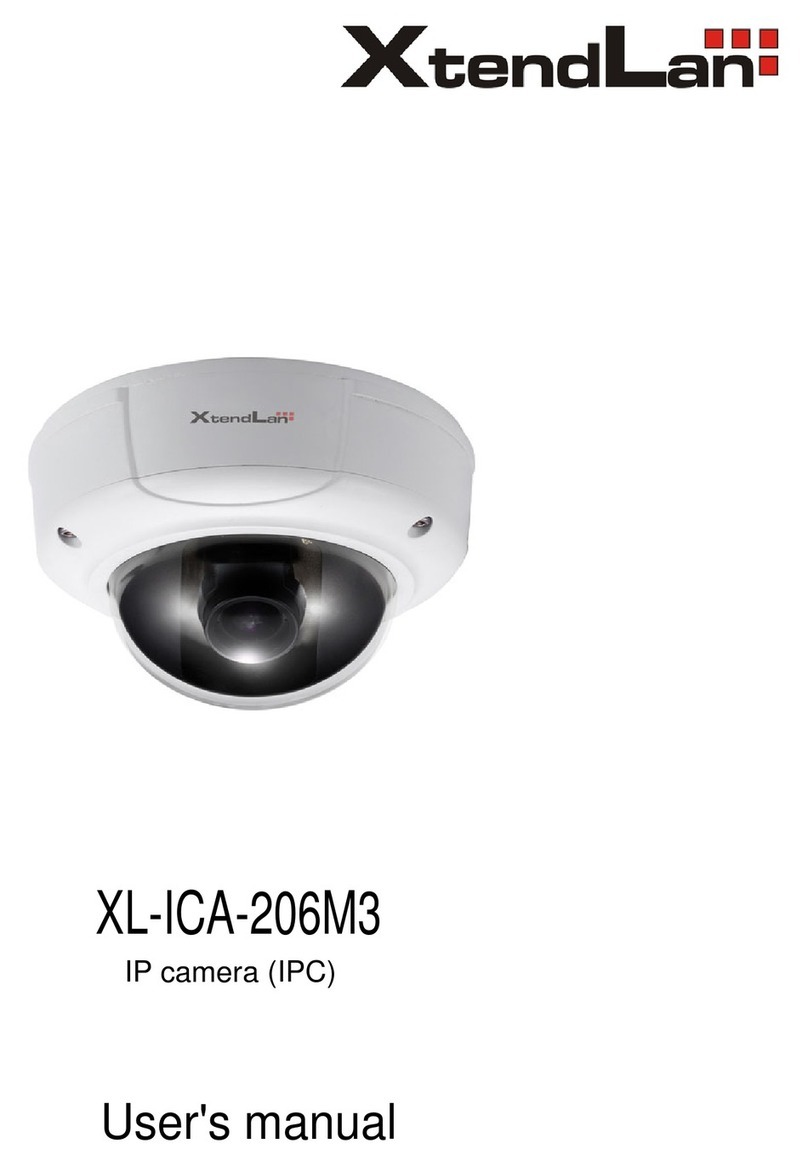
XtendLan XL-ICA-206M3 User manual

XtendLan
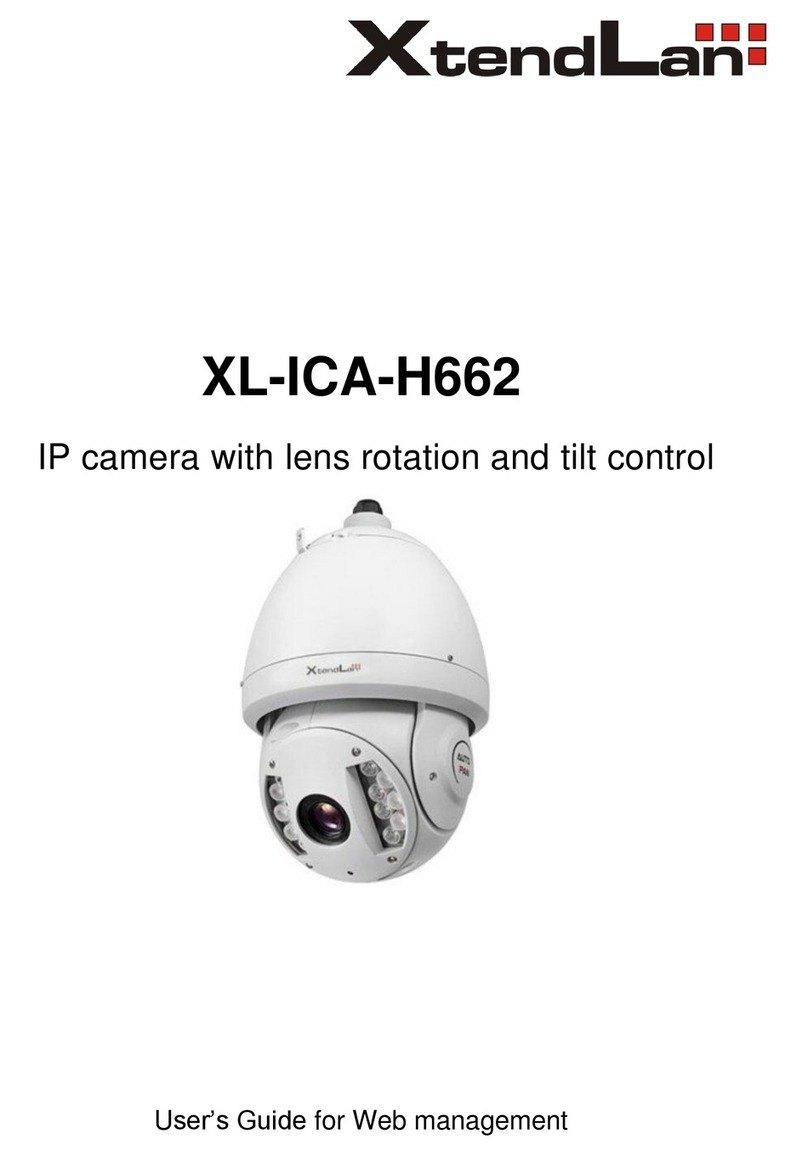
XtendLan XL-ICA-H662 User manual

XtendLan
XtendLan XL-ICA-105M2 User manual

XtendLan
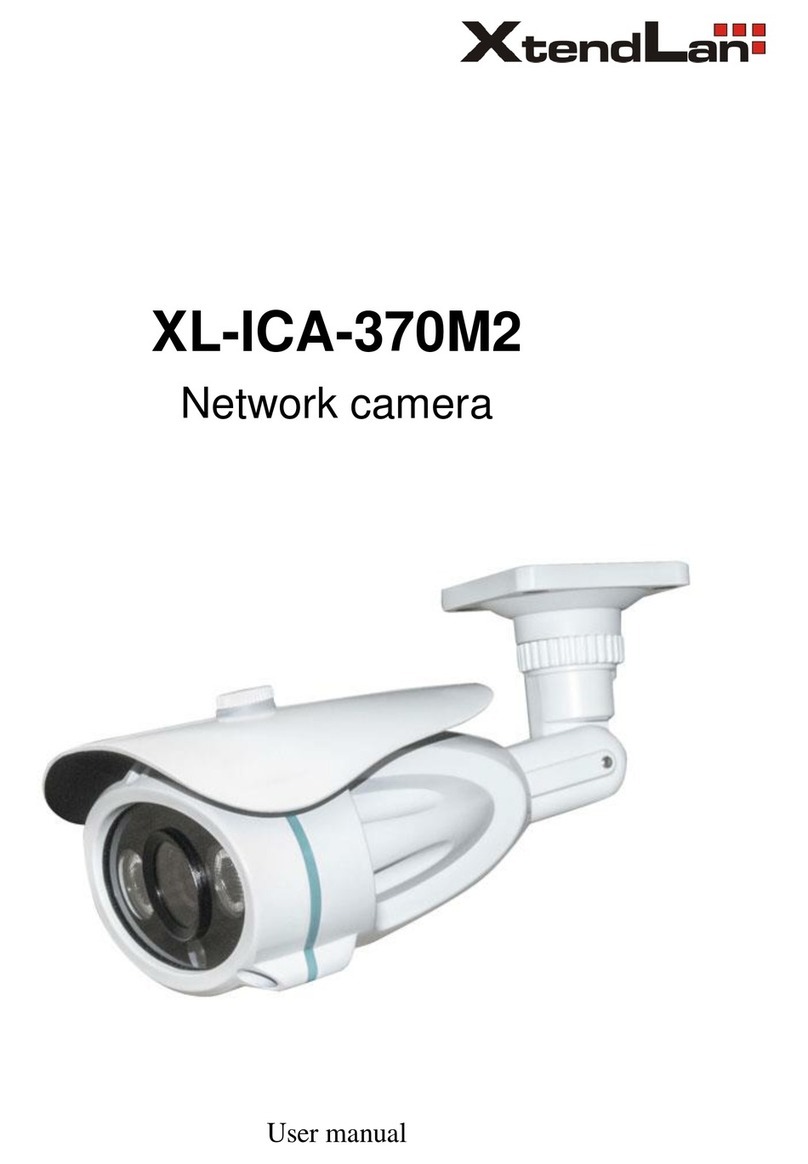
XtendLan XL-ICA-370M2 User manual

XtendLan
XtendLan XL-ICA-220 User manual

XtendLan
XtendLan XL-ICA-106M3 User manual

XtendLan
XtendLan XL-ICA-106M2 User manual

XtendLan
XtendLan XL-ICA100U User manual

XtendLan
XtendLan XL-ICA-311 User manual