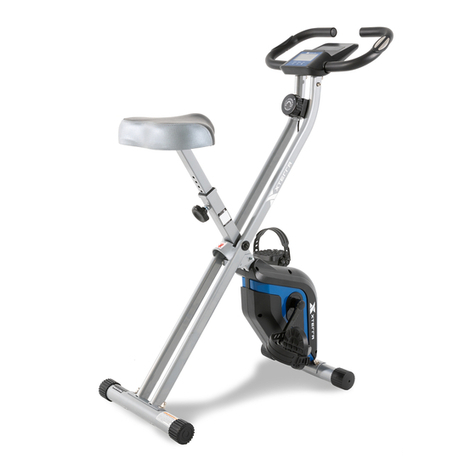
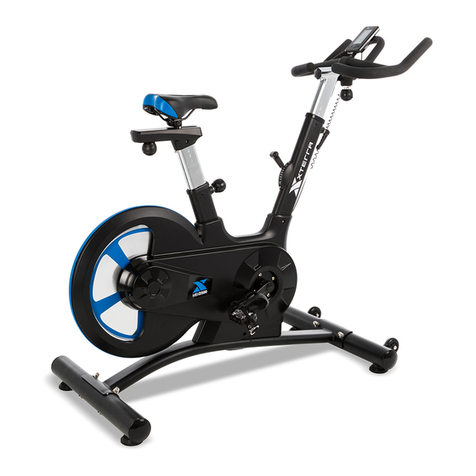
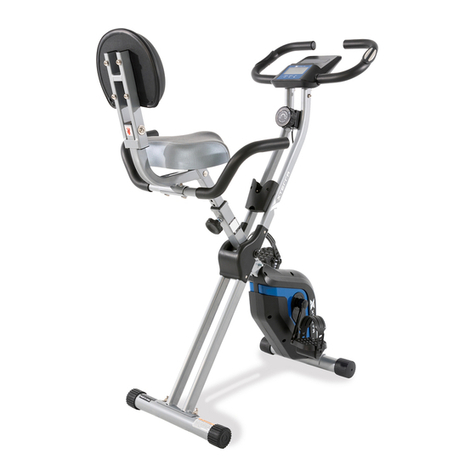
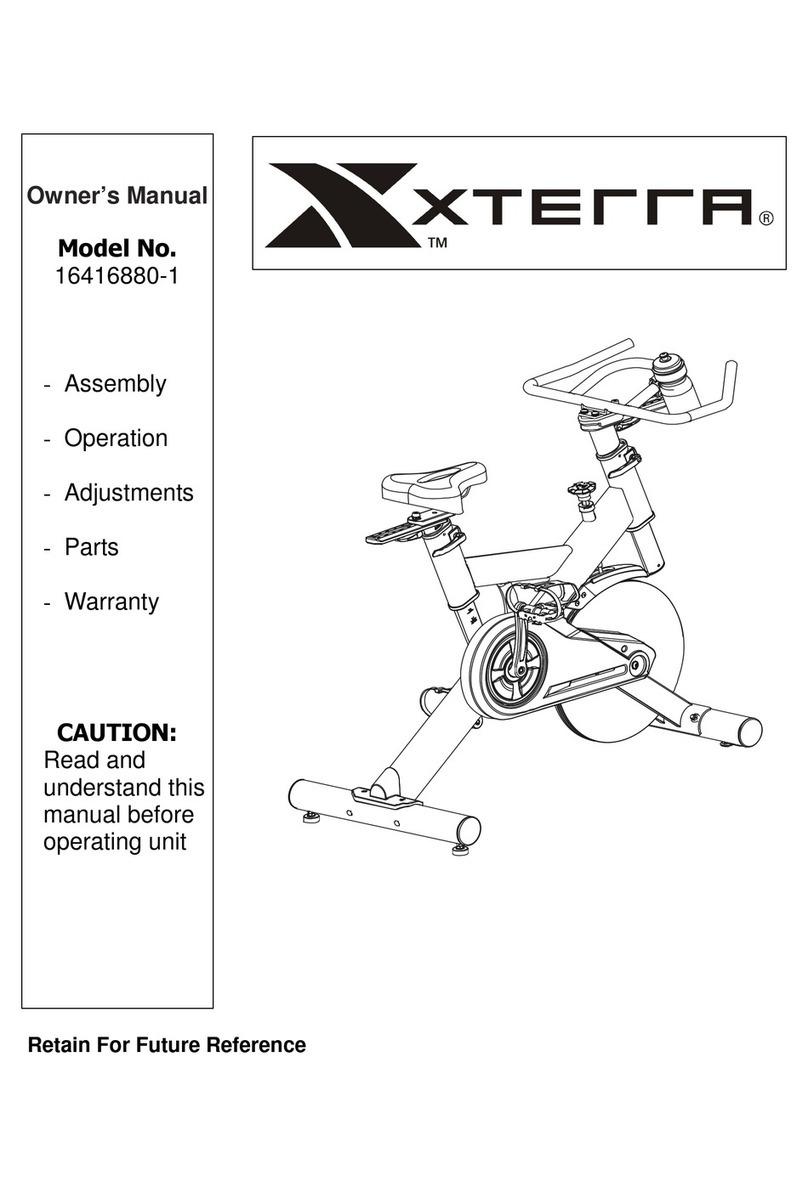
Xterra 16204770480 User manual

Indoor Cycle Trainer
PLEASE CAREFULLY READ THIS ENTIRE MANUAL BEFORE OPERATING
YOUR NEW INDOOR CYCLE!
OWNER`S
MANUAL
Model No.
16204770480
Assembly
Operation
Exercise
Parts
Warranty
CAUTION:
You must read and
understand this
owner’s manual
before operating
unit.

2
TABLE OF
CONTENTS
Important Safety Instructions................................................................. 4
XT 4.8 Assembly Instructions................................................................. 8
Operation of Your New Indoor Cycle .................................................... 12
General Maintenance .......................................................................... 14
Exploded View Diagram..................................................................... 15
Parts List ............................................................................................ 16
Trouble shooting ................................................................................ 18
Training Guidelines ............................................................................ 19
Manufacturer’s Limited Warranty ....................................................... 25
ATTENTION
THIS INDOOR CYCLE IS INTENDED FOR RESIDENTIAL USE ONLY AND IS WARRANTED FOR THE
APPLICATION. ANY OTHER APPLICATION VOIDS THIS WARRANTY IN ITS ENTIRETY.

3
BEFORE YOU BEGIN
Thank you for choosing the Xterra XT 4.8 Indoor Cycle. We take great pride in producing this
quality product and hope it will provide many hours of quality exercise to make you feel better,
look better, and enjoy life to its fullest. It's a proven fact that a regular exercise program can
improve your physical and mental health. Too often, our busy lifestyles limit our time and
opportunity to exercise. The Xterra XT4.8 Indoor Cycle provides a convenient and simple
method to begin your assault on getting your body in shape and achieving a happier and
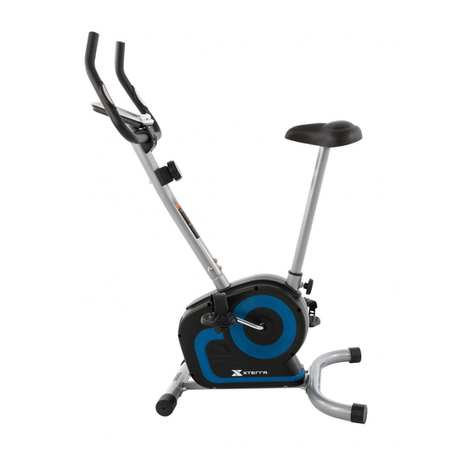
healthier lifestyle. Before reading further, please review the drawing below and familiarize
yourself with the parts that are labeled.
Read this manual carefully before using the Xterra XT4.8 Indoor Cycle. Although Dyaco
Canada Inc. constructs its products with the finest materials and uses the highest standards of
manufacturing and quality control, there can sometimes be missing parts or incorrectly sized
parts. If you have any questions or problems with the parts included with your Xterra XT4.8
Indoor Cycle, please do not return the product. Contact us FIRST! If a part is missing or
defective call us toll free at 1-888-707-1880. Our Customer Service Staff are available to assist
you from 8:30 A.M. to 5:00 P.M. (Eastern Time) Monday through Friday. Be sure to have the
name and model number of the product available when you contact us.

4
IMPORTANT SAFETY
INSTRUCTIONS
WARNING - Read all instructions before using this equipment.
1. Read the OWNER’S OPERATING MANUAL and all accompanying literature and follow it
carefully before using your Indoor Cycle Trainer.
2. If dizziness, nausea, chest pains, or any other abnormal symptoms are experienced while
using this equipment, STOP the workout at once. CONSULT A PHYSICIAN
IMMEDIATELY.
3. Inspect your exercise equipment prior to exercising to ensure that all nuts and bolts are fully
tightened before each use.
4. The Cycle Trainer must be regularly checked for signs of wear and damage. Any part found
defective, the part must be replaced with new spare part from the manufacturer.
5. Fitness equipment must always be installed on a flat surface, do not place the unit on a
loose rug or uneven surface. It is recommended to use an equipment mat to prevent the
unit from moving while it is being used, which could possibly scratch or damage the surface
of your floor.
6. No changes must be made which might compromise the safety of the equipment.
7. It is recommended to have a minimum of 2’ safe clearance around the exercise equipment
while in use.
8. Keep children and pets away from this equipment at all times while exercising.
9. Keep hands away from all moving parts.
10. Never drop or insert any object into any openings.
11. Do not use outdoors.
12. Warm up 5 to 10 minutes before each workout and cool down 5 to 10 minutes afterward.
This allows your heart rate to gradually increase and decrease and will help prevent you
from straining muscles.
13. Never hold your breath while exercising. Breathing should remain at a normal rate in
conjunction with the level of exercise being performed
14. Always wear suitable clothing and footwear while exercising. Do not wear loose fitting
clothing that could become entangled with the moving parts of your Indoor Cycle Trainer.
15. Care must be taken when lifting or moving the equipment, so as not to injure your back.
Always use proper lifting techniques. This equipment is not intended for use by persons
with reduced physical, sensory or mental capabilities, or lack of experience and knowledge,
unless they have been given supervision or instruction concerning use of the equipment by
a person responsible for their safety.
16.User weight should not exceed 300 lbs. (136 kgs)
WARNING: Before beginning any exercise program consult your physician. This is
especially important for individuals over the age of 35 or persons with pre-existing
health problems. Read all instructions before using any fitness equipment. We assume
no responsibility for personal injury or property damage sustained by or through the use
of this product.
SAVE THESE INSTRUCTIONS - THINK SAFETY!
CAUTION!! Please be careful when unpacking the carton.
5
WARNING DECAL
REPLACEMENT
The decal shown below has been placed on the indoor cycle trainer. If the decal is missing or
illegible, please call our Customer Service Department toll-free at 1-888-707-1880 to order a
replacement decal.

6
XT 4.8
PRE-ASSEMBLY CHECK LIST
PART NO. DESCRIPTION Q’TY
1L Left pedal 1
1R Right pedal 1
4 Rear stabilizer 1
10 Seat post 1
12 Sliding tube 1
13 Seat 1
15 Front stabilizer 1
16 Main frame 1
17 Handlebar post 1
18 Handlebar 1
63 Replacement brake pads 1 pair
65 Computer 1
Manual 1
Hardware pack 1

7
HARDWARE PACKING LIST
Above described parts are all the parts you need to assemble this machine. Before you
start to assemble, please check the hardware packing to make sure they are included.
Part NO Description Q’ty Drawings
3 Carriage bolt M8*42 4
5 Flat washer φ8 4
6 Domed nut M8 4
7 Quick release knob 3
64 Computer bracket 1
70 Cross head spanner 1
71 Inner hexagon spanner 1

8
XT 4.8
ASSEMBLY INSTRUCTIONS
This manual is designed to help you easily assemble, adjust and use this machine. Please read
this manual carefully. For the sake of familiarizing yourself with the parts identified in the
instruction, first study the overview drawing.
Set all parts in a clear area on the floor and remove the packing material. Refer to the parts list
for help to identify the parts.
It will take two people to assemble your unit.
ENSURE THAT ALL NUTS AND BOLTS ARE FIRMLY TIGHTENED AFTER EACH STEP
STEP 1
1. Attach the front stabilizer (15) to the main frame (16). Secure using two carriage bolts (3),
two flat washers (5) and two domed nuts (6).
2. Attach the rear stabilizer (4) to the main frame (16). Secure using two carriage bolts (3), two
flat washers (5) and two domed nuts (6).
STEP 2
1. Release the nuts on the backside of seat (13), attach the seat (13) to sliding tube (12), and
then re-tighten the nuts.
2. Insert the sliding tube (12) into the seat post (10). Secure using a quick release knob (7).
3. Insert the seat post (10) into the Main frame (16). Secure using a quick release knob (7).
Note: The seat can be horizontally and vertically adjustable after your cycle is fully
assembled.

9
STEP 3
1. Insert the handlebar post (17) to the main frame (16). Secure using a quick release knob (7).
2. Remove 4 sets of spring washer (19) and allen screw (20) from handlebar post (17).
3. Attach the handlebar (18) to the handlebar post (17). Secure using 2 sets of spring washer (19)
and allen screw (20) at the 2 lower screw holes.
4. Attach computer bracket (64) to handlebar (18) and secure using 2 sets of spring washer (19) and
allen screw (20) at the 2 upper screw holes.
5. Attach computer (65) onto the computer bracket (64) and secure using 2 screws (68) which are
pre-assembled on the backside of computer (65). Attach sensor wire (69) to computer (65).
Note: The handlebar post can be adjusted vertically.
STEP 4
1. Attach the left pedal (1L) to the left crank (33).
2. Attach the right pedal (1R) to the right crank (36).
Note: The right pedal should be threaded on clockwise and the left pedal on counter-clockwise.
YOUR UNIT IS NOW FULLY ASSEMBLED

10
ADJUSTING THE TENSION
1. Turn the tension knob (25) clockwise to increase the tension.
2. Turn the tension knob (25) counter-clockwise to decrease the tension.
IMPORTANT: Pull up the brake handle (24) to stop the flywheel.
Note: If the unit is wobbly use the leveling pads on the front and rear stabilizers to
level the unit.

11
HOW TO REPLACE THE BRAKE PADS
1. Turn the tension knob (25) counter-clockwise to decrease the tension.
2. Pull up the brake bracket (54), then remove the brake pads (63).
3. Insert the replacement brake pads into the slot of the brake bracket (54).
4. Turn the tension knob (25) clockwise to adjust the tension.

12
OPERATION OF
YOUR INDOOR CYCLE
GETTING FAMILIAR WITH THE CONTROL PANEL
XT 4.8 CONSOLE
FUNCTION BUTTON
Mode: Press to select functions between: time, speed, distance, calories and
scan.
Press and hold for 3 seconds to rest all values to zero.
FUNCTION:
Time: Displays your elapsed workout time up to 99:59
Speed: Displays the current speed up to 99.9 miles.
Distance: Displays the cumulative distance traveled during your workout up to 99.9
miles.
Calorie Displays the cumulative calories burned at any given time during your
workout up to 999 kcal.
Note: This is a rough guide used for comparison of different exercise
sessions, which cannot be used for medical purposes.
Scan: Displays each function in sequence every 4 seconds. The display loop is
time, speed, distance and calories.
NOTE
1. Monitor requires two “AAA” batteries
2. The monitor will turn on automatically by pressing Mode key when you start pedaling.
3. The monitor will turn off automatically if no signal is detected for four minutes.
4. If monitor is illegible or partial segments appear, remove batteries and wait 15
seconds to re-install.
5. Do not mix old and new batteries.
6. Do not mix alkaline, standard (carbon-zinc), or rechargeable (ni-cad, nimh, ect)
batteries.

13
USER DIRECTION
HOW TO USE THE EXERCISE BIKE
HOW TO ADJUST THE SEAT
The seat can be adjusted forward or backward to the
position that is the most comfortable. To adjust the seat,
unlock the seat adjustment knob, slide the seat to the
desired position, and lock the seat carriage to main
Frame with seat adjustment knob.
HOW TO ADJUST THE PEDAL STRAPS
To adjust the pedal straps, first pull the ends of the
straps off the tabs on the pedals. Adjust the straps to
the desired position, and then press the ends of the
straps onto the tabs.
HOW TO LEVEL THE EXERCISE BIKE
If the exercise bike rocks slightly on your floor during
use, turn one or both of the leveling knobs on the front
stabilizer and adjust the leveling feet until the rocking
motion is eliminated.
HOW TO MOVE THE EXERCISE BIKE
To move the exercise bike, grasp the handlebar and
carefully lift it until the exercise bike can be moved on
the front wheels. Carefully move the exercise bike to
the desired location and then lower it.

14
GENERAL MAINTENANCE
The safety of this produce can be maintained only if regular periodic checks are made. Most
checks can be performed once a week. However, some checks should be made before each
workout, and are indicated as such below.
Checks
Be sure batteries are new and electronic connection are clean and tight.
Check that seat nuts are secure, check before each workout.
Check that pedals are tight, pedals can work loose over time.
Check that stabilizer bolts are tight, check before each workout.
Check that handlebar is secure, if not, tighten, check before each workout.
Should a part become defective, replace it immediately. Do not allow use of the equipment
until it has been repaired.
Cleaning
Almost all surfaces are washable. A damp cloth is sufficient to clean most surfaces of this unit.
Be careful not to drip water on the monitor. A mild liquid soap may be added if needed.
Always ensure batteries are fresh and in correctly.

16
PARTS LIST
No. Part No. Descri
p
tion Qt
y
1L 7704801L Left pedal 1
1R 7704801R Right pedal 1
2 7704802 Inner end cap 60*30 5
3 7704803 Carriage bolt M8*42 4
4 7704804 Rear stabilizer 1
5 7704805 Flat washer φ8 4
6 7704806 Domed nut M8 4
7 7704807 Quick release knob 3
8 7704808 Plastic spacer 2
9 7704809 Lock nut 2
10 7704810 Seat Post 1
11 7704811 Inner end cap 53.5*23.5 1
12 7704812 Sliding tube 1
13 7704813 Seat 1
14 7704814 Leveling pad 4
15 7704815 Front stabilizer 1
16 7704816 Main frame 1
17 7704817 Handlebar post 1
18 7704818 Handlebar 1
19 7704819 Spring washer φ8 4
20 7704820 Allen screw M8*16 12
21 7704821 Handlebar cover 1
22 7704822 Bottle holder 1
23 7704823 Elbow pad 2
24 7704824 Brake handle 1
25 7704825 Tension knob 1
26 7704826 Small plastic bushing 1
27 7704827 Plastic Bushing 1
28 7704828 Flange nut M10*1.25 2
29 7704829 Crank end cap 2
30 7704830 Bracket 1
31 7704831 Nut M8 7
32 7704832 Small chain wheel 1
33 7704833 Left crank 1
34 7704834 Crank cover 1
35 7704835 Bearing 6004ZZ 2

17
No. Part No. Description Qt
y
36 7704836 Right crank 1
37 7704837 End cap 2
38 7704838 Flange nut M12 2
39 7704839 Eye bolt M6*58 2
40 7704840 Hex head nut M6 2
41 7704841 Self-tapping screw 1 11
42 7704842 Self-tapping screw 2 4
43 7704843 Self-tapping screw 3 5
44 7704844 Chain cover 1
45 7704845 Little chain cover 1
46 7704846 Axle for crank 1
47 7704847 Long bushing for crank 1
48 7704848 Short bushing for crank 1
49 7704849 Inner chain cover 1
50 7704850 Chain 1
51 7704851 Big chain wheel 1
52 7704852 Quick brake 1
53 7704853 Screw M6*20 1
54 7704854 Brake bracket 2
55 7704855 Hex head bolt M8*40 2
56 7704856 Transportation wheel 2
57 7704857 Plastic spacer for sliding seat tube 2
58 7704858 Hex head nut M12 2
59 7704859 Bushing for flywheel 1
60 7704860 Bearing 6001ZZ 2
61 7704861 Flywheel 1
62 7704862 Axle for flywheel 1
63 7704863 Brake pad 2
64 7704864 Computer bracket 1
65 7704865 Computer 1
66 7704866 Hex head nut M20 2
67 7704867 Flywheel cover 1
68 7704868 Screw M5*10 2
69 7704869 Sensor wire 1
70 7704870 Crosshead spanner 1
71 7704871 Inner hexagon spanner 1

18
TROUBLE SHOOTING
Problem Cause Correction
Monitor does not
display Batteries weak or dead Replace batteries
No speed or distance
displays on the monitor
Sending unit not connected
Securely plug sending unit into
extension wire and the back of the
monitor
Sending unit not working
properly Replace sending unit
Monitor not working
properly Replace monitor
Squealing Brake pads are worn Replace the brake pads

19
TRAINING
GUIDELINES
EXERCISE
Exercise is one of the most important factors in the overall health of an individual. Listed among
its benefits are:
Increased capacity for physical work (strength endurance)
Increased cardiovascular (heart and arteries/veins) and respiratory efficiency
Decreased risk of coronary heart disease
Changes in body metabolism, e.g. losing weight
Delaying the physiological effects of age
Physiological effects, e.g. reduction in stress, increase in self-confidence, etc.
BASIC COMPONENTS OF PHYSICAL FITNESS
There are four all encompassing components of physical fitness and we need to briefly define
each and clarify its role.
Strength is the capacity of a muscle to exert a force against resistance. Strength
contributes to power and speed and is of great importance to a majority of sports people.
Muscular Endurance is the capacity to exert a force repeatedly over a period of time, e.g.
it is the capacity of your legs to carry you 10 Km without stopping.
Flexibility is the range of motion about a joint. Improving flexibility involves the stretching
of muscles and tendons to maintain or increase suppleness, and provides increased
resistance to muscle injury or soreness.
Cardio-Respiratory Endurance is the most essential component of physical fitness. It is the
efficient functioning of the heart and lungs
AEROBIC FITNESS
The largest amount of oxygen that you can use per minute during exercise is called your
maximum oxygen uptake (MVo2). This is often referred to as your aerobic capacity.
The effort that you can exert over a prolonged period of time is limited by your ability to deliver
oxygen to the working muscles. Regular vigorous exercise produces a training effect that can
increase your aerobic capacity by as much as 20 to 30%. An increased MVO2 indicates an
increased ability of the heart to pump blood, of the lungs to ventilate oxygen and of the muscles
to take up oxygen.
Anaerobic Training
This means “without oxygen” and is the output of energy when the oxygen supply is insufficient
to meet the body’s long term energy demands. (For example, 100 meter sprint).
The Training Threshold
This is the minimum level of exercise which is required to produce significant improvements in
any physical fitness parameter.

20
Progression
As your become fitter, a higher intensity of exercise is required to create an overload and
therefore provide continued improvement
Overload
This is where you exercise at a level above that which can be carried out comfortably. The
intensity, duration and frequency of exercise should be above the training threshold and should
be gradually increased as the body adapts to the increasing demands. As your fitness level
improves, so the training threshold should be raised.
Working through your program and gradually increasing the overload factor is important.
Specificity
Different forms of exercise produce different results. The type of exercise that is carried out is
specific both to the muscle groups being used and to the energy source involved.
There is little transfer of the effects of exercise, i.e. from strength training to cardiovascular
fitness. That is why it is important to have an exercise program tailored to your specific needs.
Reversibility
If you stop exercising or do not do your program often enough, you will lose the benefits you
have gained. Regular workouts are the key to success.
WARM UP
Every exercise program should start with a warm up where the body is prepared for the effort to
come. It should be gentle and preferably use the muscles to be involved later.
Stretching should be included in both your warm up and cool down, and should be performed
after 3-5 minutes of low intensity aerobic activity or callisthenic type exercise.
Warm Down or Cool Down
This involves a gradual decrease in the intensity of the exercise session. Following exercise, a
large supply of blood remains in the working muscles. If it is not returned promptly o the central
circulation, pooling of blood may occur in the muscles
Heart Rate
As you exercise, so the rate at which your heart beat also increases. This is often used as a
measure of the required intensity of exercise. You need to exercise hard enough to condition
your circulatory system, and increase your pulse rate, but not enough to strain your heart.
Your initial level of fitness is important in developing an exercise program for you. If you are
starting off, you can get a good training effect with a heart rate of 110-120 beats per minute
(BPM). If you are fitter, you will need a higher threshold of stimulation.
To begin with, you should exercise at a level that elevates your heart rate to about 65 to 70% of
your maximum. If you find this is too easy, you may want to increase it, but it is better to lean
on the conservative side.
As a rule of thumb, the maximum heart rate is 220 minus your age. As you increase in age, so
your heart, like other muscles, loses some of its efficiency. Some of its natural loss is won back
as fitness improves.
Table of contents
Languages:
Other Xterra Exercise Bike manuals

Xterra
Xterra UP150 User manual

Xterra
Xterra SU139-43 User manual

Xterra
Xterra MBX2500 User manual

Xterra
Xterra MB880 User manual

Xterra
Xterra SB120 User manual

Xterra
Xterra 16416525 User manual

Xterra
Xterra XB 78 User manual

Xterra
Xterra UB2.5 User manual

Xterra
Xterra UB120 User manual

Xterra
Xterra U15 User manual

Xterra
Xterra MB550 User manual

Xterra
Xterra FB160 User manual

Xterra
Xterra Airbike Pro AIR650 User manual

Xterra
Xterra FB150 User manual

Xterra
Xterra SB500 User manual

Xterra
Xterra MB500 User manual

Xterra
Xterra R15 User manual

Xterra
Xterra 16467450US User manual

Xterra
Xterra SB4.5r User manual

Xterra
Xterra AIR350 User manual