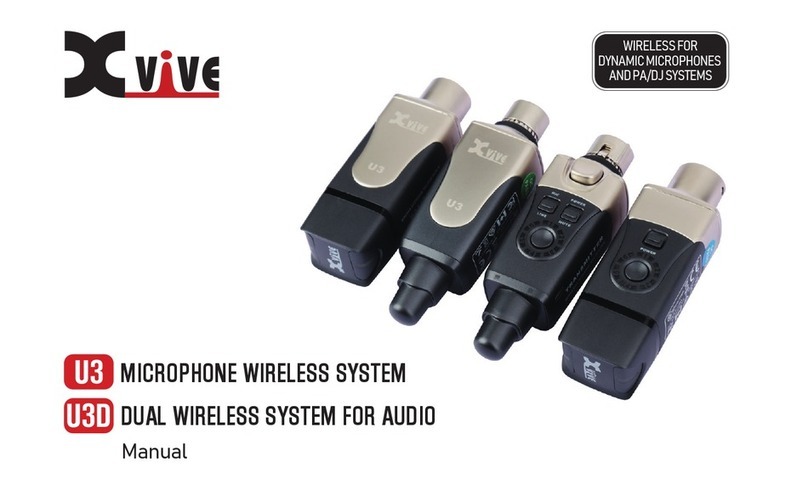
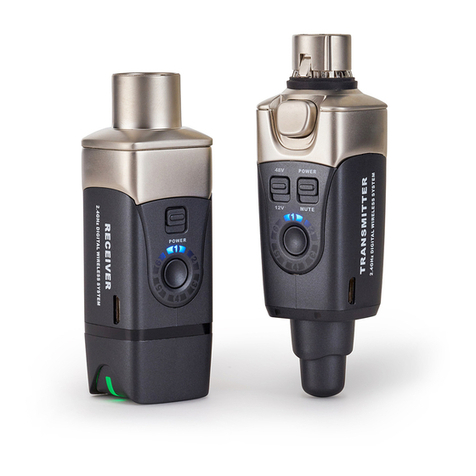
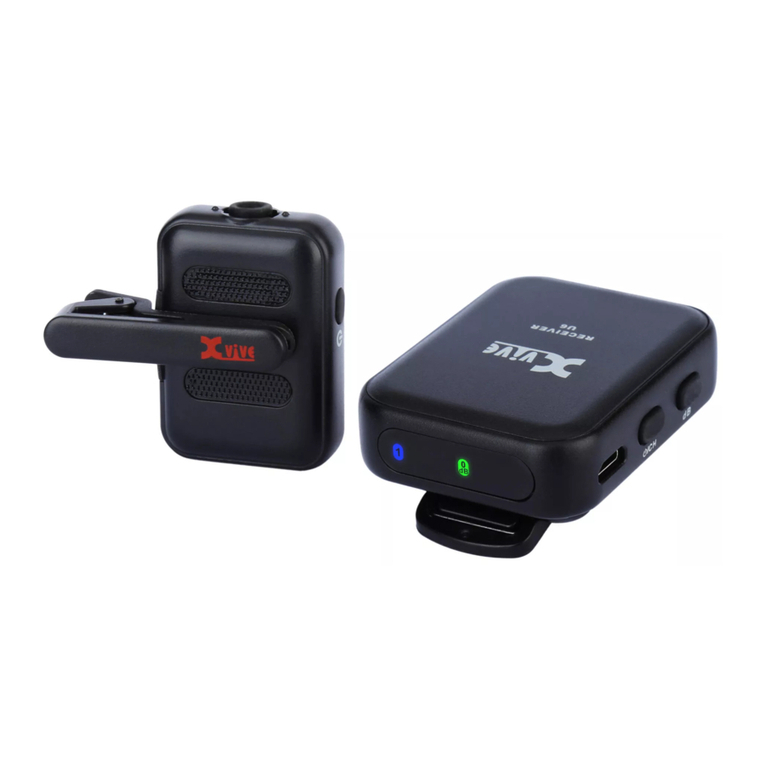
Xvive U5 User manual

For DSLR Cameras
U5 WIRELESS AUDIO
FOR VIDEO SYSTEM
Manual

02
This Class B digital apparatus complies with Canadian
ICES-003.
IC Caution: RSS-Gen Issue 4 December 2014"&"CNR-Gen
4e Décembre 2014:
This device complies with Industry Canada licence-
exempt RSS standard(s).
Operation is subject to the following two conditions:
(1) This device may not cause interference, and
(2)
This device must accept any interference, including
interference
that may cause undesired operation
of the device.
CERTIFICATION
Radio Approvals:
FCC Part 15.249, FCC Part 15 B, RSS-210 (Canada), EN 300
440 (Europe), EN 301.489 (Europe), Japan Radio 2.4 GHz
Band (Japan), MIC ARIB STD-T66 (Japan), California 65, CE.

THIS DEVICE COMPLIES WITH PART 15 OF THE FCC
RULES.
OPERATION IS SUBJECT TO THE FOLLOWING TWO
CONDITIONS:
(1) THIS DEVICE MAY NOT CAUSE HARMFUL
INTERFERENCE, AND
(2) THIS DEVICE MUST ACCEPT ANY INTERFERENCE
RECEIVED, INCLUDING INTERFERENCE THAT MAY
CAUSEUNDESIRED OPERATION.
Warning: Changes or modications not expressly approved
in writing by Xvive may void the users authority to
operate this equipment.
RF Exposure Statement: This transmitter must not be
co-located or operated in conjunction with any other
antennae or transmitter.
Note: This equipment has been tested and found to
comply with the limits for a Class B digital device, pursuant
to part 15 of the FCC Rules. These limits are designed
to provide reasonable protection against harmful
CERTIFICATION
interference in a residential installation. This equipment
generates, uses and can radiate radio frequency energy and,
if not installed and used in accordance with the instructions,
may cause harmful interference to radio communications.
However, there is no guarantee that interference will not
occur in a particular installation. If this equipment does
cause harmful interference to radio or television reception,
which can be determined by turning the equipment o and
on, the user is encouraged to try to correct the interference
by one or more of the following measures:
•
• Reorient or relocate the receiving antenna.
• Increase the separation between the equipment
and the receiver.
• Connect the equipment into an outlet on a circuit
dierent from that to which the receiver is connected.
• Consult the dealer or an experienced radio/TV
technician for help.
This Class B digital apparatus complies with Canadian
ICES-003.
03

04
Hereby, SHENZHEN FZONE TECHNOLOGY CO., LTD,
declares that this type of equipment is in compliance
with the essential requirements and other relevant
provisions of Directive 2014/53/EU
CAUTION
RISK OF ELECTRIC SHOCK
DO NOT OPEN
SAFETY INSTRUCTIONS
FOR LITHIUM-ION
RECHARGEABLE BATTERIES
WARNING:
TO REDUCE THE RISK OF FIRE OR ELECTRIC SHOCK,
DO NOT REMOVE SCREWS.
NO USER-SERVICEABLE PARTS INSIDE.
REFER SERVICING TO QUALIFIED SERVICE PERSONNEL.
WARNING:
TO REDUCE THE RISK OF FIRE OR ELECTRIC SHOCK,
DO NOT EXPOSE THE APPLIANCE TO RAIN OR
MOISTURE.
If abused or misused, the rechargeable batteries may
leak. In extreme cases, they may even present a risk of
explosion, re, heat, smoke or gas. Xvive does not accept
any liability for damagearising from abuse or misuse.
• Keep away from children.
• Only charge rechargeable batteries with chargers
recommended by Xvive.
• Observe correct polarity.
• Pack/store charged rechargeable batteries so that the
terminals cannot contact each other (danger of shorting
out/re hazard).
• Do not expose to moisture.
• Switch rechargeable battery-powered products
o after use.
• Only charge rechargeable batteries at ambient
temperatures between 10°C/50°F and 40°C/104°F.
• When not using rechargeable batteries for extended
periods of time, charge them regularly
(about every three months).
• Do not mutilate or dismantle.

05
INFORMATION ABOUT COLLECTION
AND DISPOSAL OF OLD ITEMS
AND USED BATTERIES
Cd
These symbols on the products, packaging, or on any
documents in the package mean it is incorrect to mix the
used electrical and electronic products and batteries with
general household garbage.
• Do not heat above 60°C/140°F, e.g. do not expose to
sunlight or throw into a re.
• Immediately remove rechargeable batteries from
obviously defective products.
• Do not continue to use defective rechargeable batteries.
• Only use rechargeable batteries specied by Xvive.
• Dispose of rechargeable batteries at special collection
points or return them to your specialist dealer.
• Store the products in a cool and dry place at room
temperature (approx. 20°C/68°F).
• Remove the rechargeable batteries if the products will
not be used for extended periods of time.
To protect our environment, please take old products
and used batteries to proper collection places, and follow
your national legislation and the Directives 2012/19/EU
and 2006/66/EC.
To deal with these old products and batteries
properly, please
help to save valuable resources
and prevent any possibility
of side eects on human health and our environment due
to the inappropriate disposal of the old products and used
batteries.
You can contact your local authority for getting more
helpful information on how to dispose the recycling and
collection of the old products and batteries.
[For business users in the European Union]
If you want to discard electrical and electronic item, please
contact your dealer or supplier for further information.
[Information on Disposal in other Countries outside the
European Union]
These symbols are only valid in the European Union.
Please contact your local authorities or dealer for more
information on disposal of old items and used batteries.

06
1. Carefully observe all instructions in the U5 manual
2. Do not to perform service operations beyond those
described in the U5 Manual. Service is required when
the apparatus was damaged in any way, such as:
• liquid was spilled or objects were dropped into the
device,
• the unit was exposed to rain or moisture,
• the unit does not operate normally or signicant
changes in performance occur,
• the unit is dropped or the housing is damaged.
IMPORTANT SAFETY INSTRUCTIONS
PLEASE KEEP THESE INSTRUCTIONS
IN A SAFE PLACE
WARNING: BEFORE USING YOUR XVIVE U5 DIGITAL WIRELESS SYSTEM,
CAREFULLY READ THE OPERATING INSTRUCTIONS.
3. Do not place near heat sources, such as radiators,
heating ducts, or appliances which produce heat.
4. Guard the device against objects or liquids entering
the device. Do not use or store the unit close to water.
5. Clean only with a damp cloth.
6. Only use attachments/accessories specied by the
manufacturer.
7. Prolonged listening at high volume levels may cause
irreparable hearing loss and/or damage. Always be sure
to practice “safe listening.”

FEATURES
07
3. Do not place near heat sources, such as radiators,
heating ducts, or appliances which produce heat.
4. Guard the device against objects or liquids entering
the device. Do not use or store the unit close to water.
5. Clean only with a damp cloth.
6. Only use attachments/accessories specied by the
manufacturer.
7. Prolonged listening at high volume levels may cause
irreparable hearing loss and/or damage. Always be sure
to practice “safe listening.”
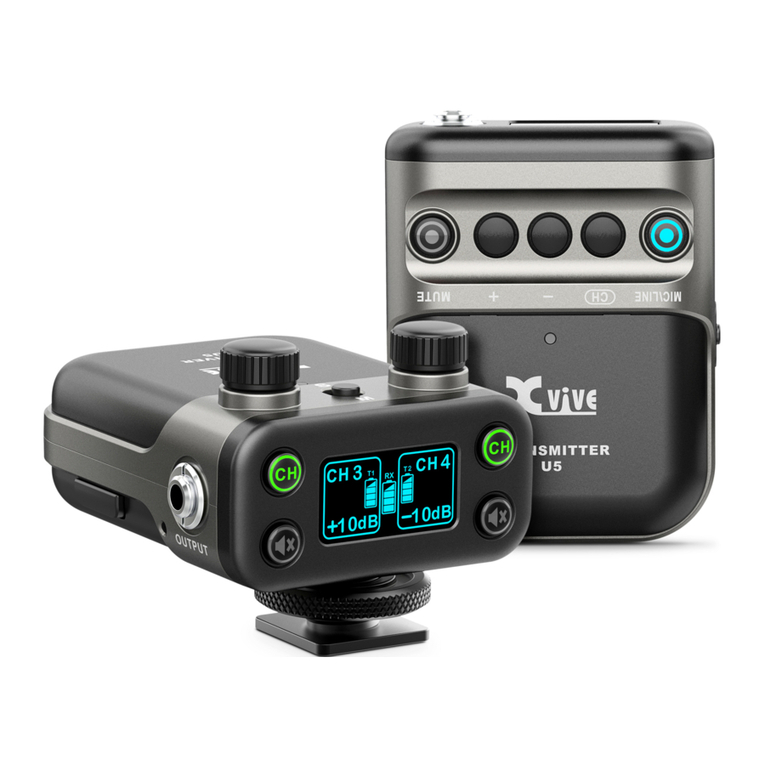
The U5 Wireless Audio for Video System can be used to
wirelessly send audio from the included lavalier
microphone (via the system's beltpack transmitter) to the
receiver, which can be connected to a DSLR camera or
audio device. The larger U5T2 set comes with two
beltpack transmitters and two lavalier microphones,
allowing you to send wireless signals from two lavalier
microphones or other audio sources to a DSLR camera or
audio device. With an additional U5 receiver (U5R), you
can send your audio signal to two DSLR cameras or audio
devices. The U5 receiver's shoe mount connects to any
DSLR camera. The proprietary, rechargeable Xvive U5B
lithium-ion battery provides up to 5 hours of continuous
power. The U5C Battery Charger (sold separately with
three U5B batteries) allows you to charge backup
batteries so you can operate the system continuously.
The U5 system reliably transmits high-resolution audio
on the 2.4 GHz wireless band, and can be used for video
shoots, livestreams, interviews, sporting events,
weddings and more.
• 2.4 GHz wireless audio, true diversity for both channels
simultaneously
• Use with a lavalier microphone or line input
• High-resolution 24 bit / 48 kHz audio
• 3.5 mm TRS stereo output
• Dual-channel receiver for DSLR video recording and
live broadcast
• Xvive U5B rechargeable lithium battery provides up to
5 hours of continuous use
• Less than 6 ms latency
• Simultaneous transmission on up to 6 channels
• Mic mode dynamic range is 99 dB; Line mode dynamic
range is 107 dB
• Mic mode signal-to-noise ratio is 95 dB; Line mode
signal-to-noise ratio is 107 dB
• Wide frequency response 20 Hz – 20 kHz; Mic mode
with100 Hz high-pass lter
• Stable RF connection over a 100 foot range (actual
range depends on RF signal absorption, reection
and interference)
• Stereo and mono output modes

U5 CONTENT
08
Windscreen
Pouch
Mic clip
Transmitter
Receiver
Dual USB charging cable
3.5 mm to 3.5 mm stereo cable
LV1 lavalier microphone
2x U5B batteries

10
U5T2 CONTENTS
09
2x Mic clips
Pouch
USB charging cable
Dual USB charging cable
3.5 mm to 3.5 mm stereo cable
2x LV1 lavalier microphone
2x windscreens
3x U5B batteries
2x transmitters
Receiver

1
2
3
4
6
5
10
7
11
12
9
1 Mute button: turns o the volume of the microphone input
2 3 “+” and “-” gain buttons: changes the input gain level from
Mic: -6 to +12 dB; Line: 0 to +12 dB
4 CH switch: selects the channel from 1 to 6
5 Mic/Line input mode: select “Mic” for lavalier microphone,
or “Line” for other devices with more dynamic range
6
The power switch turns the unit on or o, or keeps it in hold mode.
Hold mode disables all controls to ensure uninterrupted use
7 USB charging port: Micro B
8 OLED display: displays battery power level,
channel selected, gain, clip, mute
9 Battery compartment for U5B battery
10 Belt clip
11 Power status LED
12 Input: mono 3.5mm TRS input
8
+
-
U5 TRANSMITTER: BASIC OPERATION
10

1
2 3
4 5
1 RF channel display: press channel switch button to select channel
2 Input gain: Mic: -6 to +12 dB; Line: 0 to +12 dB
3 Battery level: displays the transmitter’s battery level
4 Input clip: peak indicator. When the clip LED illuminates, the sound
level is beyond the acceptable dynamic range and may result in
distortion.
5 Audio mute: press the mute button to turn o input audio
The brightness of the screen will decrease when the unit is not
in operation.
U5 TRANSMITTER: DISPLAY
11

12
13 12 1 2 T1 and T2 channel output gain: -54dB to +24dB
3 S / M switch: see page 23
4 Power status LED
5 Power switch: switches unit on/o, and can also be set to hold.
All functions of the unit are disabled while the power switch
is set to the hold position.
6 USB charging port: USB Micro B input
7 Audio output: Stereo 3.5mm TRS
8 9 Channel switch and T1/T2 RF status LED:
LED ON = transmitter is on and link is established
LED Flashing = signal connection interference
LED OFF = transmitter unlinked
10 11 T1 and T2 Channel mute switch with status LED
12
OLED display: displays battery power, channel, gain, clip, mute
13 Shoe mount adapter for DSLR camera,
with 3/8" female screw adapter
14 Battery compartment: see page 25
1
7
3
8
2
4
6
14
5
11
109
8
7
10
13
9
11
12
U5 RECEIVER: BASIC OPERATION

13
1
T1 RF channel display: To pair with transmitter, press the channel
switch button and select the same channel on both units.
2 T1 channel output gain: change this level using the output
gain controls on the transmitter
3 T1 channel transmitter battery level: The battery level of the
paired transmitter is displayed after a successful connection.
Only displays the U5 transmitter battery level—cannot display
U3 and U4 transmitter battery levels.
4 T1 channel clip and OFF display:
OFF: Press the channel switch button for 3 seconds to close
the T1 channel.
Output clip: peak indicator. When the clip LED illuminates, the
sound level is beyond the acceptable dynamic range, and may
result in distortion.
5 T2 channel display: shows channel, gain and battery level for
the second transmitter
6 Receiver battery level
1
4
2
Part 1 Part 2 Part 3
6 53
The screen is divided into three parts:
Transmitter 1 information; receiver battery level;
and Transmitter 2 information.
U5 RECEIVER: DISPLAY

14
1 Microphone capsule
2 Connection cable (1.6 m)
with 3.5mm TRS jack
3 Microphone clip
4 Foam windshield
1 3-pin power terminal
2 Battery pull tab
Please read the instructions on page 4
1
3
LV1 LAVALIER MICROPHONE U5B BATTERY
2
1
24

15
2402 MHz, 2480 MHz, 2482 MHz
2408 MHz, 2472 MHz, 2474 MHz
2416 MHz, 2464 MHz, 2466 MHz
2434 MHz, 2440 MHz, 2442 MHz
2427 MHz, 2448 MHz, 2450 MHz
2422 MHz, 2456 MHz, 2458 MHz
CHANNEL 1
CHANNEL 2
CHANNEL 3
CHANNEL 4
CHANNEL 5
CHANNEL 6
2.4 GHz Frequency Tables
U2 1-4 channels are the same as U3/U3C/U4/U51-4 channels;
U2/U3/U3C/U4 and U5 can be used with a maximum six sets
at a time
2.4 GHz SPECTRUM OVERVIEW AND INTERFERENCE
Tips and Methods to improve the performance of the
wireless system
1) Keep more than 3 meters distance between the U5
receiver and other transmitters such as WiFi routers.
2) Change channels to avoid interference with other
WiFi systems.
3) In case of interference from other WiFi systems, shorten
the distance between the U5 receiver and transmitter.
The U5 operates in the 2.4 GHz ISM band, the same band
used by Wi-Fi, Bluetooth, and other wireless systems.
2.4 GHz is an open band and as such does not require a
license to operate worldwide.

QUICK START
1. SET UP LAVALIER MICROPHONE
INSTALL CLIP
a) Install mic clip on the Xvive LV1 lavalier microphone;
b) Use the mic clip to attach the clip-on microphone to
clothing, as desired;
c) Run the mic cable to the transmitter in a way that
avoids friction noise, and so that the cable and the
transmitter antenna do not cross.
d) The Xvive LV1 microphone has an
omni-directional pickup pattern. Keep at least 10
inches away from your mouth or audio source.
>10 inches / 25 cm
12
34
16

3. CONNECTING THE RECEIVER TO
A DSLR CAMERA
Slide the shoe mount adapter onto the camera and
tighten the clamping screw to hold the receiver in
place. Connect receiver output to camera input
using the 3.5 mm TRS cable.
QUICK START
Belt
2. CONNECT TRANSMITTER
Connect the 3.5 mm TRS lavalier microphone cable
to the transmitter
17

5. PAIRING TRANSMITTER AND RECEIVER
Set transmitter and receiver to the same channel for
pairing; the green LED on the receiver will illuminate
when the connection is successful. You must use
dierent channels for T1 and T2 to avoid interference.
QUICK START
POWER ON
CHANNEL CHANNEL
POWER ON
4. POWER ON
Turn the power switch to the ‘on’ position:
the display screen will light up.
18

QUICK START
6. SETTING UP THE CAMERA AND RECEIVER
Sound recording
Sound record
Record level
Manual
MENU
-dB 40 12 0
L
R
• Open the DSLR camera menu and navigate to the sound
recording options.
• Set the audio input level control to “manual” mode.
• Adjust the record level.
Check the output level on the DSLR camera display.
Adjust the level so that the signal is strong,
but not so high that it sets o the clip light.
Input level too low?
Turn up the U5 receiver output level or the camera input
level
Left and right channel volumes imbalanced?
Mono mode: Adjust the two transmitter input gain
controls to balance.
Stereo mode: Adjust the two transmitter input gain
controls or adjust the receiver output level.
19

APPLICATION SCENARIOS
RECEIVERTRANSMITTERS
RECEIVERTRANSMITTER
Dual-channel receiver receives audio from two
U5 transmitters (connected to lavalier microphones)
for interviews, two-person broadcasts, etc.
Dual-channel receiver receives audio from
one U5 transmitter (lavalier microphone) and one U4
transmitter (mixing console or sound interface).
1 2
20
Other manuals for U5
2
This manual suits for next models
1
Table of contents
Other Xvive Microphone System manuals
Popular Microphone System manuals by other brands

Eaton
Eaton TRSM0020 Service manual

Pyle Pro
Pyle Pro Premier Series user manual

Audio Technica
Audio Technica 1600 Series Installation and operation guide

Better Music Builder
Better Music Builder VM-82U G3 operating instructions

Better Music Builder
Better Music Builder Q Series owner's manual

Sony
Sony DWZB30GB brochure