設定例:100枚
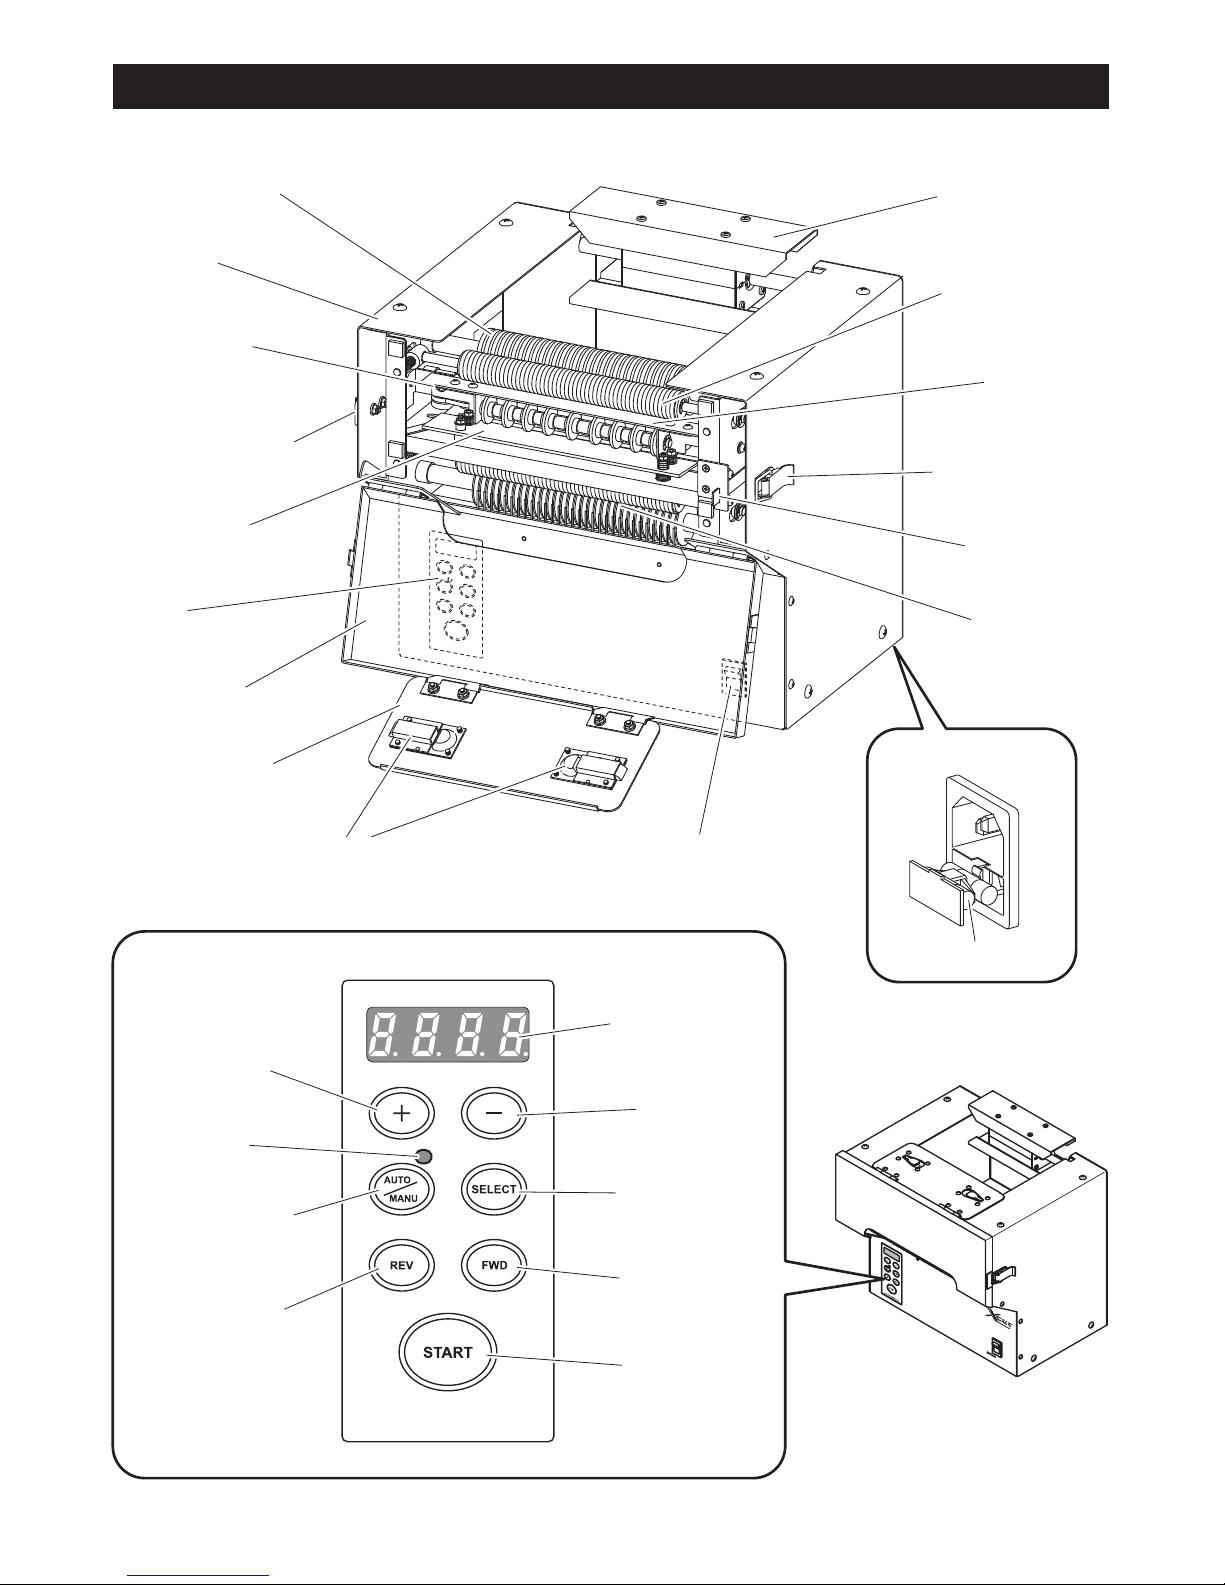
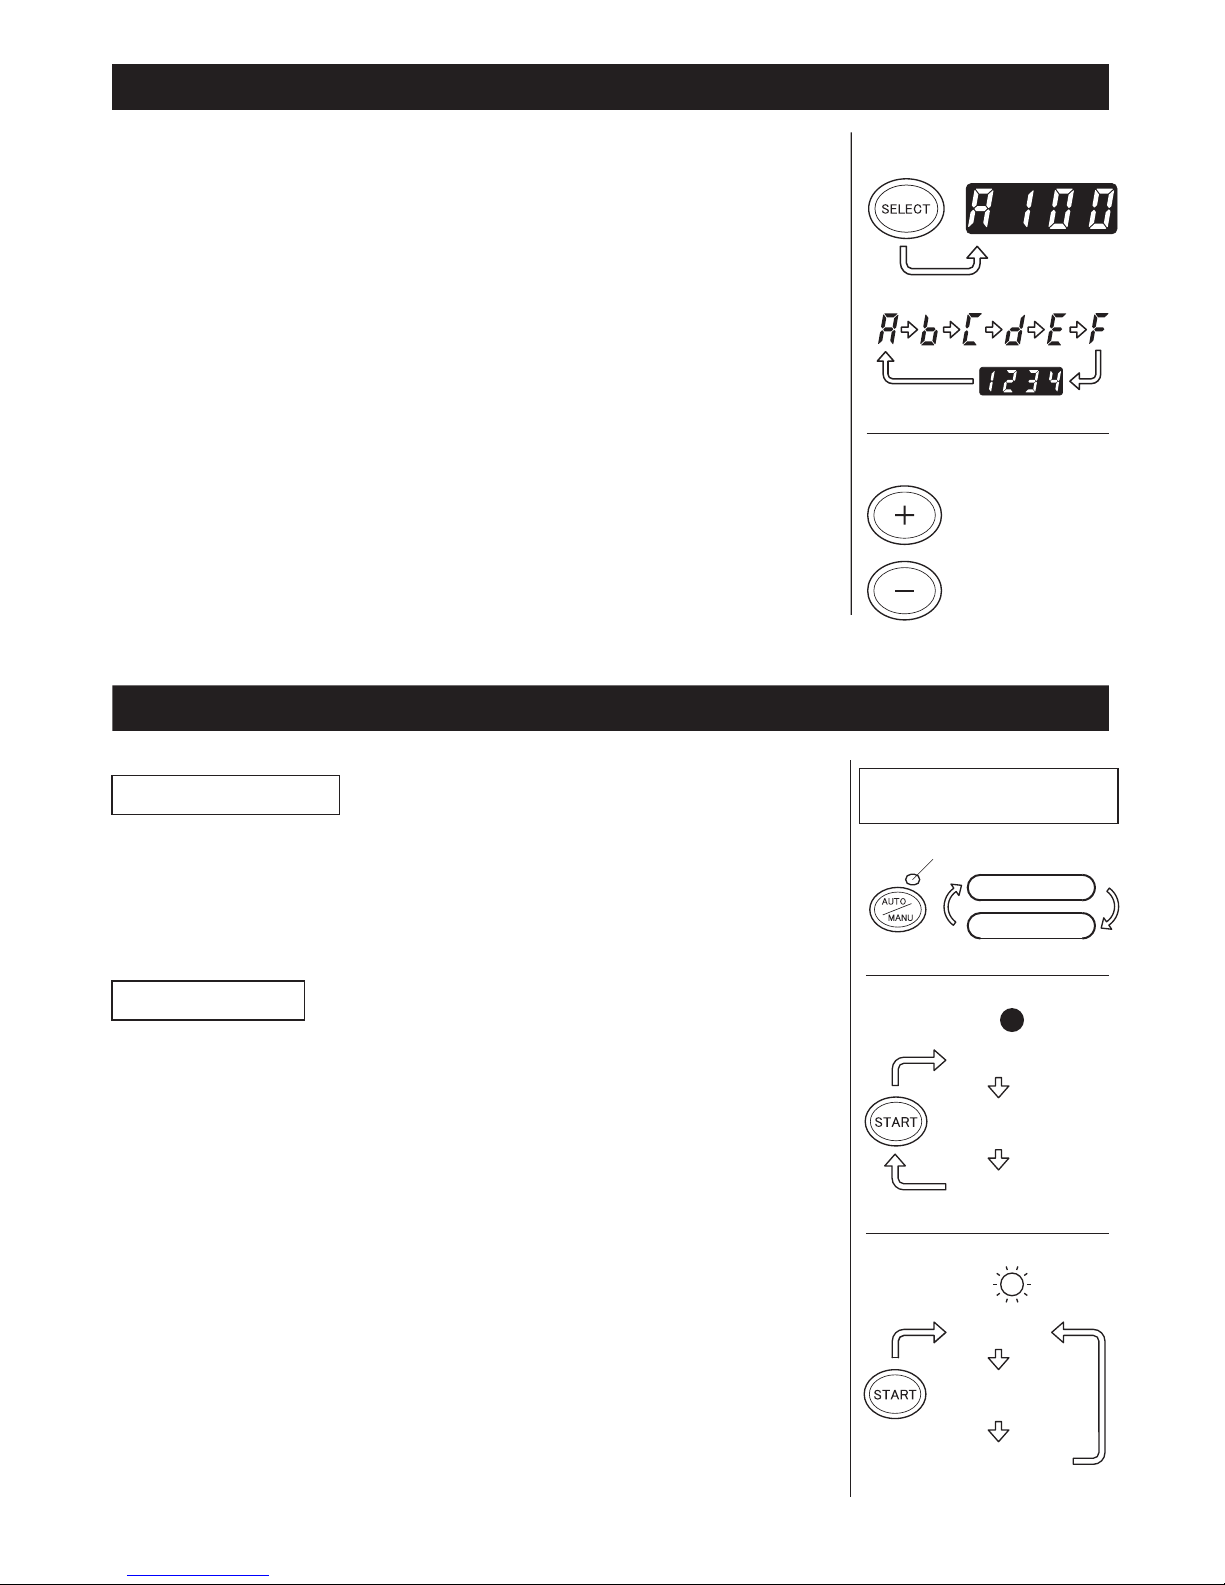
SELECT
SELECT
SELECT
START
SELECT
SELECT
START
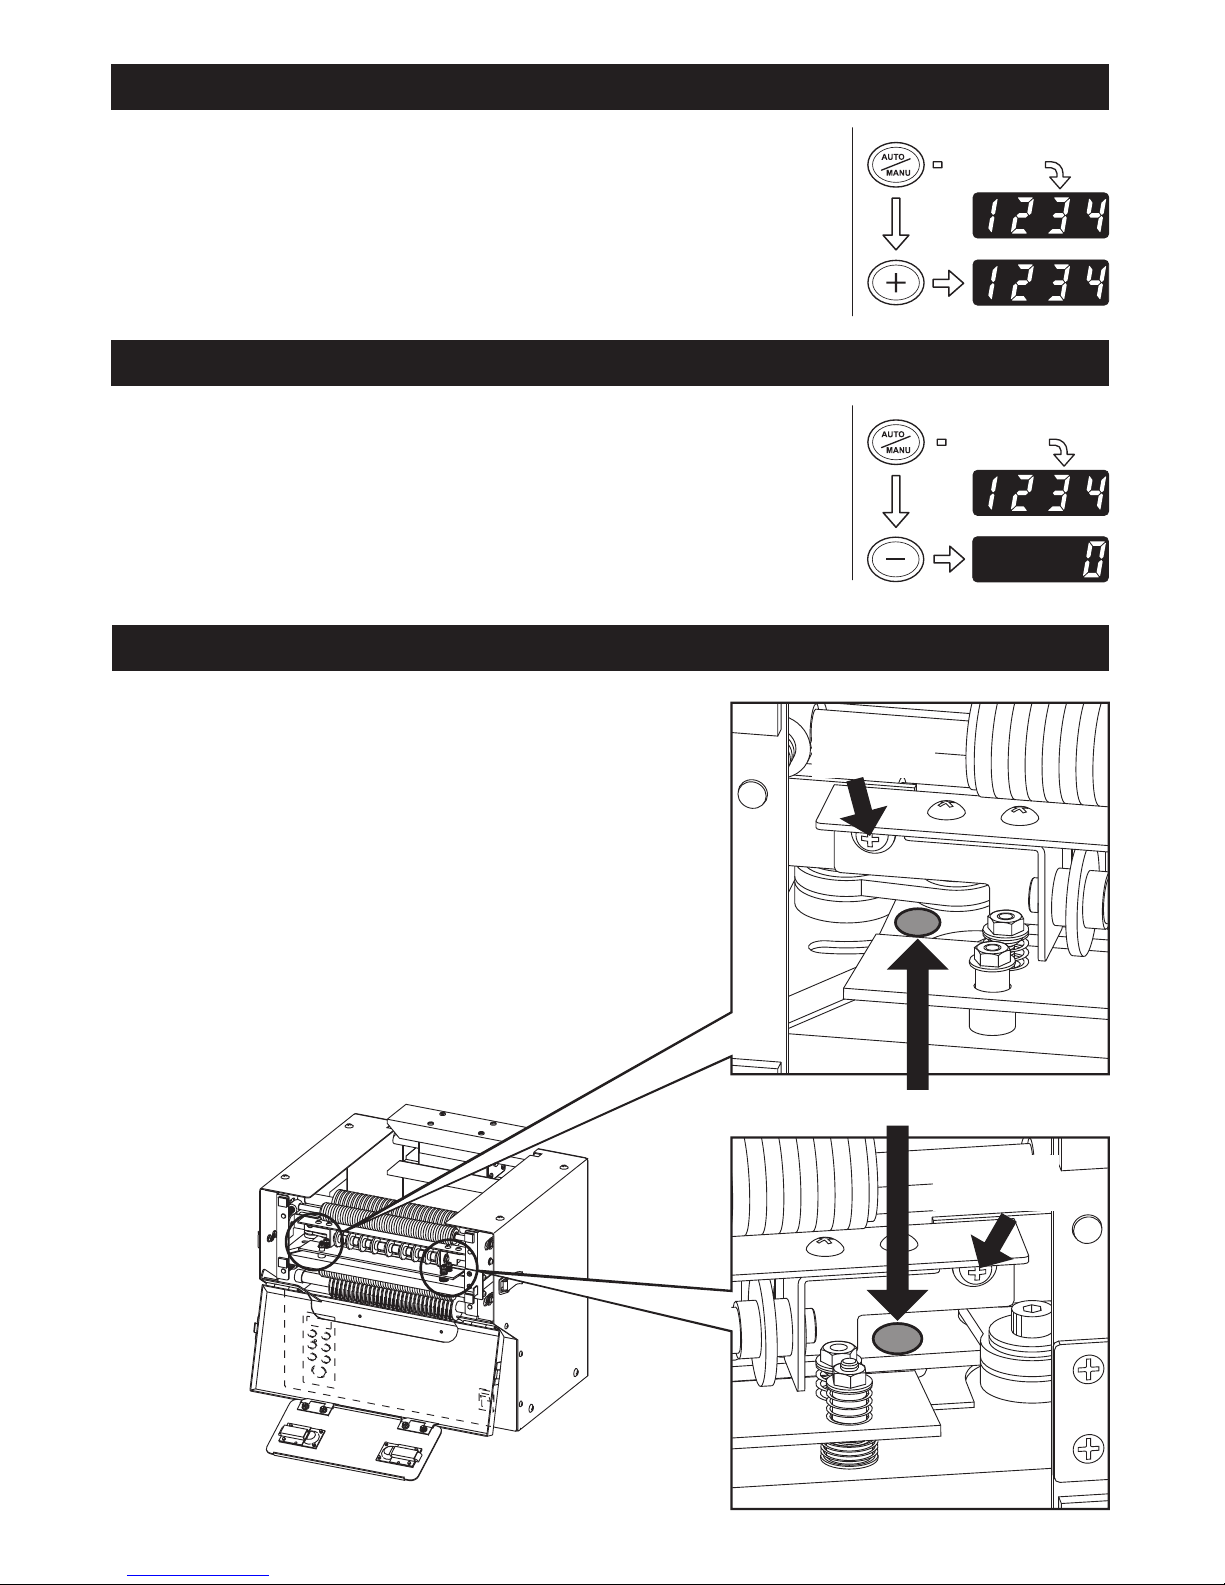
AUTO
MANU
Confirm the cutting length
Confirm the cutting length
Example of
Display:A 100mm
Example of
Display:A 100mm
Example of
Display:A 100pcs
Example of
Display:A 100pcs
Press longer
Press longer
4 digit number
4 digit number
MANUAL MODE
AUTO MODE
A~F
A~F
8
Preset Mode
A buzzer will sound when the number of setting pieces is completed.
You can use the mode either MANUAL or AUTO.
This setting is 999 pcs maximum.
■Press SELECT BUTTON and select the cutting length from A to F and 4
digit number.
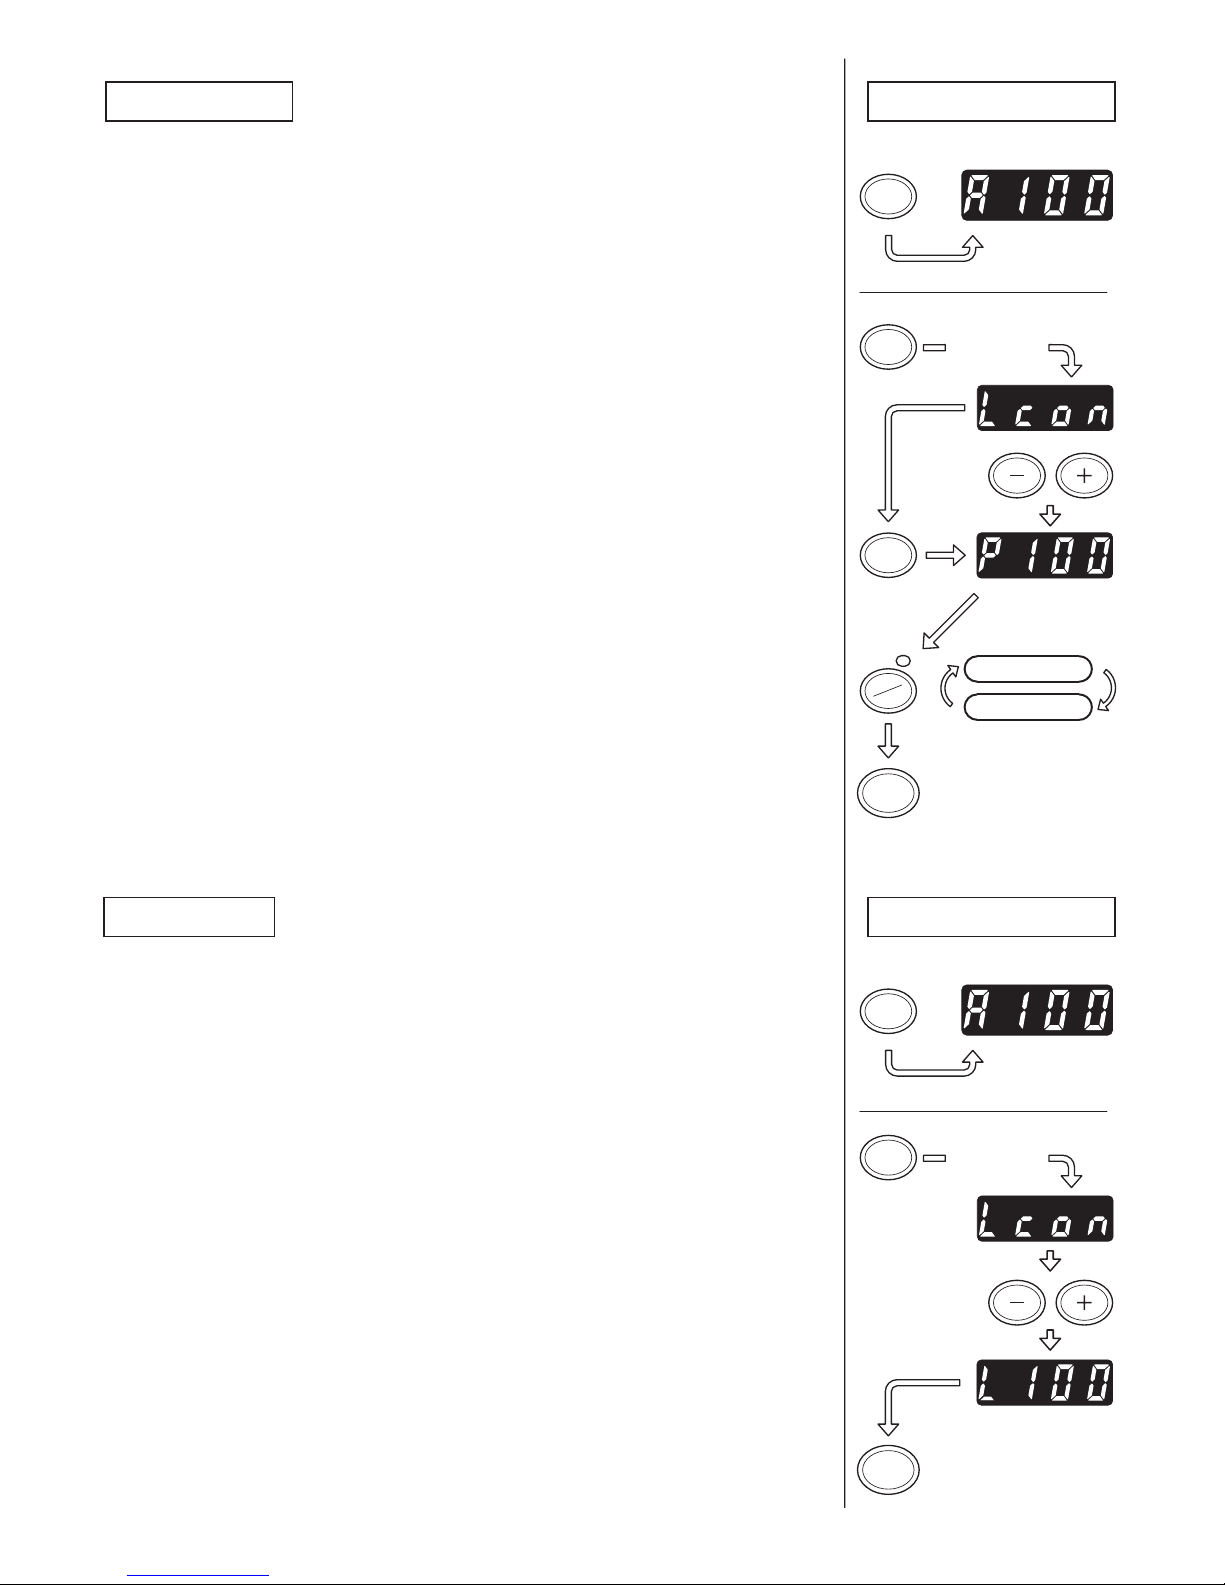
■Press SELECT BUTTON longer and Display Lcon mode.
■Press SELECT BUTTON shorter and P mode is ready.
・Display P and 3 digit as shown on right side.
■Press +or −BUTTON to set the number of cutting pieces.
■Press AUTO/MANUAL BUTTON to select the mode function.
■Cutting piece will be ready if pressing START BUTTON.
・When use in manual, press START BUTTON again after taking.
・When use in auto, another one will come out automatically.
■The setting number will be decreasing after every cutting.
■A buzzer will sound when it reaches 0.
・Return to the setting number after buzzing sound.
・Please press AUTO/MANUAL BUTTON when changing the function.
・When use in auto and remove the cutting piece while buzzing sound,
another one will come out automatically at the same time sound finishes.
It will be minus 1 on the display.
Loop Mode
When setting the number of cutting and press START BUTTON, it will keep
cutting without stopping.
This setting is 999 pcs maximum.
■Press SELECT BUTTON and select the cutting length from A to F and 4
digit number.
■Press SELECT BUTTON longer and Display Lcon mode.
■Press +or −BUTTON to set the number of cutting pieces.
■After pressing START BUTTON, it will begin the countdown and keep
cutting without stopping.
・A buzzer will sound and stop when it reachs 0.
・If you want to stop, please press START BUTTON.
If pressing START BUTTON again, it will resume.
P Mode Operation
L Mode Operation