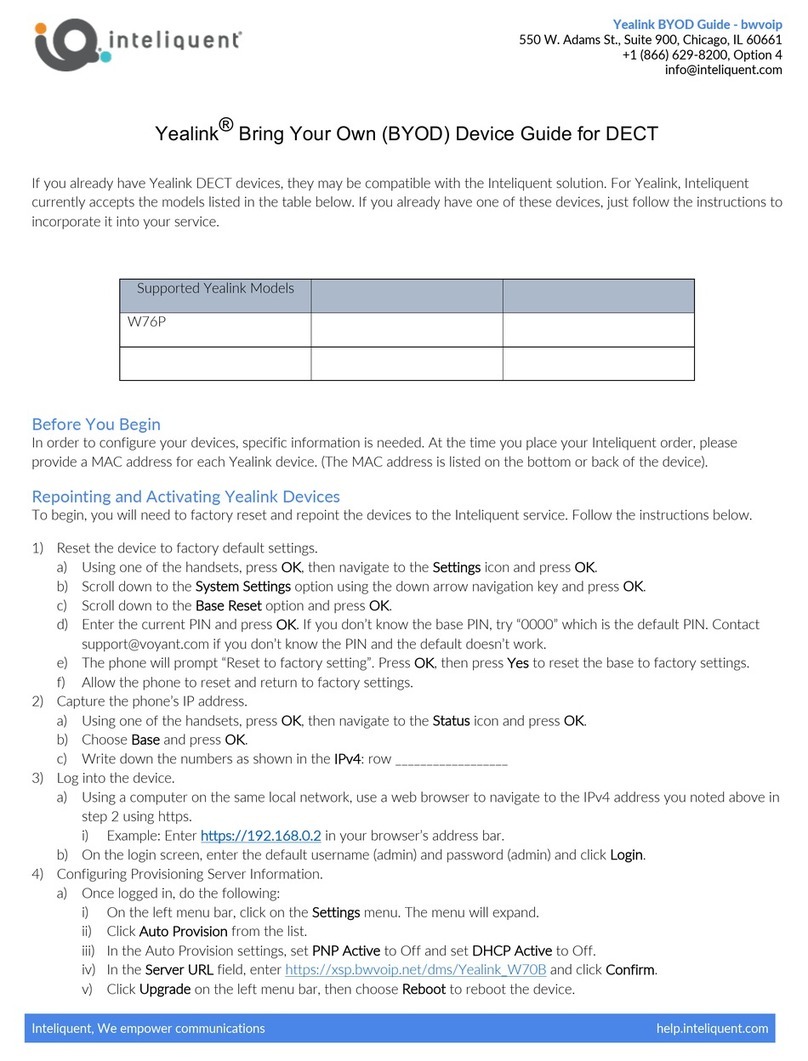
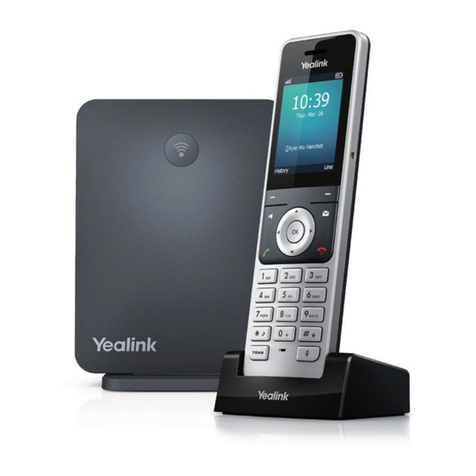
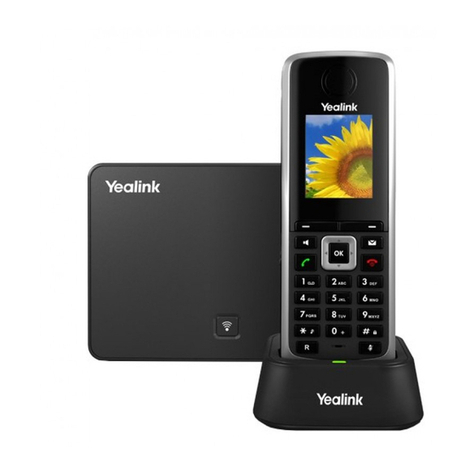
manuals.online logo
Brands
  1. Home
  2. •
  3. Brands
  4. •
  5. Yealink
  6. •
  7. Cordless Telephone
  8. •
  9. Yealink W56H Instruction manual

Yealink W56H Instruction manual

Other manuals for W56H

17

This manual suits for next models

1

Other Yealink Cordless Telephone manuals

Yealink W59R User manual

Yealink

Yealink W59R User manual

Yealink W59R Instruction manual

Yealink

Yealink W59R Instruction manual

Yealink W56P Telesystem User manual

Yealink

Yealink W56P Telesystem User manual

Yealink W60P Telesystem User manual

Yealink

Yealink W60P Telesystem User manual

Yealink Telkom W52P User manual

Yealink

Yealink Telkom W52P User manual

Yealink Telkom W52P User manual

Yealink

Yealink Telkom W52P User manual

Yealink W76P User manual

Yealink

Yealink W76P User manual

Yealink W76P Manual

Yealink

Yealink W76P Manual

Yealink T54W User manual

Yealink

Yealink T54W User manual

Yealink Telkom W52P User manual

Yealink

Yealink Telkom W52P User manual

Yealink T54W User manual

Yealink

Yealink T54W User manual

Yealink CP930W Telesystem User manual

Yealink

Yealink CP930W Telesystem User manual

Yealink W60P Telesystem User manual

Yealink

Yealink W60P Telesystem User manual

Yealink W60P Telesystem User manual

Yealink

Yealink W60P Telesystem User manual

Yealink W56H User manual

Yealink

Yealink W56H User manual

Yealink W56H User manual

Yealink

Yealink W56H User manual

Yealink W53P User manual

Yealink

Yealink W53P User manual

Yealink W56H Instruction manual

Yealink

Yealink W56H Instruction manual

Yealink W76P User manual

Yealink

Yealink W76P User manual

Yealink W60P Telesystem User manual

Yealink

Yealink W60P Telesystem User manual

Yealink T54W User manual

Yealink

Yealink T54W User manual

Yealink W56P Telesystem User manual

Yealink

Yealink W56P Telesystem User manual

Yealink W56H Setup guide

Yealink

Yealink W56H Setup guide

Yealink DECT IP Multi-Cell Deployment ToolKit User manual

Yealink

Yealink DECT IP Multi-Cell Deployment ToolKit User manual

Popular Cordless Telephone manuals by other brands

Sony SPP-SS965 - Cordless Telephone operating instructions

Sony

Sony SPP-SS965 - Cordless Telephone operating instructions

Telstra Orb user guide

Telstra

Telstra Orb user guide

Mitel DT390 Quick reference guide

Mitel

Mitel DT390 Quick reference guide

GE 25830 user guide

GE

GE 25830 user guide

Uniden EXR2460 owner's manual

Uniden

Uniden EXR2460 owner's manual

BT DIVERSE 1010 user guide

BT

BT DIVERSE 1010 user guide

BT Graphite 1500 quick start guide

BT

BT Graphite 1500 quick start guide

3Com NBX Guide

3Com

3Com NBX Guide

Panasonic KX-TGK210HK operating instructions

Panasonic

Panasonic KX-TGK210HK operating instructions

Panasonic KX-TCA181EX installation manual

Panasonic

Panasonic KX-TCA181EX installation manual

BT FREESTYLE 3200 user guide

BT

BT FREESTYLE 3200 user guide

Panasonic KX-TG7301E operating instructions

Panasonic

Panasonic KX-TG7301E operating instructions

AUDIOLINE Splash 10x operating instructions

AUDIOLINE

AUDIOLINE Splash 10x operating instructions

Sanyo CLT-J70 instruction manual

Sanyo

Sanyo CLT-J70 instruction manual

Amplicomms BigTel 201 user manual

Amplicomms

Amplicomms BigTel 201 user manual

GE 26992 user guide

GE

GE 26992 user guide

AT&T E1812B user manual

AT&T

AT&T E1812B user manual

Sanyo CLT-670 instruction manual

Sanyo

Sanyo CLT-670 instruction manual

manuals.online logo
manuals.online logoBrands
  • About & Mission
  • Contact us
  • Privacy Policy
  • Terms and Conditions

Copyright 2025 Manuals.Online. All Rights Reserved.

QUICK USER GUIDE
YEALINK W56H W60B
SMARTCITYMETRO.COM
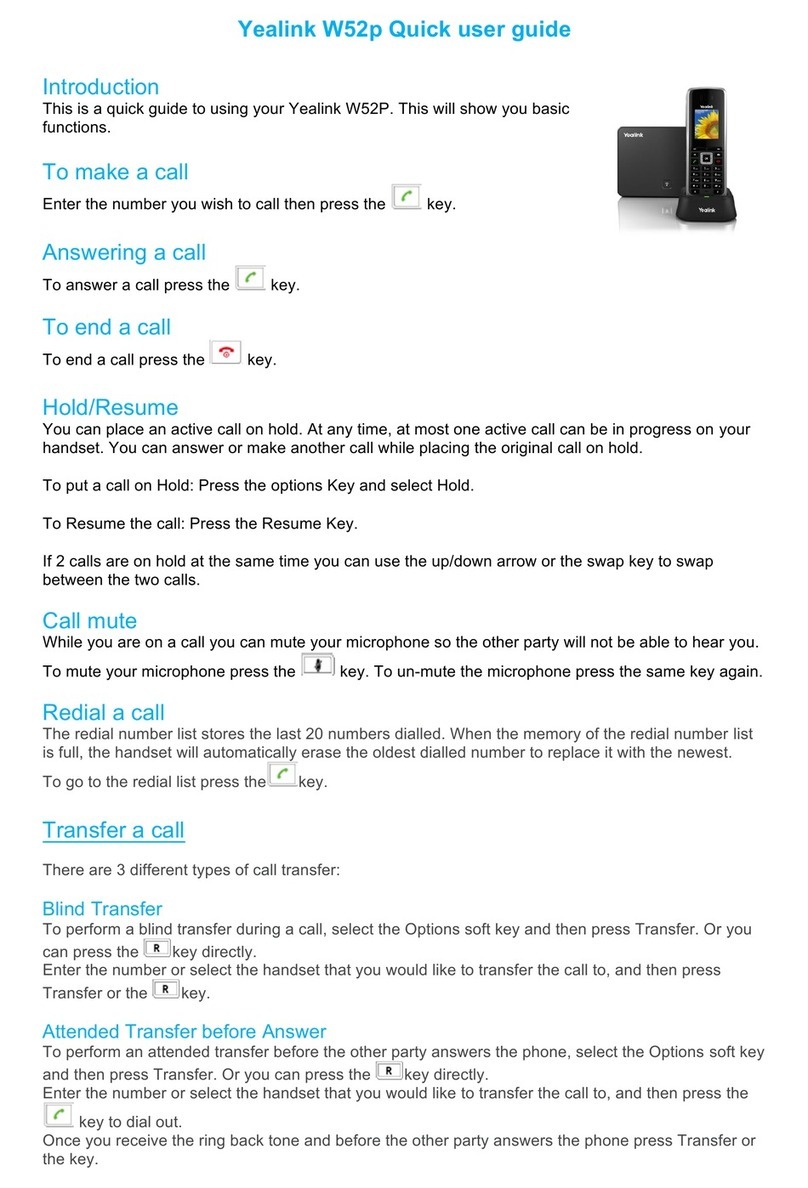
NAVIGATION KEYS
The Navigation keys allow you to scroll through the options
and lists on the display keys by pressing left, right, up, or down.
These keys are pre-programmed with shortcuts to specific
functions like ringtone volume and the Directory. To customize
shortcuts:
1. Press the OK key.
2. Select the Settings icon.
3. Select Shortcut.
4. Select the desired shortcut to customize.
5. Press the Change soft key.
6. Select a new setting for that shortcut.
TURNING THE HANDSET ON/OFF
To turn the handset on or off, long press (about 2 seconds) the
On-Hook key.
TURNING THE SILENT MODE ON/OFF
In the Silent Mode, the handset displays incoming call
information, but does not ring. To turn Silent Mode on or off,
long press (about 2 seconds) the asterisk * key.
ADJUSTING THE VOLUME
• Press the left/right arrow when the phone is idle to adjust
Ringer Volume.
• Press left/right arrow during a call to adjust Audio Volume of
speakerphone/earpiece.
CHANGING RING TONES
• External Incoming Calls: Navigate to OK -> Settings ->
Audio -> Ring Tones -> Melodies. Select a ringtone for a line
and hit Save.
• Internal Incoming Calls: Navigate to OK -> Setting -> Audio ->
Ring Tones -> Melodies. Select an Intercom Call ringtone
and hit Save.
ASSIGN A SPEED DIAL NUMBER
1. Press the OK key to enter the main menu, and then select
Settings -> Telephony -> Speed Dial.
2. Press Up or Down keys to highlight the desired digit
key, and then press the Assign soft key.
3. Press Up or Down keys to highlight the desired entry,
and then press the OK soft key. If both the office number and
mobile number are stored, press to highlight the desired
number, and then press the OK soft key again.
LOCAL CONTACT DIRECTORY
TO VIEW A CONTACT
• Navigate to OK -> Directory.
TO ADD A CONTACT
1. Press the OK -> Directory -> Options -> New Contact.
2. Enter the Name, Number and Mobile info and Save.
TO EDIT A CONTACT
1. Navigate to OK -> Directory.
2. Select a Contact and Options -> Edit.
3. Edit information and Save.
TO DELETE A CONTACT
1. Navigate to OK -> Directory.
2. Select a contact and Options -> Delete -> Yes.
CALL HISTORY
The History list holds up to 100 entries. Icons indicate Placed,
Received, Missed, or Forwarded call. Press the left/right arrow
keys to switch among the call lists.
TO VIEW CALL HISTORY RECORDS
1. Press History.
2. Select a record and Option -> Detail.
TO PLACE A CALL FROM THE CALL HISTORY
1. Press History and select a Contact.
2. Press Off-Hook or Speakerphone .
On-hook/Power. Powers handset off/on
and returns to previous screen when on.
Cancel actions and reject incoming calls.
Confirms actions. Enters Main Menu.
Connects to Voicemail.
Mutes/unmutes Speaker.
Turns Speakerphone off/on Switches
between receiver, headset, hands-free.
Transfers calls.
Left Softkey display History.
Right Softkey displays Line Status.
Increases/decreases Volume.
Scrolls through screen options.
Off-hook. Answers and places calls.
DISPLAY KEYS:
PLACING A CALL
TO PLACE A CALL DIRECTLY, DO ONE OF THE
FOLLOWING:
1. Enter a phone number and hit , Speakerphone ,
or On-Hook to dial.
2. Press Speakerphone . Enter a phone number and ,
Speakerphone ,or On-Hook to dial.
TO PLACE A CALL FROM THE CALL HISTORY LIST:
1. Press the History soft key when the handset is idle, and then
select the desired call history list.
2. Press to highlight the desired entry, and then press On-
Hook or the Speakerphone to dial out using the default
line.
TO PLACE A CALL TO THE LAST DIALED NUMBER:
Press On-Hook twice.
TO PLACE A CALL USING THE SPEED DIAL KEY:
Long press the speed dial key to call the preset number directly.
ANSWERING A CALL
TO ANSWER A CALL, PRESS ONE OF THE
FOLLOWING KEYS:
1. Hit Accept, On-Hook , Speakerphone , or .
TO ANSWER A CALL WHILE ON AN ACTIVE CALL, DO
ONE OF THE FOLLOWING:
1. Press the down arrow key to select the incoming call.
2. Press , On-Hook , Speakerphone , or Accept. The
Active call is placed on Hold and the incoming call becomes
Active.
ENDING A CALL
To end a call, press the On-Hook key.
TRANSFERRING A CALL
TO CONDUCT A BLIND TRANSFER:
1. Aer the rst call is connected, press the Opons sokey.
2. Press the Blind Transfer soft key. The active call will be placed
on hold.
3. Dial the number or extension.
4. Press the Transfer soft key.
5. When you hear the ring back tone, press the Transfer softkey
again to complete the transfer.
TO CONDUCT AN ANNOUNCED TRANSFER:
1. Place the call on hold.
2. Press Line then press Dial.
3. Enter extension or number to call.
4. Once the receiving party answers, announce your call.
5. Press Options.
6. Press Call Transfer.
7. Press Transfer.
TO TRANSFER THE CALL DIRECTLY TO ANOTHER
USER’S VOICEMAIL:
1. Dial *7<extension>.
2. Dial the extension, followed by #.
CALL FORWARDING
1. Press the OK key to access the Main Menu -> Call Features ->
Call Forward.
2. Select a Line and Forwarding Type.
- Always: Incoming calls are forwarded immediately.
- Busy: Incoming calls are forwarded when handset is busy.
- No Answer: Incoming calls are forwarded if not answered
after a period of time.
3. Select Enabled, then enter the desired destination number, or
the desired ring time to wait before forwarding for No Answer.
4. Press Save.
TO DISABLE CALL FORWARDING:
1. Select Menu -> Features -> Call Forward and a Line, if
multiple lines
2. Select a Forwarding Type -> Enter -> Disable -> Save.
SETTING UP VOICEMAIL
1. Initiate a call.
2. Press Voicemail
3. At the prompt, enter a unique passcode (using 4-8 digits),
then press #.
4. When asked, re-enter your passcode, then press #.
5. Follow instructions to record your name.
6. Follow prompts to:
- Set up Busy greeting.
- Set up No Answer greeting
- Set up Call Forward options.
You can also customize your greeting and greeting options in the
online Smart City User Portal.
RETRIEVING VOICEMAIL MESSAGES
A red “message waiting” indicator light notifies you when you
have a new voicemail message. If you have more than one
message, the count will be displayed near the message icon.
1. To check your voicemail, press the Voicemail icon. (You
may also dial #97, or your extension).
2. Enter your voicemail passcode, then press #. (If you forgot
your passcode, please contact your system administrator).
3. Follow the audio prompts.
CONFERENCE CALLS
The phone supports conference calls with two other parties and
multi-way network conferencing.
TO INITIATE A CONFERENCE CALL WITH TWO
CONTACTS:
1. Place a call to the first party.
2. After the call connect, select Options -> Conference.
3. Call the next Contact and select Conf to join the participants.
TO CREATE A CONFERENCE CALL WITH AN ACTIVE
CALL AND A HELD CALL:
1. While on an Active call, select a Held call.
2. Select Conf.
QUICK USER GUIDE
YEALINK W56H W60B
SMARTCITYMETRO.COM