manuals.online logo
Brands
  1. Home
  2. •
  3. Brands
  4. •
  5. YoraHome
  6. •
  7. Wood Router
  8. •
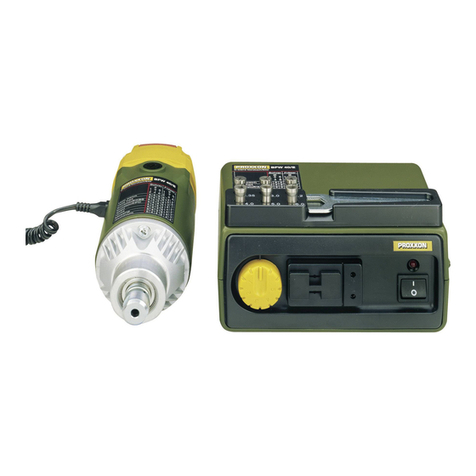
  9. YoraHome SILVERBACK 6060 User manual

YoraHome SILVERBACK 6060 User manual

Other manuals for SILVERBACK 6060

1

Popular Wood Router manuals by other brands

Stanley SRR1200-RU Original instructions

Stanley

Stanley SRR1200-RU Original instructions

Wolfcraft MASTER RT 540 manual

Wolfcraft

Wolfcraft MASTER RT 540 manual

Makita 3606 instruction manual

Makita

Makita 3606 instruction manual

HIKOKI M3612DA Handling instructions

HIKOKI

HIKOKI M3612DA Handling instructions

TREND T18S/R14 Original instructions

TREND

TREND T18S/R14 Original instructions

Skil 1830 Original instructions

Skil

Skil 1830 Original instructions

Freud FT750T Spare parts list

Freud

Freud FT750T Spare parts list

Makita RP1100 instruction manual

Makita

Makita RP1100 instruction manual

Clarke Contractor CR3 Operation & maintenance instructions
Clarke

Clarke Contractor CR3 Operation & maintenance instructions

Triton TMNRTR Operating/safety instructions
Triton

Triton TMNRTR Operating/safety instructions

Makita M3600 instruction manual

Makita

Makita M3600 instruction manual

DeWalt DCP611 Safety & Use Instructions

DeWalt

DeWalt DCP611 Safety & Use Instructions

AEG LF 650 Instructions for use

AEG

AEG LF 650 Instructions for use

Status RH1800 Original instructions

Status

Status RH1800 Original instructions
DeWalt DW621 instructions

DeWalt

DeWalt DW621 instructions

Yeti SMARTBENCH V1.1 quick start guide

Yeti

Yeti SMARTBENCH V1.1 quick start guide

Elem Co-Ligne DF1020-12CB-G manual

Elem Co-Ligne

Elem Co-Ligne DF1020-12CB-G manual

Shaper ORIGIN product manual

Shaper

Shaper ORIGIN product manual

manuals.online logo
manuals.online logoBrands
  • About & Mission
  • Contact us
  • Privacy Policy
  • Terms and Conditions

Copyright 2025 Manuals.Online. All Rights Reserved.

YORA SILVERBACK BENCHTOP CNC ROUTER 6060
LEAD SCREW REPLACEMENT
Version 1.0 • March, 2022
Purpose
This Manual is intended for retrofitting 12mm Lead Screws to the Yora
SilverBack Benchtop CNC Router; replacing the 10mm Lead Screws found on
early production units.
This manual is designed to cover this process only, and is not a complete
manual.
Before beginning assembly, we recommend conducting an inventory using
the Packing List to ensure all components are present.
Please read these instructions carefully before assembling your machine to
prevent possible damage to your machine.
Contents
Part 1: Packing List
Part 2: Mechanical Assembly
Part 3: Configuration Changes
Packing List
Part 1
Item Size Picture Quantity
Backlash Assemblies 3
Bearings 6
12mm Lead Screws 2 - Y Axis
1 - X Axis
Mechanical Assembly
Part 2
Preliminary Steps
- For ease of access, position the X axis near the middle of the gantry; and the Y axis
near the front of the machine.
- After setting position; ensure that the Controller is turned off, and the power cord
unplugged.
- Ensure that your work area has ample room around the machine to place major
components.
Mechanical Assembly
Part 2
Step 1 - Prepare New Lead Screws 1/2
Install the Backlash Assemblies to the
Lead Screws; starting at the end of the
Lead Screw with the small shoulder.
Ensure that the spring-loaded nut is
towards the shoulder of the Lead Screw,
as shown.
Depress the spring-loaded nut slightly to
install, providing some tension on the
assembly. The spring does NOT need to be
fully compressed.
Mechanical Assembly
Part 2
Step 1 - Prepare New Lead Screws
2/2
Repeat for all 3 Lead Screws,
positioning the Backlash
Assemblies approximately 6 inches
from the end of the Lead Screws
Mechanical Assembly
Part 2
Step 2 - Remove X Axis Assembly 1/4
Remove the 2 screws holding the Y
Axis drag chain bracket to the X Axis
side plate; this is necessary to allow
the X Axis to be moved to one side.
Mechanical Assembly
Part 2
Step 2 - Remove X Axis Assembly 2/4
Remove the 4 screws on each side of
the machine, holding the X Axis
Assembly to the Y Axis side plate
Mechanical Assembly
Part 2
Step 2 - Remove X Axis Assembly 3/4
Unplug the Y Axis limit switch
connector on the left side of the
machine, to prevent damage to the
wiring.