1. Getting started
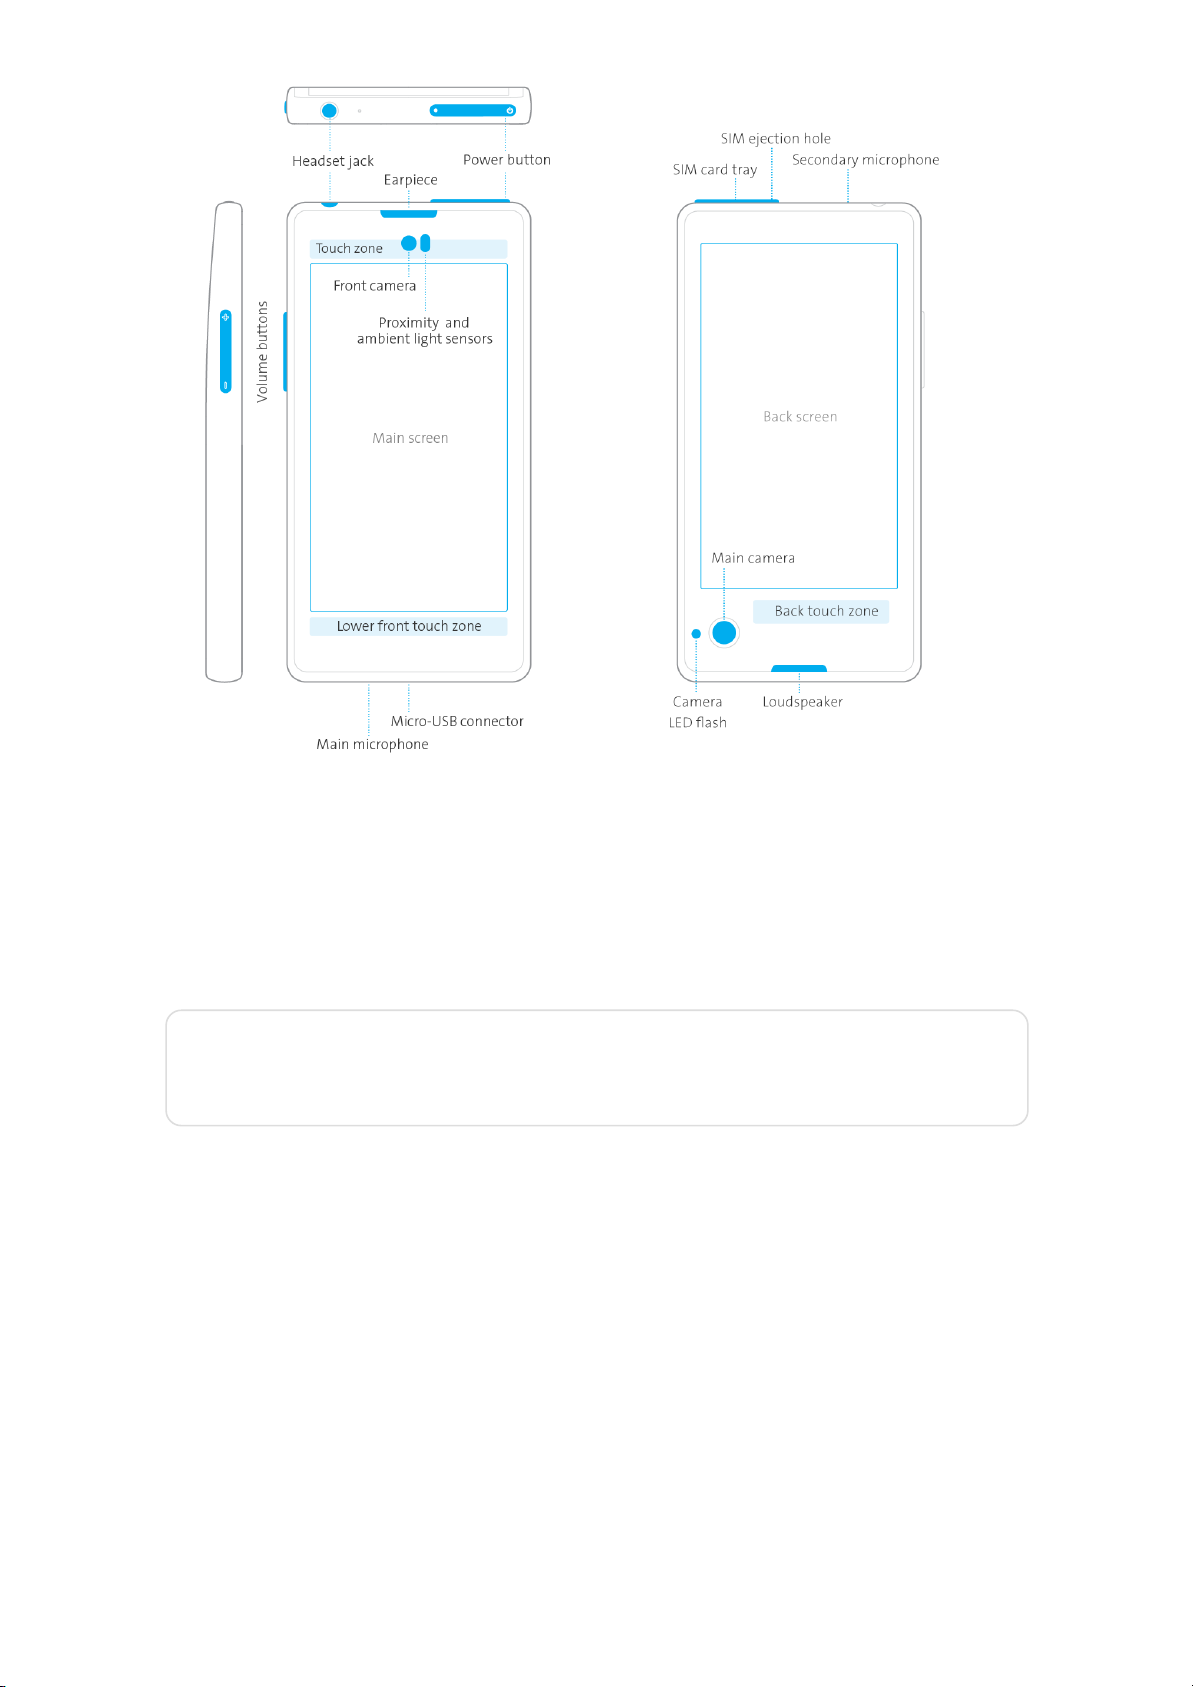
1.1. Get to know your YotaPhone
1.2. Install the Micro-SIM card
1.3. Charge your YotaPhone
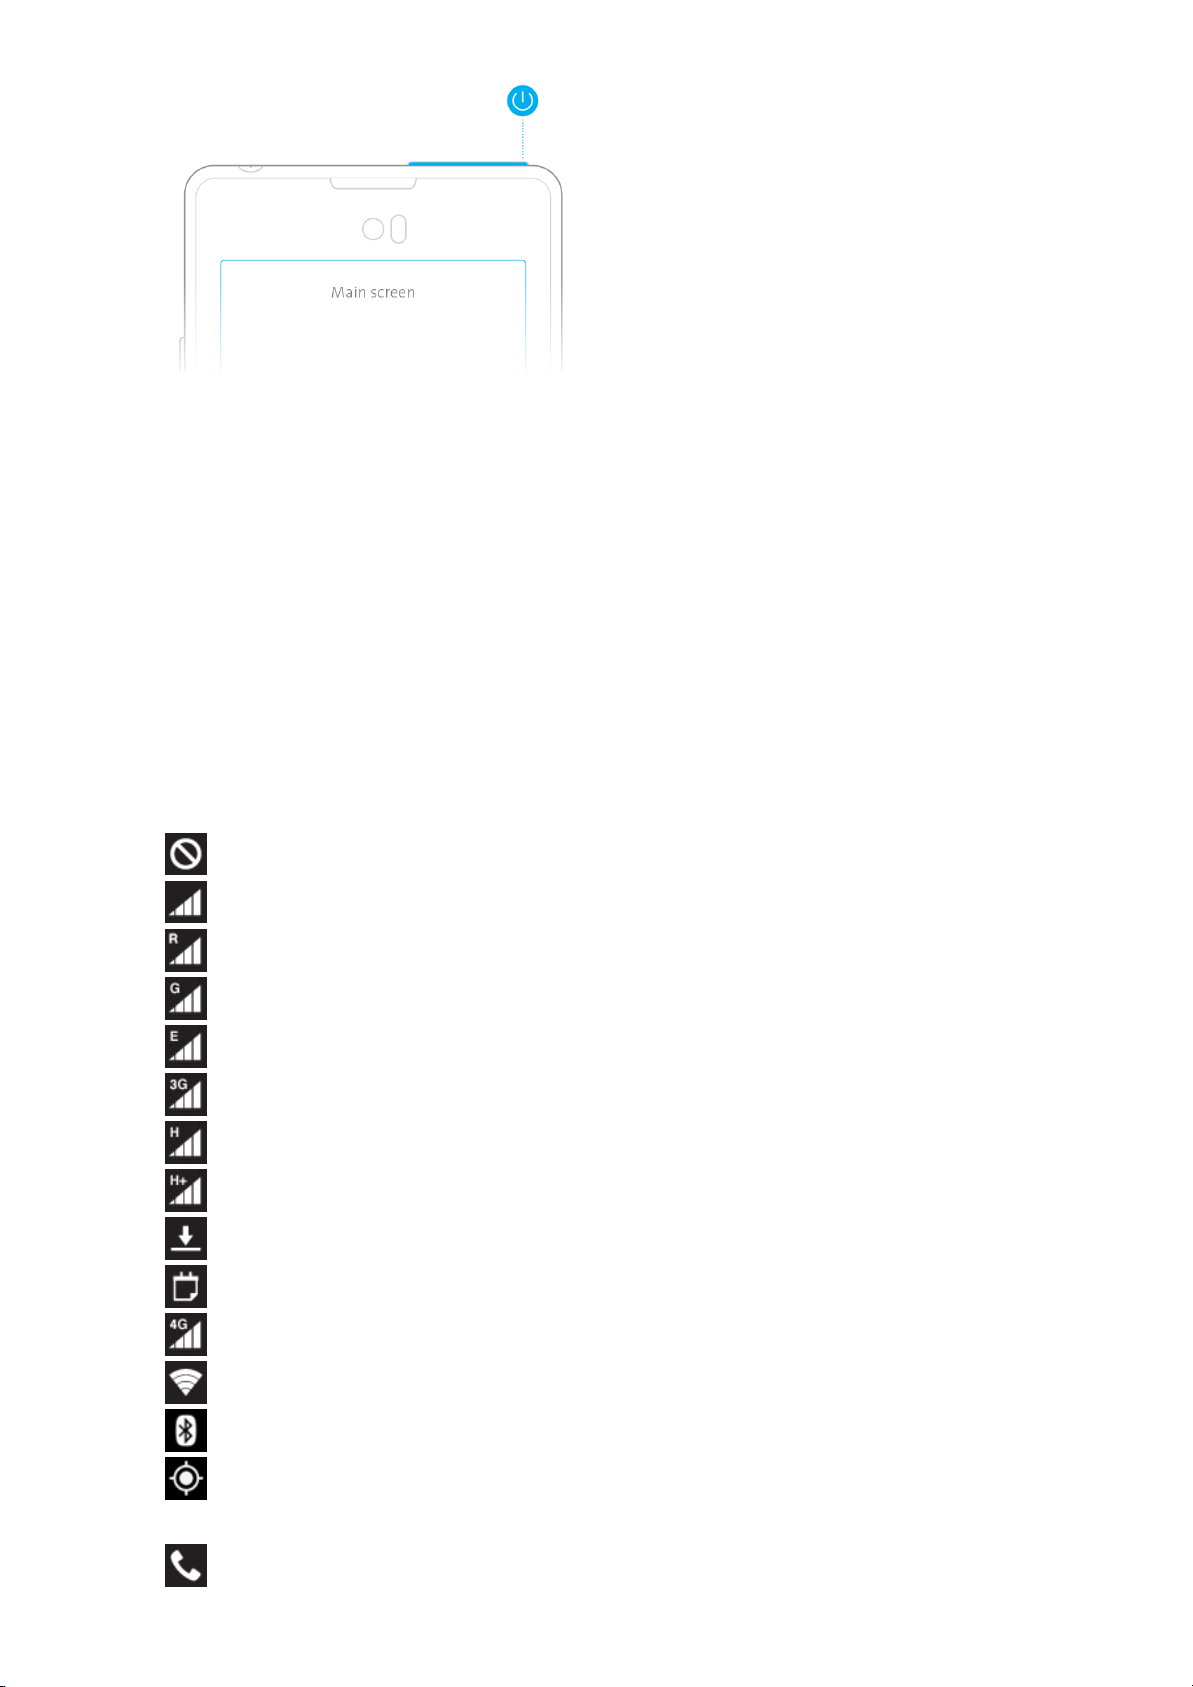
1.4. Switch your YotaPhone on/off
2. Basics
2.1. Indicators
2.2. Set up accounts
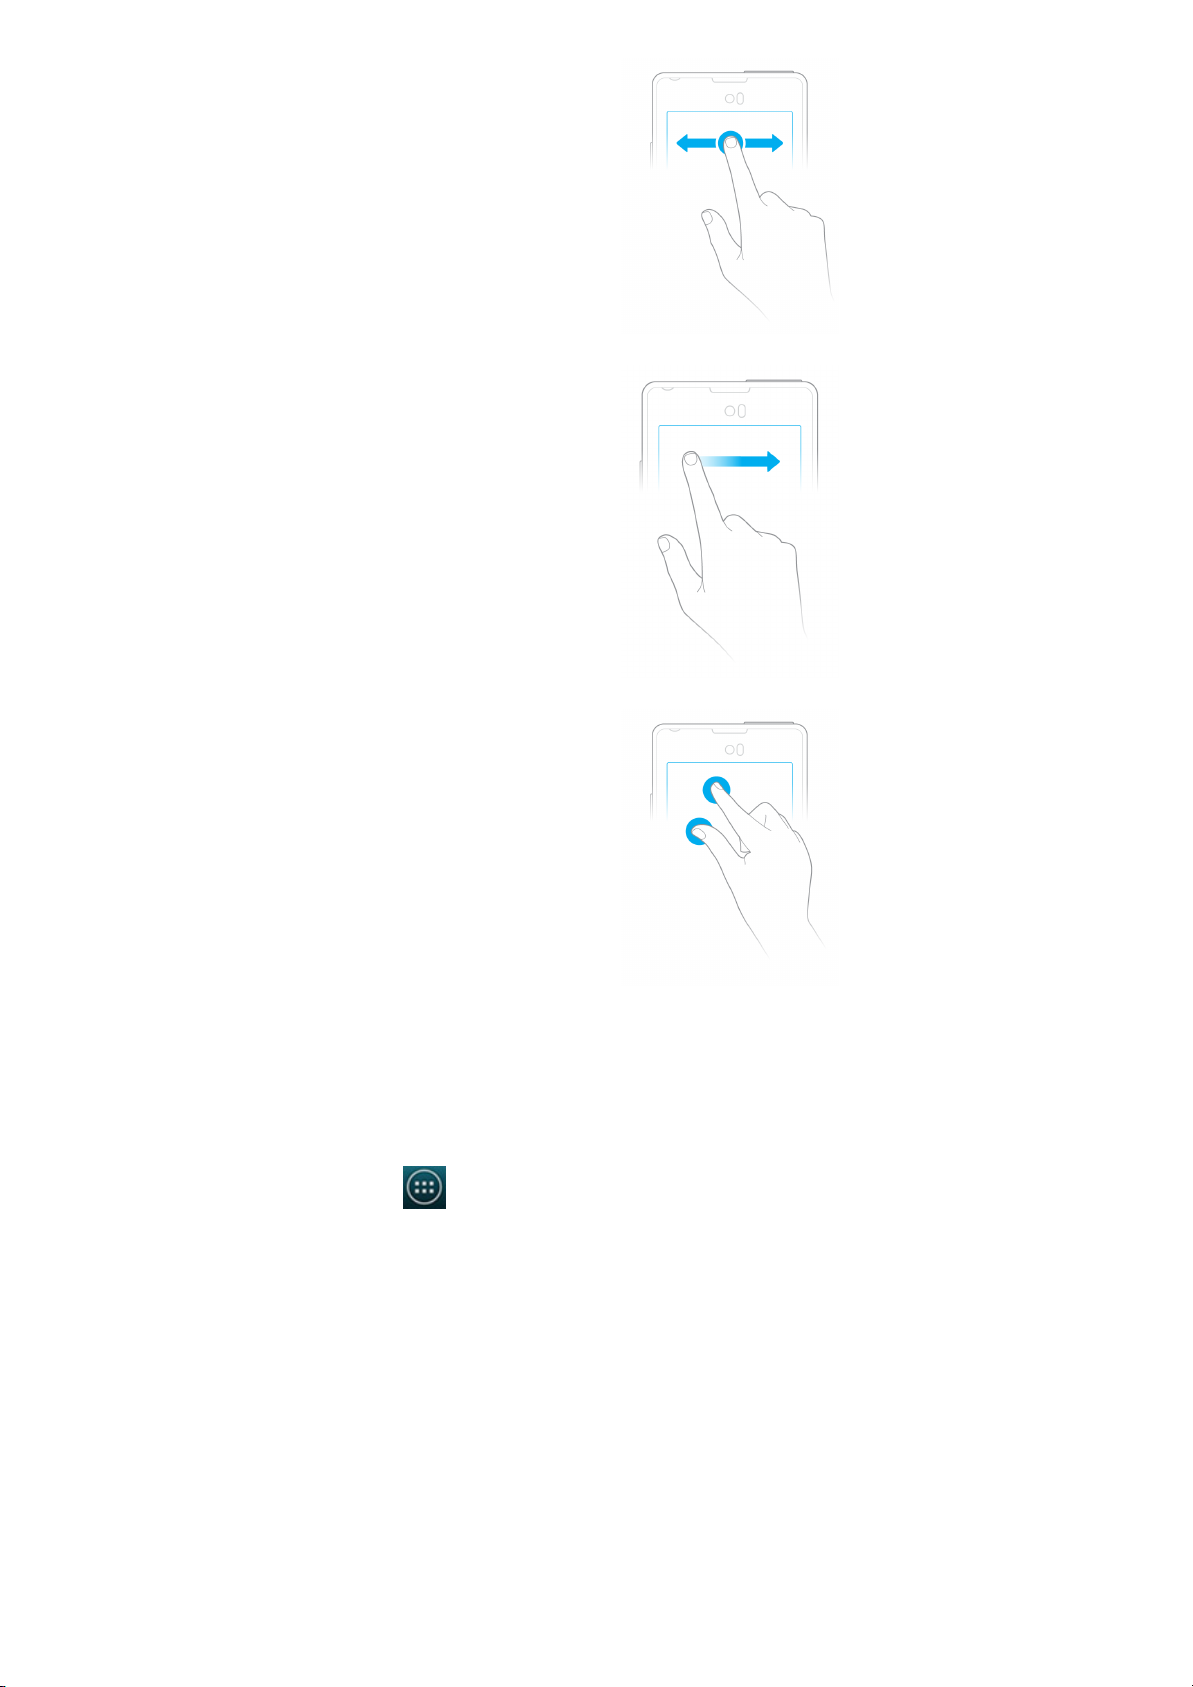
2.3. Touch Types
2.4. Change the Display settings
2.5. Navigation buttons and gestures
2.6. Back screen gestures
2.7. Lock/unlock the main screen
2.8. Turn on/off the airplane mode
2.9. Adjust the volume
2.10. Switch between silent, vibration and normal modes
2.11. Swipe down for notifications and status icons
2.12. Personalise your Home screen
2.13. Tutorial
3. Back screen settings
3.1. About back screen notifications
3.2. Enable back screen notifications
3.3. Set privacy modes
3.4. Enable SMS Fun
3.5. Back screen notification settings
3.6. Manage back screen notifications
3.7. Enable smile for camera
3.8. Enable photo previews
3.9. Enable discharged state
3.10. Choose discharged screen
3.11. Enable task manager
3.12 Enable vibrate
4. Text input
4.1. Input text with the on-screen keyboard
4.2. Input text by voice
4.3. Change default input method
5. Messaging
5.1. Send a message
5.2. Read a message
5.3. Reply to a message
5.4. Forward a message
5.5. Customise message settings
5.6. Delete a message or conversation
6. Call
6.1. Make a call
6.2. Make a conference call
6.3. Make an emergency call
6.4. Make an international call
6.5. Answer or reject a call
6.6. Call log
6.7. Listen to your voicemail messages
6.8. Call settings
7. People
7.1. Add a new contact
7.2. Create a contact group
7.3. Search for a contact
7.4. Import or export contacts
7.5. Manage your contacts
USER GUIDE