18 19
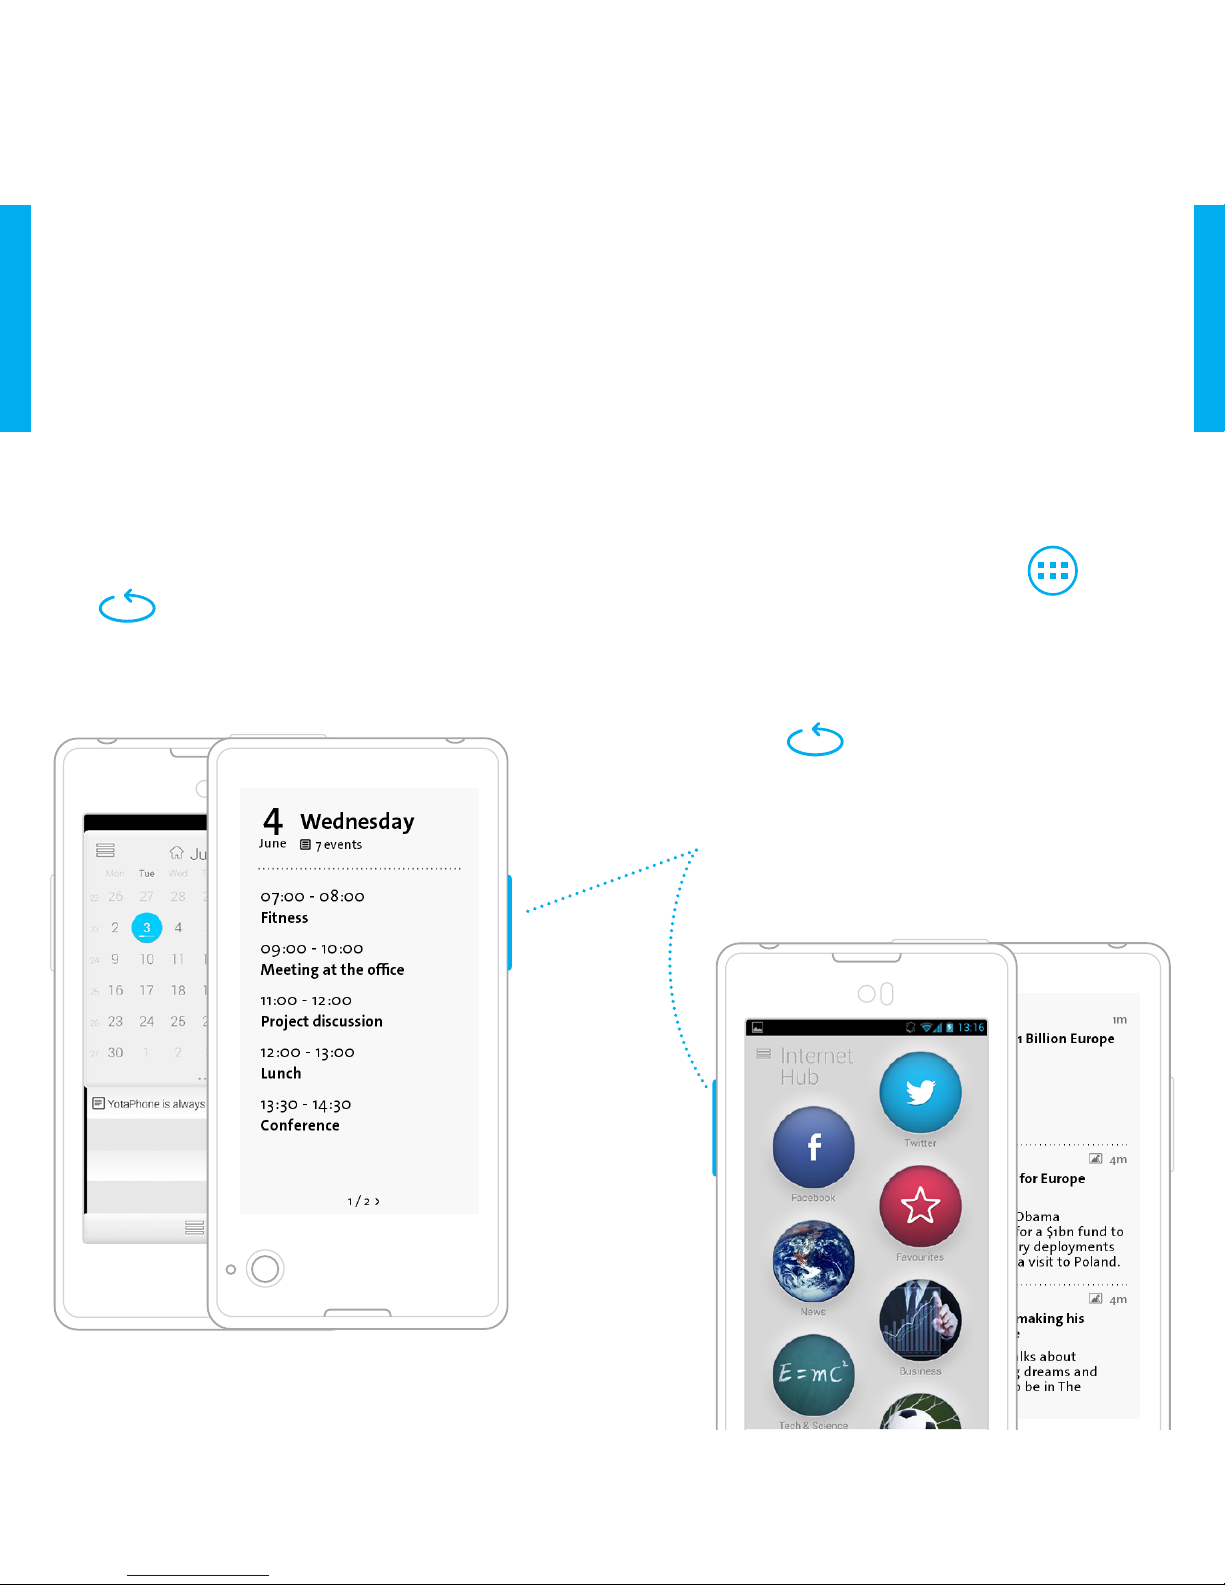
Back Screen Notication
Settings
You can easily have the notication
content displayed on the back
screen.
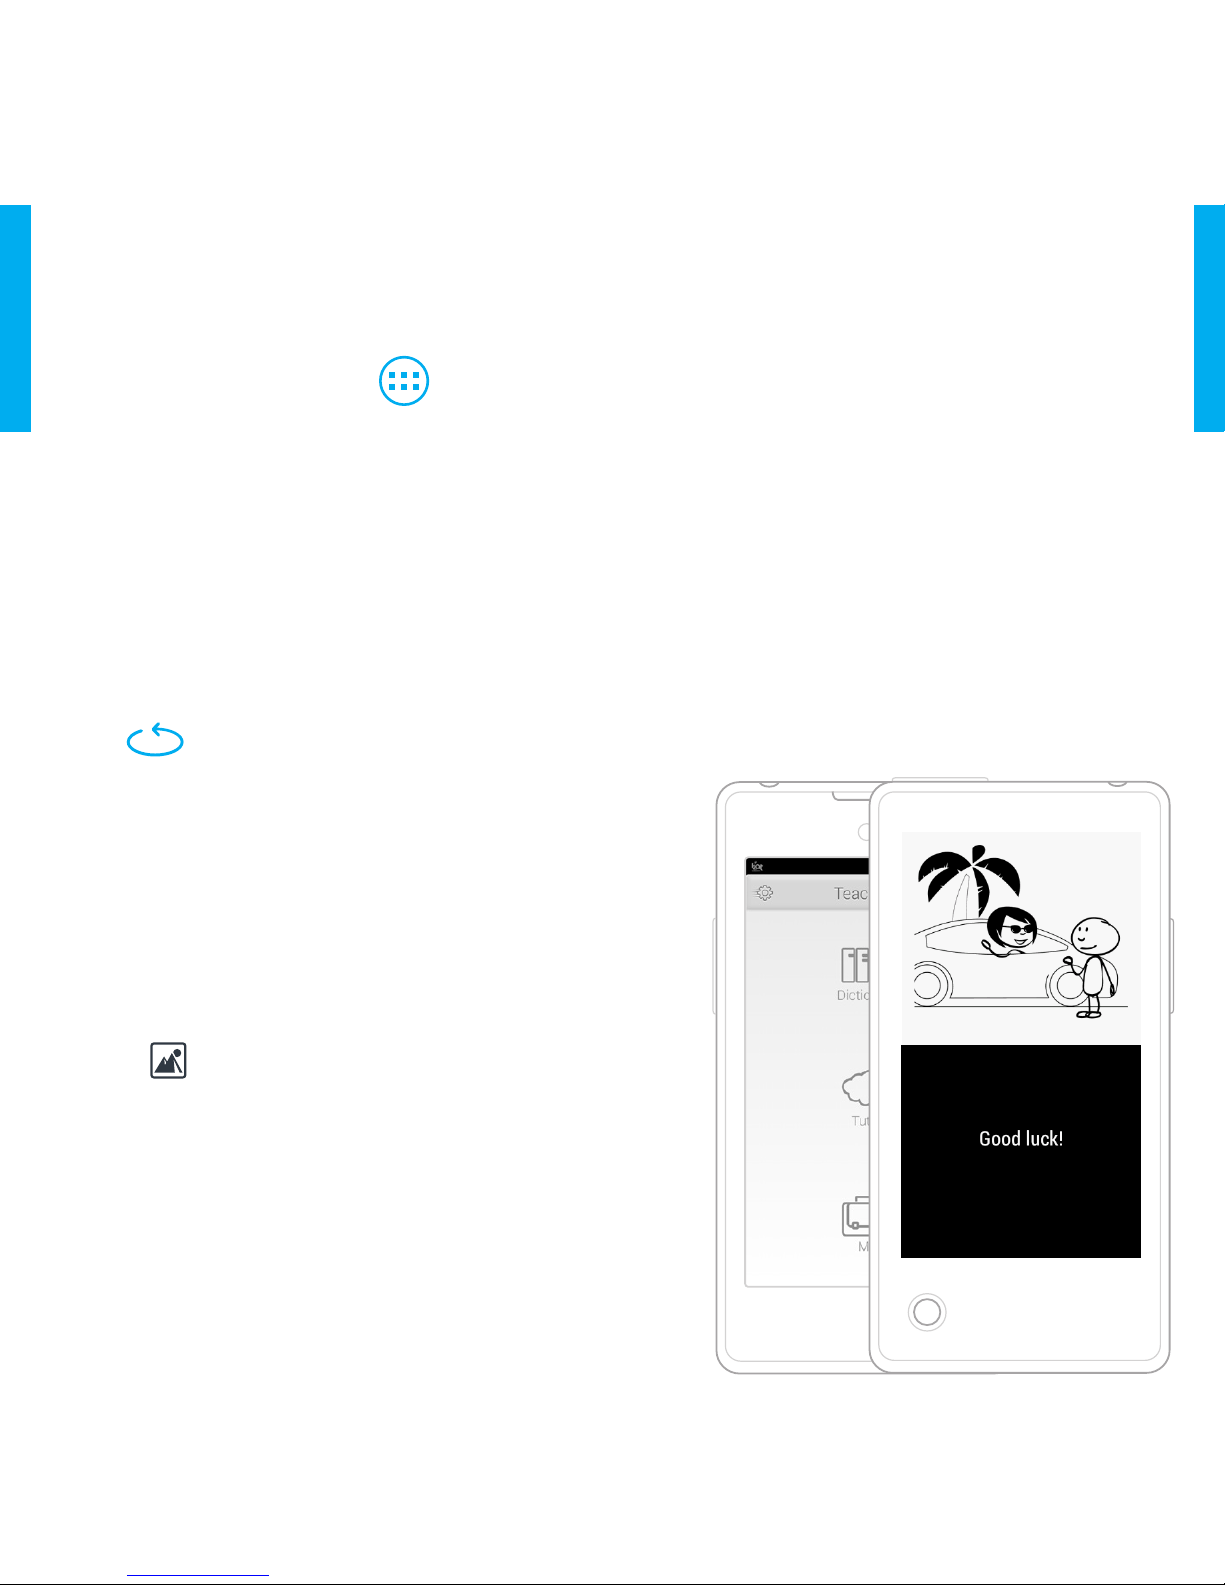
1.
On the home screen, tap
2. Select YP APPS > Back Screen
3. Switch the Back screen
notifications slider ON.
4. Under notification mode, drag
the slider on top of Private. This will
change the setting to Open and all
the notifications are visible
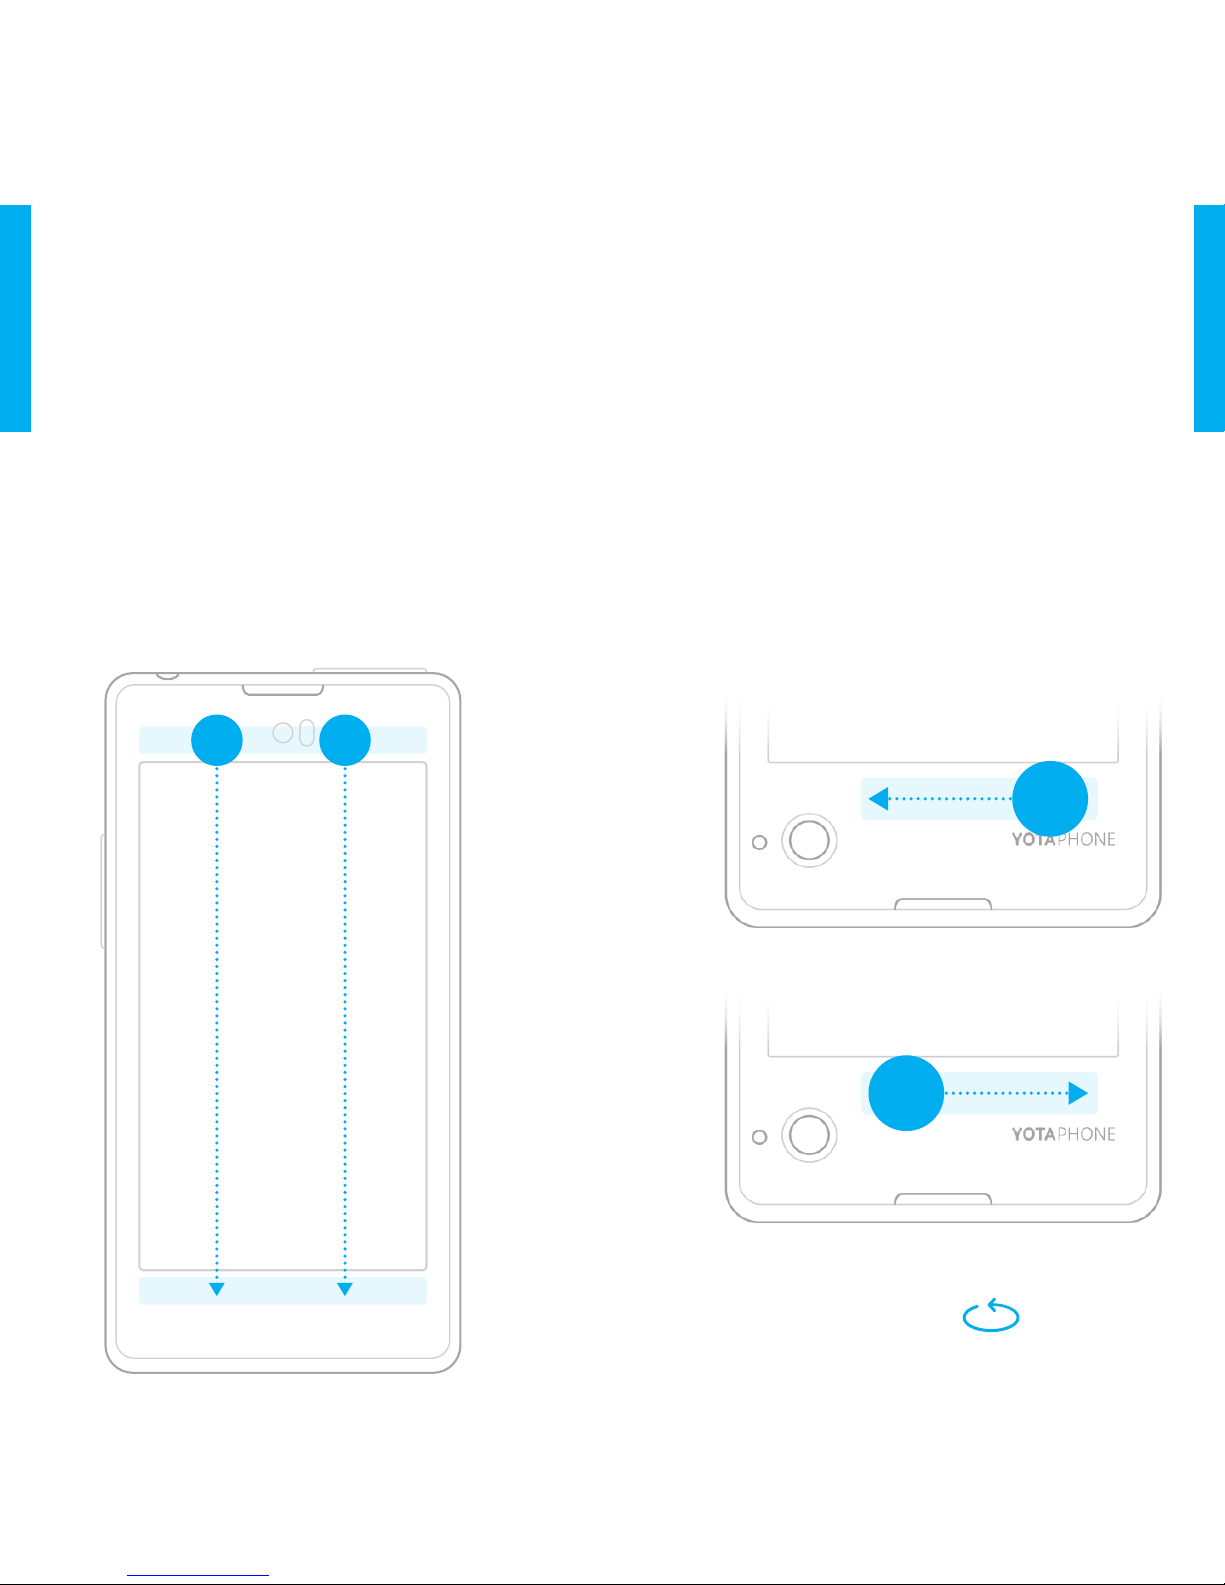
5. Scroll through pages with swipes or
volume buttons
If you do not want to display any
notifications on the back screen, you
can disable them.
1. On the home screen, tap
2. Select
YP APPS > Back Screen
3.
Switch the
Back screen
notifications
slider
OFF
.
Help and Support
If your YotaPhone stops responding,
press and hold the power button
for 10 seconds. Your YotaPhone will
then restart.
For the full version of the User Guide
or Support, please go to the website:
yotaphone.com
Product Specications
OS Android Jelly Bean 4.2.2
CPU Dual Core 1.7 GHz Krait
FORM FACTOR Monoblock touch with front
and back screen
DIMENSIONS 133.6 x 67 x 9.99mm
WEIGHT 146g
MAIN SCREEN 4.3” 720x1280 LCD, 16.7M
colours;
capacitive multi touch
BACK SCREEN 4.3” 360x640 EPD, 16 greyscale;
capacitive touch zone below the EPD for
gesture controls
NETWORK LTE 800/1800/2600 MHz,
UMTS 900/1800/2100 MHz, GSM
900/1800/1900
MHz
CAMERA Main camera 13MP AF, LED flash;
front camera 1MP
MEMORY 2GB RAM, 32GB eMMC
CONNECTIVITY WiFi 802.11 a/b/g/n, BT v4.0,
GPS w/A-GPS + Glonass
VIDEO 1080p 30fps; H.263, H.264 AVC,
MPEG-4, WebM
AUDIO MP3, AAC, eAAC, eAAC+, AMR, MIDI,
WAV
BATTERY 1800mAh
OTHER Accelerometer, compass, gyroscope,
proximity sensor, ambient light sensor,
micro- SIM, FM radio, special YotaPhone
gestures and Put2Back applications for the
back screen
English
English