manuals.online logo
Brands
  1. Home
  2. •
  3. Brands
  4. •
  5. Zamel
  6. •
  7. Receiver
  8. •
  9. Zamel ledix ROP-04 User manual

Zamel ledix ROP-04 User manual

www.ledix.pl
3-channel
radio ush receiver
ROP-04
Cet Lighting Sp. z o.o.
PL 43-200 Pszczyna, ul. Zielona 27, Poland
tel: +48 32 449 15 00, fax: +48 32 449 15 02
e-mail: [email protected], www.ledix.pl
10÷14 V DC / 0,22 W; IP20
weight: 25 g
Declaration of Conformity is on www.ledix.pl
3-channel radio ush receiver
ROP-04
The symbol means selective
collecting of electrical and electronic
equipment. It is forbidden to put
the used equipment together with
other waste.
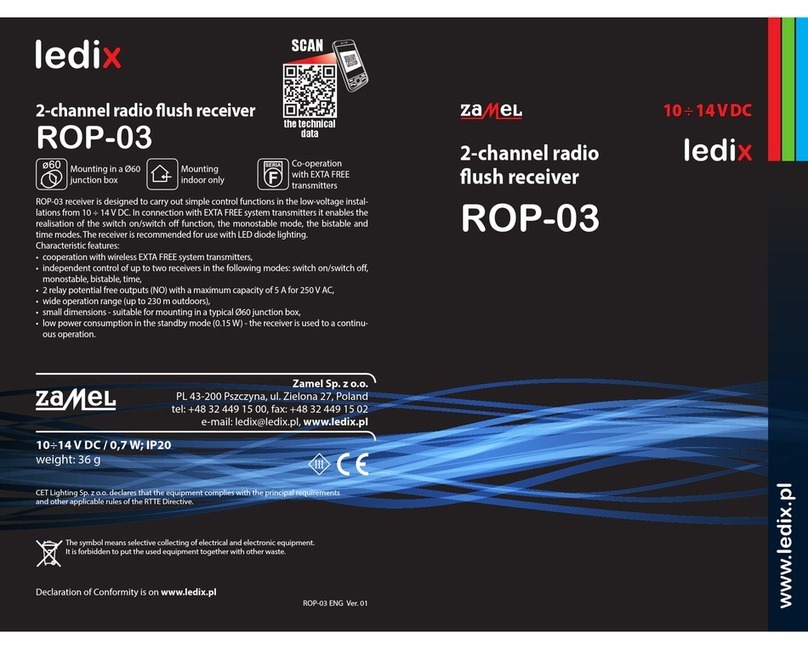
ROP-04 receiver is designed to carry out simple control functions in LED diode systems sup-
plied with 10 ÷ 14 V DC. In connection with EXTA FREE system transmitters, it enables the re-
alisation of the switch on/switch o function, the monostable mode, the bistable and time
modes. ROP-04 has 3 independently controlled outputs realised on MOSFET transistors. The
outputs are designed for a direct connection of LED diode products.
Characteristic features:
• cooperationwithwirelessEXTAFREEsystemtransmitters,
• independent control of up to three receivers in the following modes: switch on/switch off,
monostable, bistable, time,
• 3 MOSFET type transistor outputs with a maximum capacity of 2,5 A / output,
• possibility of a direct connection of 10 ÷ 14 V DC power supply LED products to the re-
ceiver’s outputs,
• wide operation range (up to 230 m outdoors),
• small dimensions - suitable for mounting in a typical Ø60 junction box,
• low power consumption in the standby mode (0,22 W) - the receiver is used to a continu-
ous operation.
Mounting in a Ø60
junction box
Mounting
indoor only
Co-operation
with EXTA FREE
transmitters
ROP-04 ENG Ver. 01
SCAN
the technical
data
10
÷
14
V
DC
3-channel radio ush receiver
TYPE: ROP-04
A detailed mounting instruction is in the packaging
CET Lighting Sp. z o.o. declares that
the equipment complies with the principal
requirements and other applicable rules
of the RTTE Directive.
230 V AC 14 V DC
CAUTION !The device is designed for single-phase installation and must be installed
in accordance with standards valid in a particular country. Installation, connection
and control should be carried out by a qualied electrician sta, who act in accord-
ance with the service manual and the device functions.
1. Disconnect power supply by the phase fuse, the circuit-breaker or the switch- discon-
nector combined to the proper circuit.
2. Check if there is no voltage on connection cables by means of a special measure equip-
ment.
3. Connect the power supply to 230 V AC.
4. Connect the output cables with appropriate receiver’s cables in accordance with the
connection diagram.
5. Mount the controller in the Ø60 junction box.
6. Switch on the power supply from the mains.
7. Add selected transmitters to the receiver (description in the TRANSMITTERS’ PRO-
GRAMMING section) and check if they work properly.
ROP-04 receiver is designed to carry out simple control functions in lighting installa-
tions equipped with LED diodes. This device in connection with any wireless EXTA FREE
(www.extafree.pl) system transmitter enables the realisation of the switch on/switch o
function, the monostable mode, the bistable and time mode independently for every
channel. ROP-04 is designed to a direct cooperation with any 10 ÷ 14 V power supply LED
diode lighting. The receiver has three MOSFET type transistor outputs with a maximum
capacity of 2,5 A. Small dimensions of the casing allow for a direct mounting of the re-
ceiver in the Ø60 mm junction box. The product is characterised by low power consump-
tion. Features of the controller:
•cooperationwithwirelessEXTAFREEsystemtransmitters,
•realisation of the control function in 10 ÷ 14 V power supply LED diode lighting installa-
tions,
•3 MOSFET type transistor outputs - maximum capacity of 2,5 A / output,
•the possibility of independent control of three circuits,
•multiplicity of operation modes: switch on / switch o, monostable, bistable, time,
•wide operation range (up to 230 m outdoors),
•a possibility to increase the operation range by using RTN-01 retransmitter,
•low power consumption in the standby mode (0,22 W) - a device designed for continu-
ous operation.
TECHNICAL DATA
MOUNTING
DESCRIPTION
DIAGRAM
APPEARANCE
Nominal supply voltage: 10 ÷ 14 V DC
Nominal power consumption: 0,22 W
Number of channels: 3 x MOSFET
Maximum current in the channel: 2,5 A
Modes: Switch on/switch o, Monostable, Bistable, Time
Control: EXTA FREE system transmitters
Radio transmission: 868,32 MHz
Transmission method: One-way without conrmation
Coding: Yes – transmission with addressing
Maximum number of transmitters: 32
Range: Up to 230 m in the open area
Time adjustment: 1 s ÷ 18 h
Ambient temperature range: -10 ÷ +55 oC
Mounting: In a Ø60 junction box
Casing protection degree: IP20
Protection class: III
Dimensions: 47,5 x 47,5 x 20 mm
Weight: 25 g
Reference standard: PN-EN 60669; PN-EN 60950; PN-EN 61000
Channel 1,2 ,3 terminals
Power supply terminals (+, -)
Optic signalling of the
receiver’s operation
Programming button
MAXIMUM CURRENT CAPACITY:
Up to 25 W for LED diode products supplied with 10 V
Up to 30 W for LED diode products supplied with 12 V
Up to 35 W for LED diode products supplied with 14 V
ZNP, ZNN or ZNM series power supply in 14 V DC version
Exemplary LEDIX series ttings
ROP-04
1
s 2
s n
s
CAUTION! The adjusted time can not be deleted.
Wall lamps and standard LEDIX series LED ttings are connected to the ROP-04 receiver.
4-channel button radio transmitter RNK-04 and a portable remote control P-257/4 cooper-
ate with the receiver. The wall lamps are switched on in time mode (staircase function) and
LEDIX ttings in the switch on / switch of mode.
OPERATION
APPLICATION
MONOSTABLE
the relay operates only while pressing
transmitter’s push-button.
BISTABLE
(one push-button) the device changes
the relay status cyclically always after
pressing the same push-button.
SWITCH ON
the device switches on after pressing the
push-button.
SWITCH OFF
the device switches o after pressing the
push-button.
TIME
the device switches o according to
the adjusted time (tp), but it may be
switched o before the adjusted time
nishes. Default settings - 15 seconds.
TIME PROGRAMMING FOR A SELECTED CHANNEL
After the adjusted time is nished
(the number of LED red diode
ashes) press PROG push-button and
then release it - TIME IS ADDED
Press PROG push-button of ROP-04 device and
then release it. LED red diode switches o and then
switches on (the signal pulsates).
Every LED diode pulse equals 1 second.
Maximum time is 18 hours hours for every channel.
The device can operate in ve modes for every channel:
OPERATION TABLE
Symbol
RNK-02
RNK-04
P-256/8
P-257/2
P-257/4
RNM-10
RNP-01
RNP-02
RNL-01
RTN-01
RCR-01
RTI-01
RXM-01
P-260
ROP-04
200 200 250 200 200 250 180 180 180 200 180 180 250 -
CAUTION: The given range concerns open area - an ideal condition without any natural or arti-
cial obstacles. If there are some obstacles between a transmitter and a receiver, it is advisable
to decrease the range according to: bricks: from 10 to 40 %, wood and plaster: from 5 to 20 %,
reinforced concrete: from 40 to 80 %, metal: from 90 to 100%, glass: from 10 to 20 %. Over- and
underground medium and high electrical power lines, radio and television transmitters, GSM
transmitters set close to a device system have also a negative inuence on the range.
RADIO TRANSMITTERS PROGRAMMING BISTABLE mode (for a selected channel):
SWITCH ON/SWITCH OFF mode (two push-buttons for a selected channel):
TIME mode (one push-button for a selected channel):
An exemplary programming procedure with the use of P-257/2 remote control. The
procedure for the rest of radio EXTA FREE transmitters is analogous. CAUTION: Every
transmitter can cooperate with ROP-04 in a dierent mode, depending on how they
were added to the device. One transmitter can be added during one programming
cycle. Full memory is signalled with pulsating LED red diode.
In order to facilitate the radio transmitters’ programming, every time when we enter the
programming mode of a selected channel (or time adjustment in time mode) the load
connected to that channel is switched on. The channel switch on is connected with LED red
diode lighting (the signal is constant).
Transmitters and time programming is done in a sequence:
Press the transmitter’s
push-button for a longer
time. LED red diode
switches on (rst signal
pulsates, next the signal is
constant)
Press and release
transmitter’s push-button.
LED red diode switches on
(rst the signal pulsates,
next the signal is constant)
Press and release the rst
transmitter’s push-button.
LED red diode switches on
(rst the signal pulsates,
next the signal is constant)
Press and release the same
transmitter’s push-button.
LED red diode switches on
(the signal pulsates) and
next it switches o - THE
TRANSMITTER IS ADDED
Press and release the same
transmitter’s push-button.
LED red diode switches on
(the signal pulsates) and
next it switches o - THE
TRANSMITTER IS ADDED
Press and release the
second transmitter’s
push-button. LED red
diode switches on (the
signal pulsates) and
next it switches o - THE
TRANSMITTER IS ADDED
Press PROG push-button of
ROP-04 device for a longer time
until LED red diode switches on
(constant signal). Next release
PROG push-button
Press PROG push-button of
ROP-04 device for a longer time
until LED red diode switches on
(constant signal). Next release
PROG push-button
Press PROG push-button of
ROP-04 device for a longer time
until LED red diode switches on
(constant signal). Next release
PROG push-button
Press the
transmitter’s
push-button
for a longer
time.
Release the
transmitter’s
push-button. LED
red diode switches
on (rst the signal
pulsates, next the
signal is constant).
Press the same transmit-
ter’s push-button and
release it. LED red
diode switches on (the
signal pulsates) and
next it switches o - THE
TRANSMITTER IS ADDED.
Press PROG push-button
of ROP-04 device for
a longer time until LED
red diode switches on
(constant signal). Next
release PROG push-
button
MONOSTABLE mode (for a selected channel):
Transmitters’
programming
for channel 1
Press PROG
push-button
of ROP-04 device
Time
programming
for channel 1
Transmitters’
programming
for channel 2
Time
programming
for channel 2
Transmitters’
programming
for channel 3
Time
programming
for channel 3
RADIO TRANSMITTERS DELETION
Press PROG push-button
of ROP-04 device for
a longer time.
After 5 seconds LED red
diode switches on (the
signal pulsates) and then it
switches o.
Release the push-button
in ROP-04 - MEMORY IS
DELETED.
Wait for about
5 sec.
Wait for
about 5 sec.
Wait for about
5 sec.
Wait for about
5 sec. Wait for about
5 sec.

Other Zamel Receiver manuals

Zamel ROP-03 User manual

Zamel

Zamel ROP-03 User manual

Zamel Exta Free ROM-10 User manual

Zamel

Zamel Exta Free ROM-10 User manual

Zamel EXTA LIFE ROM-22 User manual

Zamel

Zamel EXTA LIFE ROM-22 User manual

Zamel Sundi ST-251 User manual

Zamel

Zamel Sundi ST-251 User manual

Zamel ROM-24 User manual

Zamel

Zamel ROM-24 User manual

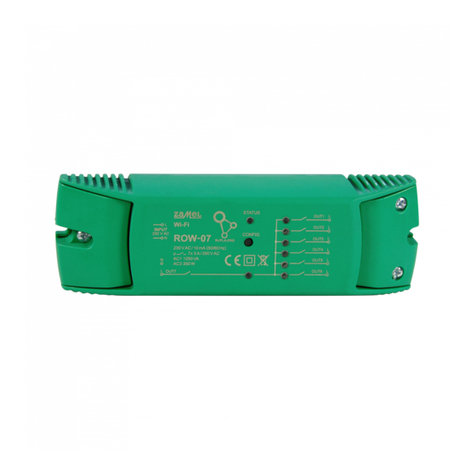
Zamel SUPLA ROW-07 User manual

Zamel

Zamel SUPLA ROW-07 User manual

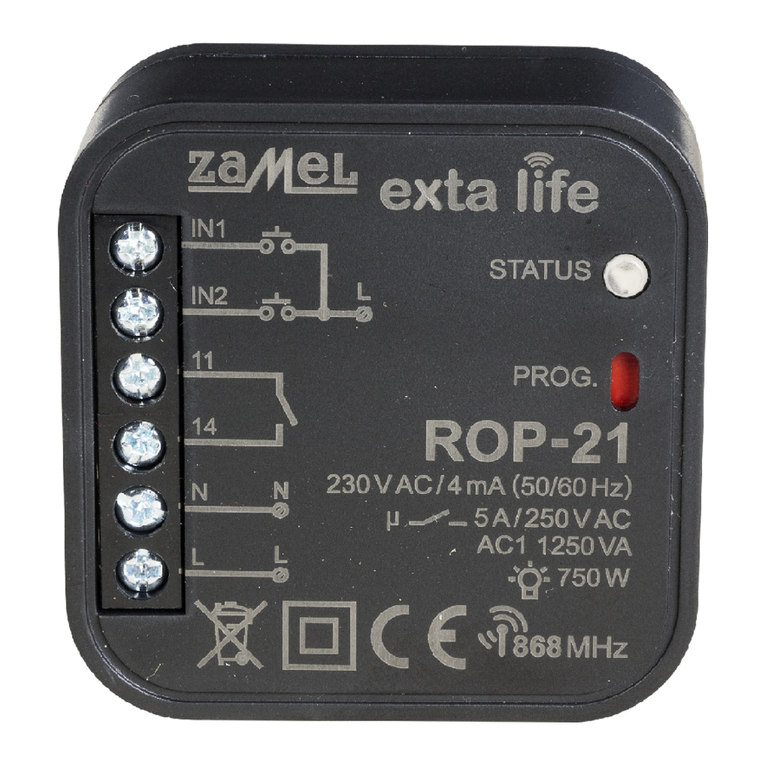
Zamel ROP-21 User manual

Zamel

Zamel ROP-21 User manual

Zamel ROP-01 User manual

Zamel

Zamel ROP-01 User manual

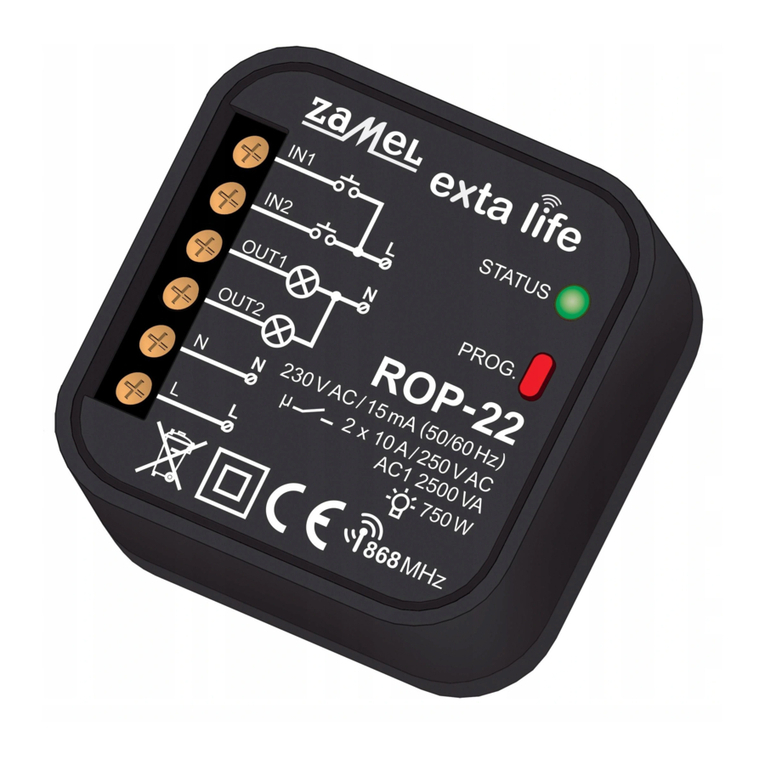
Zamel ROP-22 User manual

Zamel

Zamel ROP-22 User manual

Zamel ROP-01 User manual

Zamel

Zamel ROP-01 User manual

Popular Receiver manuals by other brands

Listen Technologies LR-400 datasheet

Listen Technologies

Listen Technologies LR-400 datasheet

Russound SAPHIR 860 datasheet

Russound

Russound SAPHIR 860 datasheet

LevelOne HVE-9211T Quick installation guide

LevelOne

LevelOne HVE-9211T Quick installation guide

Tuncmatik POWERNOTE MOBILE MICRO 90W user manual

Tuncmatik

Tuncmatik POWERNOTE MOBILE MICRO 90W user manual

Kenwood KMM-BT203 instruction manual

Kenwood

Kenwood KMM-BT203 instruction manual

Sony Ipela SNCA-ZX104 installation guide

Sony

Sony Ipela SNCA-ZX104 installation guide

Yamaha RX-V659 owner's manual

Yamaha

Yamaha RX-V659 owner's manual

Philips SC28L91 Product data sheet

Philips

Philips SC28L91 Product data sheet

Sennheiser SYS 2013-PLL - Product sheet

Sennheiser

Sennheiser SYS 2013-PLL - Product sheet

elero Combio-868 LI INFORMATION FOR USE

elero

elero Combio-868 LI INFORMATION FOR USE

Shure SVX Wireless manual

Shure

Shure SVX Wireless manual

bensat HDT913AEP owner's manual

bensat

bensat HDT913AEP owner's manual

Hammarlund HQ-145X Instruction and service information

Hammarlund

Hammarlund HQ-145X Instruction and service information

JVC RX-8010VBK Service manual

JVC

JVC RX-8010VBK Service manual

Sony DMX-NV1  (For DMX-NV1 model sold separately) operating instructions

Sony

Sony DMX-NV1 (For DMX-NV1 model sold separately) operating instructions

Audio Authority 1720R manual

Audio Authority

Audio Authority 1720R manual

Chamberlain LiftMaster PROFESSIONAL 423LM owner's manual

Chamberlain

Chamberlain LiftMaster PROFESSIONAL 423LM owner's manual

Irradio RD-40 user manual

Irradio

Irradio RD-40 user manual

manuals.online logo
manuals.online logoBrands
  • About & Mission
  • Contact us
  • Privacy Policy
  • Terms and Conditions

Copyright 2025 Manuals.Online. All Rights Reserved.