When the arc lamp is turned on, and the slide/specimen is placed in position on the stage,
illumination of the sample from the objective lens will be readily apparent. The slider, black and
marked L on left side and R on right side, can be used to block / interrupt the illumination beam
path (move to far right position) when not viewing the sample to prevent photobleaching. The
green filter/middle position slightly filters the light, but the open position (far right) is probably
best when examining the sample.
*Note: in fluorescence microscopy, the less exposure of the sample / fluorophore to excitation
light, the less photobleaching and subsequent loss of fluorescence and intensity of signal.
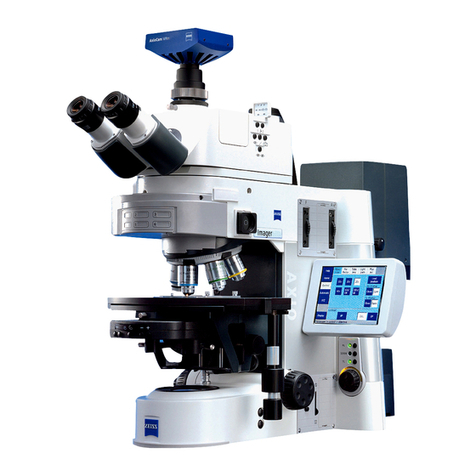
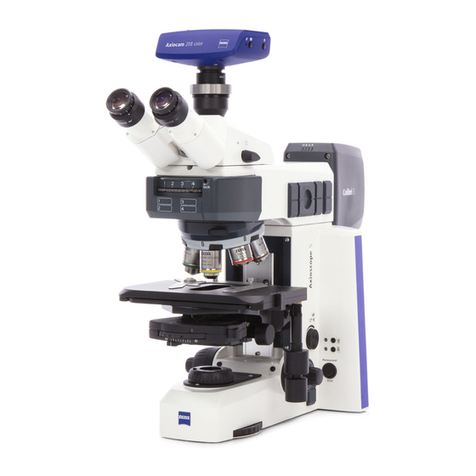
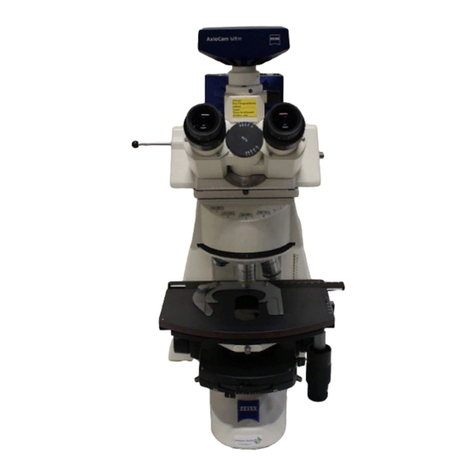
The fluorescence reflector or tiller slider [large horizontal black metal box between ocular and
objective lenses] has 4 positions for fluorescence that contain various excitation filter / dichroic
mirror / emission filter sets, from right to left:
// ~450-490 um ex. (green em.)
// ~510-560 nm ex. (red em.)
// ~450-490 nm ex. (green/yellow em)
// ~300-390 nm ex. (blue em.)
Decide which filter set is appropriate/best for exciting and
detecting the fluorophore(s) being used, and move the filter slider
to that position. [See fluorescence reflector slider sheet for filter set details.]
*Note: It should not be necessary to change/adjust the illumination beam, however, the
following controls affect the diameter and centering of the light. Levers for adjusting the
luminous field diaphragm (upper, left and right side) —move by pushing or pulling levers to
the right to reduce and to the left to increase the illuminated area [“normally," the area of light
should just fill the field of view, as for the halogen lamp beam with light microscopy]. Use the
two silver centering screws (lower, left and right side) to position the luminous field diaphragm
- to move and align the light beam, alternate twisting both screws.


